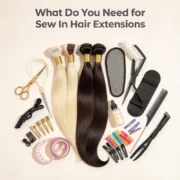
What Do You Need for Sew In Hair Extensions?
If you are planning to install sew-in hair extensions, you will need the right hair wefts, a curved weaving needle, extension thread, a rat-tail comb, sectioning clips, and other supplies depending on your installation method. You may also need tools for preparing a braid foundation or securing beaded wefts.
Choosing the right supplies is only the first step. You also need to select compatible hair extensions, prepare your natural hair properly, and understand how different sew-in methods affect the tools required.
In this guide, we will cover everything you need for sew-in hair extensions, explain how to choose the right wefts, and share practical tips for preparing a successful installation.
What Do You Need for Sew In Hair Extensions?
Before getting started, prepare your hair extensions, installation tools, and supporting supplies. The exact checklist depends on whether you are using a traditional cornrow sew-in or a beaded weft installation.
Here are the essential items to consider.
| Item | What It Is Used For | Essential or Optional? |
|---|---|---|
| Hair wefts | Add length, volume, and coverage | Essential |
| Curved weaving needle | Helps stitch wefts onto a suitable foundation | Essential for traditional sew-ins |
| Hair extension thread | Secures the wefts during stitching | Essential for traditional sew-ins |
| Rat-tail comb | Creates clean, precise sections | Strongly recommended |
| Sectioning clips | Keep unused hair out of the working area | Strongly recommended |
| Scissors | Trim thread ends and make necessary adjustments | As needed |
| Hair ties | Secure sections or prepared braids | Depending on the method |
| Microbeads and a loop tool | Help attach wefts in compatible beaded systems | Method-specific |
| Extension pliers | Help secure compatible microbeads | Method-specific |
| Mirror and good lighting | Help check placement and overall appearance | Recommended |
Not every installation requires every item on this list. Traditional sew-ins generally rely on needle and thread, while certain beaded or braidless systems require additional tools. Always check the requirements of your chosen extension system before purchasing supplies.
1. Hair Wefts or Sew-In Hair Extensions
Hair wefts are the most important product you need because they provide the length and volume you want to achieve.
When choosing sew-in hair extensions, consider the following factors:
- Hair quality: Look for consistent strands, suitable processing, and hair that meets your expectations for softness, manageability, and durability.
- Length: Choose a length that complements your natural hair and desired hairstyle.
- Volume: Consider your natural hair density, the amount of coverage required, and the weight and specifications of each bundle.
- Color: Select a shade that blends with your natural hair or matches your desired look.
- Weft construction: Make sure the weft is compatible with your intended installation technique.
Human hair extensions are a popular choice for their natural appearance and styling versatility. For professional stylists and salons, consistent hair quality and reliable product specifications are especially important.
2. Curved Weaving Needle
A curved weaving needle is commonly used for traditional sew-in hair extensions. Its shape helps stylists guide the needle through the appropriate braid foundation and stitch the weft into place.
When choosing a needle, consider its shape, size, handling comfort, and compatibility with your installation technique.
A suitable needle should allow controlled stitching without unnecessary pulling or discomfort. Beginners should seek professional guidance rather than attempting an installation with unfamiliar tools.
3. Hair Extension Thread
Extension thread is used to secure hair wefts during traditional sew-in installations.
Choose thread that is strong enough for the intended application and compatible with the weft and foundation. The thread color can also be selected to blend with the hair or installation area where appropriate.
Avoid choosing thread based on thickness alone. Compatibility, handling, and the recommendations for your extension system all matter.
The goal is to achieve a secure installation without excessive tension on the natural hair.
4. Rat-Tail Comb and Sectioning Clips
A rat-tail comb helps create clean sections and partings, making it easier to work systematically during installation.
Sectioning clips keep the remaining hair away from the working area. Together, these tools help stylists maintain an organized workspace and achieve more consistent placement.
Look for a comb with a fine, pointed tail for precise partings and clips that hold the hair securely without making sectioning unnecessarily difficult.
5. Scissors and Other Supporting Tools
Scissors may be needed to trim thread ends and make appropriate adjustments during the installation process.
Depending on your technique, you may also need hair ties, additional clips, and other preparation tools. If you are working with a beaded weft system, compatible microbeads, a loop tool, and extension pliers may be required.
Before purchasing a complete sew-in kit, check the included items against your installation method. A kit containing the wrong tools can create unnecessary costs and delays.
Essential vs. Optional Sew-In Supplies
If you are new to sew-in hair extensions, separating essential tools from optional accessories can help you avoid unnecessary purchases.
For a traditional sew-in, your main priorities are compatible hair wefts, a suitable braid foundation, a curved weaving needle, extension thread, and tools for sectioning the hair.
Other supplies depend on your technique and preferences.
Usually essential for a traditional sew-in:
- Compatible hair wefts
- Curved weaving needle
- Extension thread
- Supplies needed to prepare the foundation
Useful supporting tools:
- Rat-tail comb
- Sectioning clips
- Scissors
- Hair ties
- Mirror and good lighting
Required only for certain installation systems:
- Microbeads
- Loop tool
- Extension pliers
- Other method-specific accessories
Remember that a beaded sew-in may have different requirements from a traditional cornrow-based installation. Confirm the appropriate tools before purchasing products or beginning the service.
What Type of Hair Extensions Do You Need for a Sew-In?
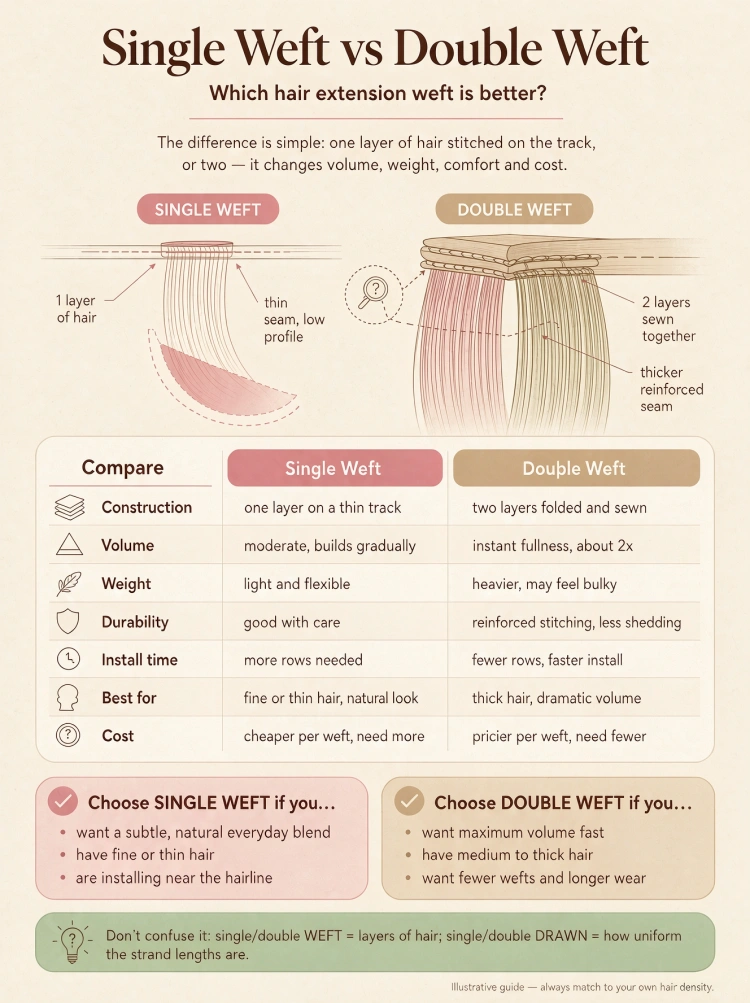
Choosing the right hair weft is just as important as selecting the correct tools. Different weft constructions offer different characteristics, and not every product is suitable for every installation technique.
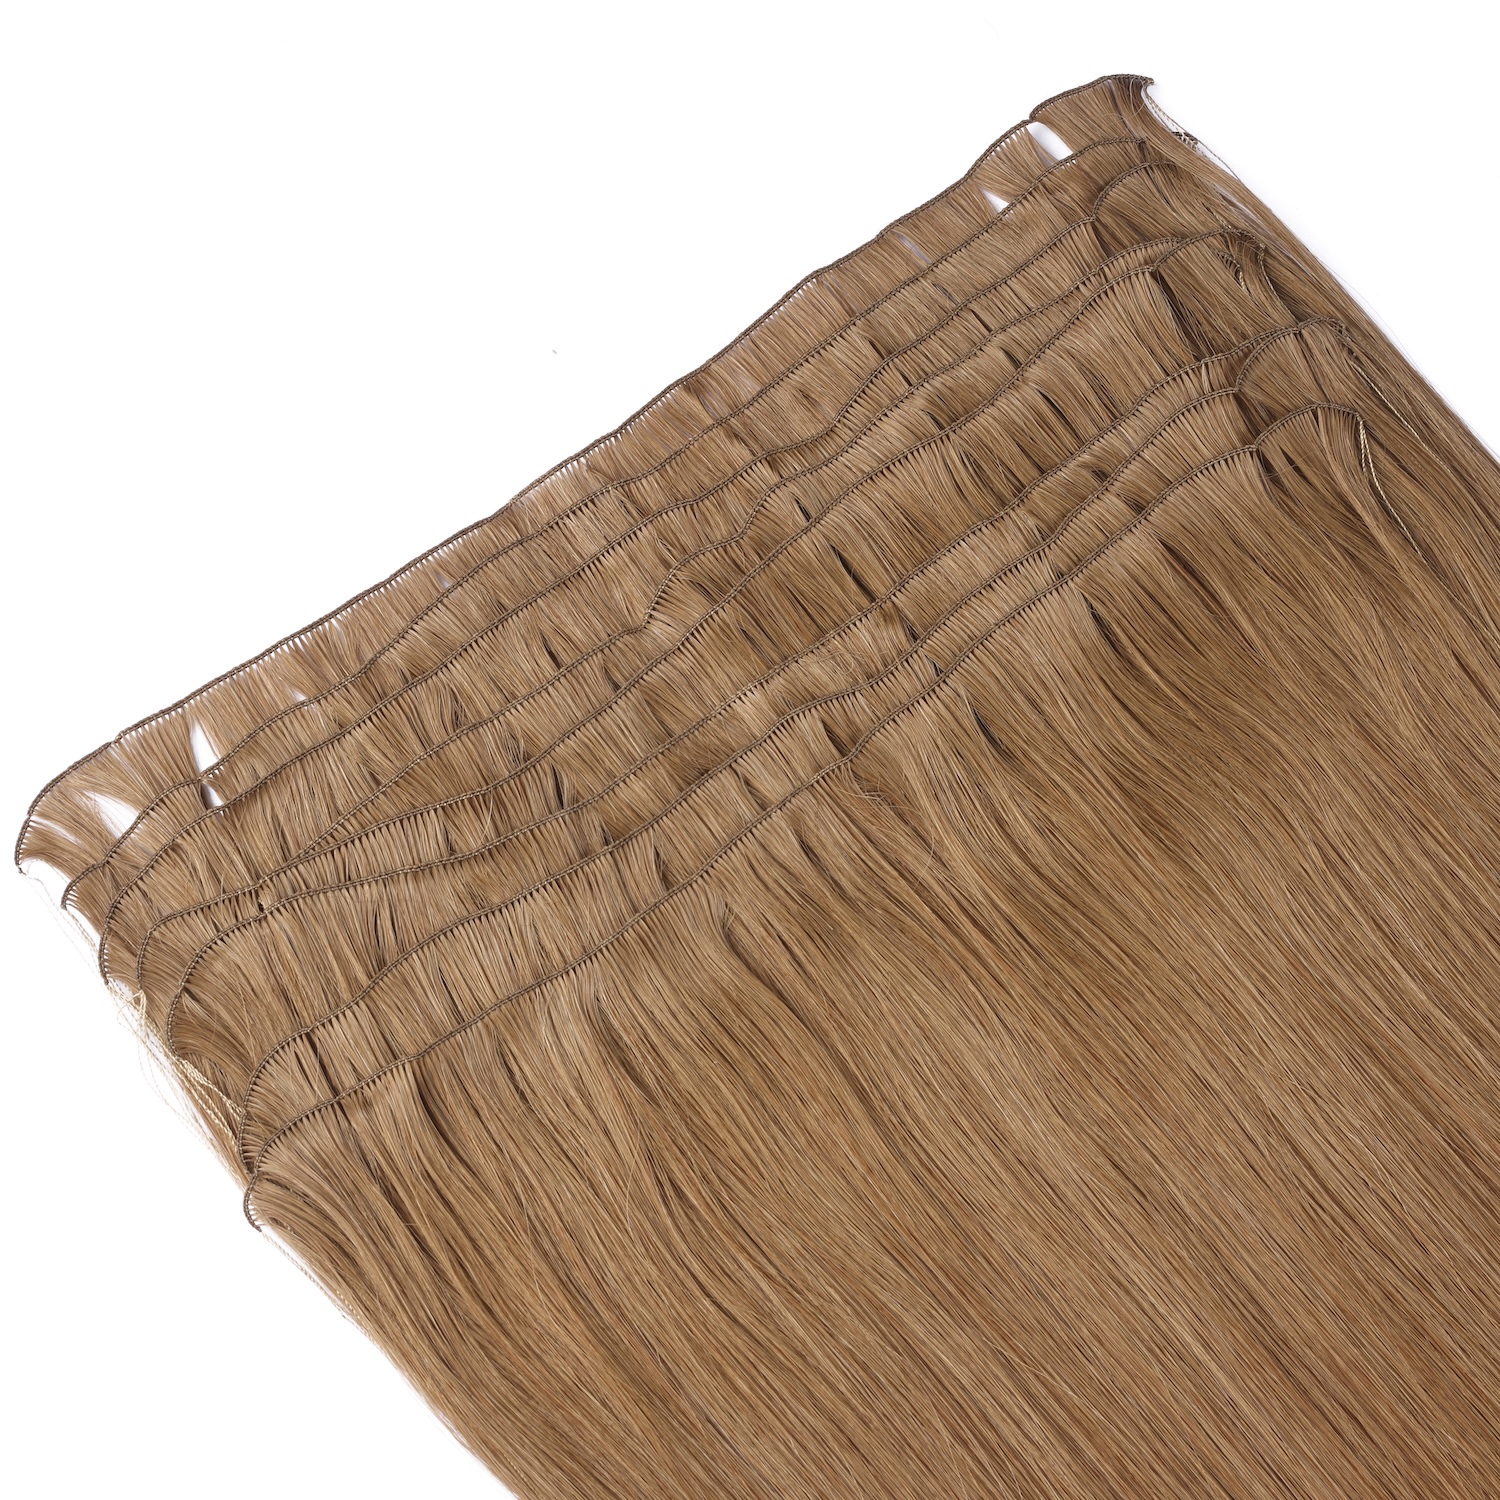
Machine Weft Hair Extensions
Machine wefts are manufactured using a machine-based weft construction process. They are available in various lengths, colors, and specifications.
When evaluating machine wefts, consider the weft construction, thickness, flexibility, and compatibility with the intended installation method.
They can be an option for stylists who need consistent product specifications for their services or businesses.
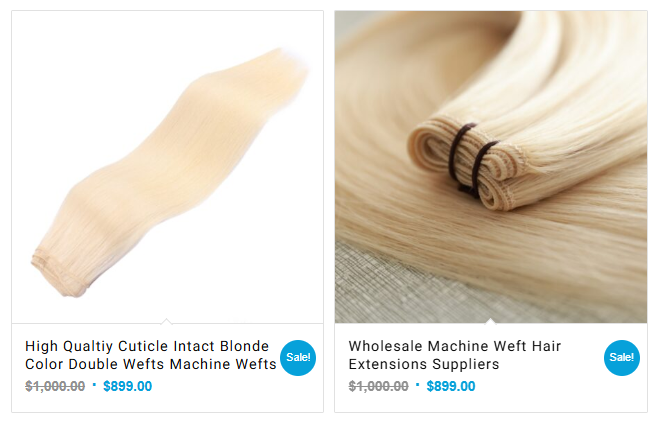
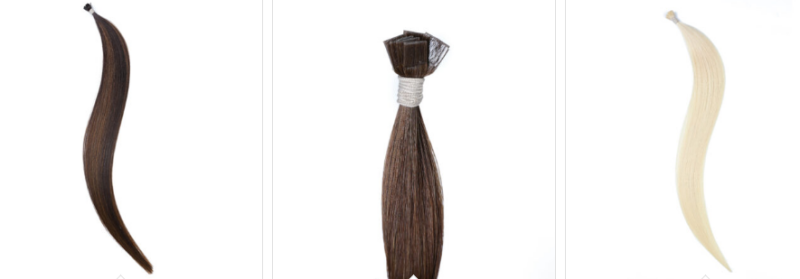
Machine wefts
Hand-Tied Weft Hair Extensions
Hand-tied wefts are made using a hand-tying process and are often selected for installation systems that prioritize a fine, low-profile weft.
Their suitability depends on the product design, the stylist’s technique, and the client’s natural hair.
Because hand-tied wefts can have specific handling and cutting considerations, follow the manufacturer’s recommendations rather than assuming that all wefts can be installed in the same way.
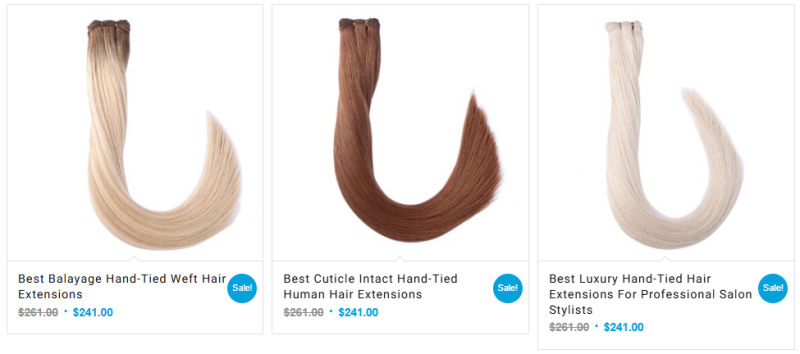
Hand-tied wefts
Genius Weft Hair Extensions
Genius Weft hair extensions are another option for professional stylists and salons looking for specialized weft products.
Before choosing a Genius Weft, check its construction, specifications, and recommended installation methods. The correct choice depends on the actual product design and the technique being used.
At Qingdao ALOVE HAIR PRODUCTS Co., Ltd., Genius Weft is a flagship product category. ALOVE supplies human hair extensions for professional buyers, with options designed to support different product and business requirements.
For salons and distributors, comparing weft construction, hair quality, color availability, and supply consistency can help identify products that fit their service offerings.
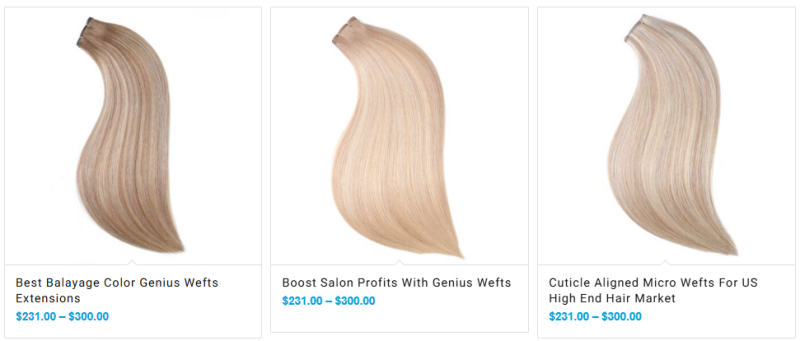
Genius Weft hair extensions
How to Choose the Right Weft
When comparing different hair wefts, ask these questions:
- Is the weft compatible with the intended installation technique?
- Does the hair quality meet your expectations for appearance and manageability?
- Are the length and volume suitable for the desired result?
- Is the color available in a suitable shade?
- Can the supplier provide consistent specifications for repeat orders?
These questions are particularly useful for salons, stylists, and wholesale buyers who need reliable products for ongoing business.
How to Choose the Right Hair Length, Color, and Volume
The right hair extensions should complement the client’s natural hair and desired style.
Hair Length
Consider the natural hair length, the desired finished look, and how the extensions will blend with the existing hair.
Longer extensions may require additional planning to achieve balanced coverage and a natural-looking result. A stylist can help determine the most appropriate length based on the client’s hair and styling goals.
Hair Volume and Bundle Quantity
The number of bundles needed for a sew-in depends on several factors, including:
- The length and weight of each bundle
- The client’s natural hair density
- The desired fullness
- The size of the area being covered
- The selected weft construction and installation method
There is no single bundle quantity that works for every sew-in. Check the weight and specifications of each product, and consult a stylist when estimating the amount needed.
Hair Color
Color matching is essential for a seamless appearance.
Compare the extension shade with the client’s natural hair, especially around the areas where the extensions will blend. If a custom shade is needed, consider working with a supplier that offers suitable color options.
For wholesale buyers, access to a consistent range of colors can also help support different customer preferences and salon services.
How Much Hair Do You Need for a Sew-In?
The amount of hair needed for a sew-in depends on your desired hairstyle, natural hair density, extension length, and the weight of each bundle. Choosing the right amount helps achieve balanced coverage and a natural-looking finish.
Before purchasing hair extensions, consider these factors:
- Hair length: Longer extensions may require more hair to create a balanced, full appearance, depending on the desired style.
- Natural hair density: Fine, medium, and thick hair may require different amounts of extension hair to achieve suitable coverage.
- Desired volume: A natural, lightweight look may require less hair than a fuller, more voluminous style.
- Bundle weight: Bundle sizes vary between suppliers, so check the weight per bundle rather than relying on bundle count alone.
- Installation method: Different sew-in techniques and weft constructions may affect how much hair can be comfortably and appropriately installed.
If you are unsure how much hair to order, consult a professional stylist and confirm the specifications of your chosen extensions. For salons and wholesale buyers, consistent bundle weights and clear product specifications also make it easier to plan inventory and meet customer expectations.
How to Prepare Your Natural Hair Before a Sew-In
Proper preparation helps create a suitable foundation for hair extensions and supports a more comfortable installation.
Before beginning, consider the following steps.
1. Clean the hair and scalp.
Follow the stylist’s preparation recommendations. Hair should be clean and free from excessive product buildup that could interfere with the chosen installation method.
2. Detangle the hair.
Gently remove tangles before sectioning. This makes the hair easier to manage and helps the stylist assess its condition.
3. Assess the scalp and natural hair.
Check for irritation, tenderness, excessive breakage, or areas of hair loss. If the scalp is inflamed or the hair is fragile, postpone the installation and seek appropriate professional advice.
4. Create appropriate sections.
Use a rat-tail comb and sectioning clips to organize the hair according to the chosen installation method.
5. Establish a suitable foundation.
For a traditional sew-in, a stylist typically prepares a braid foundation appropriate for the client’s hair and the planned placement. Other systems may use a different foundation or attachment method.
Avoid excessive tension during braiding and installation. Pain, persistent pulling, or scalp discomfort are signs that the installation needs to be reassessed.
How to Care for Sew-In Hair Extensions
Proper maintenance helps keep human hair extensions manageable and looking their best throughout wear. Your care routine should account for the extension type, installation method, natural hair condition, and stylist recommendations.
Follow these general care tips:
1. Detangle gently. Use a suitable extension brush or wide-tooth comb where appropriate. Work carefully through the lengths and ends, avoiding unnecessary pulling on the attachment area.
2. Wash carefully. Follow the stylist’s instructions for cleansing the scalp and extension hair. Avoid rough scrubbing, excessive tangling, and product buildup around the installation.
3. Dry thoroughly. Pay attention to the areas around the attachment points and the underlying natural hair. Trapped moisture can contribute to unpleasant odors and other hygiene concerns.
4. Limit excessive heat. Human hair extensions can generally be styled with heat when the product permits it, but frequent high-temperature styling may cause dryness or damage. Use suitable heat protection and follow the supplier’s recommendations.
5. Avoid excessive tension. Tight hairstyles and heavy extensions may place additional stress on natural hair. If you experience persistent pulling, discomfort, or scalp irritation, contact your stylist promptly.
6. Schedule professional maintenance. Follow the recommended maintenance and removal schedule for your specific installation method. Do not keep extensions installed beyond the period advised by your stylist.
Good maintenance practices are important for both extension appearance and natural hair care. Always follow the product manufacturer’s guidance, as care requirements can vary between hair products and installation systems.
Do Different Sew-In Methods Require Different Tools?
Yes. The supplies you need depend on how the extensions will be attached.
Traditional Cornrow Sew-In
A traditional cornrow sew-in generally involves creating a braid foundation and stitching the wefts onto it.
Common supplies include:
- Hair wefts
- A curved weaving needle
- Extension thread
- A rat-tail comb
- Sectioning clips
- Scissors, when needed
The stylist should ensure that the foundation is appropriate and that the installation does not create excessive tension on the natural hair.
Beaded or Braidless Weft Installation
Some beaded weft systems use microbeads and specialized tools to secure the foundation or support weft placement.
Depending on the system, supplies may include:
- Compatible hair wefts
- Microbeads
- A loop tool
- Extension pliers
- A rat-tail comb
- Sectioning clips
These tools are not automatically required for a traditional sew-in. Always follow the manufacturer’s instructions for the specific extension system.
Common Mistakes to Avoid When Preparing for a Sew-In
Having the right supplies is important, but choosing and using them correctly matters just as much.
Choosing incompatible wefts. Different weft constructions have different characteristics. Confirm that the product is appropriate for the intended installation method.
Buying tools you do not need. Not every sew-in requires microbeads, pliers, or a loop tool. Match your shopping list to the technique.
Ignoring natural hair condition. Fragile hair, scalp irritation, and excessive tension can increase the risk of damage. Assess the hair and scalp before installation.
Selecting extensions based on color alone. Hair quality, length, volume, and weft construction also affect the final result.
Overlooking product specifications. Bundle weight, color options, and construction can vary between suppliers. Check the details before purchasing.
Attempting an unfamiliar installation without guidance. Sew-in methods require appropriate preparation and controlled attachment. Working with a qualified stylist can help reduce avoidable mistakes.
Frequently Asked Questions
What tools do you need for sew-in hair extensions?
The main tools and supplies for a traditional sew-in include compatible hair wefts, a curved weaving needle, extension thread, a rat-tail comb, sectioning clips, and scissors when needed. Additional tools depend on the installation method.
Can you sew in hair extensions yourself?
Some people explore DIY sew-ins, but installation requires appropriate preparation, secure attachment, and careful tension control. If you are unfamiliar with braiding or stitching wefts, consider using an experienced stylist.
How many bundles do you need for a sew-in?
The required number of bundles depends on bundle weight, hair length, natural hair density, desired fullness, and coverage. Check the product specifications and consult a stylist for a personalized recommendation.
Do you need a special needle for sew-in extensions?
A curved weaving needle is commonly used for traditional sew-ins because its shape can make stitching around a braid foundation easier to control. Always select a tool suited to the installation method.
Do you need glue for sew-in hair extensions?
Traditional sew-ins generally use needle and thread to attach the weft to a suitable foundation rather than relying on adhesive. Other extension methods may use different attachment materials, so identify the method before purchasing supplies.
Are Genius Wefts suitable for every sew-in method?
Not necessarily. Suitability depends on the construction and specifications of the particular Genius Weft product, as well as the installation technique. Follow the manufacturer’s guidance or consult your supplier before selecting a product.
What should professional buyers look for in a hair extension supplier?
Professional buyers should evaluate hair quality, weft construction, color availability, product consistency, customization options, communication, and the supplier’s ability to support repeat orders.
It is also helpful to confirm product specifications and request samples when evaluating a new supplier.
How to Choose High-Quality Human Hair Weft Extensions
Choosing high-quality human hair wefts is important for professional stylists, salons, and businesses that want consistent products for their customers. Beyond color and length, several quality indicators deserve attention.
Cuticle condition: Ask whether the hair retains its cuticle and how it is processed. Cuticle condition and processing methods can influence how the hair behaves, although overall performance also depends on sourcing, processing, and maintenance.
Hair consistency: Examine the strands for consistency in texture, length distribution, and overall appearance. Double-drawn options may provide fuller-looking lengths, depending on the product specifications.
Weft construction: Check the stitching, edge finish, flexibility, and overall construction. The weft should be appropriate for the intended installation method.
Color quality: For colored extensions, consider color consistency, the processing method, and whether the supplier can meet your required shades. Custom colors may be particularly valuable for salons and distributors serving diverse markets.
Supplier reliability: Look for clear product specifications, consistent communication, customization options, and the ability to support repeat orders. Request samples when possible before making a large wholesale purchase.
At Qingdao ALOVE HAIR PRODUCTS Co., Ltd., we specialize in human hair extensions, including cuticle-intact hair products, Genius Wefts, hand-tied wefts, micro wefts, and other extension options. Our product range supports professional buyers looking for different weft constructions, colors, and specifications.
Whether you are a stylist selecting hair for an individual client or a distributor sourcing products for your business, evaluating both hair quality and supplier consistency can help you make a more informed purchasing decision.
Contact ALOVE to discuss your human hair weft requirements, product specifications, and wholesale or customization options.
Choose Quality Human Hair Wefts from ALOVE
Choosing the right sew-in supplies is the first step toward a successful hair extension service. Selecting compatible wefts, suitable installation tools, and quality human hair can also help salons and stylists build a more consistent service offering.
Qingdao ALOVE HAIR PRODUCTS Co., Ltd. has been involved in the human hair industry since the 1980s. From its beginnings in raw hair collection and supply, the company has developed into a specialized manufacturer and exporter of human hair extensions.
ALOVE’s product range includes Genius Wefts, micro wefts, hand-tied wefts, flat wefts, sew-in hair extensions, tape-in extensions, I-tip extensions, and colorful hair extensions. The company also supplies selected installation tools and accessories to support professional buyers.
Key product features include:
- Cuticle-intact human hair: Designed for buyers seeking natural-looking hair with attention to hair quality and processing.
- Double-drawn options: Available for buyers seeking fuller-looking lengths, subject to the specifications of the selected product.
- Color expertise: Color options and customization for different market requirements.
- Product variety: Multiple extension types for different salon services and business needs.
- Wholesale and customization support: Solutions for salons, distributors, and hair extension businesses.
With international trade experience and customers across markets including the USA, UK, Canada, Australia, and Europe, ALOVE works with professional buyers seeking reliable hair extension products and long-term supply relationships.
Whether you are sourcing Genius Wefts, comparing human hair weft options, or looking for suitable extension accessories, choosing a supplier that understands product specifications and professional requirements can make the purchasing process easier.
Looking for a reliable human hair extension supplier? Contact Qingdao ALOVE HAIR PRODUCTS Co., Ltd. to discuss your product requirements, color options, customization needs, and wholesale cooperation.

Alove Hair is a professional Chinese manufacturer of premium 100% Remy human hair extensions, wigs, and hair systems. Established in 2014, the company specializes in supplying global salons and distributors with high-quality, cuticle-intact hair products and offers comprehensive OEM/ODM private label services.