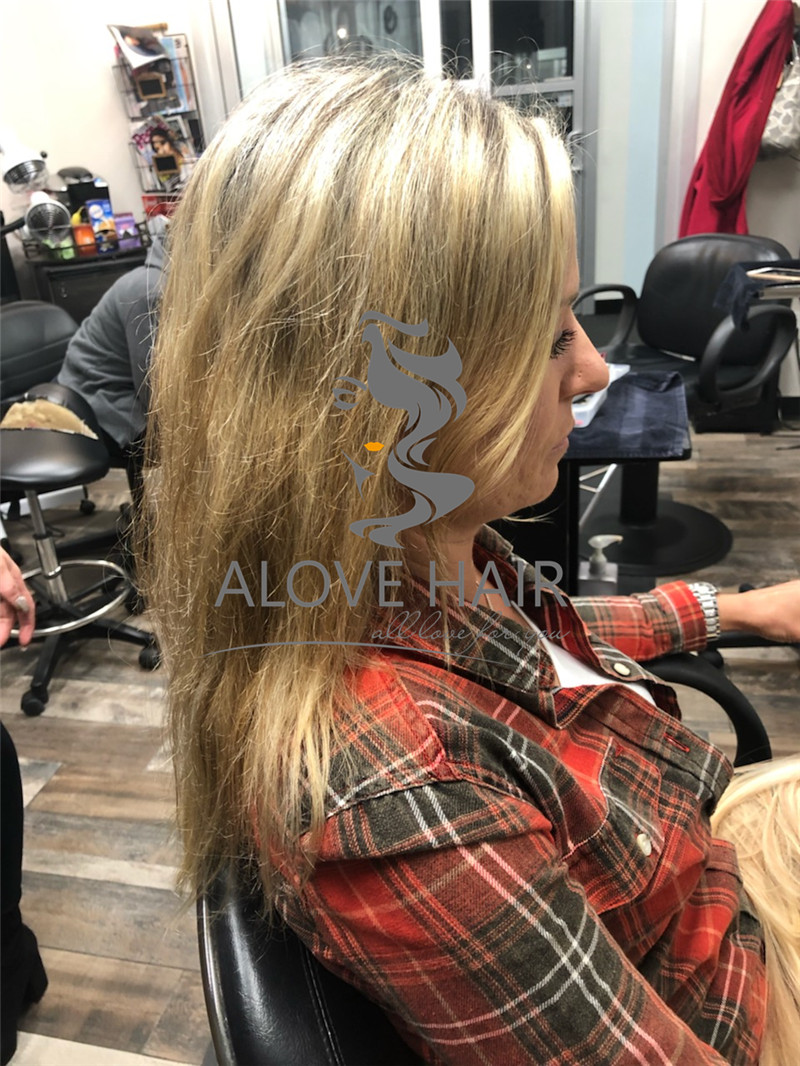
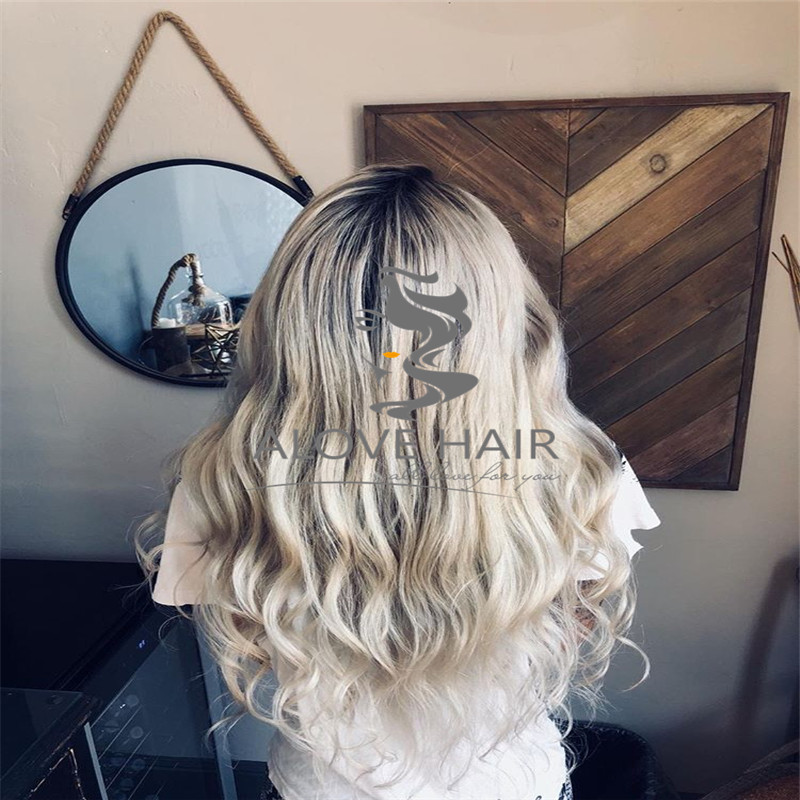
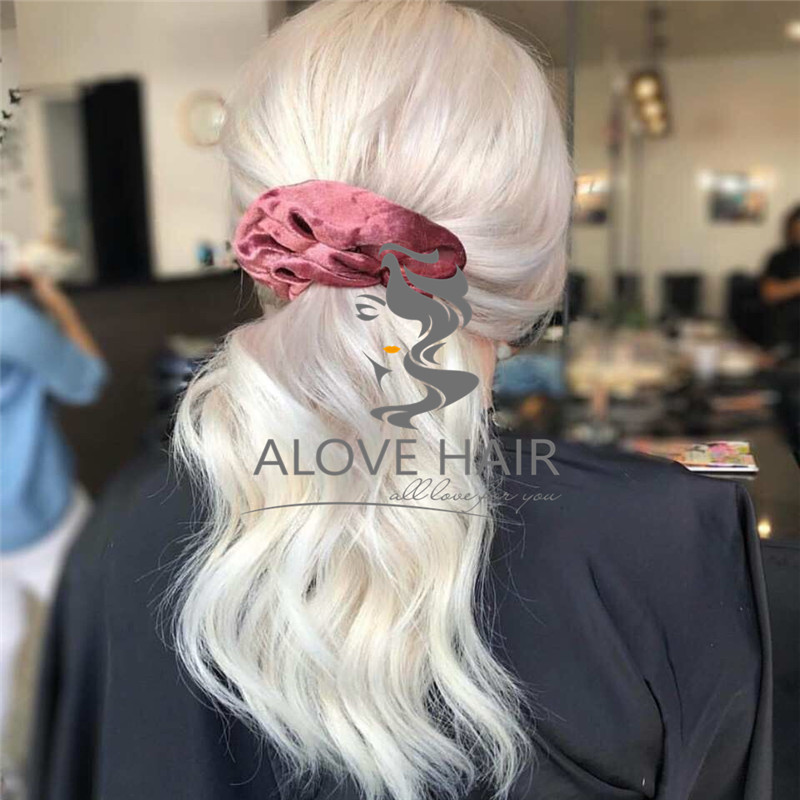
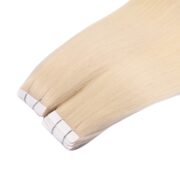
Hair extensions have become a staple in the beauty industry, providing a quick and effective way to transform one’s hair. Whether you’re looking to add length, volume, or color, extensions offer endless possibilities to enhance your look. They allow individuals to experiment with different styles without making permanent changes, offering versatility and flexibility. The rise in popularity of hair extensions has given way to various methods and techniques, making it important for consumers to choose the right option for their specific needs and goals.
When considering hair extensions, it’s crucial to select the right method based on factors such as hair type, lifestyle, and desired outcome. With so many options available, the decision can be overwhelming, but two of the most commonly used methods are V Tip Hair Extensions and Tape-in Extensions. Both are effective, but they differ in their application, durability, comfort, and maintenance.
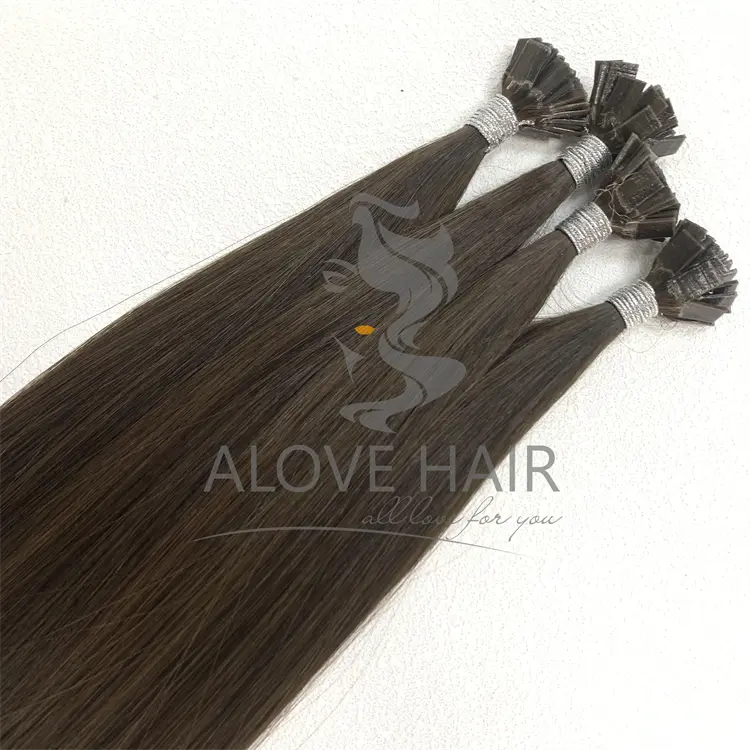
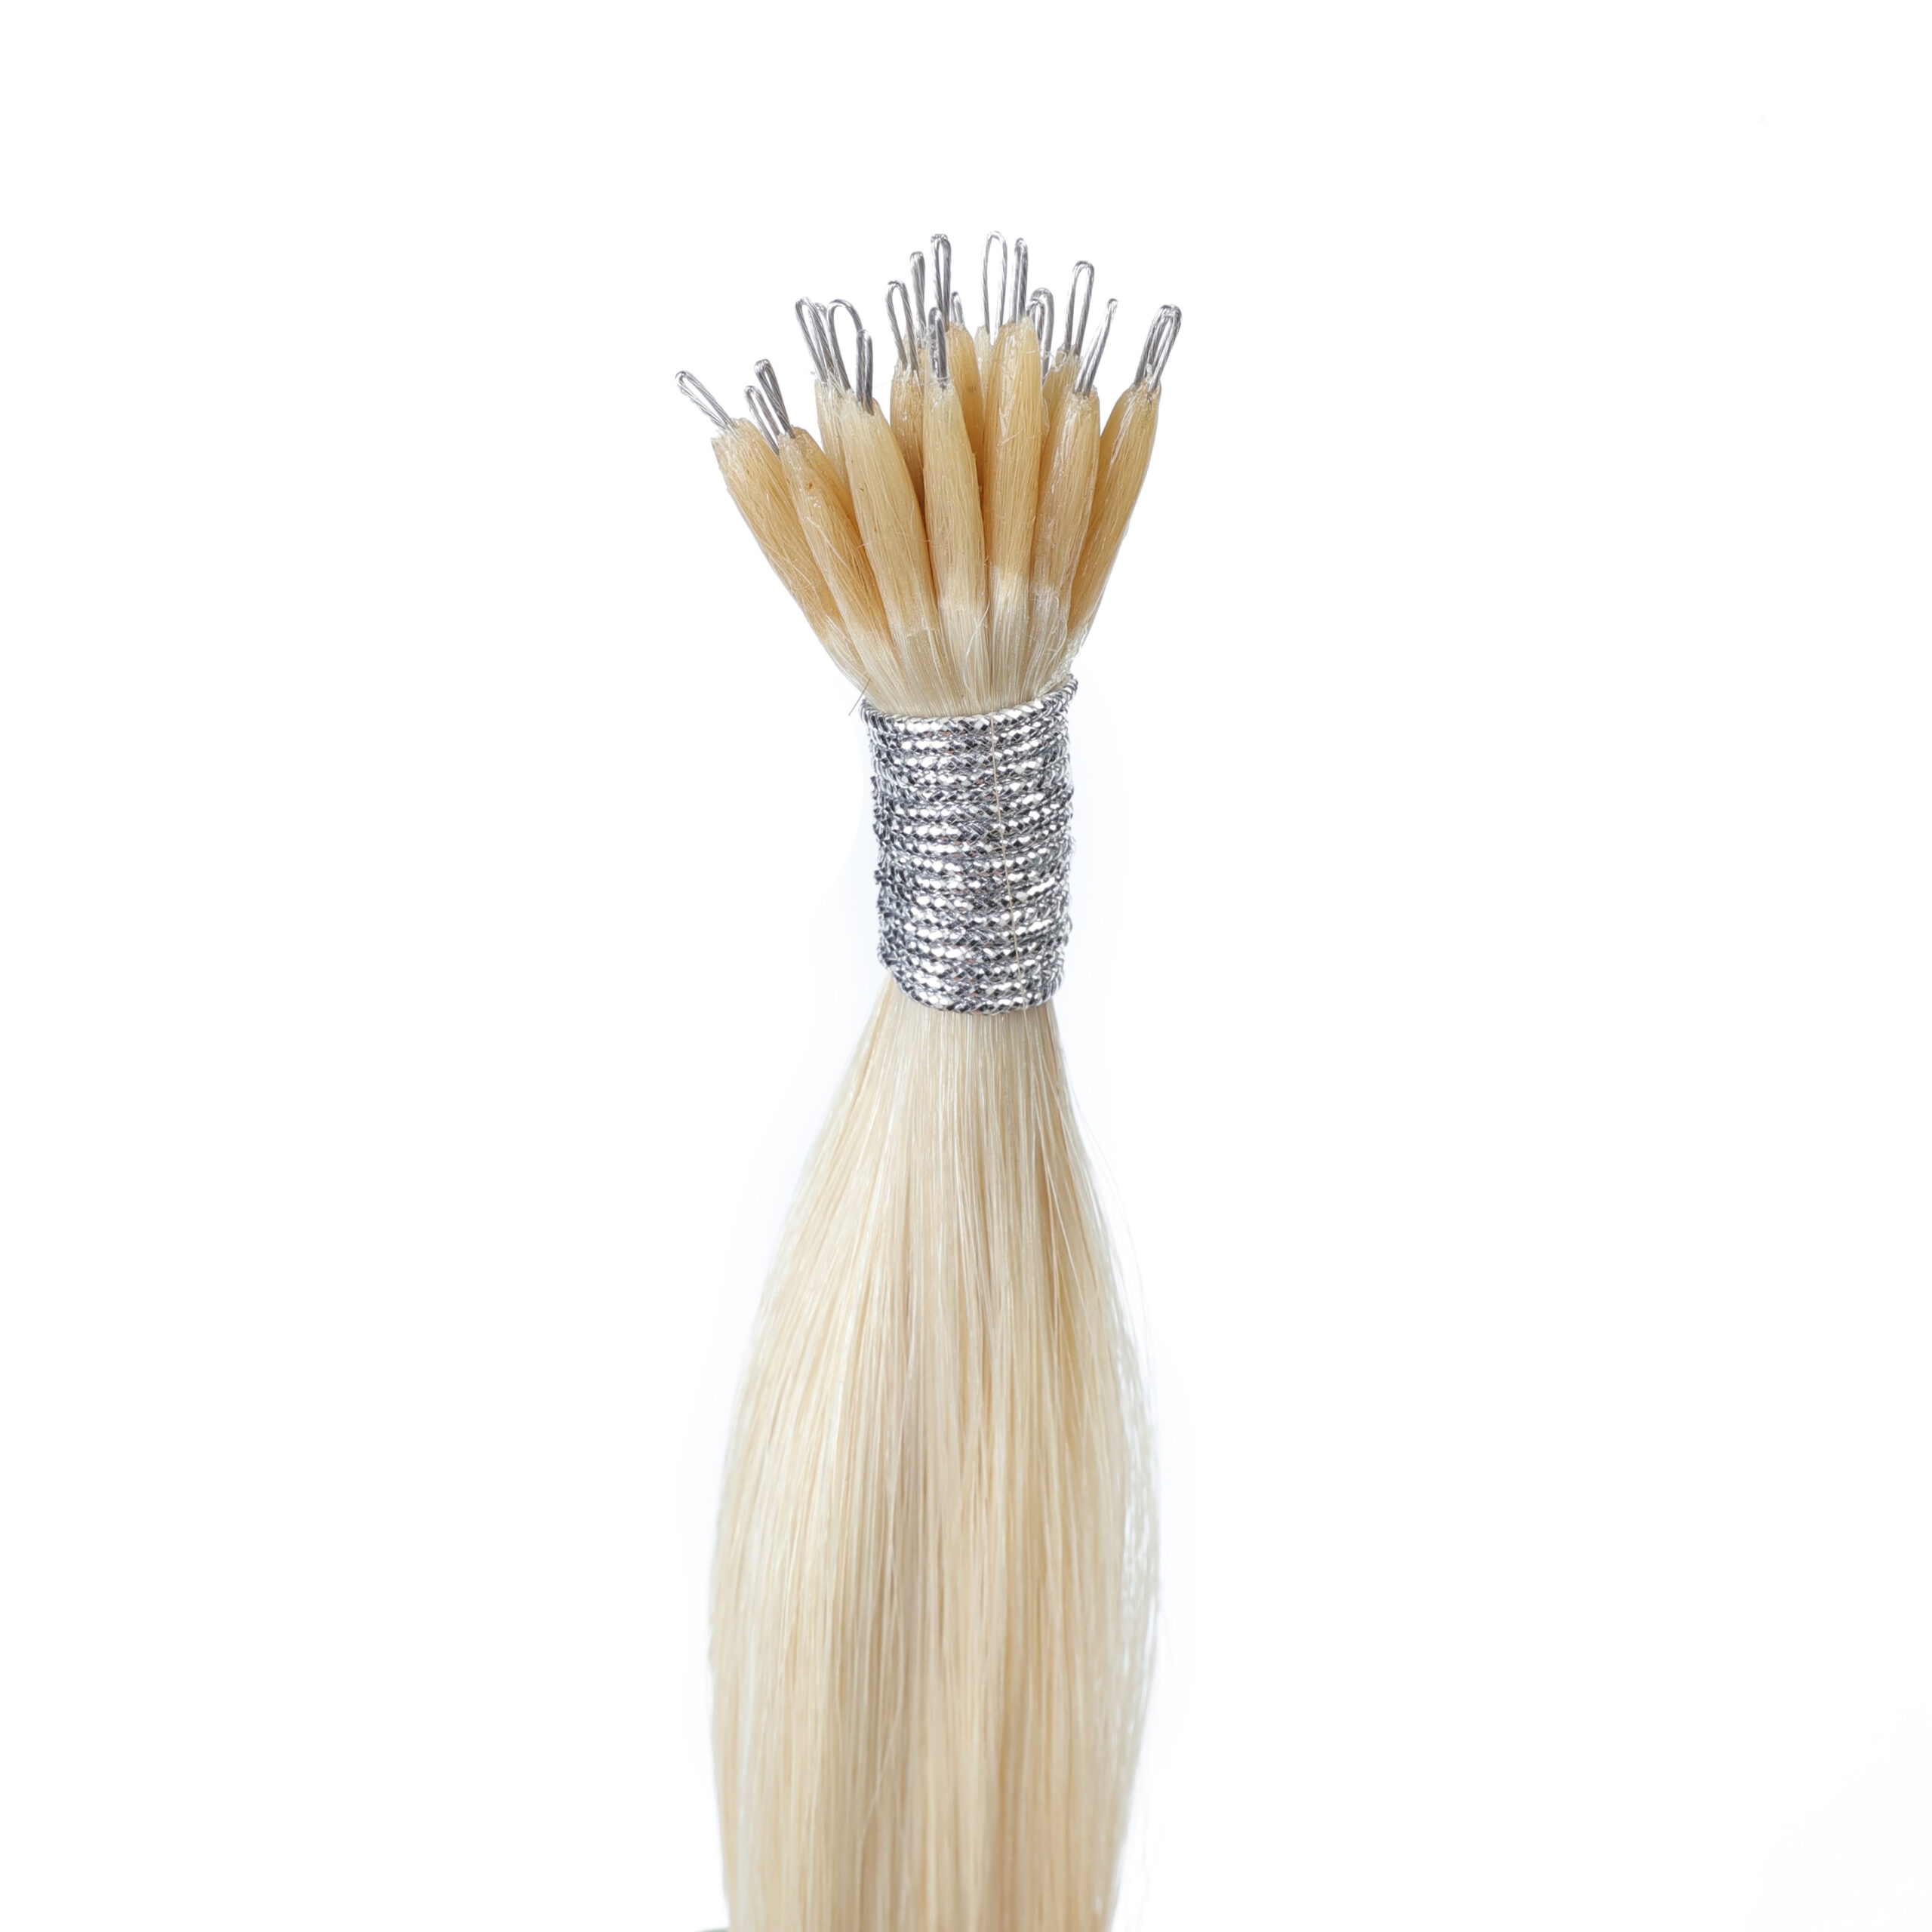
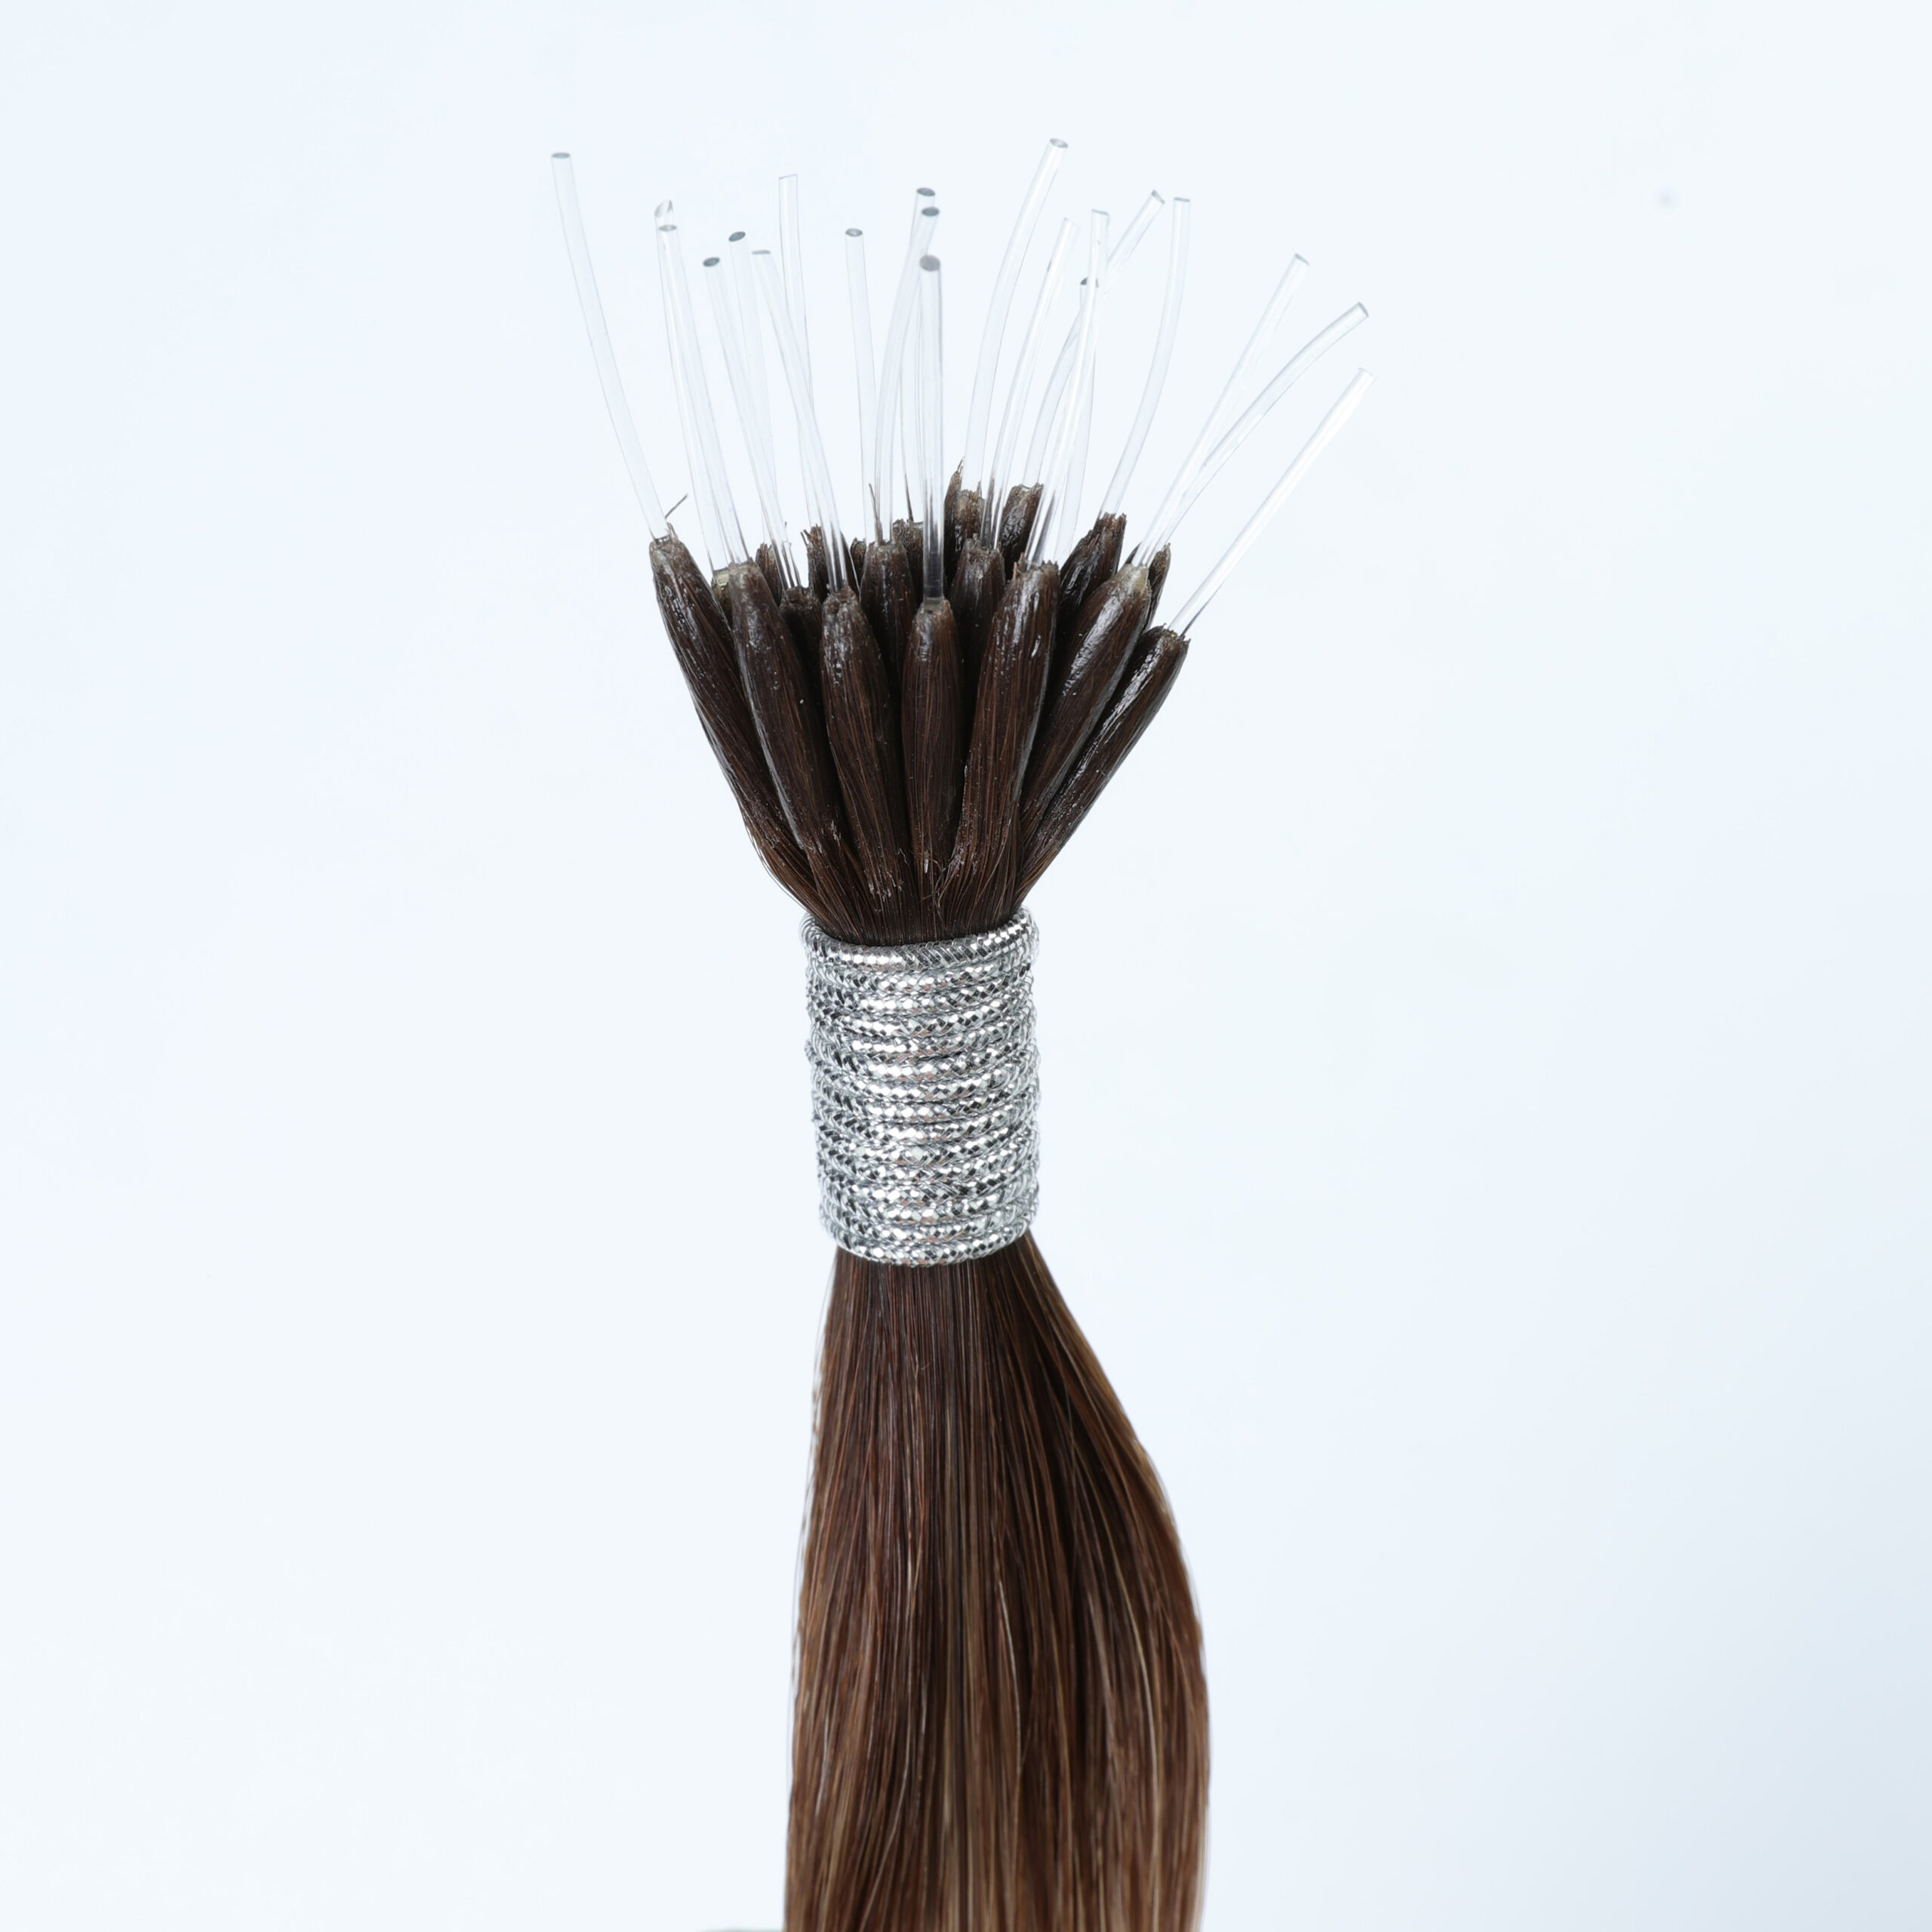
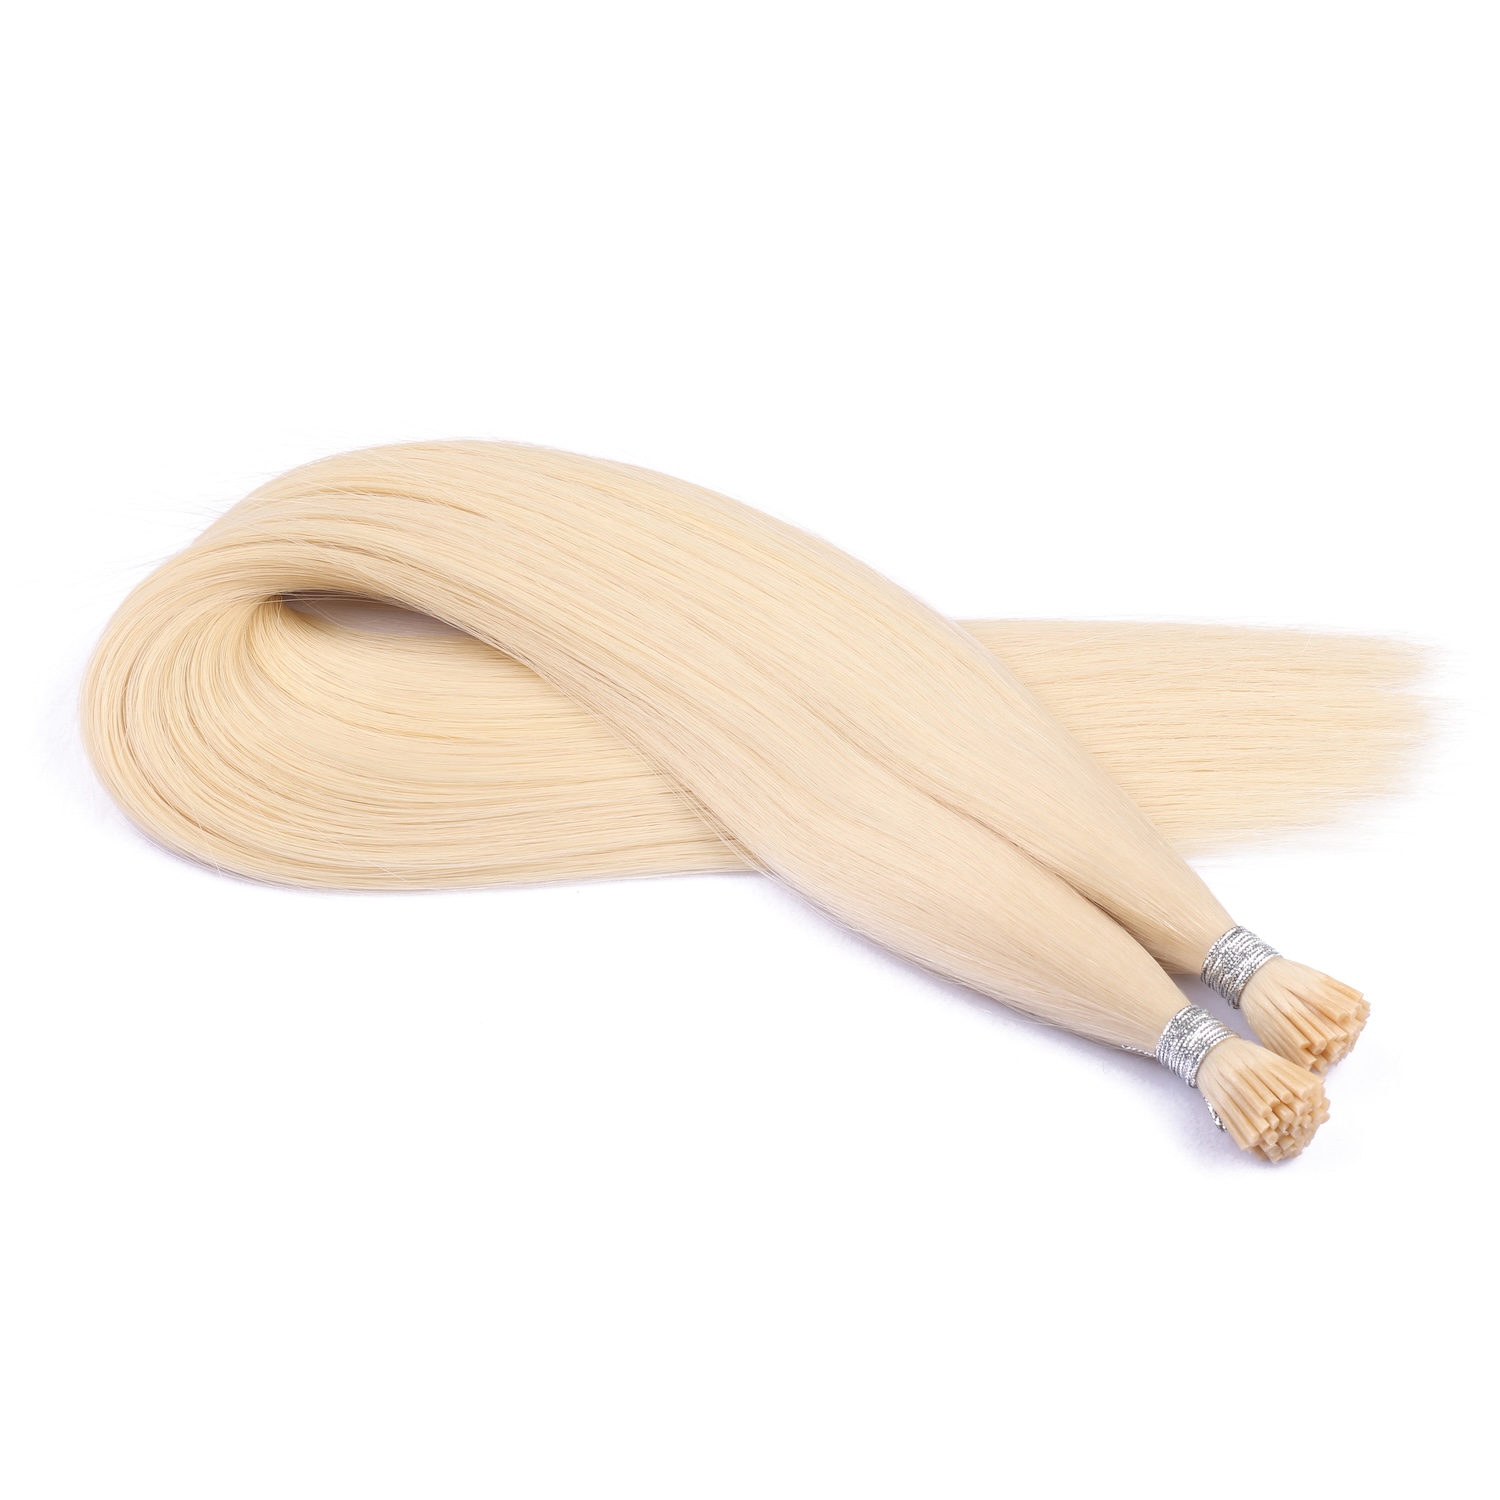
V Tip Hair Extensions use a keratin bond at the tip of the hair strands, which is fused to natural hair with heat. These extensions provide a more seamless look and feel, allowing for greater flexibility in styling. They’re ideal for those looking for a long-term solution, as they can last for several months with proper care.
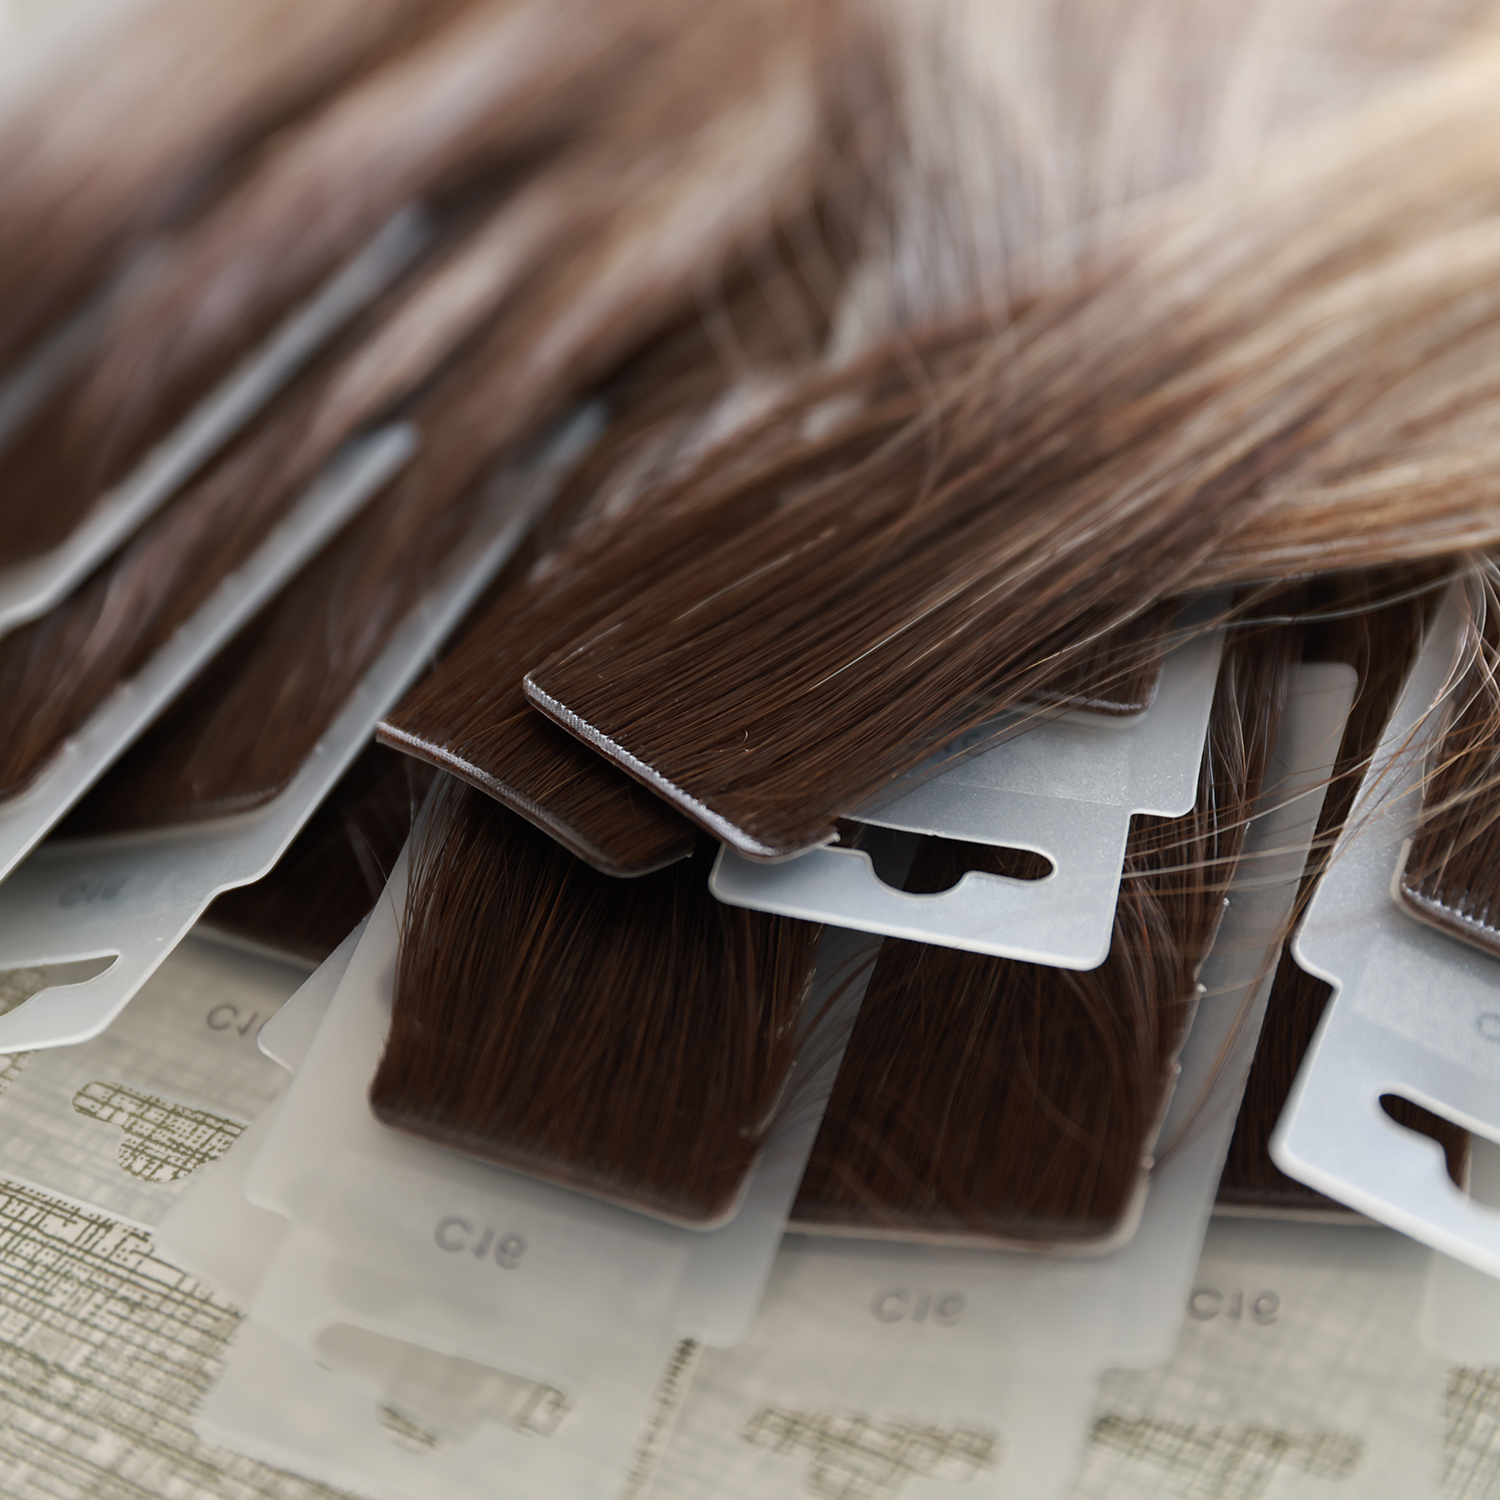
On the other hand, Tape-in Extensions use a different approach: strips of adhesive are placed between sections of natural hair. These extensions are known for their relatively quick application time and lighter feel. Tape-ins are a great choice for those seeking a less permanent and more budget-friendly option.
In this article, we will explore the differences between V Tip Hair Extensions and Tape-in Extensions, comparing their application processes, longevity, comfort, and costs to help you make the best decision for your hair transformation. Whether you want a natural, long-lasting solution or a lighter, temporary option, we’ve got you covered.
What Are V Tip Hair Extensions?
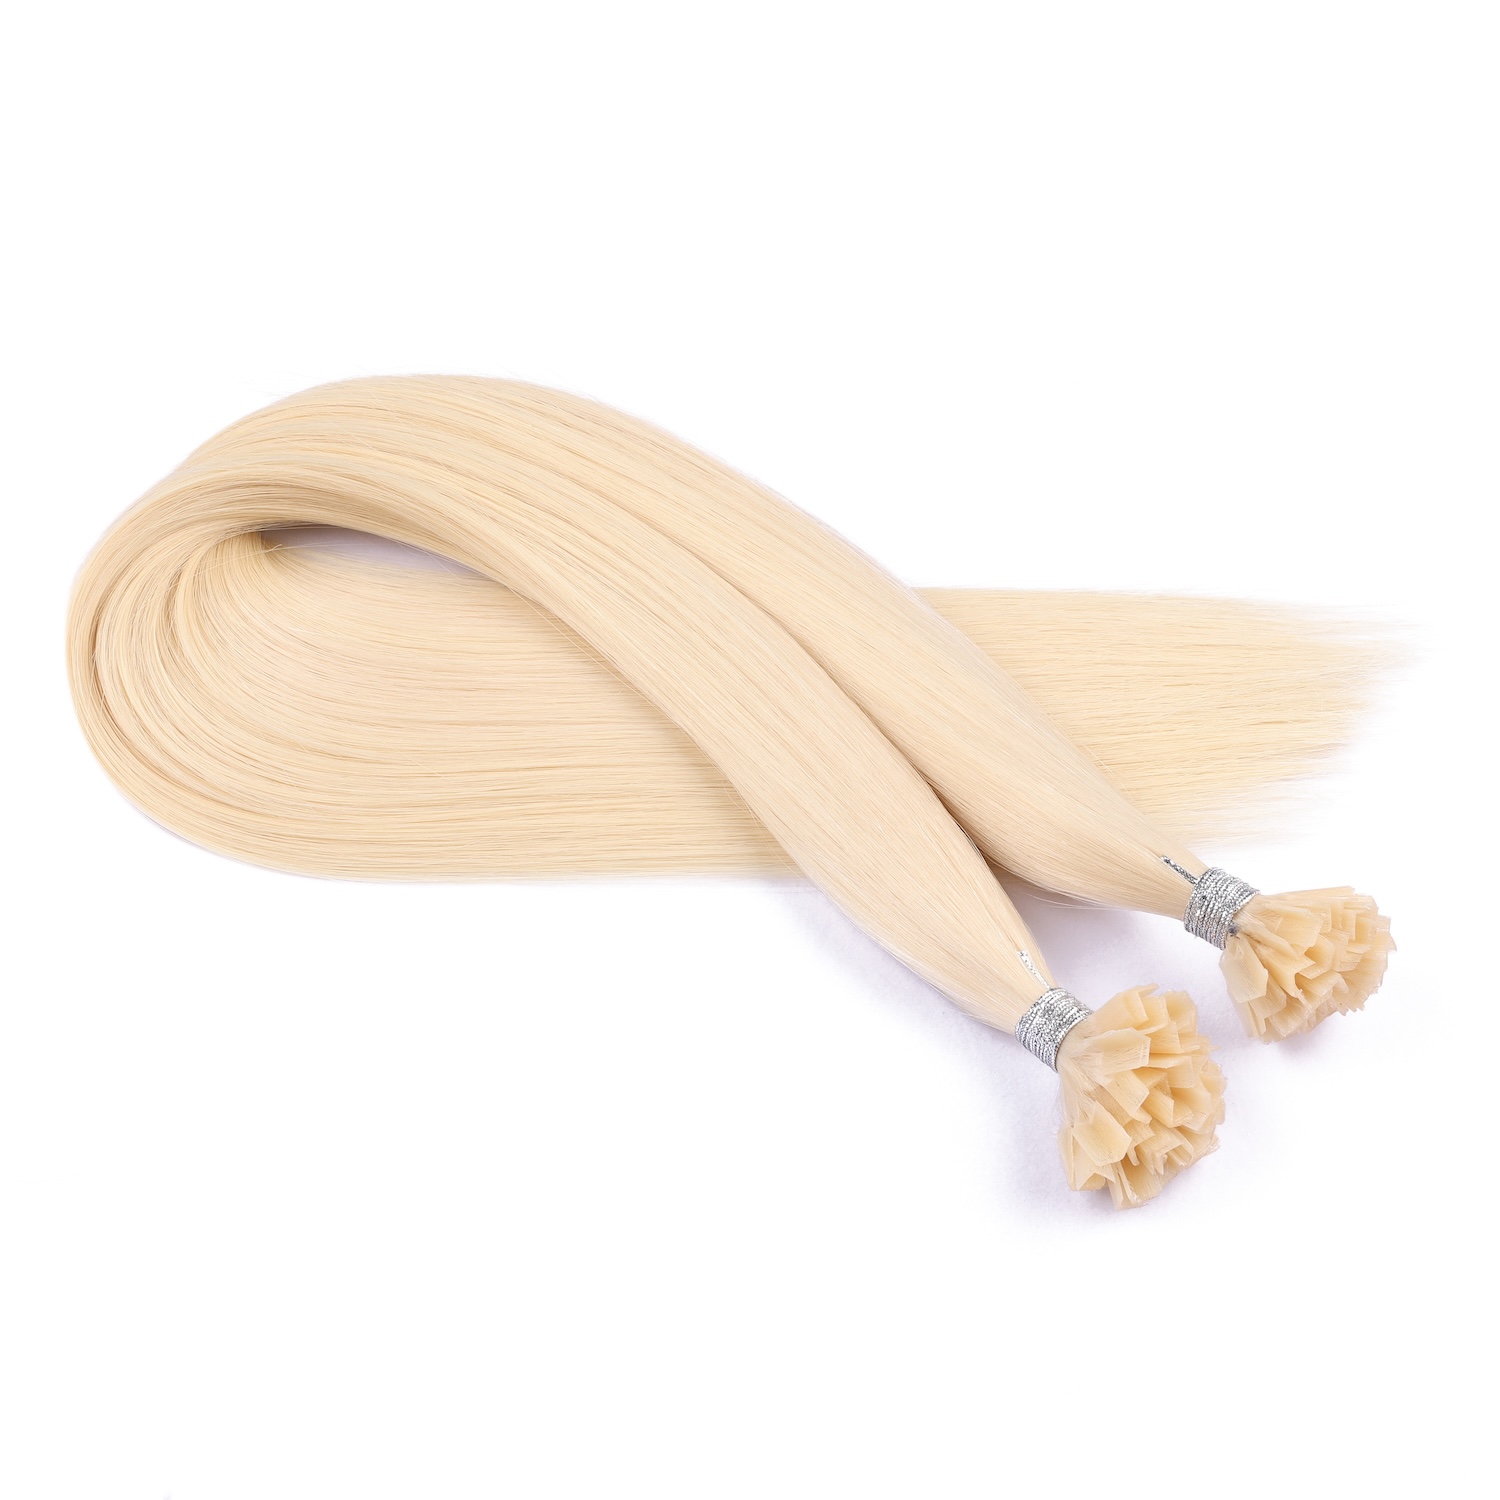
V Tip Hair Extensions are a popular method of hair extensions that use a keratin bond at the end of each strand to attach the extensions to natural hair. These extensions are named for their unique V-shaped tips, which are designed to make the application process smoother and more seamless. V Tip extensions are part of the fusion hair extension family, and they are known for their natural look and long-lasting results. The keratin bond used to attach the extensions is heat-activated, allowing the strands to fuse together securely and blend effortlessly with your natural hair.
V Tip extensions are crafted from 100% human hair, making them ideal for those who want a realistic, natural-looking result. Since the hair is sourced from natural human strands, the extensions can be styled, dyed, and treated like your own hair, offering versatility in terms of customization. This method is highly favored by individuals who desire a long-term solution to enhance their hair’s volume or length.
How V Tip Extensions Are Applied
The application of V Tip Hair Extensions involves a professional stylist who uses a fusion method to attach the extensions. Here’s a breakdown of the process:
Sectioning the Hair: The stylist begins by sectioning your natural hair into small, manageable pieces to ensure a precise application.
Heat Activation: Each V Tip extension has a keratin bond at the end. The stylist uses a heat tool to soften the keratin bond, which allows it to fuse securely with the natural hair. The heat is carefully controlled to avoid damage to both the natural hair and the extensions.
Attachment: The keratin bond is then pressed around a small section of natural hair. Once the bond cools and hardens, the extension is securely attached, creating a seamless blend between the natural hair and the extension.
Blending and Styling: After the application, the stylist will trim, layer, and style the extensions to ensure they blend perfectly with your natural hair. This step is crucial for achieving a uniform, natural look.
While the process requires a professional, the results are often worth the investment due to the long-lasting and natural finish.
Suitable Hair Types for V Tip Extensions
V Tip Hair Extensions are versatile and can be used on a variety of hair types. However, some factors can affect how well the extensions perform and how comfortable they are:
Fine to Medium Hair: V Tip extensions work best on fine to medium hair, as the keratin bond can blend easily without creating too much bulk. If you have fine hair, it’s important to make sure your stylist uses an appropriate amount of extensions to avoid weighing down your natural hair.
Thick Hair: V Tip extensions can also work well for individuals with thick hair, as the bond can support heavier extensions. The key is to use more extension strands to ensure a balanced and seamless look.
Straight to Wavy Hair: These extensions tend to blend best with straight to slightly wavy hair. If you have very curly hair, it may require more careful blending to achieve a natural look, and you may need a stylist with experience in managing textured hair.
Hair Condition: For V Tip extensions to adhere properly, it’s important that your natural hair is healthy and not excessively damaged. Individuals with brittle or very damaged hair might need to address these issues before getting V Tip extensions.
Average Lifespan and Maintenance Required
One of the standout features of V Tip Hair Extensions is their long lifespan, especially when compared to other methods. When applied correctly and maintained properly, these extensions can last between 3 to 6 months. Their durability is largely due to the strong keratin bond, which can withstand daily activities like washing, brushing, and styling.
However, proper maintenance is key to ensuring they last as long as possible:
Regular Maintenance Appointments: Over time, your natural hair will grow, causing the bonds to shift away from the roots. As a result, regular touch-ups every 6 to 8 weeks are recommended to maintain a seamless look.
Gentle Washing: When washing hair with V Tip extensions, it’s important to be gentle. Use sulfate-free shampoos and conditioners to avoid weakening the keratin bond. Avoid applying conditioner directly to the roots where the extensions are attached.
Heat Protection: Since V Tip extensions are made from human hair, they can be styled with heat tools. However, using a heat protectant spray is essential to prevent damage to both the extensions and your natural hair.
Avoiding Tugging: When brushing or styling, be sure to handle the extensions with care. Using a wide-toothed comb or a special brush designed for extensions helps minimize stress on the bonds.
Proper Removal: It’s crucial to have a professional remove the V Tip extensions when their lifespan is over. Attempting to remove them at home can cause damage to your natural hair.
In summary, V Tip Hair Extensions provide a durable, natural-looking solution for adding volume and length to your hair. While the application process requires professional assistance, the long lifespan and low-maintenance care make them a worthwhile investment for many individuals seeking a high-quality extension method.
What Are Tape-in Hair Extensions?
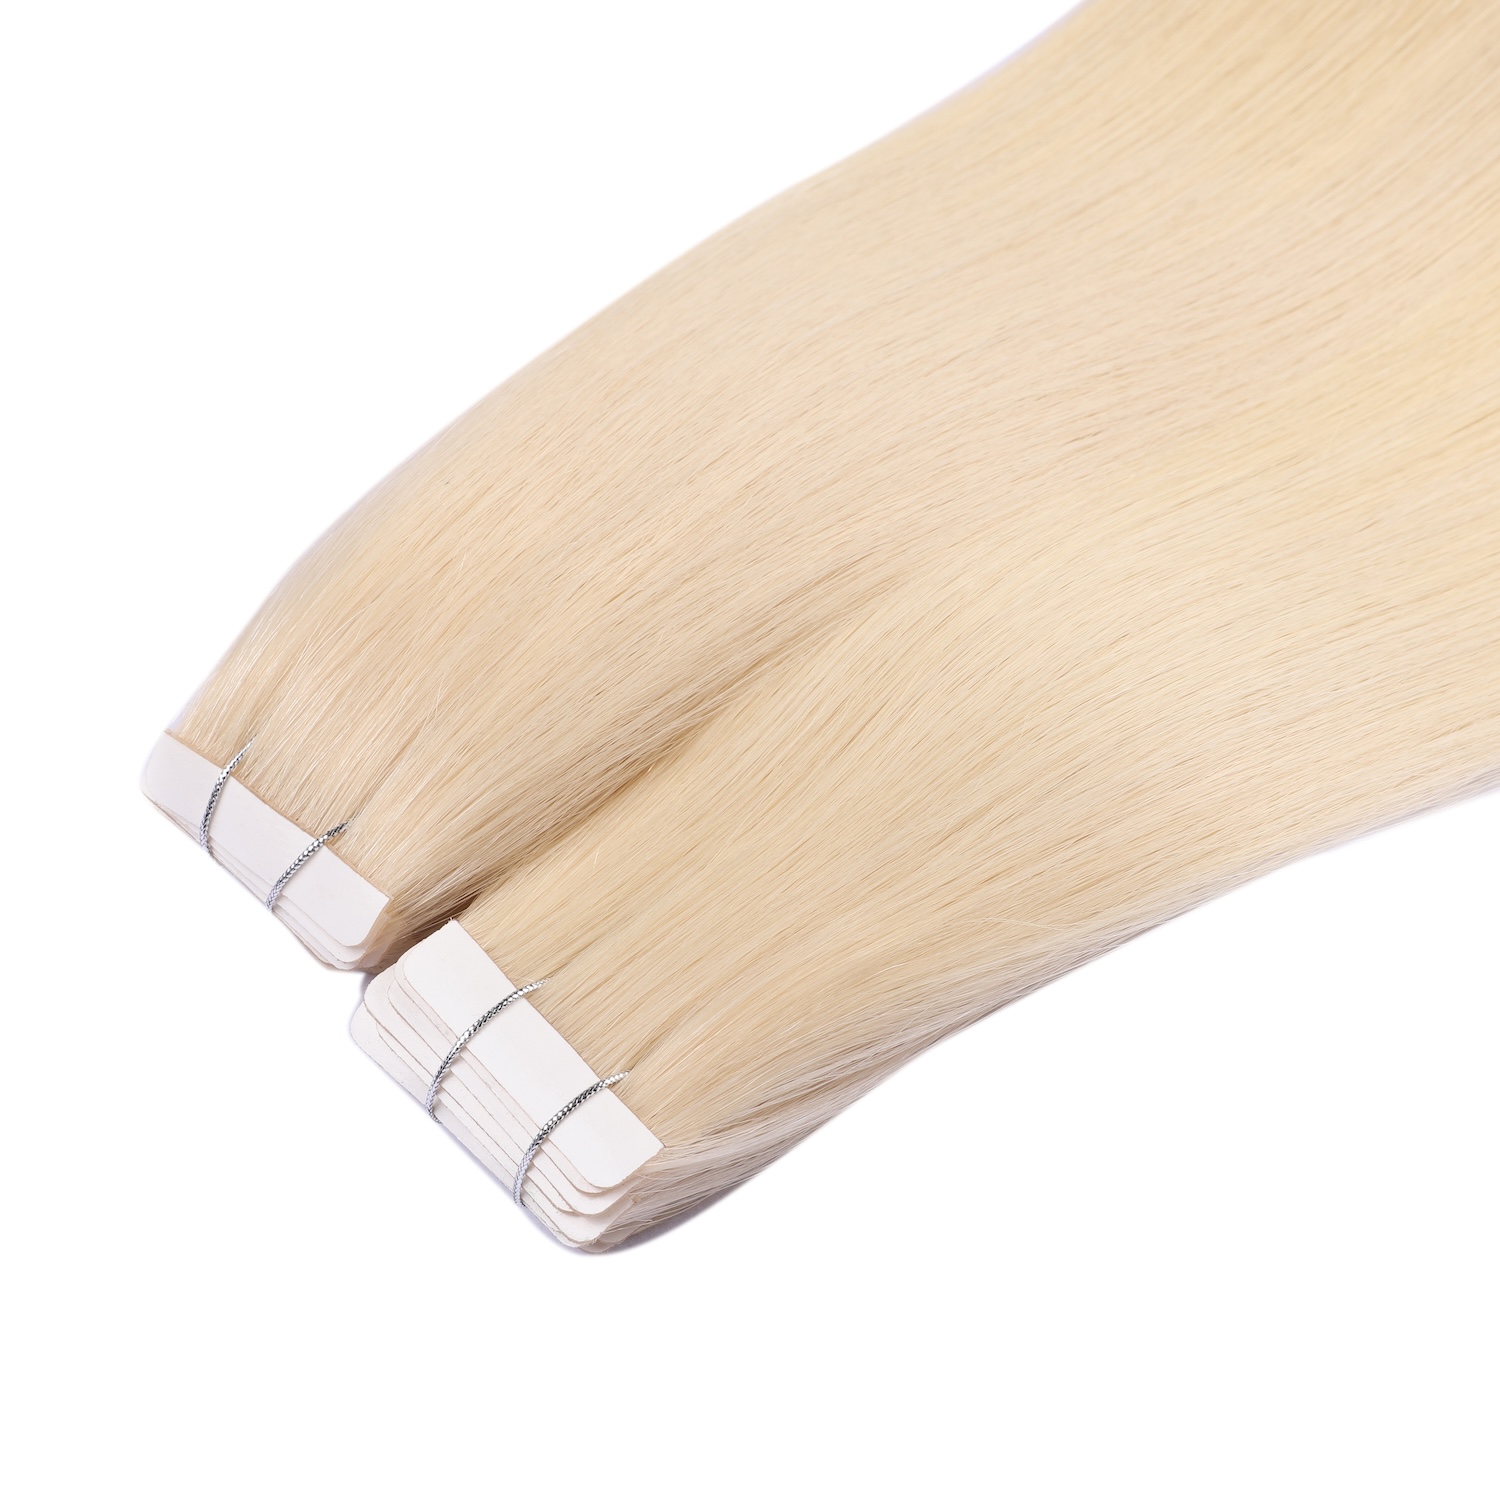
Tape-in Hair Extensions are a popular, semi-permanent method of adding length, volume, or color to your natural hair. They are widely favored for their quick application and lightweight feel. As the name suggests, tape-in extensions use a unique adhesive tape to attach small sections of extension hair to natural hair. Unlike other hair extension methods that require heat or fusion, tape-ins are applied using a gentle adhesive that bonds the extensions to the natural hair, making them a less invasive option for individuals looking for a non-permanent, yet long-lasting solution to enhance their hairstyle.
Tape-in extensions are typically made from high-quality, 100% human hair, which allows them to be styled and treated just like your own hair. These extensions offer a natural look because they lay flat against the scalp, creating a seamless blend between the extension hair and your natural hair. Due to their relatively discreet appearance and ease of application, tape-in extensions have become a popular choice for individuals seeking a low-maintenance way to achieve fuller, longer hair.
How Tape-in Extensions Are Applied
The process of applying Tape-in Hair Extensions is relatively quick and easy compared to other methods, such as V Tip extensions or microbead extensions. Here’s an overview of how the application works:
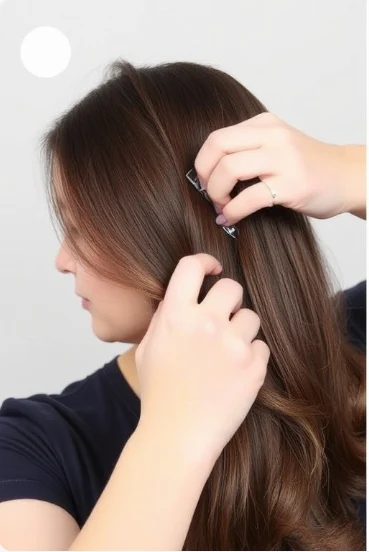
Sectioning the Hair: The stylist starts by sectioning your natural hair into small, manageable pieces. This allows for precise placement of the tape-in extensions and ensures a uniform result.
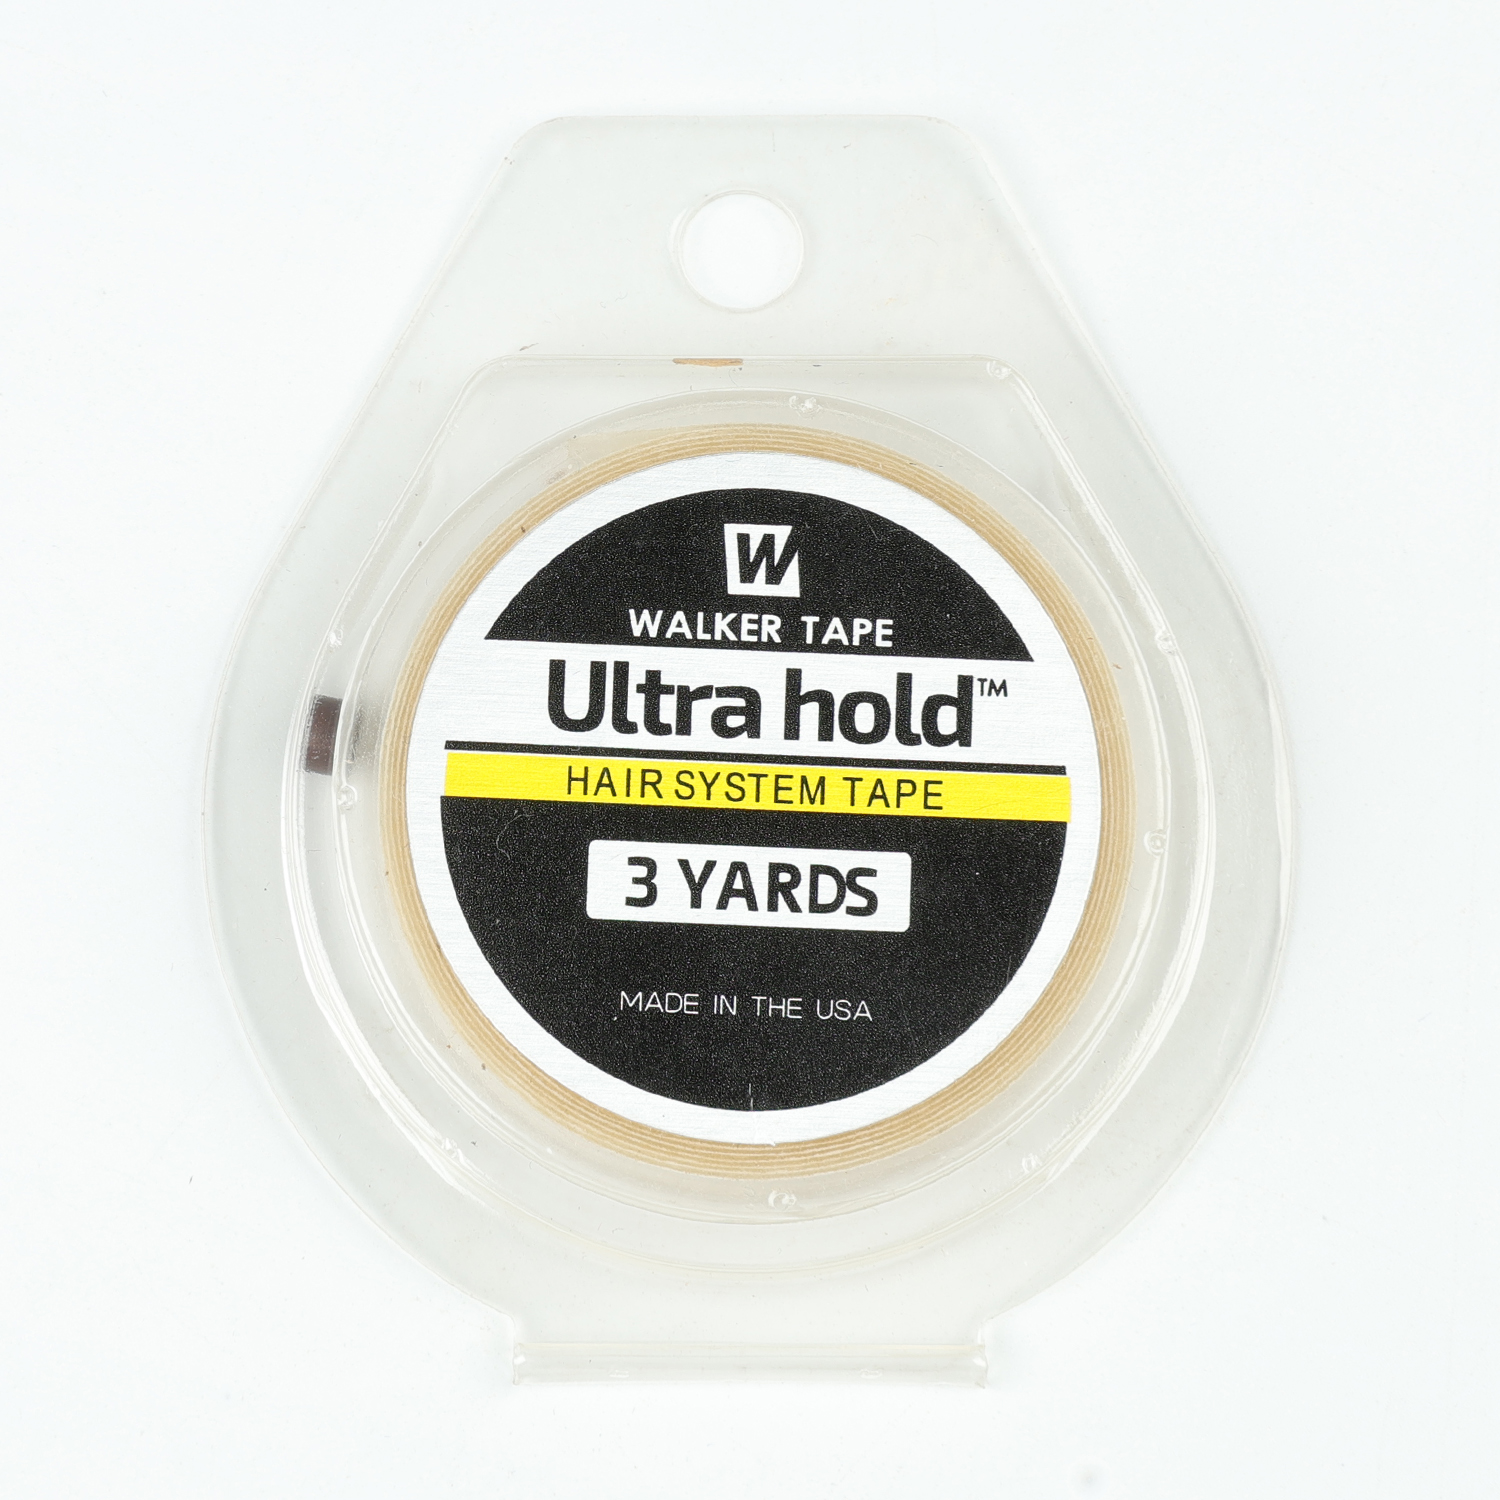
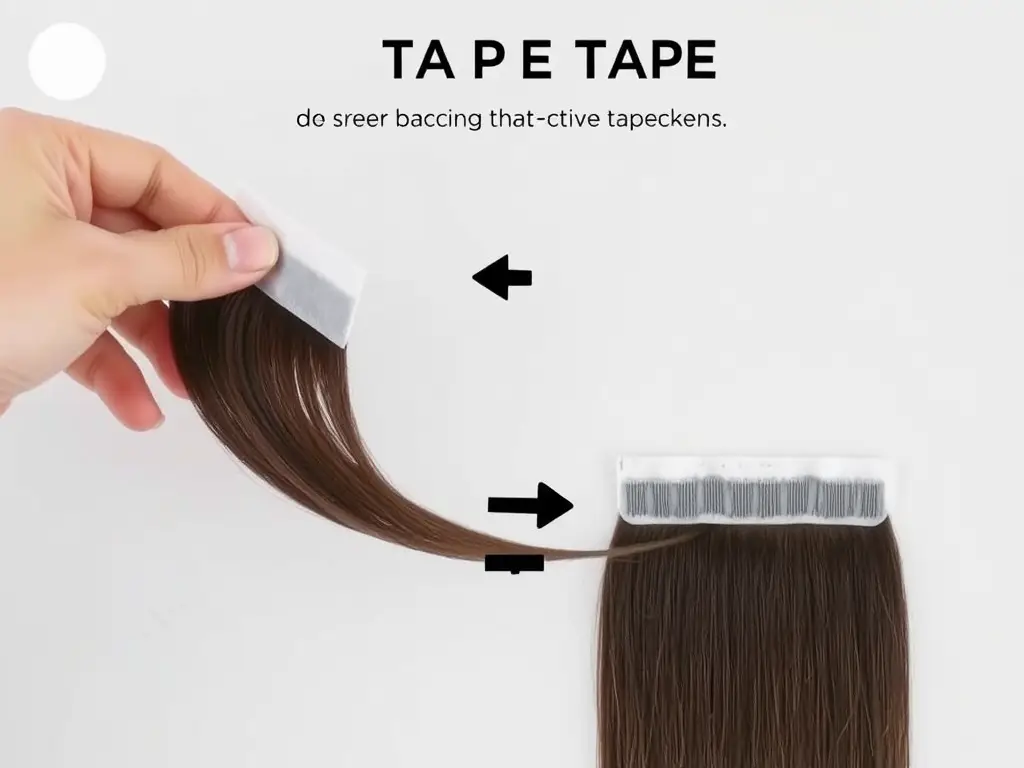
Application of Adhesive Tape: Each tape-in extension has a layer of adhesive on both sides. The stylist will place a thin section of natural hair between two strips of extension hair. The adhesive side of the extension will bond with your natural hair, securing the extension in place.
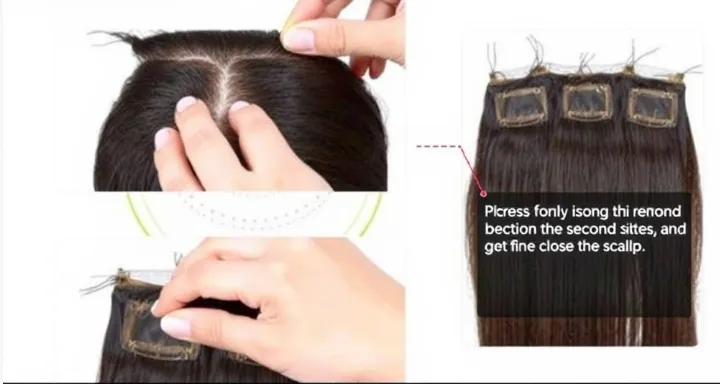
Pressing and Sealing: Once the tape is in place, the stylist will press down on the extension to ensure a strong bond. Some stylists use a special tool to seal the tape more firmly, ensuring that it stays in place even with regular movement and styling.
Blending and Cutting: After the extensions are applied, the stylist will blend them into your natural hair. This may involve trimming the extensions to match your hair length and texture, ensuring that the extensions look as natural as possible.
The application process for tape-in extensions is quick—typically taking about 1 to 2 hours, depending on the number of extensions being applied. The extensions can be removed and re-applied easily, making them a popular choice for those who like to change up their look periodically.
Suitable Hair Types for Tape-in Extensions
Tape-in extensions are suitable for a wide range of hair types and textures, but they tend to work best for individuals with fine to medium hair. Here’s a breakdown of the ideal hair types for tape-ins:
Fine to Medium Hair: Tape-in extensions are ideal for individuals with fine or medium-density hair, as the adhesive strips can bond seamlessly without adding too much bulk. The thin strips of tape provide a flat, natural look that blends well with fine hair, offering volume and length without overwhelming the hair.
Thick Hair: Tape-in extensions can also work for individuals with thick hair. However, more extension strips may be required to create a full, blended look. Thick hair may require some extra care to ensure the tapes stay secure, as heavier hair may put more strain on the adhesive.
Straight to Wavy Hair: Tape-in extensions generally work best with straight to slightly wavy hair. They blend well with these textures, creating a smooth and seamless transition. For individuals with very curly hair, additional blending and possibly a different method may be necessary for a natural look.
Healthy Hair: For tape-in extensions to bond properly, your natural hair should be in healthy condition. Extremely damaged or overly oily hair may cause the adhesive to lose its grip. It’s important to ensure your natural hair is clean and free from excess product buildup before applying tape-ins.
Average Lifespan and Maintenance Required
One of the reasons Tape-in Hair Extensions are so popular is their moderate lifespan and relatively low maintenance compared to other methods. On average, tape-in extensions last around 6 to 8 weeks before they need to be moved up or replaced. The lifespan of tape-in extensions depends largely on how well they are cared for and the rate of natural hair growth.
Here’s a breakdown of the average lifespan and maintenance required for tape-in extensions:
Regular Maintenance Appointments: Since your natural hair grows and the adhesive weakens over time, it’s important to schedule maintenance appointments every 6 to 8 weeks to reposition the extensions. During these appointments, the extensions are carefully removed, re-taped, and applied closer to the roots to ensure a seamless look.
Gentle Washing and Care: To prolong the lifespan of your tape-in extensions, it’s important to wash your hair gently. Avoid applying conditioner directly to the roots where the tape is located, as this can weaken the adhesive. Use sulfate-free shampoos to prevent drying out the adhesive.
Avoid Excessive Heat: While tape-in extensions can be styled with heat tools, it’s important to use a heat protectant to prevent damage. Excessive heat can cause the adhesive to weaken or cause the hair to become dry and brittle.
Combing and Brushing: When brushing or combing, always use a wide-tooth comb or a brush designed specifically for hair extensions. Start from the tips and work your way up to avoid pulling or tugging at the adhesive.
Professional Removal: When the tape-in extensions reach the end of their lifespan, it’s essential to have a professional stylist remove them. Improper removal can damage your natural hair and cause breakage.
In conclusion, Tape-in Hair Extensions offer a semi-permanent solution for individuals seeking a quick, natural-looking hair transformation. While they are easy to apply and provide great flexibility in styling, maintaining them properly is key to ensuring they last for the full 6 to 8 weeks. With proper care, tape-in extensions can provide an effortless way to add length, volume, or even color to your hair without the commitment of permanent changes.
Application Process: V Tip vs. Tape-in
The application process is one of the most important factors when choosing between V Tip Hair Extensions and Tape-in Hair Extensions. Both methods offer unique benefits and cater to different preferences, so understanding the steps involved and the overall ease of application is crucial in making an informed decision.
V Tip Hair Extensions
Step-by-Step Application Process:
Sectioning the Hair: The stylist will begin by sectioning your natural hair into small, manageable layers. This step ensures the extensions are applied precisely and evenly throughout your hair, resulting in a seamless blend.
Preparing the V Tip Extensions: V Tip extensions come with keratin tips that need to be softened with heat before being attached to your natural hair. A special heating tool, usually a fusion iron, is used to warm the keratin bond.
Applying the Extension: The softened keratin tip is then wrapped around a small section of your natural hair. The stylist will press the bond to ensure the keratin fuses to your hair. This process requires care to ensure the bond is properly sealed, which will result in a longer-lasting extension.
Allowing the Bond to Cool: Once the bond is pressed and applied, the keratin hardens and cools down, securing the extension in place.
Blending and Trimming: After the extensions are applied, the stylist will trim and blend the extensions with your natural hair to create a uniform look. This ensures that the extensions seamlessly integrate with your natural hair.
Duration of Application:
The application process for V Tip Hair Extensions is more time-consuming compared to some other methods. Typically, it can take anywhere from 2 to 4 hours to apply a full set of extensions, depending on the number of extensions being used and the thickness of your hair. The stylist needs to carefully apply each extension one by one, making sure the bonds are properly fused and blended.
Professional vs. DIY Application:
Professional Application: Because the application process involves using heat tools and working with keratin bonds, V Tip Hair Extensions should be applied by a trained professional. An experienced stylist will know how to use the fusion tool safely and ensure the bonds are secure. Attempting a DIY application could result in improperly placed extensions, uneven blending, or even damage to your natural hair.
DIY Application: While DIY kits for V Tip extensions are available, it’s generally not recommended. The fusion technique requires precision and expertise to ensure the bonds are applied correctly without causing damage. Even if you’re confident in your ability to follow instructions, the risk of improper application or damage is high.
Tape-in Hair Extensions
Step-by-Step Application Process:
Sectioning the Hair: Similar to V Tip extensions, the stylist will begin by sectioning your hair into small layers. This allows for precise placement of the tape extensions and ensures a seamless application.
Placing the Tape-In Extensions: Tape-in extensions come with a pre-applied adhesive strip. The stylist will carefully place the extensions on either side of a small section of your natural hair. The adhesive strips are pressed onto the hair and then sealed in place.
Pressing the Tape-In Extensions: To ensure a secure bond, the stylist will press down firmly on the adhesive. In some cases, a special tool may be used to press and secure the tape more effectively, ensuring it stays in place even with regular styling.
Blending and Cutting: After the tape-in extensions are applied, the stylist will blend them with your natural hair by trimming and styling as needed. This ensures the extensions integrate seamlessly into your hair, giving you a natural look.
Styling: Once the extensions are applied and blended, you can style them just like your natural hair, whether you want to curl, straighten, or leave it as is. The application process is designed to allow for a lot of versatility.
Duration of Application:
Tape-in extensions are much quicker to apply than V Tip extensions. The entire process typically takes about 1 to 2 hours to complete, depending on the number of extensions being applied and the thickness of your hair. This makes tape-ins a faster option, especially if you’re looking for a quick transformation.
Professional vs. DIY Application:
Professional Application: While the application of tape-in extensions is simpler than V Tip extensions, it’s still recommended to have them applied by a professional. A stylist will ensure the extensions are applied correctly, the adhesive is properly secured, and the extensions blend naturally with your hair. The advantage of professional application is that the stylist has the skill to ensure a smooth, flawless result.
DIY Application: Unlike V Tip extensions, Tape-in extensions can be applied at home with a DIY kit, making them a more budget-friendly option for those who prefer a more hands-on approach. The application process is relatively simple, involving the placement of the adhesive strips and pressing them into place. However, if done incorrectly, it can result in the extensions not adhering properly, causing discomfort or an unnatural appearance. For best results, some people prefer to visit a stylist for the application.
Comparison of Ease, Time, and Comfort
Ease of Application:
V Tip Hair Extensions: The application of V Tip extensions is more complex and requires professional training. The fusion method involves the use of heat tools to apply keratin bonds, which requires precision. This makes the process more challenging for DIY applications.
Tape-in Hair Extensions: Tape-in extensions are easier to apply compared to V Tip extensions, especially for those who choose the DIY route. The adhesive strips simplify the process, and the application time is significantly shorter. However, for the best results, professional application is still recommended.
Time of Application:
V Tip Hair Extensions: The application of V Tip extensions can take 2 to 4 hours, depending on the number of extensions and hair thickness.
Tape-in Hair Extensions: Tape-in extensions are much quicker to apply, with an average application time of 1 to 2 hours.
Comfort:
V Tip Hair Extensions: The keratin bonds used in V Tip extensions are small, but they can feel heavier and may cause some discomfort, especially during the first few days after application as your scalp adjusts to the added weight. Over time, the extensions should feel natural, but the application process requires more meticulous attention to avoid discomfort.
Tape-in Hair Extensions: Tape-in extensions are generally lighter and feel more comfortable compared to V Tip extensions. The flat adhesive strips lie close to the scalp, reducing any bulk or weight that may cause discomfort. However, if the tape is not properly applied, it may cause slight irritation or discomfort, especially at the roots.
Both V Tip Hair Extensions and Tape-in Hair Extensions offer distinct benefits, and the choice between them depends largely on your preferences for application time, ease, and comfort. V Tip extensions provide a more natural, long-lasting result, but they require a more complex application process and professional expertise. Tape-in extensions, on the other hand, are faster, easier to apply, and more suited for DIY enthusiasts, although professional application can ensure a better outcome.
If you have limited time or prefer a less-invasive option, Tape-in extensions are the way to go. However, if you’re looking for a more durable, seamless solution and don’t mind spending extra time and money, V Tip extensions are an excellent choice.
Durability and Longevity: V Tip vs. Tape-in Hair Extensions
When choosing between V Tip Hair Extensions and Tape-in Hair Extensions, the longevity and durability of each method are key factors to consider. Both extension types have their unique lifespan, maintenance requirements, and potential issues. Understanding these differences can help you determine which method will best suit your needs and lifestyle.
V Tip Hair Extensions
How Long They Last with Proper Care:
V Tip Hair Extensions are known for their longevity, often lasting anywhere from 3 to 6 months with proper care. This long lifespan is mainly due to the keratin bonding method used to secure the extensions to your natural hair. When applied professionally and cared for correctly, V Tip extensions can withstand daily styling, washing, and the normal wear and tear of daily life. However, the lifespan of V Tip extensions can vary depending on how well they are maintained and the rate at which your natural hair grows.
The extensions remain securely attached for months because the keratin bond, once cooled and hardened, creates a strong hold that can endure daily activities, including brushing, washing, and even using heat tools. To extend the life of V Tip extensions, it’s important to follow a good maintenance routine and schedule regular appointments for adjustments.
Potential Issues (e.g., Damage to Natural Hair):
While V Tip extensions are durable, there are potential issues to be aware of:
Damage to Natural Hair: If the extensions are not applied or removed properly, they can cause damage to your natural hair. Over time, the added weight of the extensions can put strain on your hair, leading to breakage or thinning. Additionally, if the keratin bond isn’t applied correctly or the fusion tool is too hot, it may cause damage to the natural hair at the point of attachment.
Bond Wear and Tear: As your natural hair grows, the bonds may shift or loosen, leading to noticeable gaps or discomfort. This necessitates professional adjustments every few months to ensure the extensions stay secure and natural-looking.
Difficulty of Removal: The removal process for V Tip extensions is also a potential issue. The keratin bonds require a special removal solution and a professional to avoid causing damage to the natural hair. Improper removal can lead to tangling or breakage.
With proper application and regular maintenance, however, these issues can be minimized.
Tape-in Hair Extensions
How Long They Last with Proper Care:
Tape-in Hair Extensions typically last between 6 to 8 weeks with proper care, making them a slightly more temporary option than V Tip extensions. The longevity of tape-ins is affected by factors like the natural growth of your hair, the adhesive’s durability, and the care regimen followed.
Since tape-in extensions are applied using an adhesive strip, they can remain secure for several weeks before the tape begins to weaken, especially with frequent washing and styling. Regular maintenance and reapplication are required every 6 to 8 weeks to ensure the extensions stay secure and continue to blend seamlessly with your natural hair. This reapplication process involves removing the extensions, cleaning the adhesive, and reapplying them closer to the roots.
Potential Issues (e.g., Wear and Tear of Adhesive):
Despite being a popular choice for ease and comfort, Tape-in extensions come with a few potential issues:
Adhesive Wear and Tear: The adhesive used in tape-in extensions can wear down over time due to frequent washing, heat styling, and exposure to products like hairspray or conditioners. As the adhesive weakens, the extensions may start to slide or feel loose. If this happens, they will need to be re-taped or replaced. In some cases, if the adhesive is exposed to too much moisture or heat, it can lose its grip more quickly.
Risk of Scalp Irritation: Some people may experience mild irritation or discomfort due to the adhesive, especially if it comes into contact with the scalp. This can happen if the extensions are too tightly applied or if the adhesive is not applied properly.
Shorter Lifespan: Compared to V Tip extensions, tape-ins generally have a shorter lifespan. This is due to the nature of the adhesive used and the fact that they are re-applied more frequently. While the extensions themselves may last longer with proper care, the adhesive’s wear-and-tear means the extensions will need to be replaced more often.
Hair Growth and Reapplication: As your natural hair grows, the extensions may start to look less natural, especially at the roots. Regular reapplication appointments are necessary to maintain the look, which can add to the overall cost and effort of using tape-in extensions.
Side-by-Side Comparison of Durability and Maintenance
| Feature |
V Tip Hair Extensions |
Tape-in Hair Extensions |
| Average Lifespan |
3 to 6 months |
6 to 8 weeks |
| Maintenance Frequency |
Requires reapplication every 3 to 6 months. |
Requires reapplication every 6 to 8 weeks. |
| Durability |
Very durable with proper care, can withstand regular styling. |
Durable for a shorter period, dependent on adhesive strength. |
| Risk of Natural Hair Damage |
Possible damage due to weight, improper application/removal. |
Less damage risk, but can cause scalp irritation or product buildup. |
| Reapplication Process |
Keratin bond needs to be professionally removed and replaced. |
Tape is removed, cleaned, and reapplied professionally. |
| Comfort |
Can feel heavier, especially in the beginning. |
Generally lighter and more comfortable, no bulk or pressure. |
| Adhesive Issues |
No adhesive, bond can loosen with time. |
Adhesive can wear down, causing the extensions to loosen. |
| Time Between Reapplications |
Longer between reapplications (3-6 months). |
Shorter reapplication intervals (every 6-8 weeks). |
| Cost |
Typically more expensive due to longer-lasting results. |
Lower initial cost but requires more frequent reapplication. |
Durability and Longevity: Which is Better?
V Tip Extensions are more durable in the long run, offering a lifespan of several months before needing reapplication. If you’re looking for an option that will last longer and require fewer touch-ups, V Tip extensions are a great choice. They are ideal for those who want a more long-term solution with minimal reapplication. However, they may require more careful attention to avoid damage to your natural hair due to the weight of the extensions.
Tape-in Extensions, while offering a more budget-friendly and easier-to-apply option, require more frequent maintenance and replacement due to the adhesive wear. They are better suited for those looking for a temporary or semi-permanent solution. Tape-ins are perfect for individuals who want flexibility and easy removal or reapplication but may not want to commit to the longer duration that V Tip extensions offer.
Both V Tip Hair Extensions and Tape-in Hair Extensions offer durable and long-lasting results when properly maintained. V Tip extensions last longer overall, but they require more careful maintenance to avoid damaging natural hair. On the other hand, Tape-in extensions are quicker to apply, lighter in feel, and more affordable but need more frequent maintenance and reapplication.
Ultimately, the choice between V Tip and Tape-in extensions depends on your specific needs, lifestyle, and how much time you’re willing to invest in maintaining your hair extensions. If you prefer a more long-term, low-maintenance option, V Tip extensions may be the way to go. If you’re looking for a temporary, easy-to-apply solution, Tape-in extensions could be a better fit.
Comfort and Wearability: V Tip vs. Tape-in Hair Extensions
When it comes to choosing between V Tip Hair Extensions and Tape-in Hair Extensions, comfort and wearability are critical factors. Both methods have their own unique characteristics that affect how comfortable they are during daily activities and how the extensions feel over time. Let’s compare the comfort levels of each method to help you make a more informed decision.
V Tip Hair Extensions
Comfort During Daily Activities:
V Tip Hair Extensions are applied using a keratin bond, which is fused to your natural hair. These extensions can initially feel a bit heavier or bulkier compared to other methods because of the keratin bond and the weight of the extensions themselves. In the early days after application, you might notice some discomfort as your scalp adjusts to the added weight.
However, after the first few days, the extensions should feel much more natural as your scalp and hair get accustomed to them. V Tip extensions don’t require adhesive, so there’s no risk of stickiness or irritation from glue or tape, which can be a concern with other extension types.
How the Bond Feels Over Time:
The keratin bond used in V Tip extensions is relatively small and discreet, but it can feel more noticeable at the roots, especially during the first few days after application. Over time, as the bond naturally loosens due to hair growth, the extensions may feel more comfortable. However, if the extensions are applied too tightly, they can cause scalp tension, leading to discomfort.
Additionally, because V Tip extensions are attached to your natural hair with keratin bonds, they require some maintenance to keep the bonds from becoming too loose or causing tangling. If the bonds are not adjusted or replaced regularly, they can become uncomfortable over time. When well-maintained, though, V Tip extensions tend to remain relatively comfortable.
Tape-in Hair Extensions
Comfort During Daily Activities:
Tape-in Hair Extensions are applied using adhesive strips that bond to your natural hair. Because they are lightweight and have flat adhesive strips, they generally feel lighter and more comfortable compared to V Tip extensions, especially when first applied. Tape-ins lie flat against the scalp, which makes them feel more natural and less noticeable during everyday activities like brushing, running your fingers through your hair, or styling.
However, as the adhesive starts to weaken after a few weeks of wear, you may notice the extensions starting to feel less secure, which can lead to slight discomfort, particularly if they are not properly maintained. If the tape begins to shift or loosen, it can feel like your hair is tugging or pulling at the roots, especially when brushing or styling.
How the Adhesive Feels Over Time:
When Tape-in extensions are first applied, the adhesive feels secure and comfortable. The strips are thin and flexible, so they don’t cause bulk or discomfort around the roots. For many people, the initial feeling is very smooth and easy to get used to, with no heavy pressure at the scalp.
However, over time, as the adhesive weakens or the hair grows out, the extensions may begin to feel a little uncomfortable. If the adhesive becomes less effective, the tape-in extensions may start to feel looser and may not lie as flat against the scalp, which can cause them to move around or even slide out slightly. Some people also experience mild irritation or sensitivity if the adhesive comes into direct contact with the scalp after wearing the extensions for a while.
Comparison of Comfort Levels
| Feature |
V Tip Hair Extensions |
Tape-in Hair Extensions |
| Initial Comfort |
Can feel heavier at the roots due to keratin bonds, causing mild discomfort in the first few days. |
Generally lightweight and comfortable right away due to the flat adhesive strips. |
| Comfort During Daily Activities |
After initial adjustment, V Tip extensions feel natural, though some people may still feel the bonds at the roots. |
Very comfortable for daily activities due to the lightweight feel and the flat nature of the tape. |
| Scalp Discomfort Over Time |
If the bonds loosen or the extensions are applied too tightly, they can cause scalp tension or irritation. |
As the adhesive weakens, the extensions may feel loose or cause slight irritation around the roots. |
| Hair Growth Effects |
As natural hair grows, the bonds may start to feel tighter or pull slightly, requiring maintenance. |
As hair grows, the tape may shift, leading to a less natural feel and possible discomfort if not reapplied. |
| Overall Comfort |
Can be less comfortable in the first few days but becomes more natural with time. |
Generally more comfortable throughout, but may require adjustments due to adhesive wear. |
Which is More Comfortable?
V Tip Hair Extensions tend to feel more natural as they blend into the hair with minimal visible attachments, but they can feel heavier at first due to the keratin bond. Over time, they generally become more comfortable, though there’s a risk of discomfort if the extensions are applied too tightly or not maintained properly.
Tape-in Hair Extensions are lighter and usually more comfortable from the start because the flat adhesive strips don’t create as much bulk around the roots. They are ideal for those seeking a lightweight, hassle-free extension method. However, over time, the adhesive can weaken, leading to potential discomfort or irritation. With regular maintenance and reapplication, tape-ins can remain comfortable and wearable for the duration of their lifespan.
In conclusion, if you prioritize immediate comfort and a lightweight feel, Tape-in extensions are likely the better choice. If you prefer long-term wear and don’t mind occasional maintenance, V Tip extensions might offer a more seamless solution, though they may feel slightly bulkier at first. Your personal comfort will ultimately depend on your hair texture, extension application, and maintenance routine.
Cost Comparison: V Tip vs. Tape-in Hair Extensions
The cost of hair extensions is an important consideration when deciding between V Tip Hair Extensions and Tape-in Hair Extensions. Both methods come with their own price range for the extensions themselves, installation, maintenance, and other associated costs. Below is a detailed comparison of the costs, along with an analysis of which method offers more value for money in the long run.
V Tip Hair Extensions
Price Range for V Tip Hair Extensions:
The price of V Tip Hair Extensions can vary based on the length, quality of hair, and whether they are purchased as pre-bonded extensions or in bulk to be bonded by a stylist. On average, you can expect to pay:
Extensions Cost: The price for V Tip Hair Extensions typically ranges from $300 to $800 for a full set, depending on the quality of the hair (synthetic vs. human hair) and the length. Premium, high-quality human hair extensions can be significantly more expensive.
Installation Costs: Professional installation for V Tip extensions is more labor-intensive due to the bonding process. You can expect to pay anywhere from $150 to $400 for installation, depending on your location, the salon’s pricing, and the number of extensions being applied.
Thus, the total initial cost (for both the extensions and installation) can range from $450 to $1,200 or more.
Maintenance and Removal Costs:
Maintenance: To maintain V Tip extensions, you’ll need to schedule regular salon visits for reapplication and adjustment. Typically, you’ll need to visit every 3 to 6 months. Maintenance costs can range from $100 to $300 per visit, depending on the salon and how many extensions need to be adjusted.
Removal Costs: The removal process requires a professional who uses a special solution to break down the keratin bond and remove the extensions without damaging your natural hair. Removal typically costs between $50 to $150, depending on your stylist and the complexity of the process.
Hidden Costs:
Special Care Products: To extend the lifespan of V Tip extensions, you may need to invest in special shampoos, conditioners, and hair oils that are designed for keratin-treated hair. These can cost anywhere from $20 to $50 for quality products.
Heat Styling Tools: If you plan to use heat styling tools, you may need to buy a heat protectant or a lower-temperature styling tool, which can add to your cost.
Tape-in Hair Extensions
Price Range for Tape-in Hair Extensions:
Tape-in Hair Extensions are typically more affordable upfront than V Tip extensions, but they come with their own pricing structure. The costs for tape-ins depend on the brand, hair quality, and length.
Extensions Cost: The price for Tape-in Hair Extensions generally ranges from $100 to $500 for a full set. As with V Tip extensions, the price will increase with longer lengths and higher-quality human hair.
Installation Costs: Tape-in extensions are easier and quicker to apply than V Tip extensions, so the installation cost tends to be lower. Professional installation usually ranges from $100 to $250, depending on the salon and the number of extensions being applied.
Thus, the total initial cost (extensions + installation) typically falls between $200 and $750, depending on the hair quality and salon pricing.
Maintenance and Removal Costs:
Maintenance: Tape-in extensions generally require maintenance every 6 to 8 weeks due to the natural growth of your hair, which causes the adhesive to loosen. Reapplication typically costs between $100 and $250, as the tape is cleaned and reapplied to a new section of your hair.
Removal Costs: Tape-in extensions are easier to remove than V Tip extensions, and most salons charge around $50 to $100 for removal.
Hidden Costs:
Special Care Products: Like V Tip extensions, you will need specific care products to maintain the quality of the hair and the adhesive, including sulfate-free shampoos and conditioners. These can cost around $20 to $50.
Additional Tape: Depending on the wear of your extensions, you might need to replace the tape used for application every few months. Tape refills typically cost around $30 to $80.
Which One Offers More Value for Money in the Long Run?
The decision of which type of extension offers better value for money depends on your preferences for durability, longevity, and how much time and money you’re willing to invest in maintenance.
V Tip Hair Extensions have a higher upfront cost and require more frequent maintenance, but they can last longer (up to 6 months with proper care). If you are looking for a long-lasting solution and are okay with spending more initially, V Tip extensions can be a good investment. However, the maintenance costs add up, and there is the potential for damage if not handled properly.
Tape-in Hair Extensions are less expensive upfront and have a shorter lifespan (6 to 8 weeks between reapplications). However, because they are more affordable and quicker to apply, they can be a great option if you’re looking for flexibility, a more temporary solution, or lower maintenance costs. While you’ll need to reapply them every couple of months, the overall cost of tape-in extensions (including installation and maintenance) can add up to a lower total long-term investment compared to V Tip extensions.
Summary of Costs:
| Cost Factor |
V Tip Hair Extensions |
Tape-in Hair Extensions |
| Initial Cost (Extensions + Installation) |
$450 – $1,200 |
$200 – $750 |
| Maintenance Cost (Every 3-6 Months) |
$100 – $300 |
$100 – $250 |
| Removal Cost |
$50 – $150 |
$50 – $100 |
| Hidden Costs (Care Products, etc.) |
$20 – $50 for special hair care products, tools |
$20 – $50 for care products, $30 – $80 for tape refills |
| Longevity |
3 – 6 months |
6 – 8 weeks |
If you’re looking for a long-term, durable solution and are willing to invest more upfront, V Tip Hair Extensions offer a longer-lasting result, making them a better value for money in the long run for people who want a more permanent extension option. However, they do require higher maintenance and can result in more frequent costs over time.
On the other hand, Tape-in Hair Extensions are more affordable and offer flexibility. They are ideal for those who want a less expensive, temporary solution and are okay with more frequent reapplication. Overall, tape-ins provide better value for those who prefer a budget-friendly option with less commitment and lower overall maintenance costs.
Ultimately, your decision will depend on your desired hair goals, budget, and how much time and effort you’re willing to invest in upkeep.
Pros and Cons: V Tip vs. Tape-in Hair Extensions
Choosing between V Tip Hair Extensions and Tape-in Hair Extensions depends on what you prioritize in terms of longevity, cost, maintenance, and overall experience. Both methods have their strengths and drawbacks. Below is a detailed breakdown of the pros and cons of each type to help you make an informed decision.
V Tip Hair Extensions
Pros:
Long-Lasting:
V Tip Hair Extensions can last 3 to 6 months with proper care, making them a great long-term solution for people looking for extended wear. The keratin bonds remain securely attached to the natural hair for months, making it ideal for individuals seeking a semi-permanent extension solution.
Natural Look:
The small, discreet keratin bond provides a seamless and natural-looking result. The extensions blend well with your natural hair, offering a soft and smooth transition without visible attachment points, making them look more like your real hair.
Versatile Styling Options:
Because V Tip extensions are fixed with keratin bonds, they offer flexibility in styling. You can curl, straighten, or style them just like natural hair. The bonds don’t interfere with your styling tools, so you have full freedom to experiment with different looks.
Suitable for Various Hair Types:
V Tip extensions work well with different hair types, including thick, fine, or textured hair, as they are available in multiple lengths and colors to match your natural hair. They also don’t require any adhesive, reducing the chance of irritation or scalp sensitivity.
Cons:
More Time-Consuming Application:
The application of V Tip Hair Extensions is more time-consuming and intricate. Each bond needs to be carefully applied using a heated fusion tool, which can take several hours, especially for full coverage. This makes the process longer compared to other extension methods like Tape-ins.
Higher Cost:
The initial cost of V Tip extensions is higher due to the labor-intensive application and the higher quality of the hair. Prices can range from $450 to $1,200 for the full set, including the installation, making it a more expensive option upfront. Additionally, maintenance costs can add up, as the bonds need to be adjusted every 3 to 6 months.
Risk of Damage to Natural Hair:
If not applied or maintained correctly, the weight of the extensions or improper removal can cause strain on natural hair, leading to breakage or thinning. Additionally, the heat fusion process can cause potential damage to natural hair if done incorrectly.
Tape-in Hair Extensions
Pros:
Quicker Application:
Tape-in Hair Extensions offer a much quicker application process compared to V Tip extensions. The adhesive strips are applied directly to the natural hair, and the installation typically takes only 1 to 2 hours, making them a great option for people with a busy schedule.
More Affordable:
Tape-in extensions are generally more budget-friendly, with an initial cost ranging from $200 to $750, including installation. This makes them a more accessible option for individuals who want to add volume and length without a huge financial investment.
Lightweight and Comfortable:
Tape-ins are very lightweight compared to V Tip extensions, and the flat adhesive strips feel comfortable against the scalp. This makes them a great choice for individuals who are concerned about the weight or bulkiness of traditional extensions.
Natural Movement:
Because the adhesive strips are thin and flexible, Tape-in extensions move naturally with your hair. This offers a smooth, soft finish and allows for a more natural-looking flow and movement of the hair.
Cons:
Shorter Lifespan:
Tape-in extensions typically last 6 to 8 weeks before needing reapplication, which is shorter than V Tip extensions. The adhesive strips weaken over time due to washing and styling, leading to more frequent maintenance and reapplication. This can be a hassle if you’re looking for a long-term solution.
Potential Adhesive Issues:
One of the major drawbacks of tape-ins is the potential for adhesive wear and tear. The tape can weaken or loosen over time, especially with frequent washing, heat styling, or exposure to humidity. This can cause the extensions to slide or feel less secure, leading to discomfort.
Not Suitable for All Hair Types:
Tape-in extensions may not work as well for individuals with very thick, coarse, or textured hair. The adhesive strips may struggle to hold securely, especially in hair that is very thick or oily, requiring more frequent adjustments or reapplications.
Potential for Scalp Irritation:
The adhesive used in tape-ins can cause mild irritation or sensitivity on the scalp for some people, especially if the extensions are applied too tightly or the adhesive is exposed to excessive heat or moisture. This can result in itching or discomfort.
Summary of Pros and Cons
| Feature |
V Tip Hair Extensions |
Tape-in Hair Extensions |
| Pros |
– Long-lasting (3 to 6 months) |
– Quicker application (1-2 hours) |
|
– Natural, seamless look |
– More affordable than V Tip extensions |
|
– Versatile styling options (curling, straightening) |
– Lightweight and comfortable |
|
– Suitable for different hair types |
– Natural movement and flow |
| Cons |
– Time-consuming application process (several hours) |
– Shorter lifespan (6-8 weeks) |
|
– Higher initial cost (up to $1,200) |
– Potential adhesive issues (slipping or loosening over time) |
|
– Risk of natural hair damage if not applied/removed correctly |
– May not be suitable for very thick or coarse hair |
|
|
– Potential for scalp irritation or discomfort with adhesive contact |
V Tip Hair Extensions offer a long-lasting, natural look with great versatility and styling options, making them ideal for people looking for a more permanent extension solution. However, they are more time-consuming to apply and have a higher cost, both initially and for maintenance.
Tape-in Hair Extensions, on the other hand, are more affordable, quicker to apply, and lighter on the scalp, making them a more comfortable and budget-friendly option for those who want temporary extensions. However, they have a shorter lifespan and may require more frequent maintenance due to potential adhesive issues.
Ultimately, your choice will depend on your personal preferences, budget, and how much time and effort you’re willing to invest in maintenance. If you’re looking for a long-term solution with more styling flexibility, V Tip extensions are the better choice. If you’re after a quick, affordable, and comfortable option, Tape-in extensions might be the way to go.
Which One Should You Choose?
When deciding between V Tip Hair Extensions and Tape-in Hair Extensions, it’s important to consider several factors such as your hair type, lifestyle, budget, and maintenance preferences. Both types of extensions have their own advantages and drawbacks, so understanding your individual needs will help you make the best decision for your hair goals.
Who is Best Suited for V Tip Hair Extensions?
V Tip Hair Extensions are a great option for people who are looking for a long-lasting, seamless, and natural-looking extension that will hold up for several months. Here are the ideal candidates for V Tip extensions:
1. Individuals with Medium to Fine Hair:
V Tip extensions are ideal for those with fine or medium hair because they can blend well and provide volume without adding too much weight. They add natural-looking fullness and length, which is perfect for fine hair that doesn’t have as much volume.
For thicker hair, V Tip extensions are also suitable, but it may require more bonds to ensure a full, balanced look. It’s important to have the extensions applied by a professional to avoid excessive tension on the natural hair.
2. Those Seeking a Long-Term Solution:
If you are looking for long-lasting results and are willing to invest in a more permanent solution (lasting 3-6 months), V Tip Hair Extensions are a good choice. They require fewer touch-ups and can withstand daily styling and wear for a longer period.
They’re particularly beneficial for people who prefer low-maintenance options once installed, as they don’t require frequent reapplication.
3. People with Time for Maintenance:
While V Tip extensions have a longer lifespan, they do require professional maintenance every few months. This includes adjustments or reapplication to keep the keratin bonds secure.
If you don’t mind scheduling regular salon visits to maintain the extensions, V Tip extensions are ideal.
4. Those Who Prioritize a Natural Look:
If your goal is to have seamless, natural-looking hair that blends well with your own, V Tip extensions are a great choice. The small keratin bonds are discreet, offering a more natural appearance without visible attachment points.
5. Those with a Higher Budget:
Since V Tip Hair Extensions involve a more complex and time-consuming application, they tend to be more expensive. Therefore, individuals who are comfortable investing in higher-quality extensions and are willing to spend more for long-term wear will benefit from V Tip extensions.
Who is Best Suited for Tape-in Hair Extensions?
Tape-in Hair Extensions are a more affordable and quick solution for those who need temporary or medium-term extensions. They offer a lightweight and comfortable feel, making them ideal for individuals with different needs. Here are the ideal candidates for Tape-in extensions:
1. Those with Fine to Medium Hair:
Tape-ins are great for people with fine to medium hair as they provide volume without being too heavy. The flat adhesive strips are perfect for blending seamlessly with natural hair, creating a fuller, more voluminous look.
People with thick hair may also use tape-ins, but they may need more sections for the extensions to blend naturally. However, tape-ins may not be ideal for extremely coarse or thick hair, as the adhesive may not hold as securely.
2. Those Looking for an Affordable Option:
Tape-in extensions are generally more affordable than V Tip extensions, both in terms of the upfront cost and the maintenance. This makes them a great choice for individuals on a budget who want to add length and volume without committing to the higher costs of V Tip extensions.
They are also less expensive to maintain, as the installation process is quicker and the reapplication is simpler compared to keratin bonding.
3. People Seeking a Shorter-Term Solution:
Tape-in extensions are perfect for people who want a temporary extension solution or who like to change their look frequently. They last 6-8 weeks before needing reapplication, which is ideal for those who want a more flexible, short-term option.
Tape-ins are a great choice for people who like to change their look based on seasons or events without committing to something permanent.
4. Individuals with a Busy Lifestyle:
The application of Tape-in extensions is faster, typically taking 1-2 hours. This makes them an ideal choice for people with busy schedules who don’t have several hours to spend in the salon.
They also require less maintenance compared to V Tip extensions, as the reapplication process is less time-consuming. This can be appealing to those who want a beautiful, low-maintenance look.
5. Those Who Prefer Comfort:
Tape-in extensions are known for being lightweight and comfortable against the scalp. The adhesive strips lie flat, which reduces any potential discomfort caused by bulkier bonds, making them more comfortable for those who prioritize comfort in their hair extensions.
6. Those with a Lower Maintenance Preference:
Since Tape-in extensions only need to be re-applied every 6 to 8 weeks, they are a better option for individuals who prefer less frequent maintenance. However, keep in mind that the adhesive will weaken over time, and you will need to reapply them more often than V Tip extensions.
Factors to Consider When Choosing Between V Tip and Tape-in Hair Extensions
1. Hair Type:
If you have fine or medium hair, both V Tip and Tape-in extensions can work well, but V Tip extensions might provide more volume and length over the long term. For thicker hair, V Tip extensions are often better suited since they can support the weight of the extensions more securely.
Tape-in extensions work best for fine to medium hair and may not adhere as well to very thick or coarse hair.
2. Lifestyle:
If you’re someone with a busy schedule and need something that’s quick and easy to manage, Tape-in extensions are the better choice. They’re quick to apply and easy to maintain.
If you prefer a long-term commitment and don’t mind visiting the salon every few months, V Tip extensions may be a better fit.
3. Budget:
V Tip extensions tend to be more expensive both in terms of initial cost and maintenance. If you have a higher budget and want something long-lasting, they could be the right choice.
Tape-in extensions are more affordable, making them a great option for those who want quality extensions without breaking the bank.
4. Maintenance Preferences:
If you want low-maintenance extensions that require fewer visits to the salon, V Tip extensions are better, as they can last 3 to 6 months between appointments.
If you prefer a more flexible, temporary solution, Tape-in extensions are ideal. They need to be reapplied more frequently (every 6 to 8 weeks), but they are less involved in terms of maintenance overall.
V Tip Hair Extensions are best suited for those looking for a long-term solution with a natural look and are willing to invest in more expensive and time-consuming maintenance. They’re perfect for people who prioritize longevity and natural blending and have the budget to support the investment.
Tape-in Hair Extensions are perfect for those who need a quick, affordable solution with low maintenance and flexibility. If you prefer a more temporary option with less upkeep and are on a budget, tape-ins provide great value.
Ultimately, your decision should be based on your personal hair type, lifestyle, budget, and how much effort you want to dedicate to maintenance. Each method has its own strengths, so choose the one that best aligns with your goals and needs.
Conclusion
In summary, V Tip Hair Extensions offer a long-lasting, natural look with versatile styling options, making them ideal for individuals seeking a more permanent solution and who are willing to invest in maintenance. They provide a seamless blend and are suited for those with medium to fine hair. However, the application process is time-consuming and the cost is higher.
On the other hand, Tape-in Hair Extensions are quicker to apply, more affordable, and lightweight, making them a great choice for people on a budget or those looking for a temporary extension option. While they have a shorter lifespan, they require less maintenance and are perfect for those with a busy lifestyle.
Ultimately, the choice depends on your hair goals, budget, and lifestyle. It’s always a good idea to consult a professional stylist to get personalized recommendations and ensure the best results for your hair type and needs.
Alove Hair is a professional Chinese manufacturer of premium 100% Remy human hair extensions, wigs, and hair systems. Established in 2014, the company specializes in supplying global salons and distributors with high-quality, cuticle-intact hair products and offers comprehensive OEM/ODM private label services.