
Genius Weft Hair Extensions Installation Guide
Genius Weft Hair Extensions Installation Guide: A Complete Step-by-Step Tutorial for Salons, Stylists, and OEM Buyers
Genius Weft hair extensions have become one of the fastest-growing professional extension systems in today’s salon industry. Combining the ultra-thin appearance of hand-tied wefts with the flexibility and durability of machine wefts, Genius Wefts provide a comfortable, natural-looking solution suitable for almost every hair type.
For OEM hair extension factory customers, understanding the installation process is just as important as understanding product quality. Distributors, salon chains, and private label brands that can educate their customers on proper installation often experience fewer after-sales issues, higher customer satisfaction, and stronger brand loyalty.
This guide explains every stage of the installation process, from consultation and preparation to maintenance and removal.
What Are Genius Weft Hair Extensions?
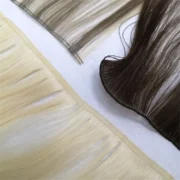
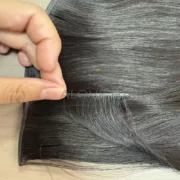
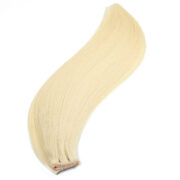
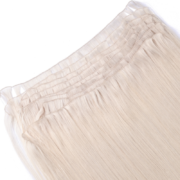
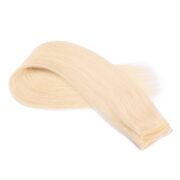
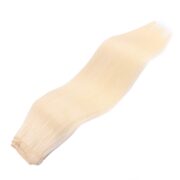
Genius Wefts are ultra-thin sewn hair extensions made from 100% human hair. Unlike traditional machine wefts, the stitching is much thinner and more flexible, making the extensions nearly invisible once installed.
The biggest advantage is that professional Genius Wefts can usually be cut to the desired width without significant unraveling, allowing stylists to create customized installations while minimizing waste.
Why Proper Installation Matters
Even the highest-quality Genius Wefts can produce disappointing results if installed incorrectly.
Professional installation helps:
- Create an invisible finish
- Prevent excessive shedding
- Reduce scalp tension
- Improve client comfort
- Extend product lifespan
- Allow multiple reinstallations
- Protect the client’s natural hair
A properly installed Genius Weft system can typically remain in place for 6–10 weeks before requiring maintenance.
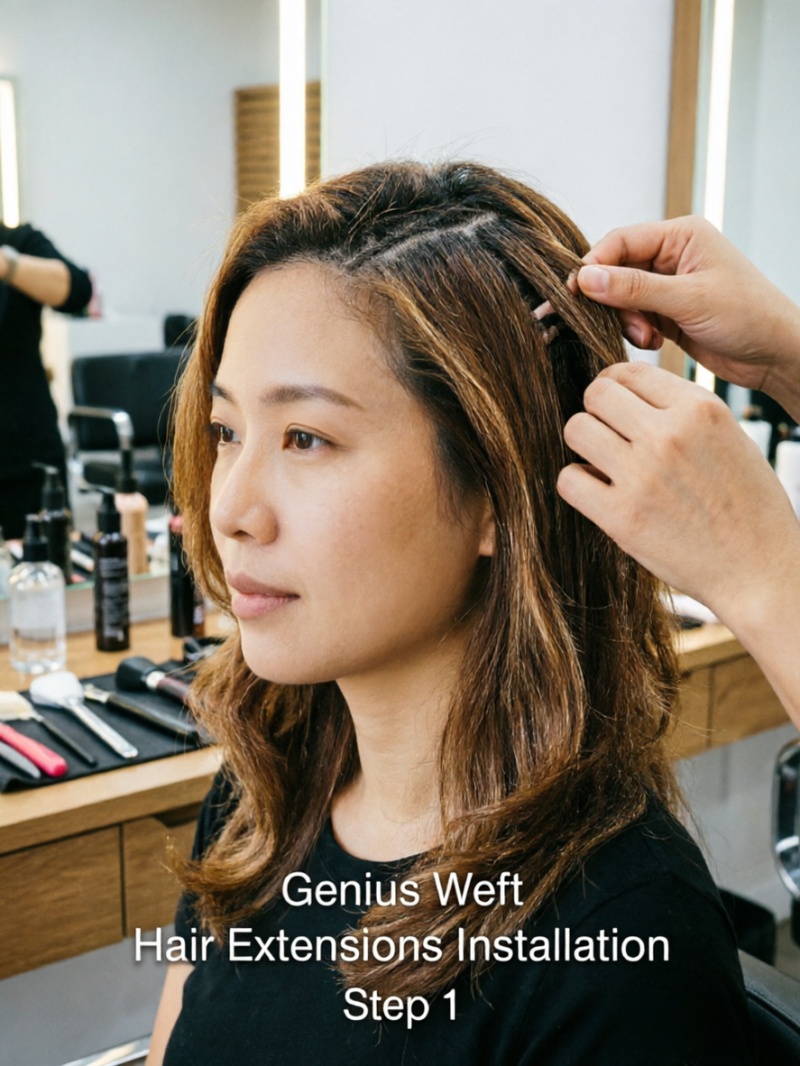
Tools Required Before Installation
Professional stylists should prepare the following tools:
- Genius Weft hair extensions
- Silicone-lined micro beads
- Nylon or polyester thread
- Curved extension needle
- Bead installation pliers
- Tail comb
- Sectioning clips
- Hair cutting scissors
- Extension brush
- Spray bottle
- Blow dryer
- Flat iron (optional)
- Color ring for matching
Using professional tools improves installation speed and consistency while reducing the risk of damage.
Step 1: Client Consultation
Every successful installation begins with a detailed consultation.
Evaluate:
- Hair density
- Hair length
- Hair texture
- Hair color
- Scalp condition
- Lifestyle
- Desired length
- Desired volume
This assessment determines the number of bundles, installation rows, and placement strategy.
Step 2: Color Matching
Color matching is one of the most important factors in achieving a seamless result.
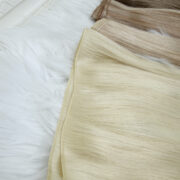
Professional stylists compare the client’s natural hair with a color ring under natural lighting.
If an exact match is unavailable, blending two or three shades often creates the most natural appearance.
OEM brands should provide comprehensive color rings to salons for accurate matching.
Step 3: Determine the Number of Bundles
The required amount depends on the client’s hair.
Typical recommendations include:
| Hair Type | Bundles |
|---|---|
| Fine Hair | 1–2 |
| Medium Hair | 2–3 |
| Thick Hair | 3–4 |
| Extra Length & Volume | 4–5 |
Using too few bundles may create visible density differences, while excessive bundles can add unnecessary weight.
Step 4: Wash and Dry the Hair
The hair should be thoroughly washed using a clarifying shampoo.
Avoid:
- Conditioner at the roots
- Heavy oils
- Silicone-based products
Completely dry the hair before installation.
Clean hair allows the micro beads to grip securely and reduces the risk of slipping.
Step 5: Section the Hair
Accurate sectioning ensures symmetry and comfort.
The stylist usually begins at the nape of the neck and works upward.
Each row should remain level and evenly spaced.
Leave enough natural hair above every row to completely conceal the wefts.
Proper sectioning is one of the keys to an invisible installation.
Step 6: Create the Foundation Row
There are several installation techniques, but the Micro Bead Foundation Method is the most popular for Genius Wefts.
The process includes:
- Create a clean horizontal section.
- Place silicone-lined beads approximately 1 cm apart.
- Clamp each bead securely using extension pliers.
- Ensure consistent spacing across the row.
The foundation should remain firm without causing excessive scalp tension.
Step 7: Position the Genius Weft
Lay the Genius Weft flat against the bead row.
The weft should:
- Sit naturally
- Follow the scalp curve
- Remain wrinkle-free
- Avoid twisting
Professional stylists typically leave a small margin from the hairline to maintain flexibility and comfort.
Step 8: Sew the Weft to the Bead Row
Using a curved needle and extension thread:
- Begin at one end of the row.
- Pass the needle through the weft and around the bead foundation.
- Maintain even stitch spacing.
- Keep consistent thread tension.
- Secure the thread with multiple knots at the end.
Avoid pulling the thread too tightly, as excessive tension may create discomfort or place unnecessary stress on the client’s natural hair.
Step 9: Cut the Weft (If Necessary)
One of the major advantages of Genius Wefts is their flexibility.
Professional-grade Genius Wefts can generally be cut to fit custom row lengths without significant unraveling.
After trimming:
- Inspect the cut edge.
- Check for loose hairs.
- Ensure the edge remains neat and secure.
Choosing a high-quality OEM manufacturer is essential because stitching quality directly affects cut performance.
Step 10: Repeat Additional Rows
Continue installing additional rows based on the client’s desired volume.
General guidelines:
- Fine hair: 1 row
- Medium density: 2 rows
- Thick hair: 3 rows
- Maximum volume: 4 rows
Maintain consistent spacing to preserve comfort and natural movement.
Step 11: Blend and Shape
After all rows are installed:
- Blend the extensions with the natural hair.
- Trim for a seamless finish if necessary.
- Preserve overall density.
- Avoid excessive thinning of the extensions.
Proper blending makes the transition between natural hair and extensions virtually invisible.
Step 12: Style the Hair
Once installation is complete, style the hair according to the client’s preference.
Common finishing styles include:
- Straight
- Soft curls
- Beach waves
- Hollywood waves
- Blowout finish
Apply heat protectant before using hot styling tools.
Final Quality Inspection
Before the client leaves, perform a complete inspection.
Check for:
- Even row placement
- Secure stitching
- Comfortable tension
- Invisible blending
- Balanced weight
- Symmetrical appearance
- Smooth movement
- Natural finish
Correct any issues immediately to avoid future adjustments.
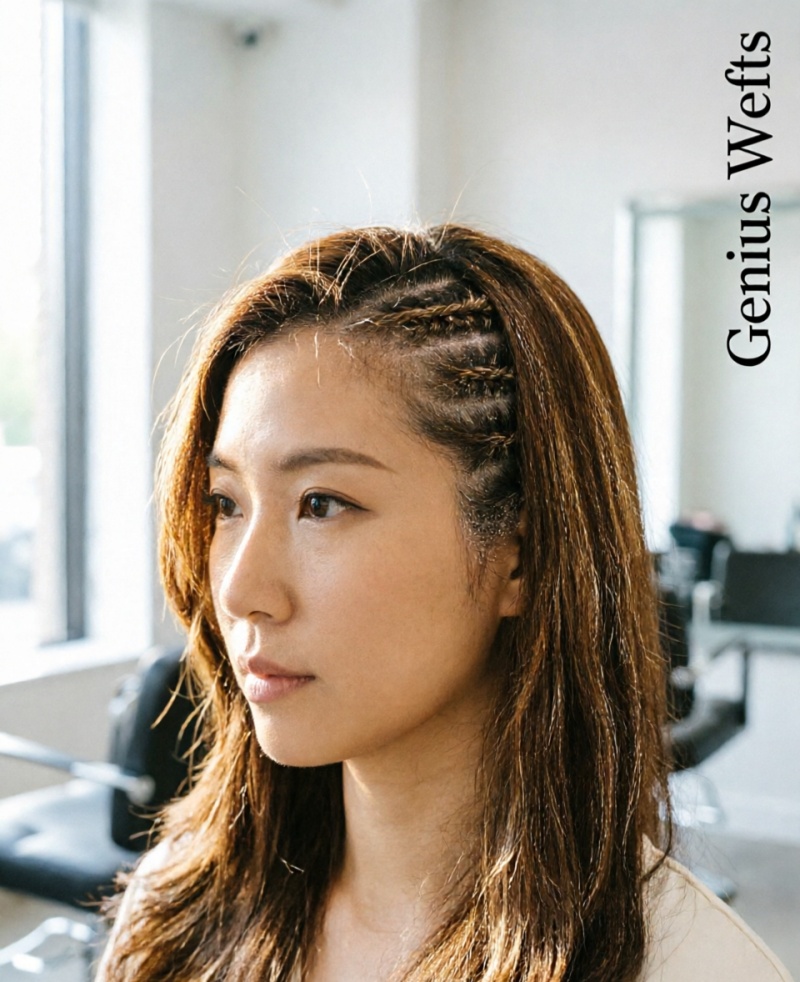
Common Installation Mistakes to Avoid
Even experienced stylists can encounter installation problems.
The most common mistakes include:
- Installing rows too close to the scalp
- Uneven bead spacing
- Incorrect thread tension
- Poor sectioning
- Inadequate color matching
- Overloading fine hair with too many bundles
- Leaving insufficient cover hair
- Using low-quality wefts with weak stitching
Avoiding these errors improves comfort, longevity, and overall appearance.
Aftercare Recommendations
Proper maintenance is essential for extending the lifespan of Genius Wefts.
Advise clients to:
- Brush twice daily with an extension-safe brush.
- Hold the roots while brushing to minimize tension.
- Wash with sulfate-free shampoo.
- Condition only the mid-lengths and ends.
- Dry the root area completely after washing.
- Sleep with the hair loosely braided or tied in a low ponytail.
- Avoid excessive heat without protection.
- Return for maintenance every 6–10 weeks.
Good aftercare helps maintain softness, reduce shedding, and preserve the integrity of both the extensions and the natural hair.
Why OEM Buyers Should Understand the Installation Process
For distributors, salon chains, and private label brands, installation knowledge is a valuable business asset. Providing clear installation guides, training materials, and technical support helps salons achieve consistent results, reduces product misuse, and minimizes after-sales complaints.
An OEM manufacturer that supplies not only premium Genius Wefts but also professional installation resources can strengthen customer confidence and increase repeat orders. By helping stylists install the product correctly from the very first appointment, brands can enhance their reputation, improve client retention, and establish themselves as trusted partners in the professional hair extension industry.

Alove Hair is a professional Chinese manufacturer of premium 100% Remy human hair extensions, wigs, and hair systems. Established in 2014, the company specializes in supplying global salons and distributors with high-quality, cuticle-intact hair products and offers comprehensive OEM/ODM private label services.