Why Genius Wefts Are So Popular in the US Market
Why Our Genius Wefts Are Revolutionizing the US Hair Extension Market
The US hair extension market is experiencing a massive paradigm shift. For years, premium salon extensions were divided into two main camps: traditional machine wefts, which offered durability and density but felt bulky at the roots, and hand-tied wefts, which offered unmatched flat-laying seamlessness but could not be cut without unraveling.
Enter the Genius Weft—the ultimate hybrid innovation that has taken American salons by storm.
For certified stylists across the US—especially those trained in advanced invisible bead methods like IBE, JZ Styles, and Bellami—the demand for a weft that combines the best of both worlds has never been higher. At Alove Hair, our wholesale Genius Wefts have become the go-to choice for top-tier salons.
Here is an in-depth breakdown of why our Genius Wefts are highly sought after in the US market, their unparalleled product advantages, and how our factory strengths empower your salon business.
1. The Phenomenal Rise of Genius Wefts in the US Market
To understand why Genius Wefts are so popular, we must look at the evolution of the modern American extension client. Today’s clients demand three things: maximum comfort, complete invisibility, and zero damage to their natural hair.
Traditional hand-tied extensions were the gold standard for achieving this look. However, they came with major operational headaches for stylists. Hand-tied wefts feature a fragile hand-knotted seam wrapped around a silk thread. If a stylist cuts a hand-tied weft to fit a client’s specific head shape, the entire weft unravels and sheds. Furthermore, the mandatory “mustache” (the short return hair at the seam) of hand-tied extensions often causes scalp irritation, itching, and matting for clients with sensitive skin.
Our Genius Wefts completely eliminate these pain points. Engineered using advanced micro-injection technology, they replicate the ultra-thin profile of a hand-tied weft but behave with the structural integrity of a machine weft. This innovation has made them an overnight sensation in the US, allowing stylists to work faster, customize installs effortlessly, and deliver a flawless, pain-free experience to their clients.
2. Unmatched Product Advantages of Alove Hair Genius Wefts
What sets our Genius Wefts apart from standard market alternatives? We design our products with the rigorous standards of premium salon methods in mind.
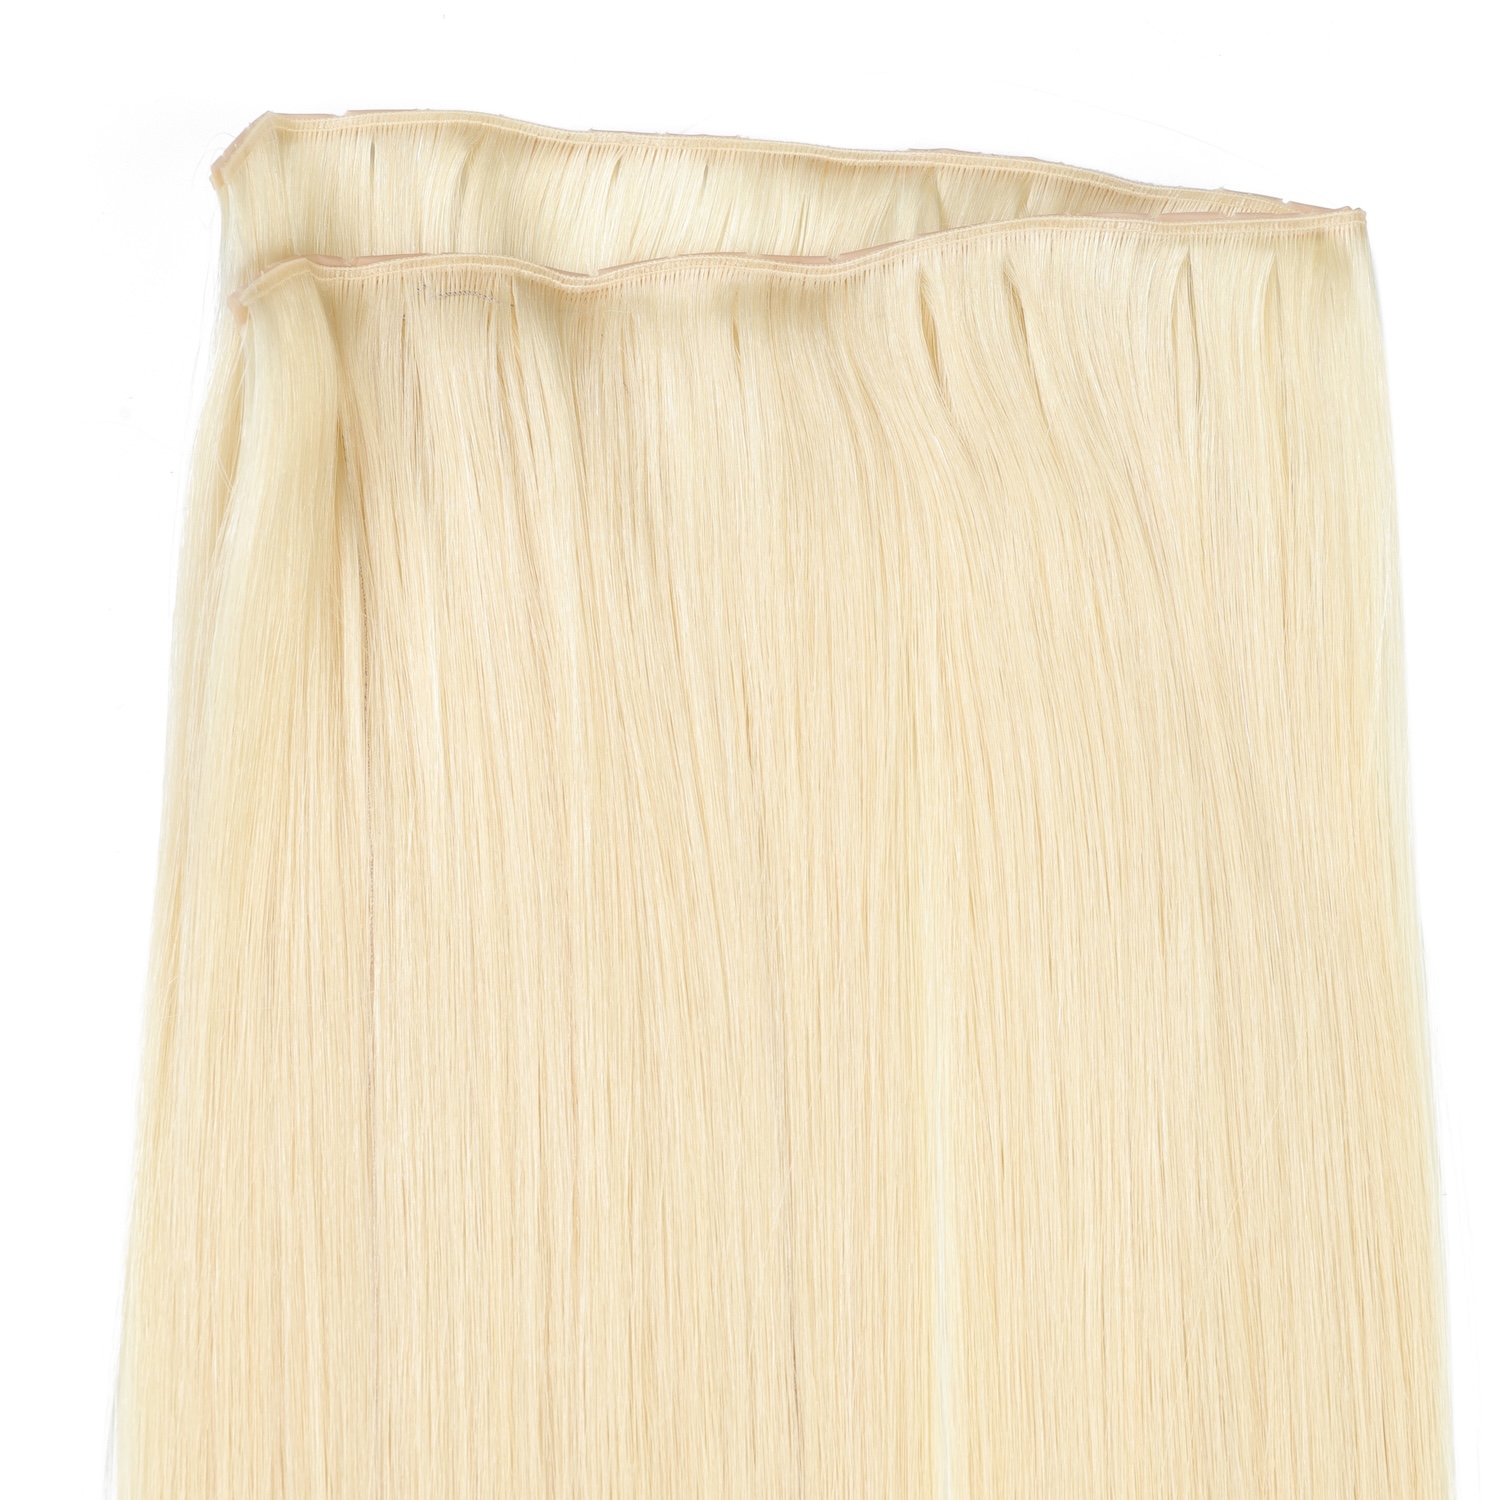
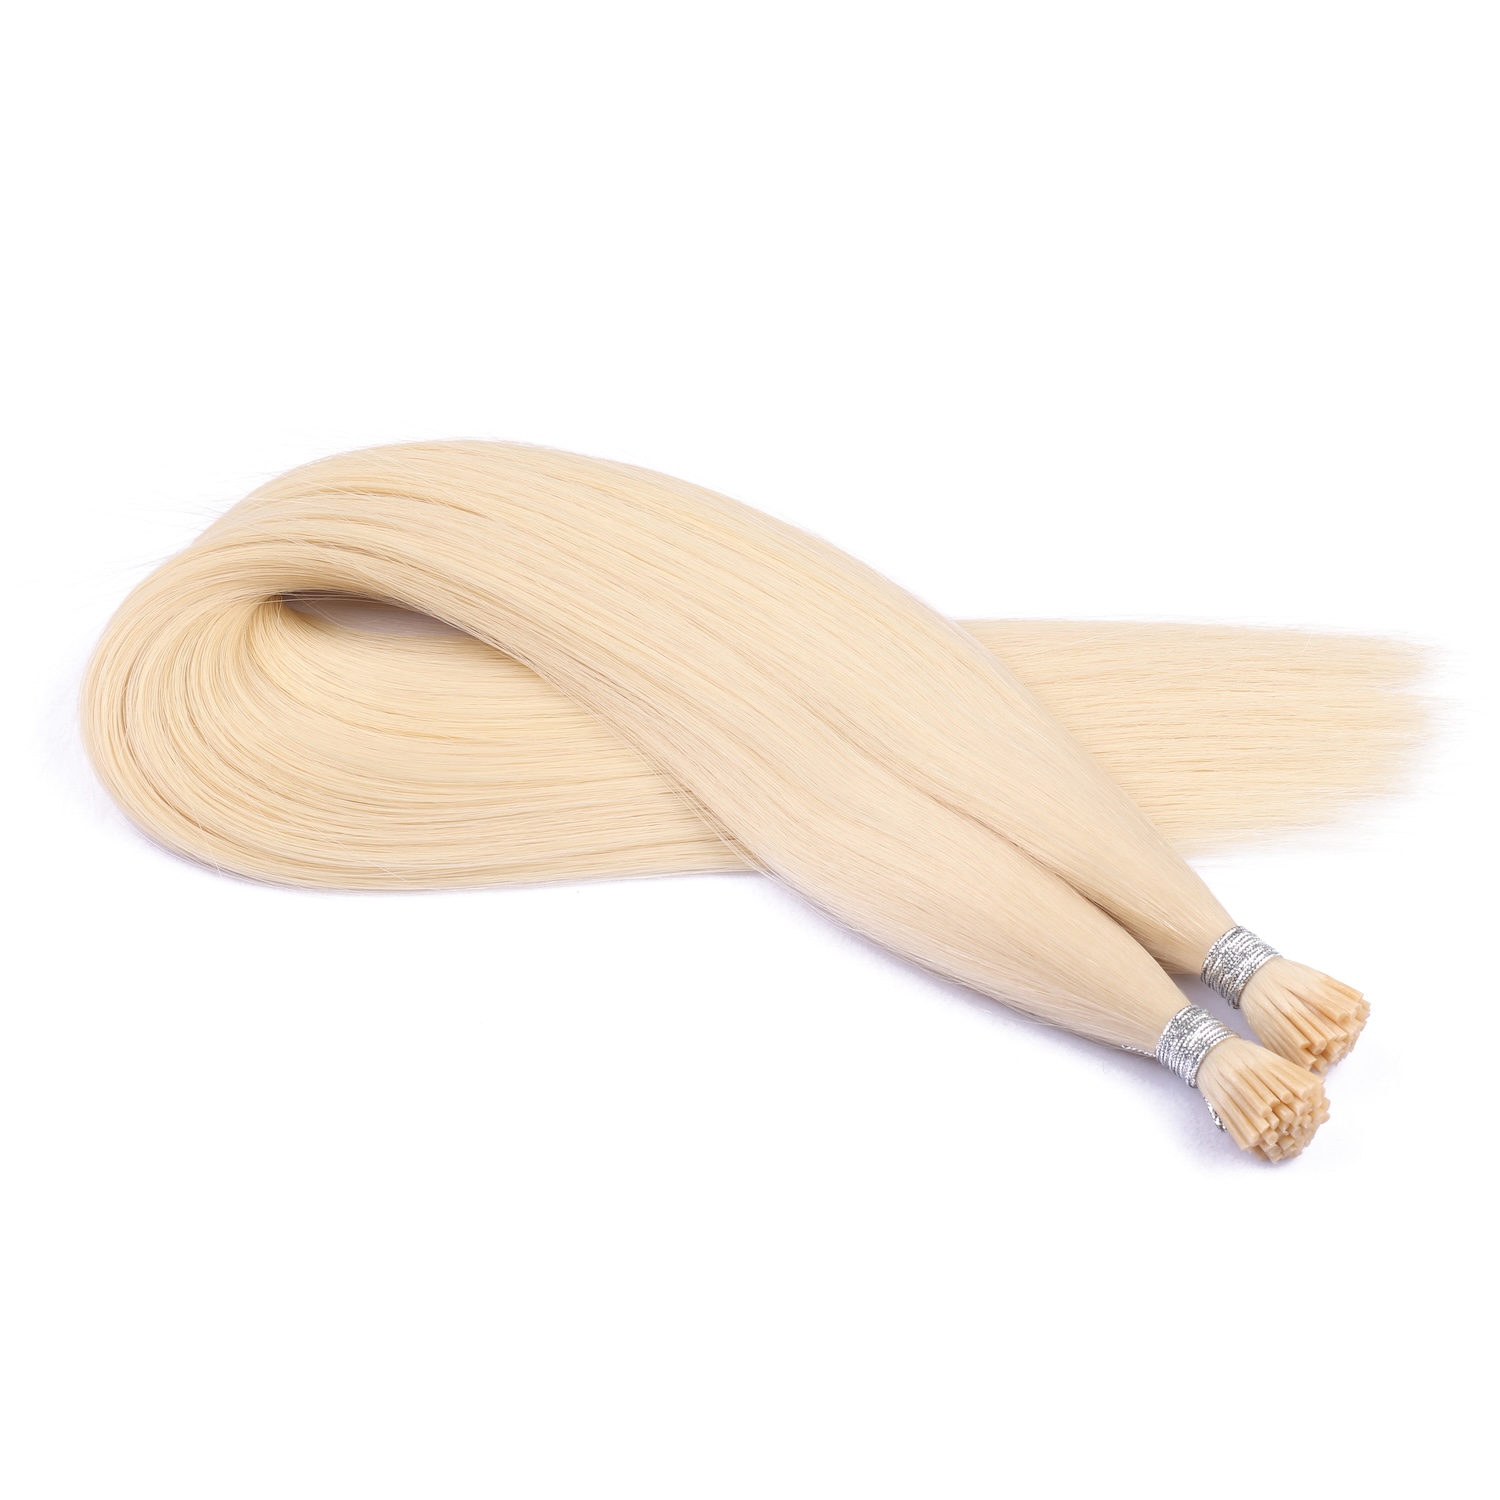
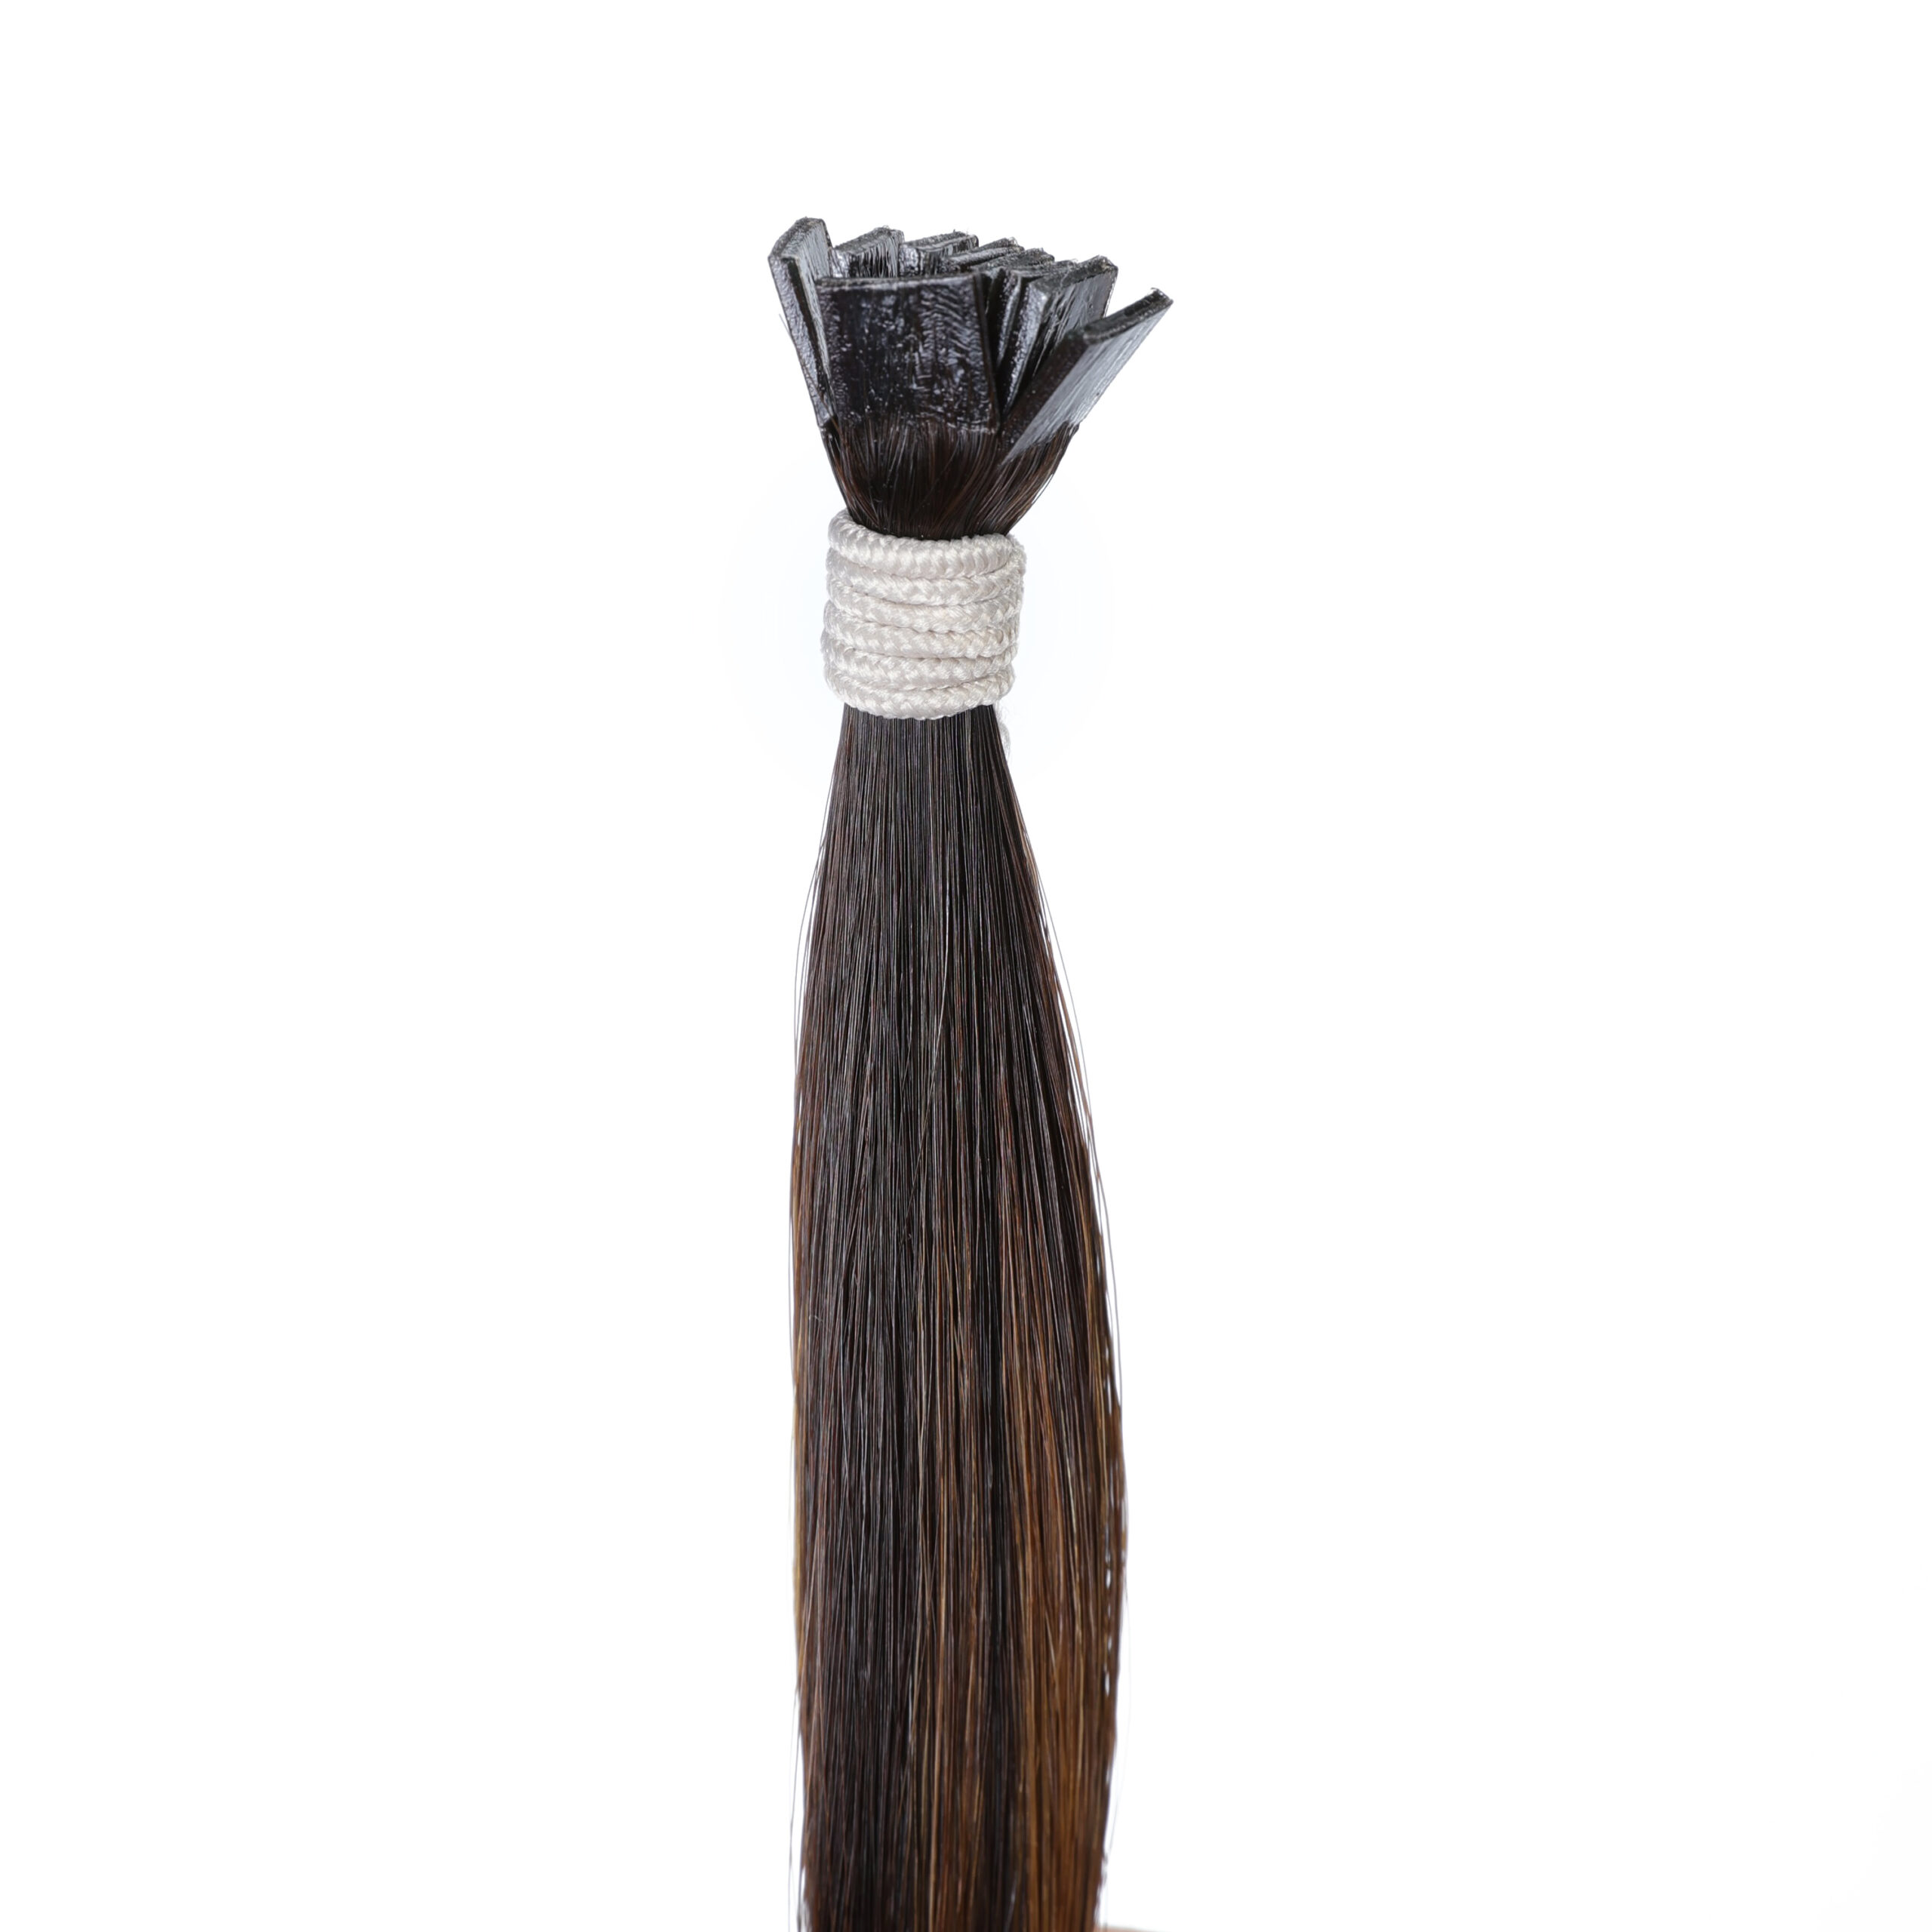
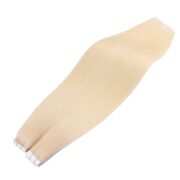
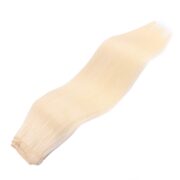
🌟 Ultra-Thin and Completely Flat Profile (0.8mm Thickness)
Our Genius Wefts feature a micro-seamless bond that is only 0.78mm thick and 1.5mm tall. When installed using beaded row techniques, the weft sits completely flush against the scalp. It is virtually undetectable to the touch and completely invisible, even when the client wears a high ponytail or an updo.
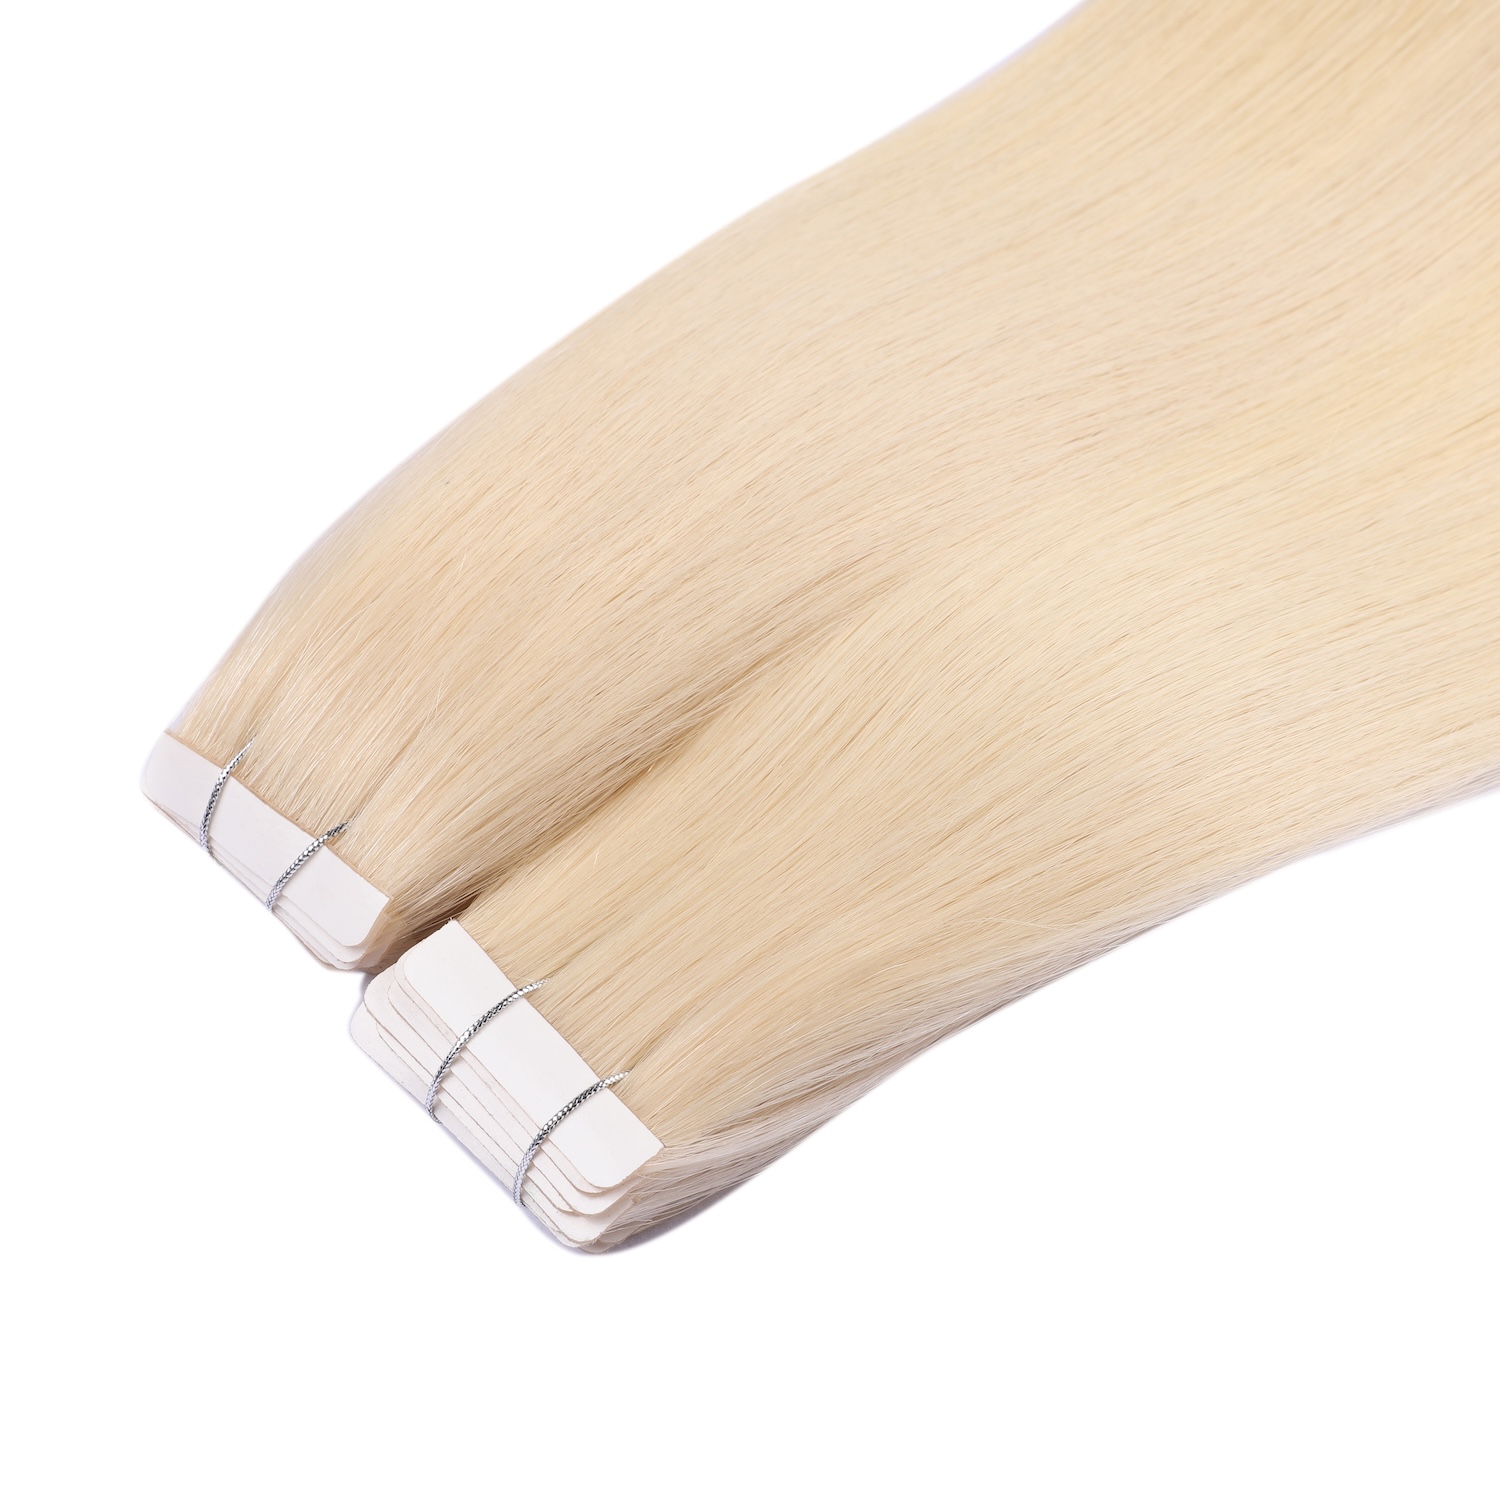
✂️ 100% Custom Cuttable Anywhere
Unlike hand-tied wefts, our Genius Wefts can be cut at any point along the track without fraying, shedding, or unraveling. Stylists no longer need to fold the corners of the wefts—a practice that creates uncomfortable bulk behind the client’s ears. You can precisely measure and cut the track to fit the exact contours of the client’s head, significantly reducing installation time.
🚫 No “Mustache” Hair for Maximum Scalp Comfort
One of the greatest complaints about hand-tied hair is the itchy return hair (the mustache) brushing against the scalp. Our Genius Wefts are constructed without a return mustache. The track is completely smooth on both sides, eliminating scalp irritation, reducing tangling at the root, and providing an exceptionally comfortable wear experience from day one.
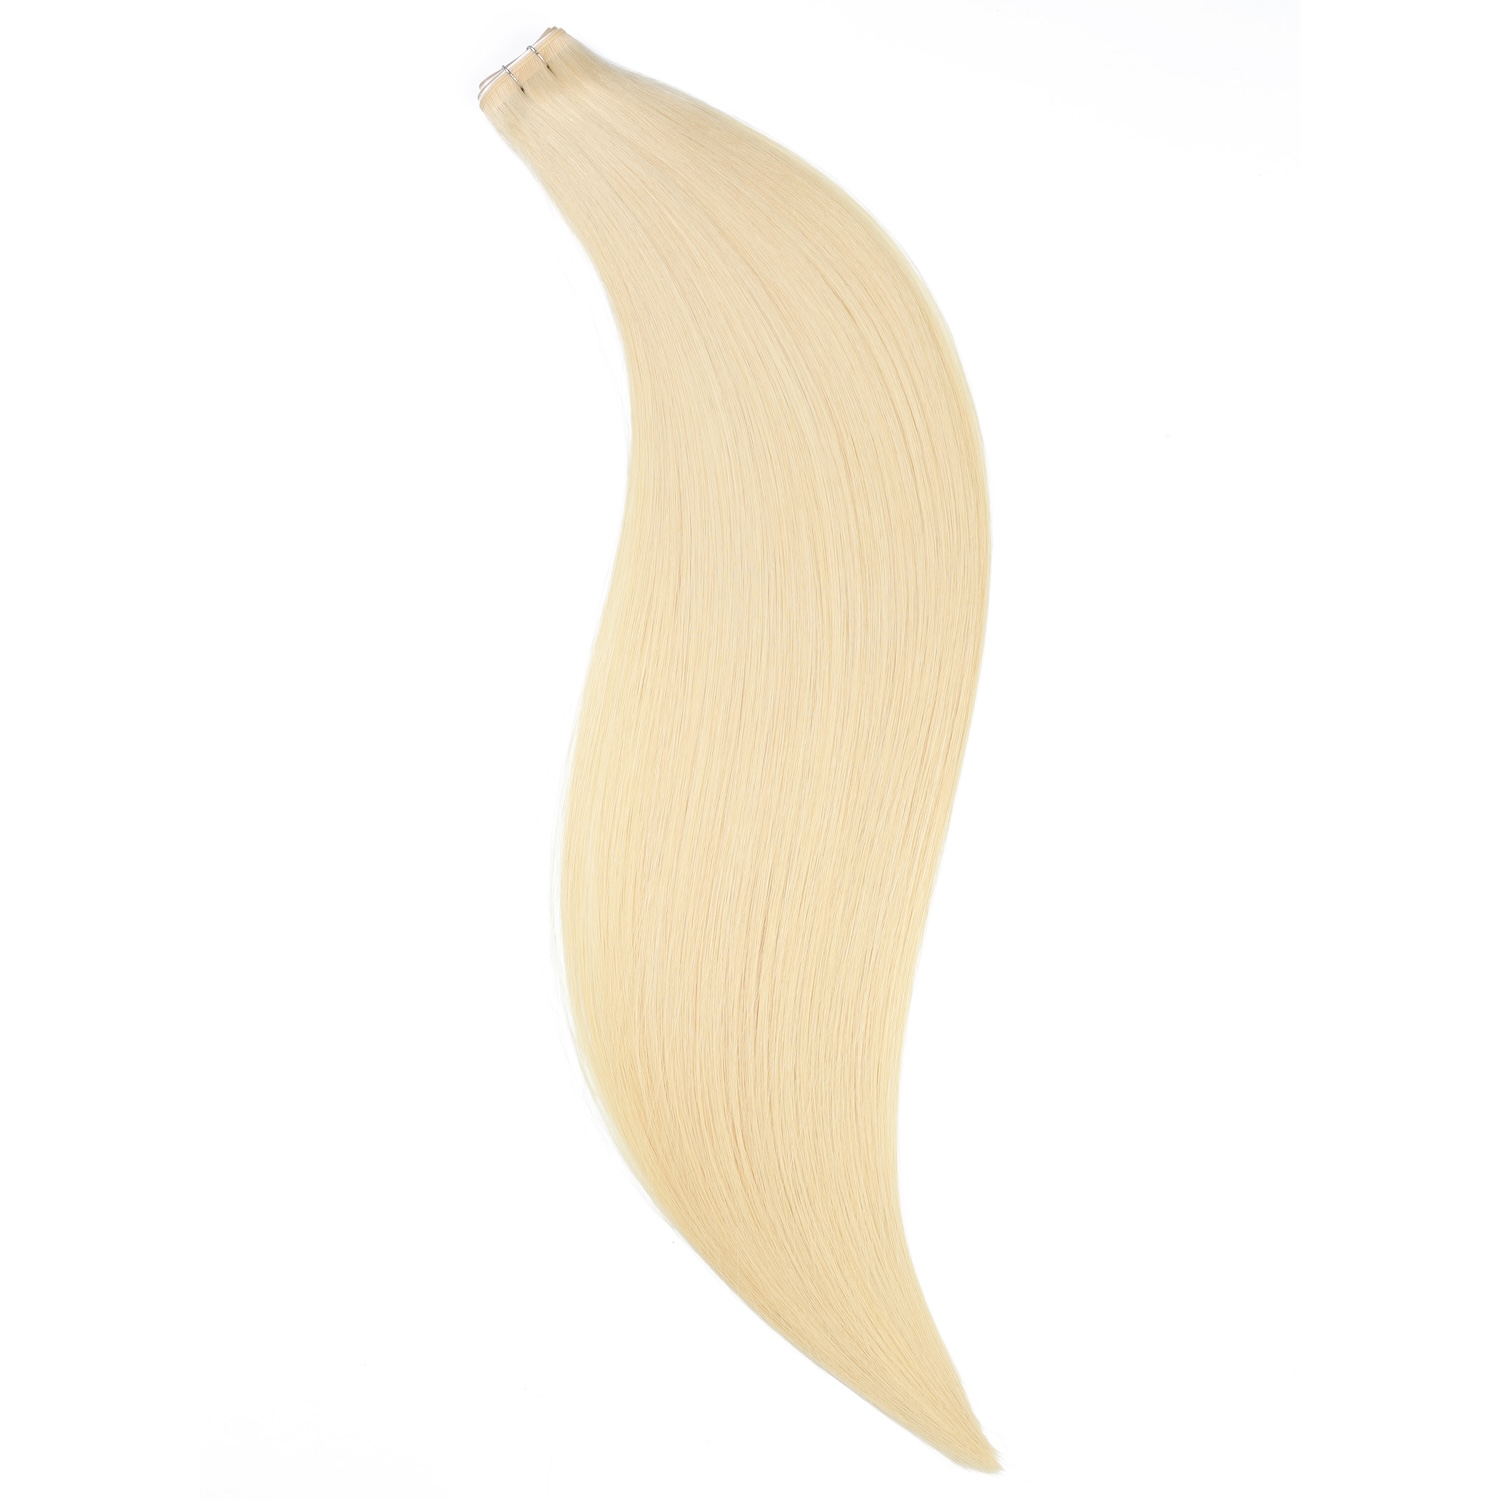
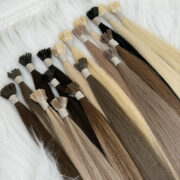
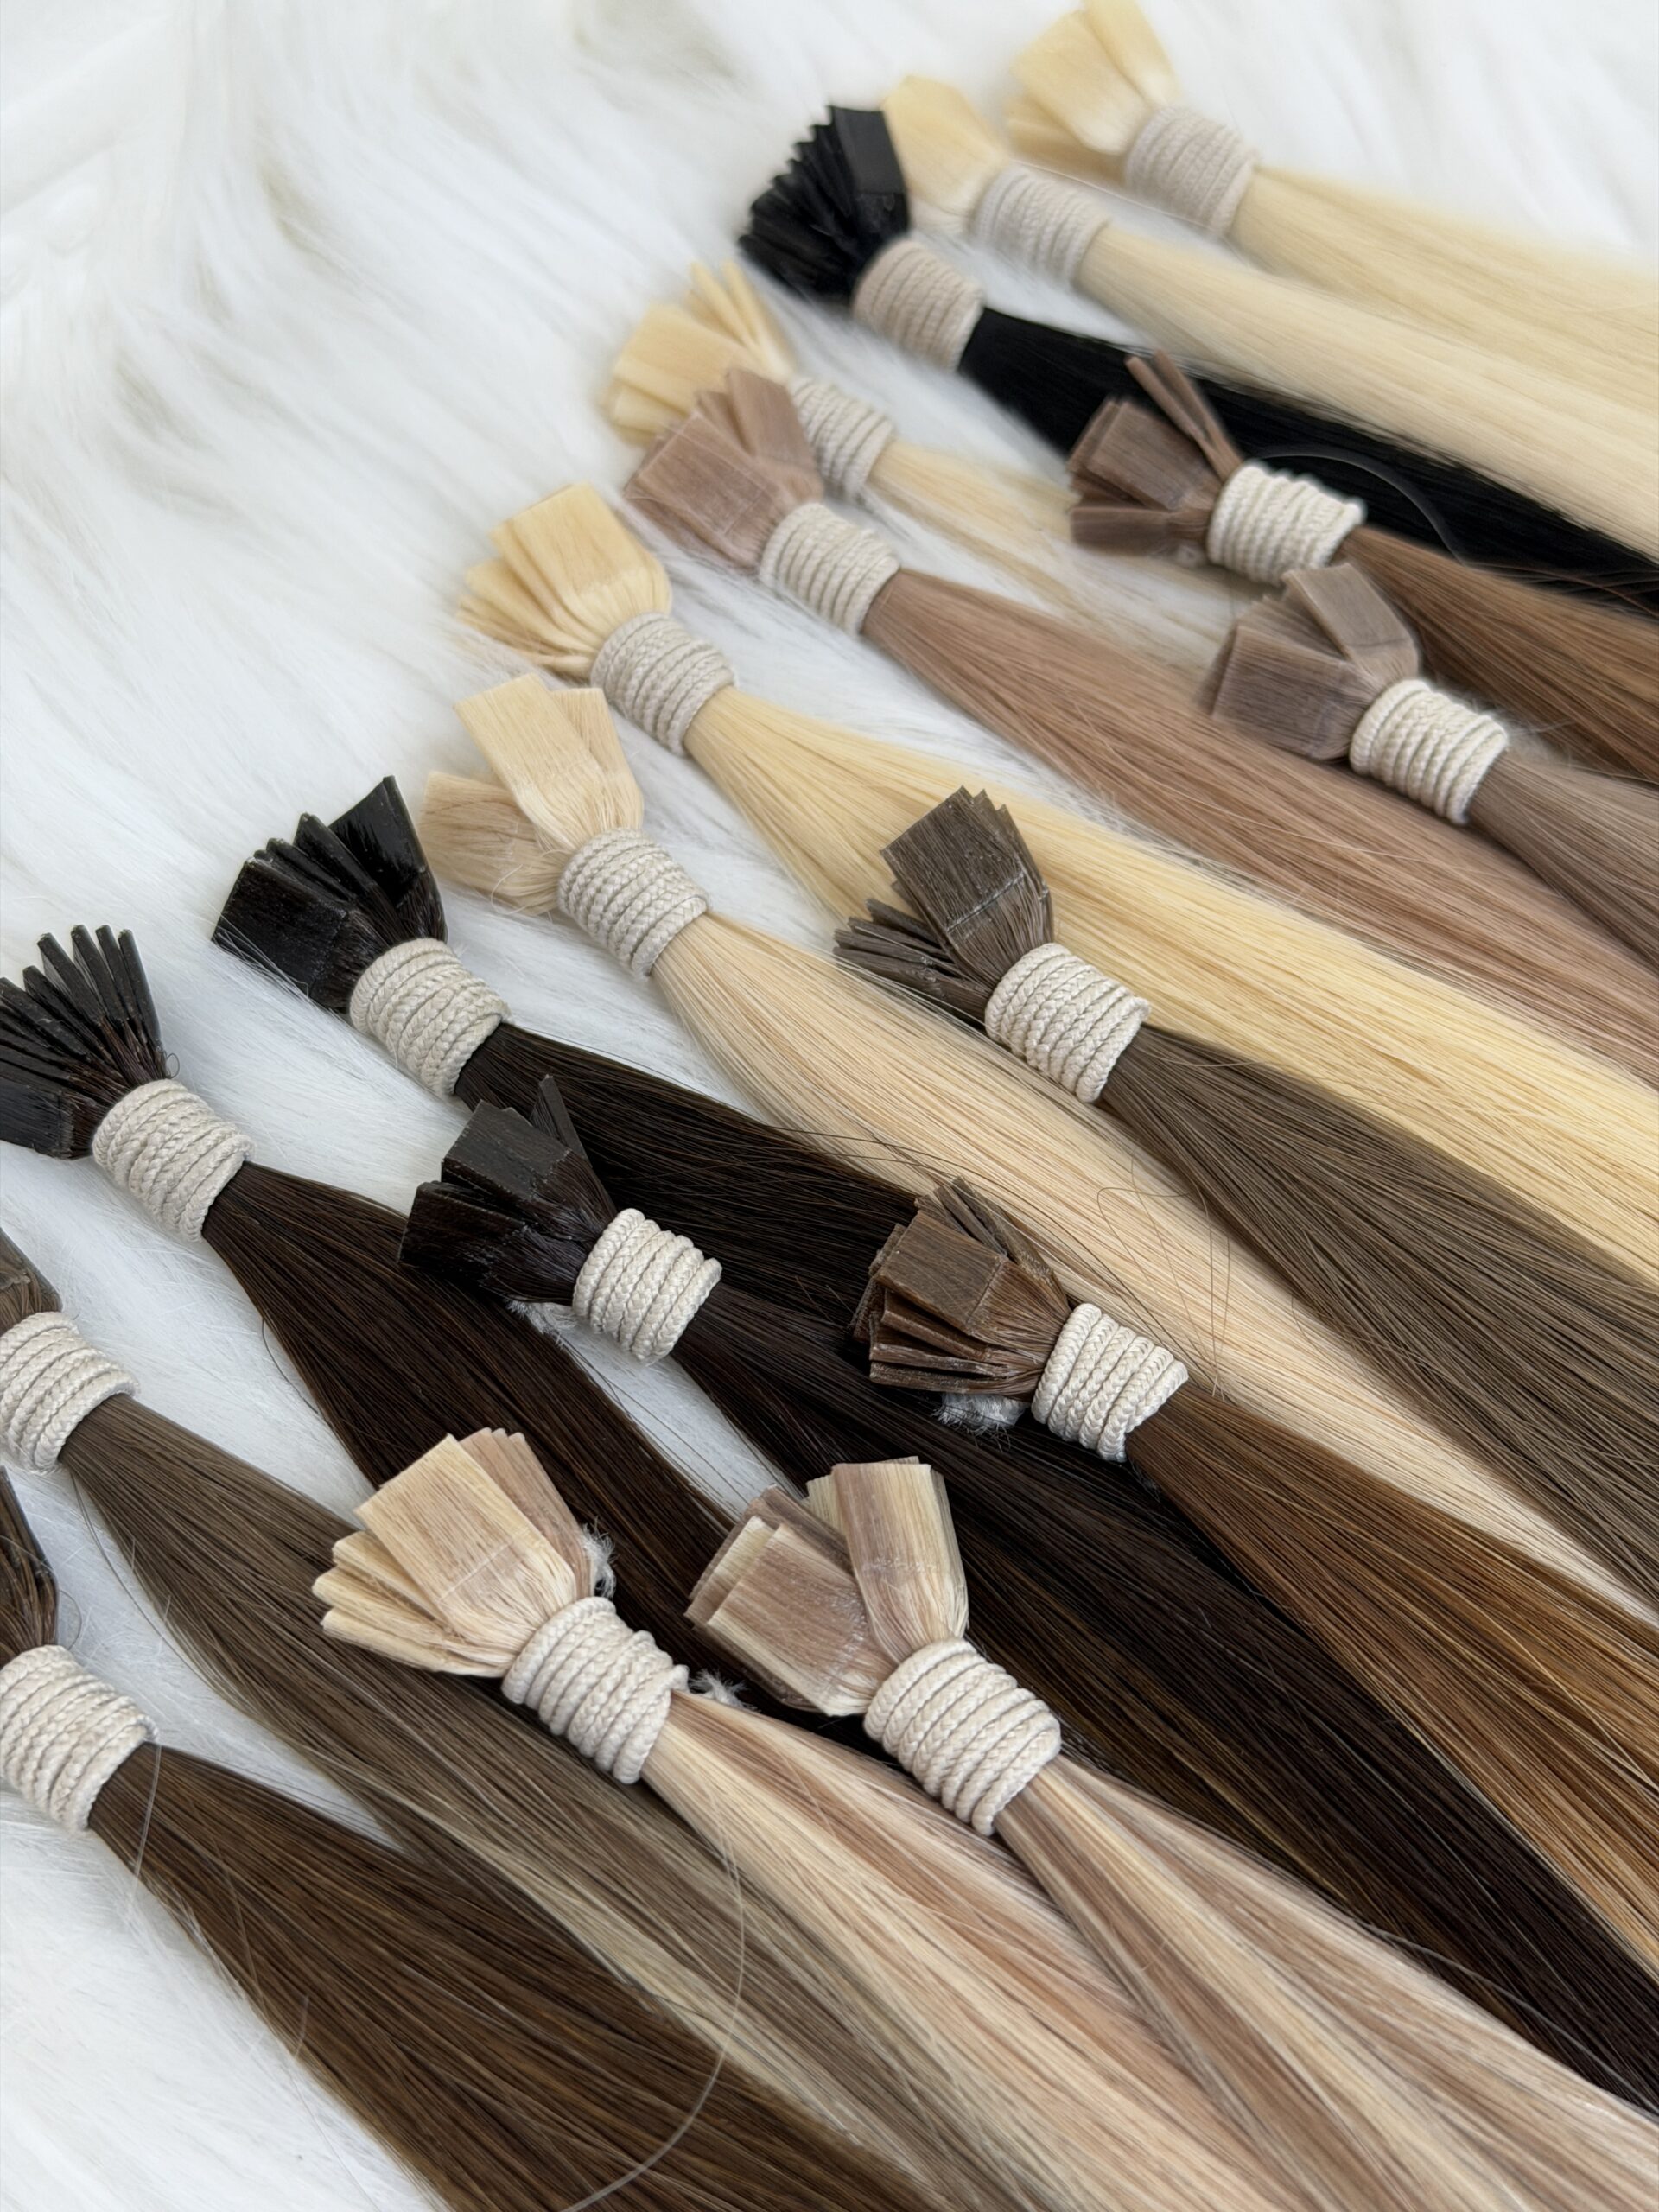
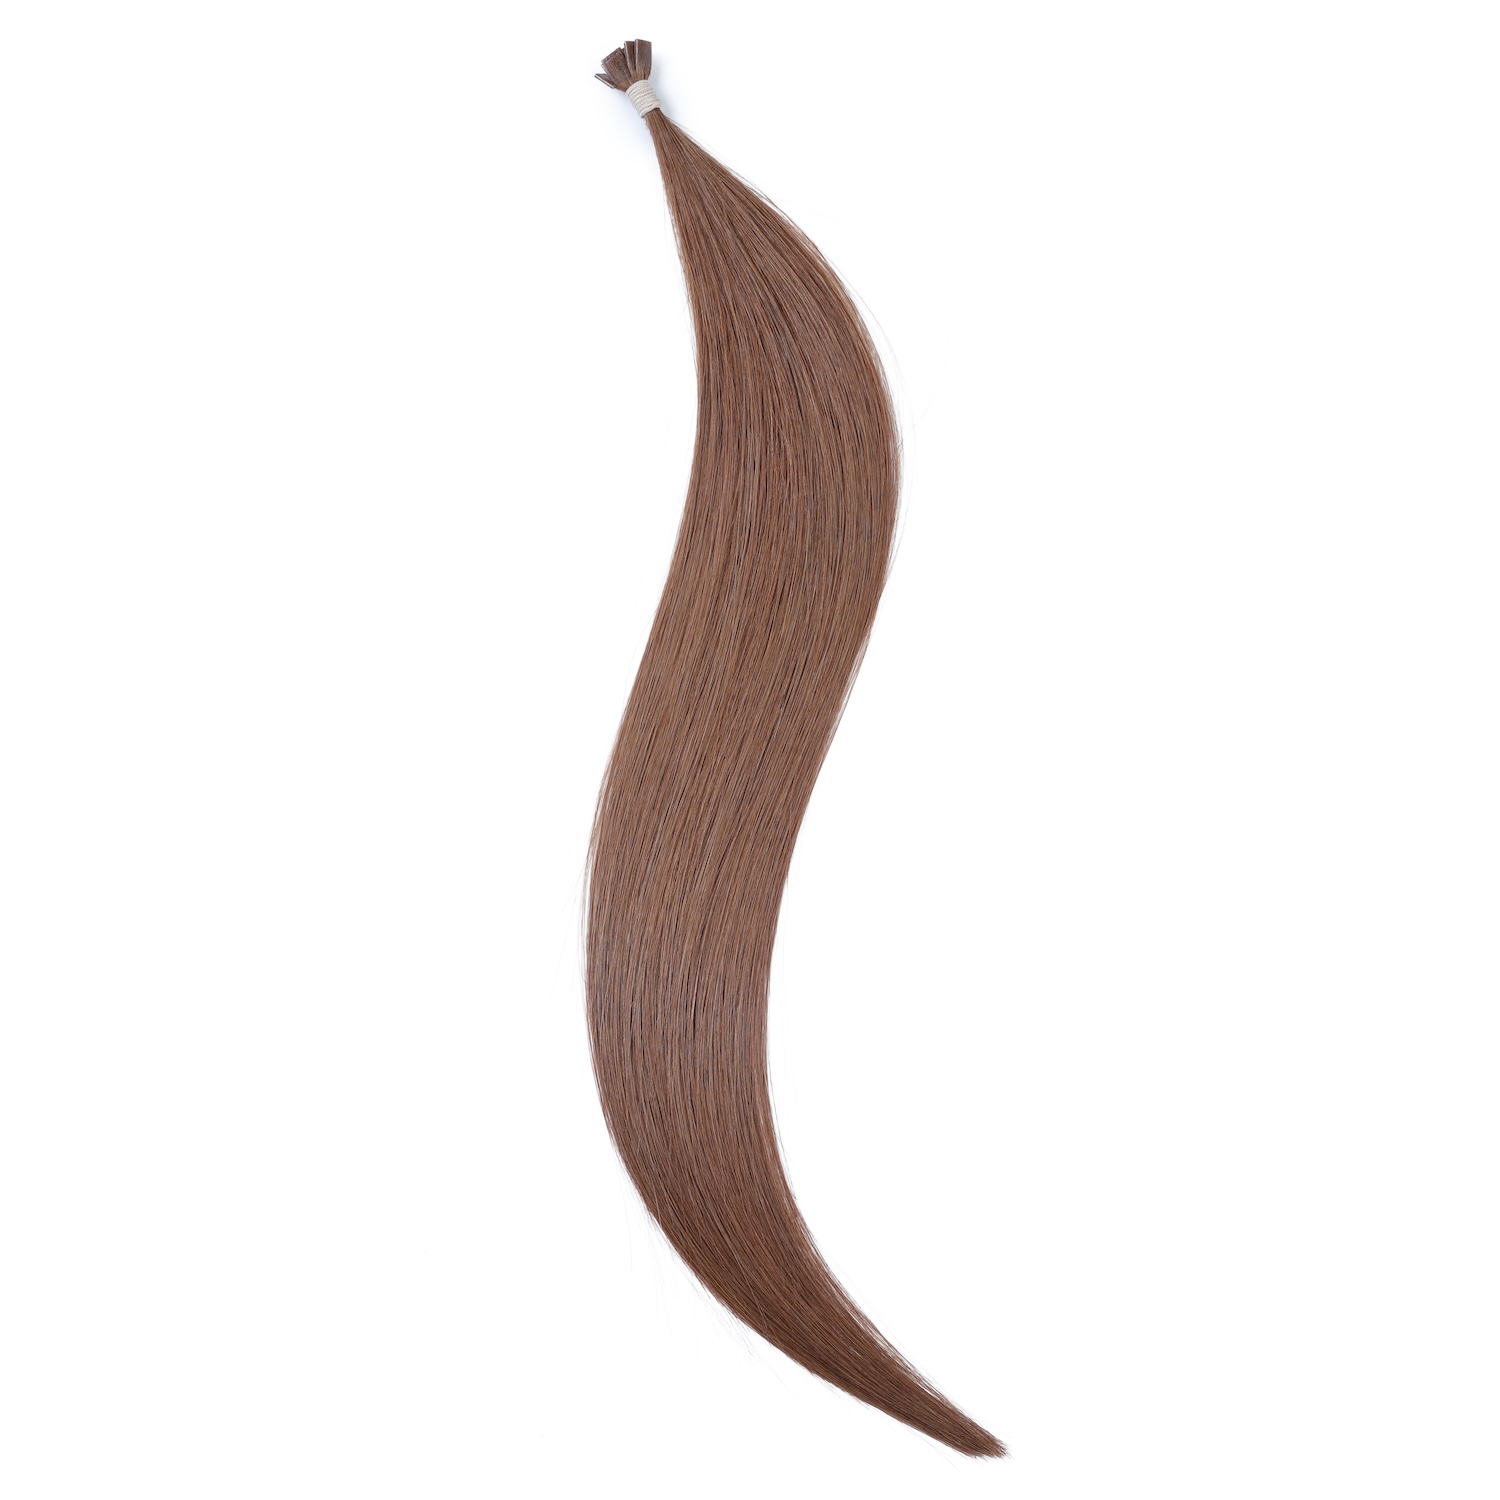
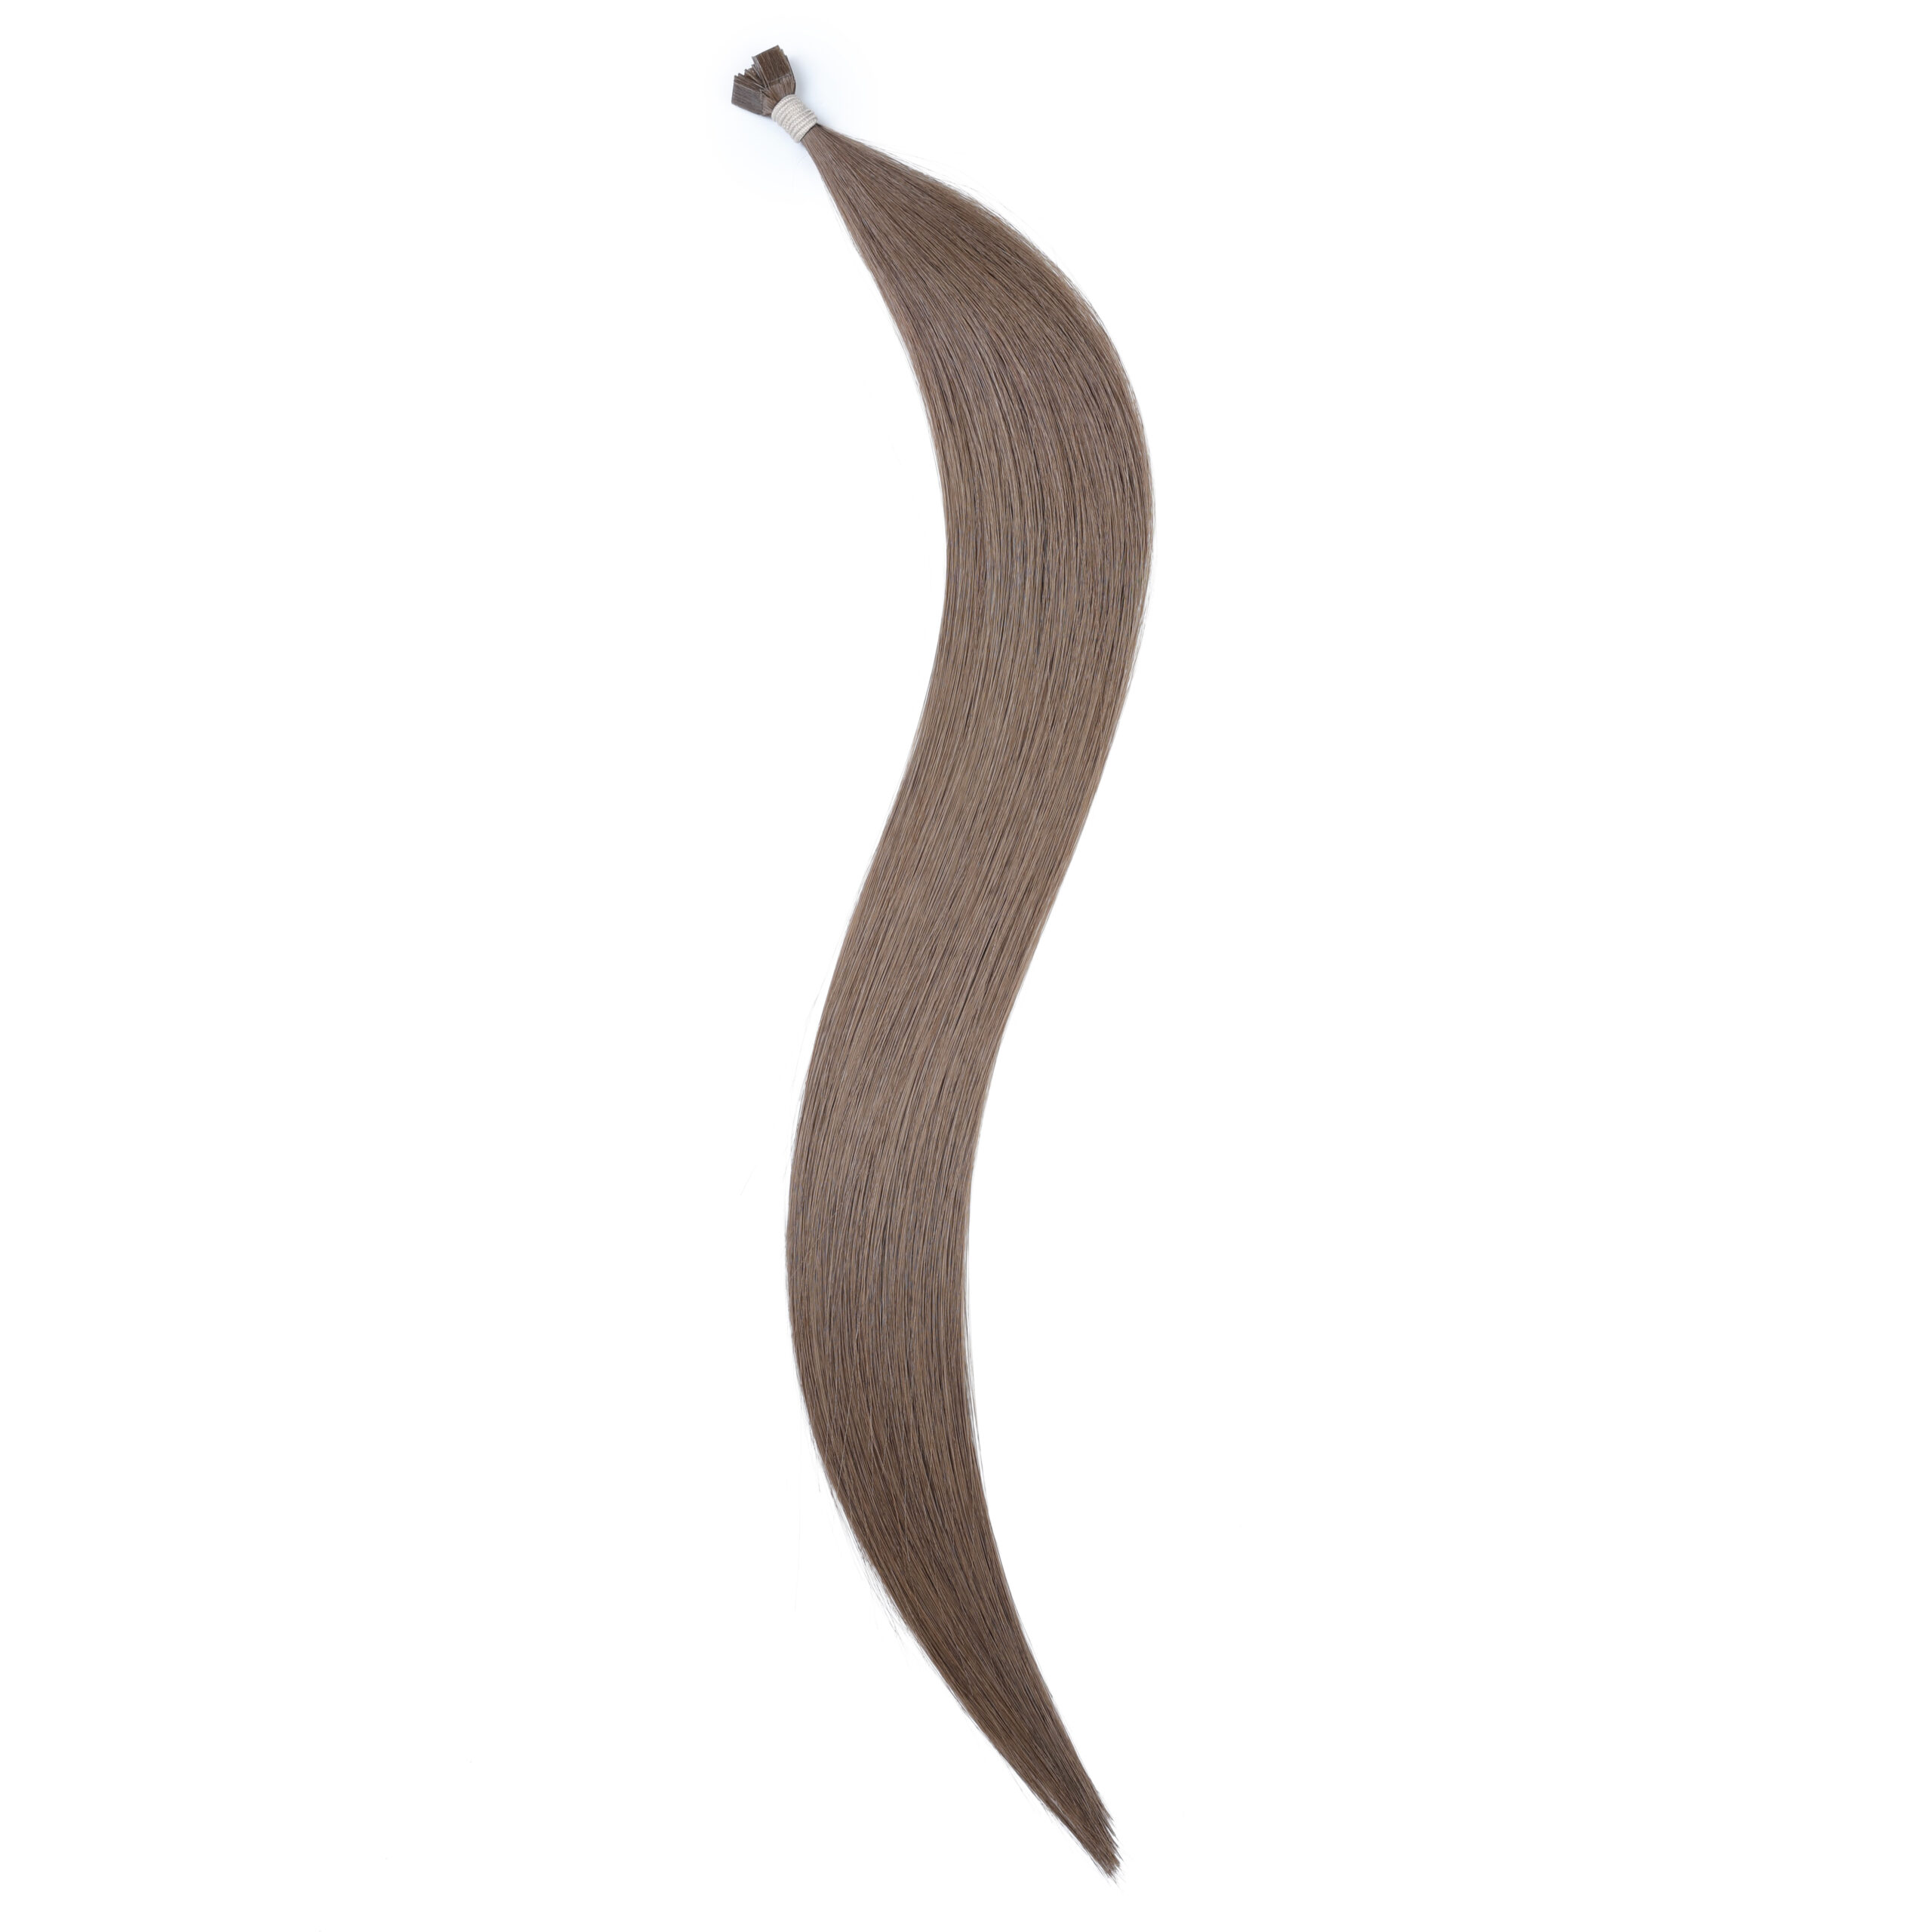
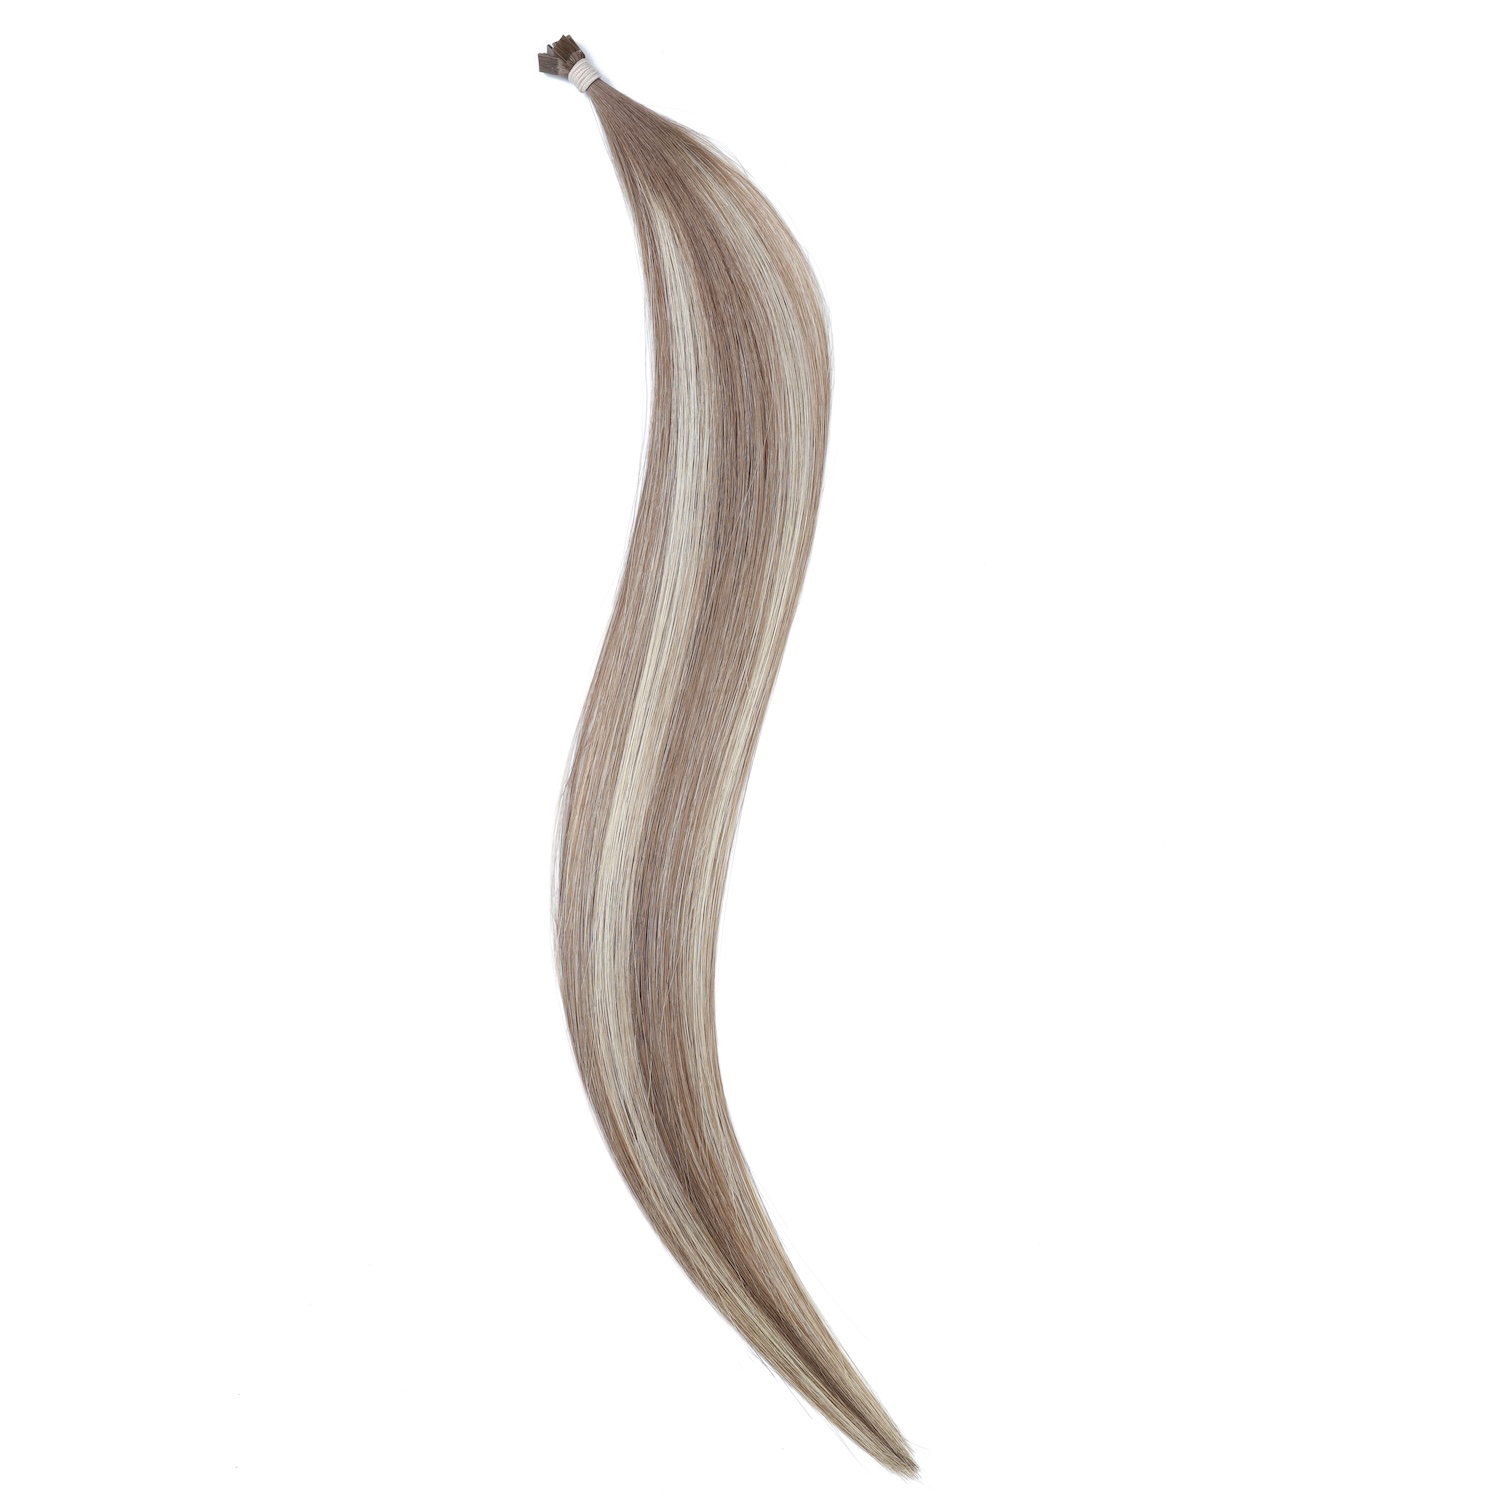
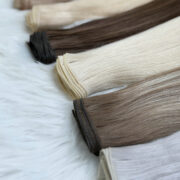
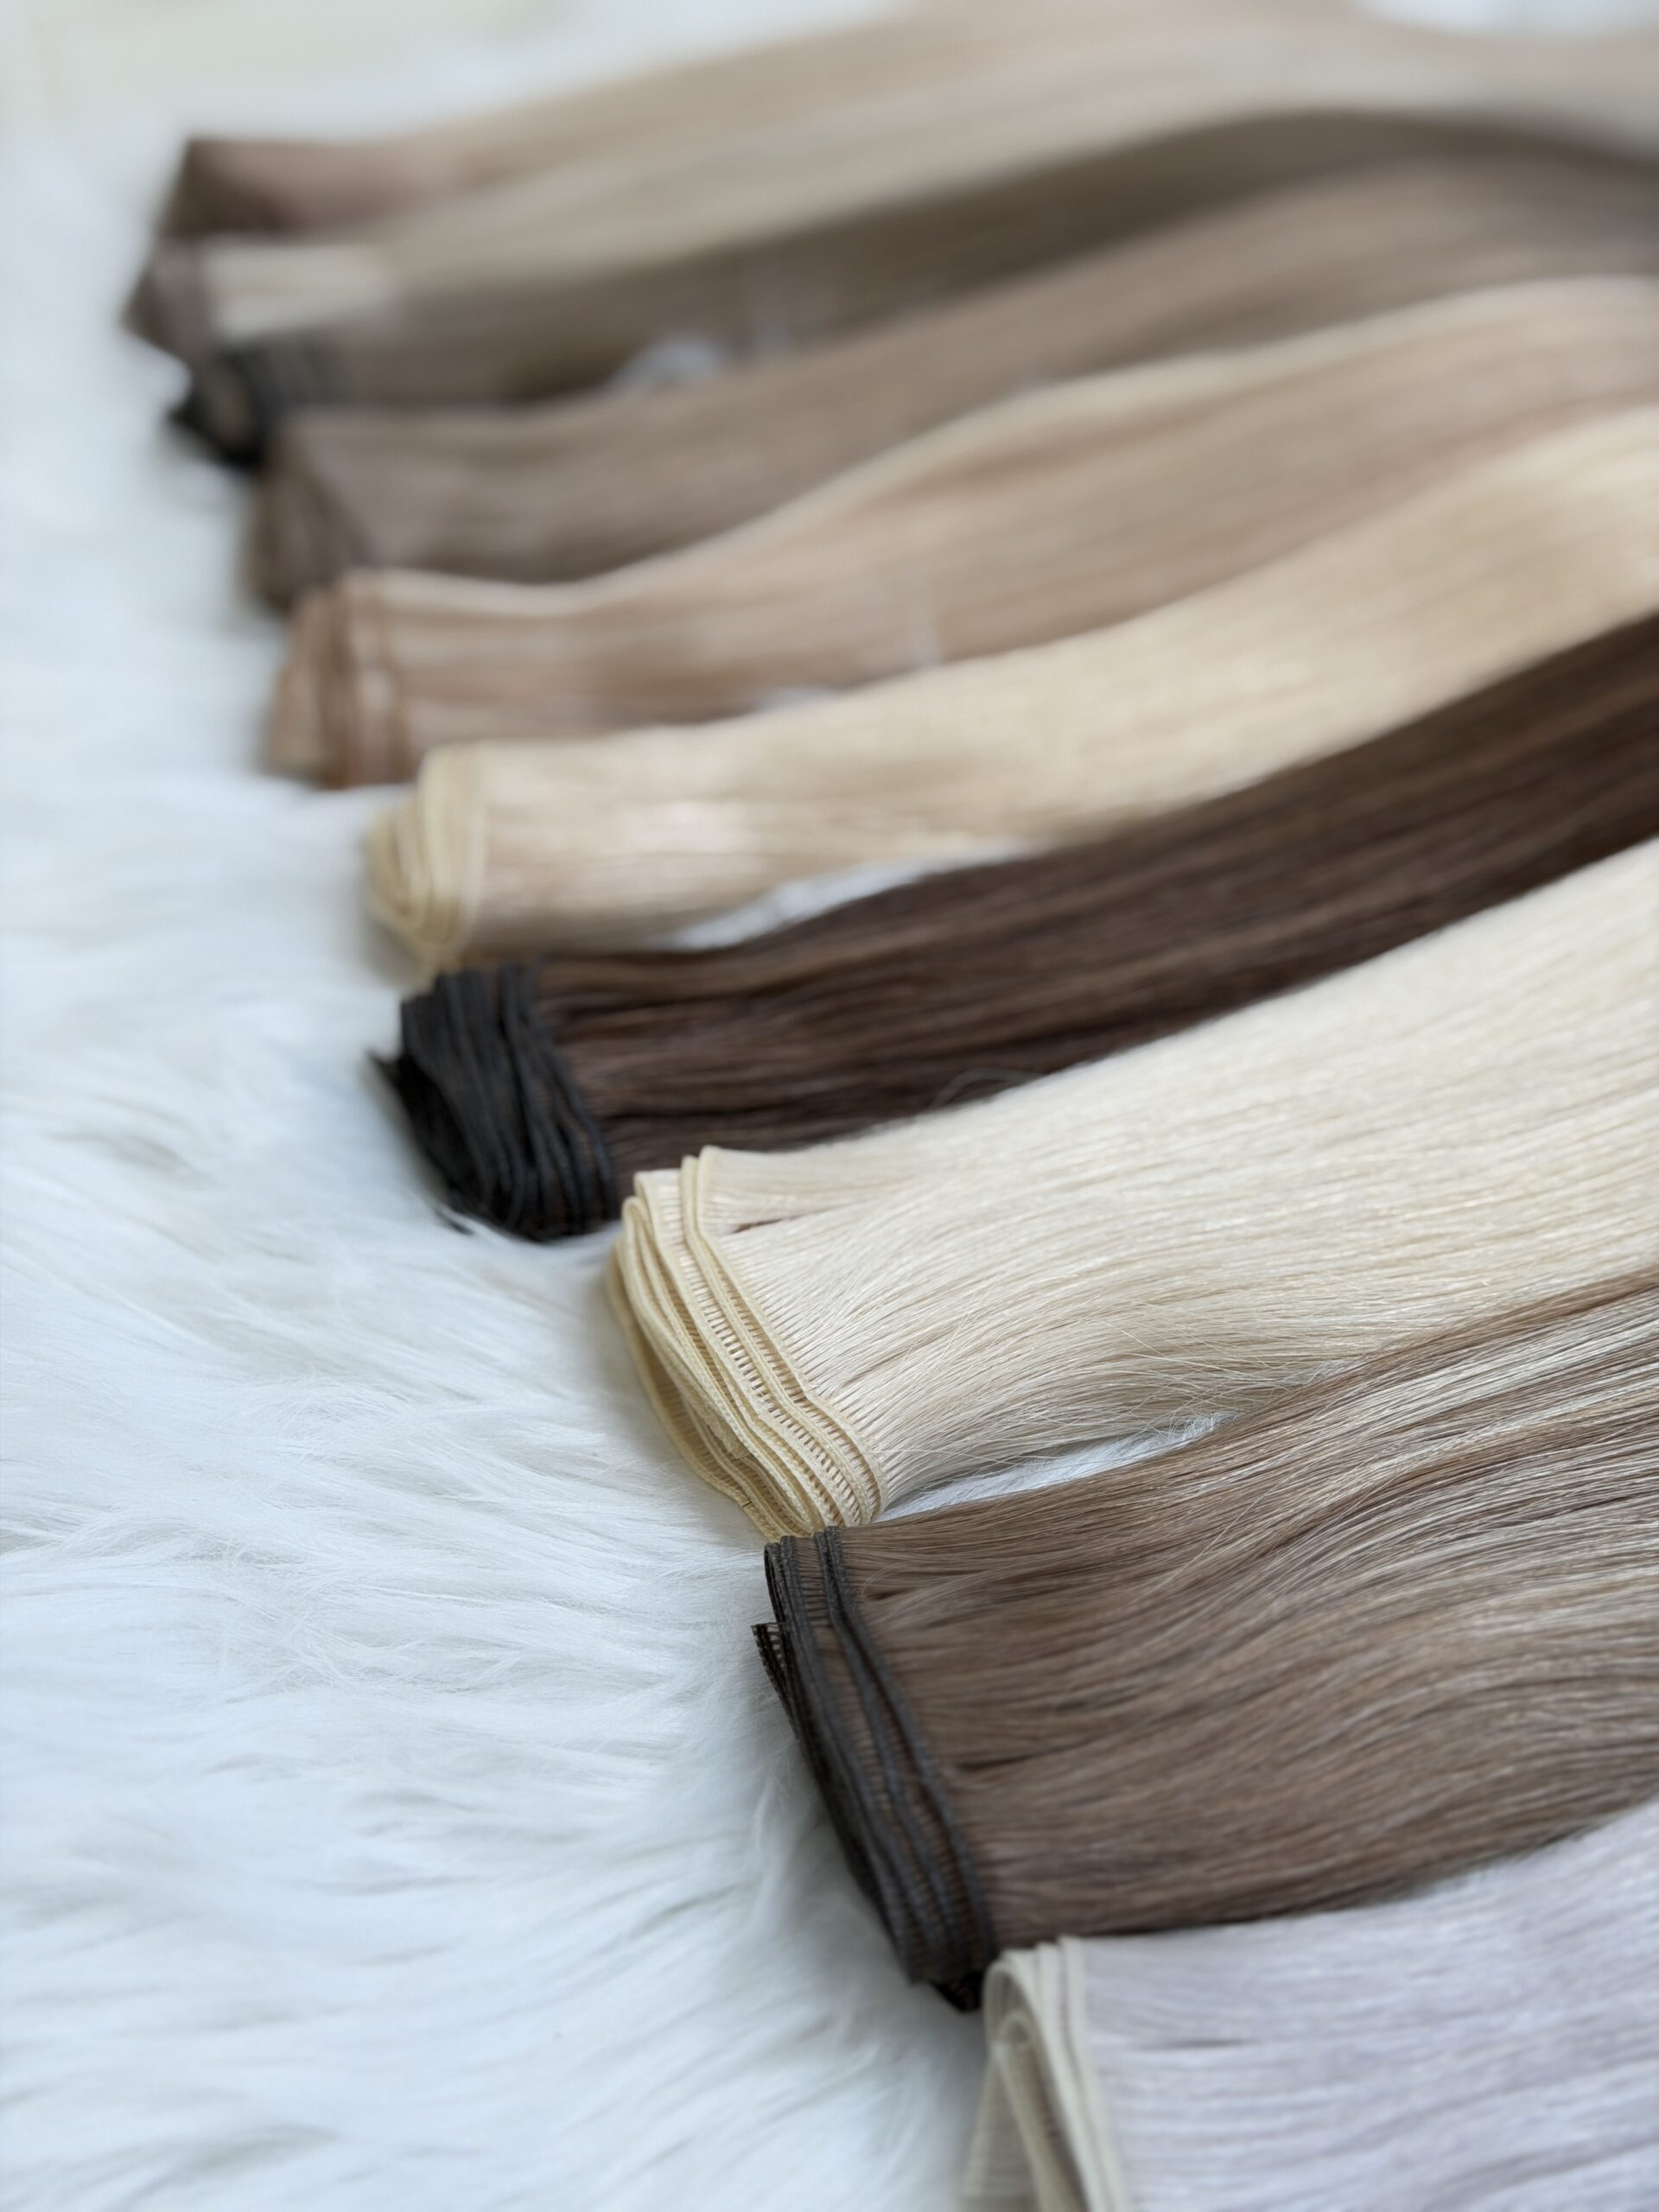
🎨 Flawless Multi-Tonal Blending & Piano Colors
Modern American clients rarely want a single solid color. They demand dimensional balayages, subtle highlights, and seamlessly blended piano colors. Our factory specializes in advanced color processing. Our piano and blended shades offer ultra-smooth transitions that mimic natural sunkissed hair, saving stylists hours of custom root-smudging or toning at the backbar.
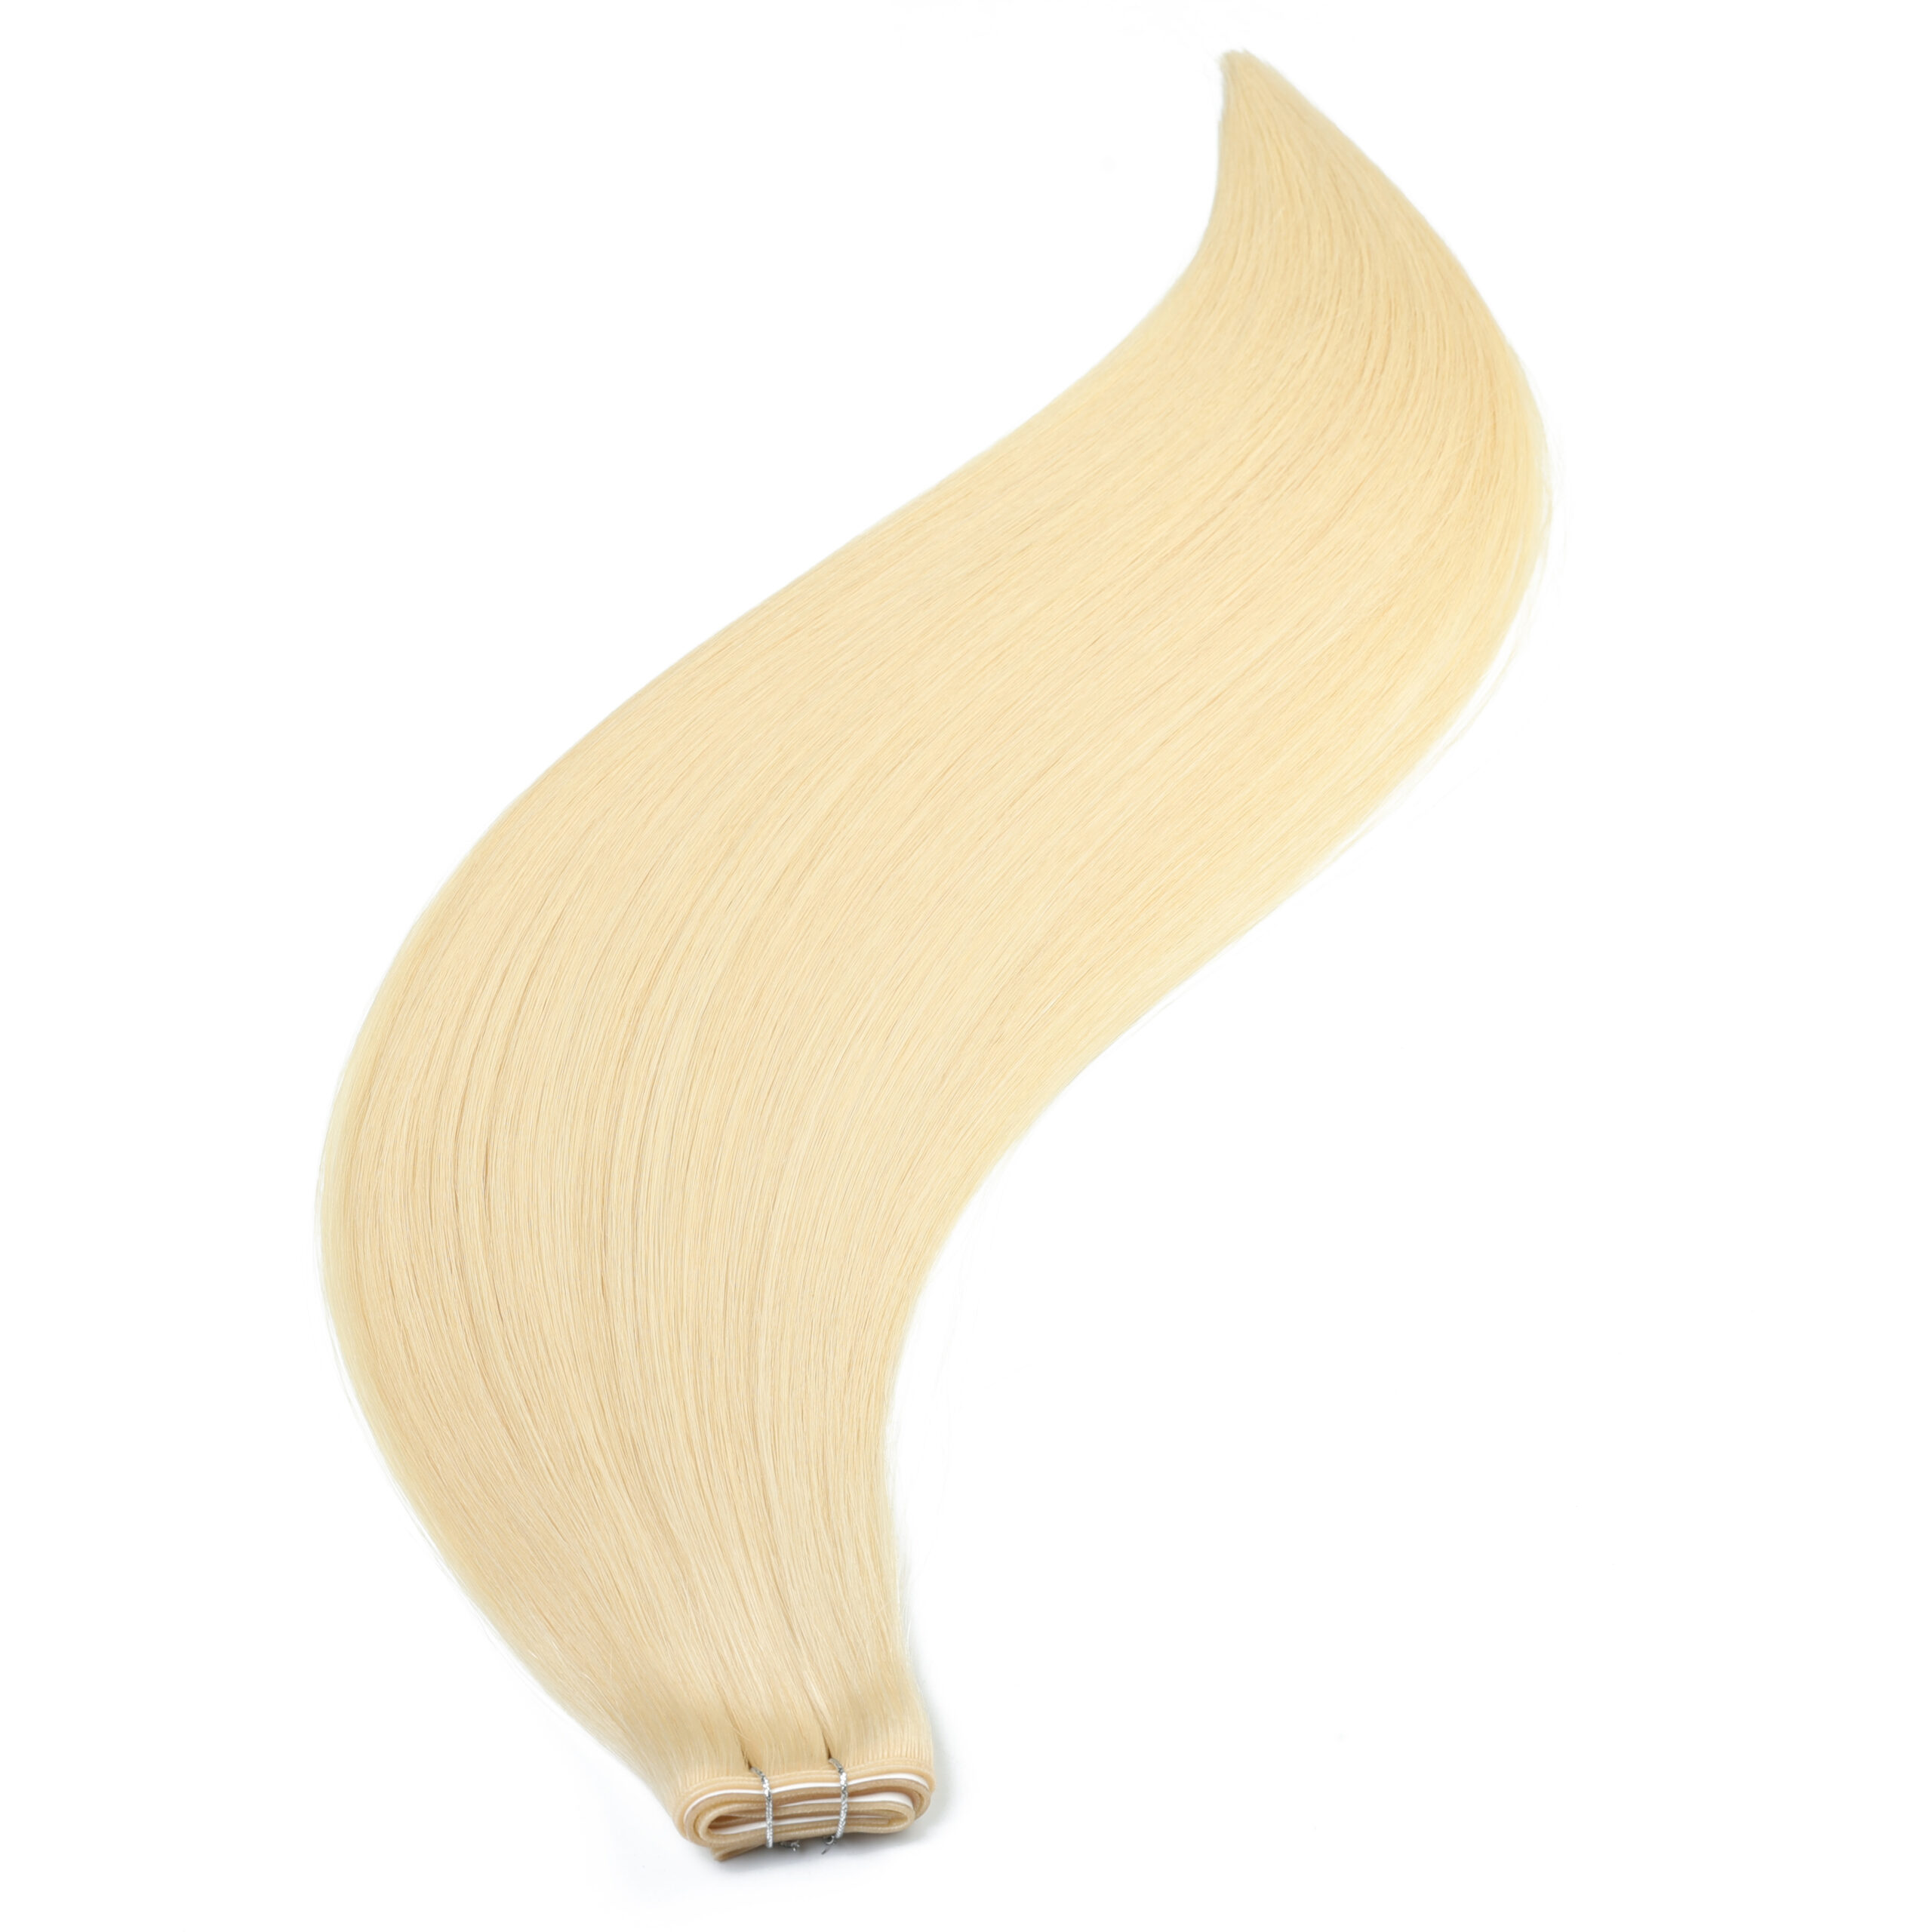
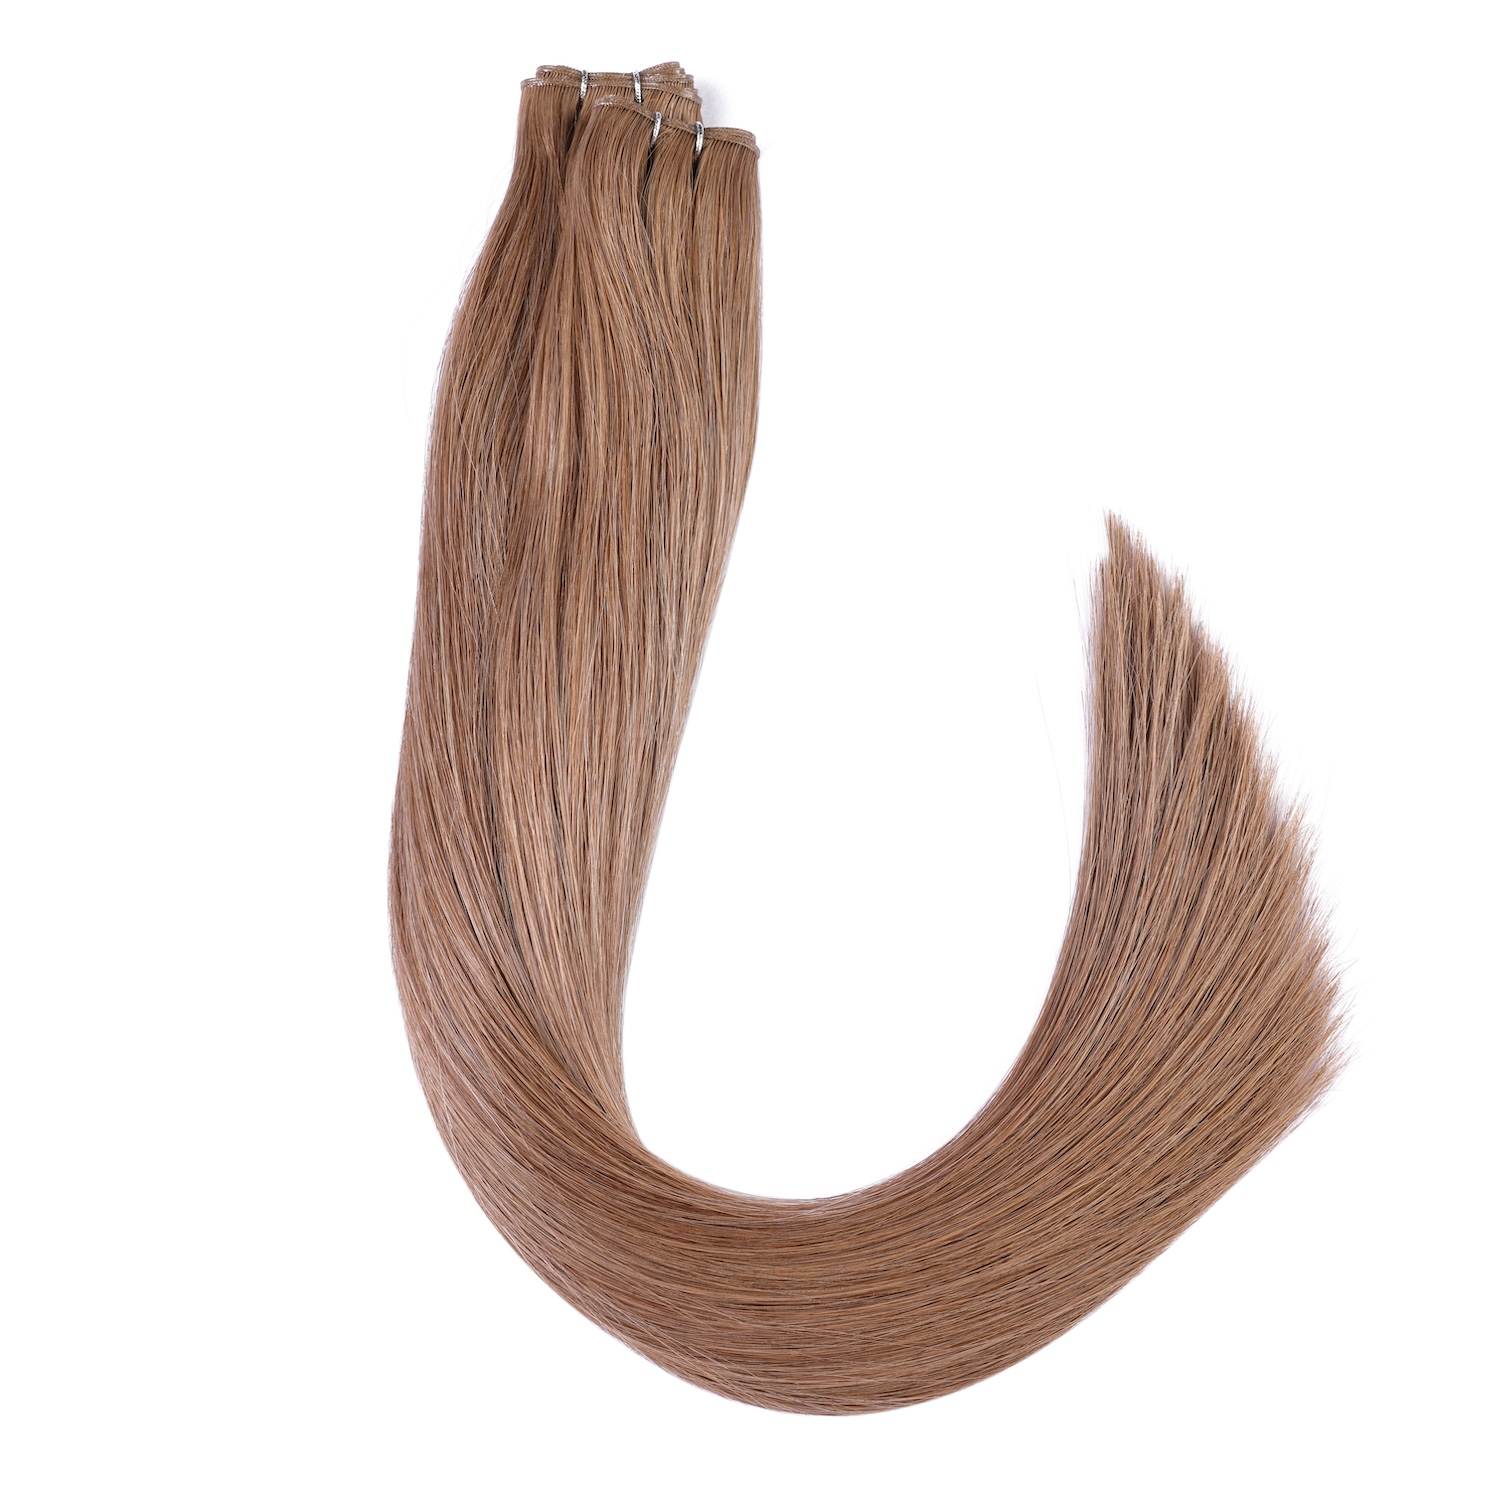
3. The Gold Standard of Quality: 100% Luxury Remy Cuticle-Aligned Hair
In the premium US market, hair quality determines client retention. A gorgeous install means nothing if the hair becomes a matted, dry mess after three washes.
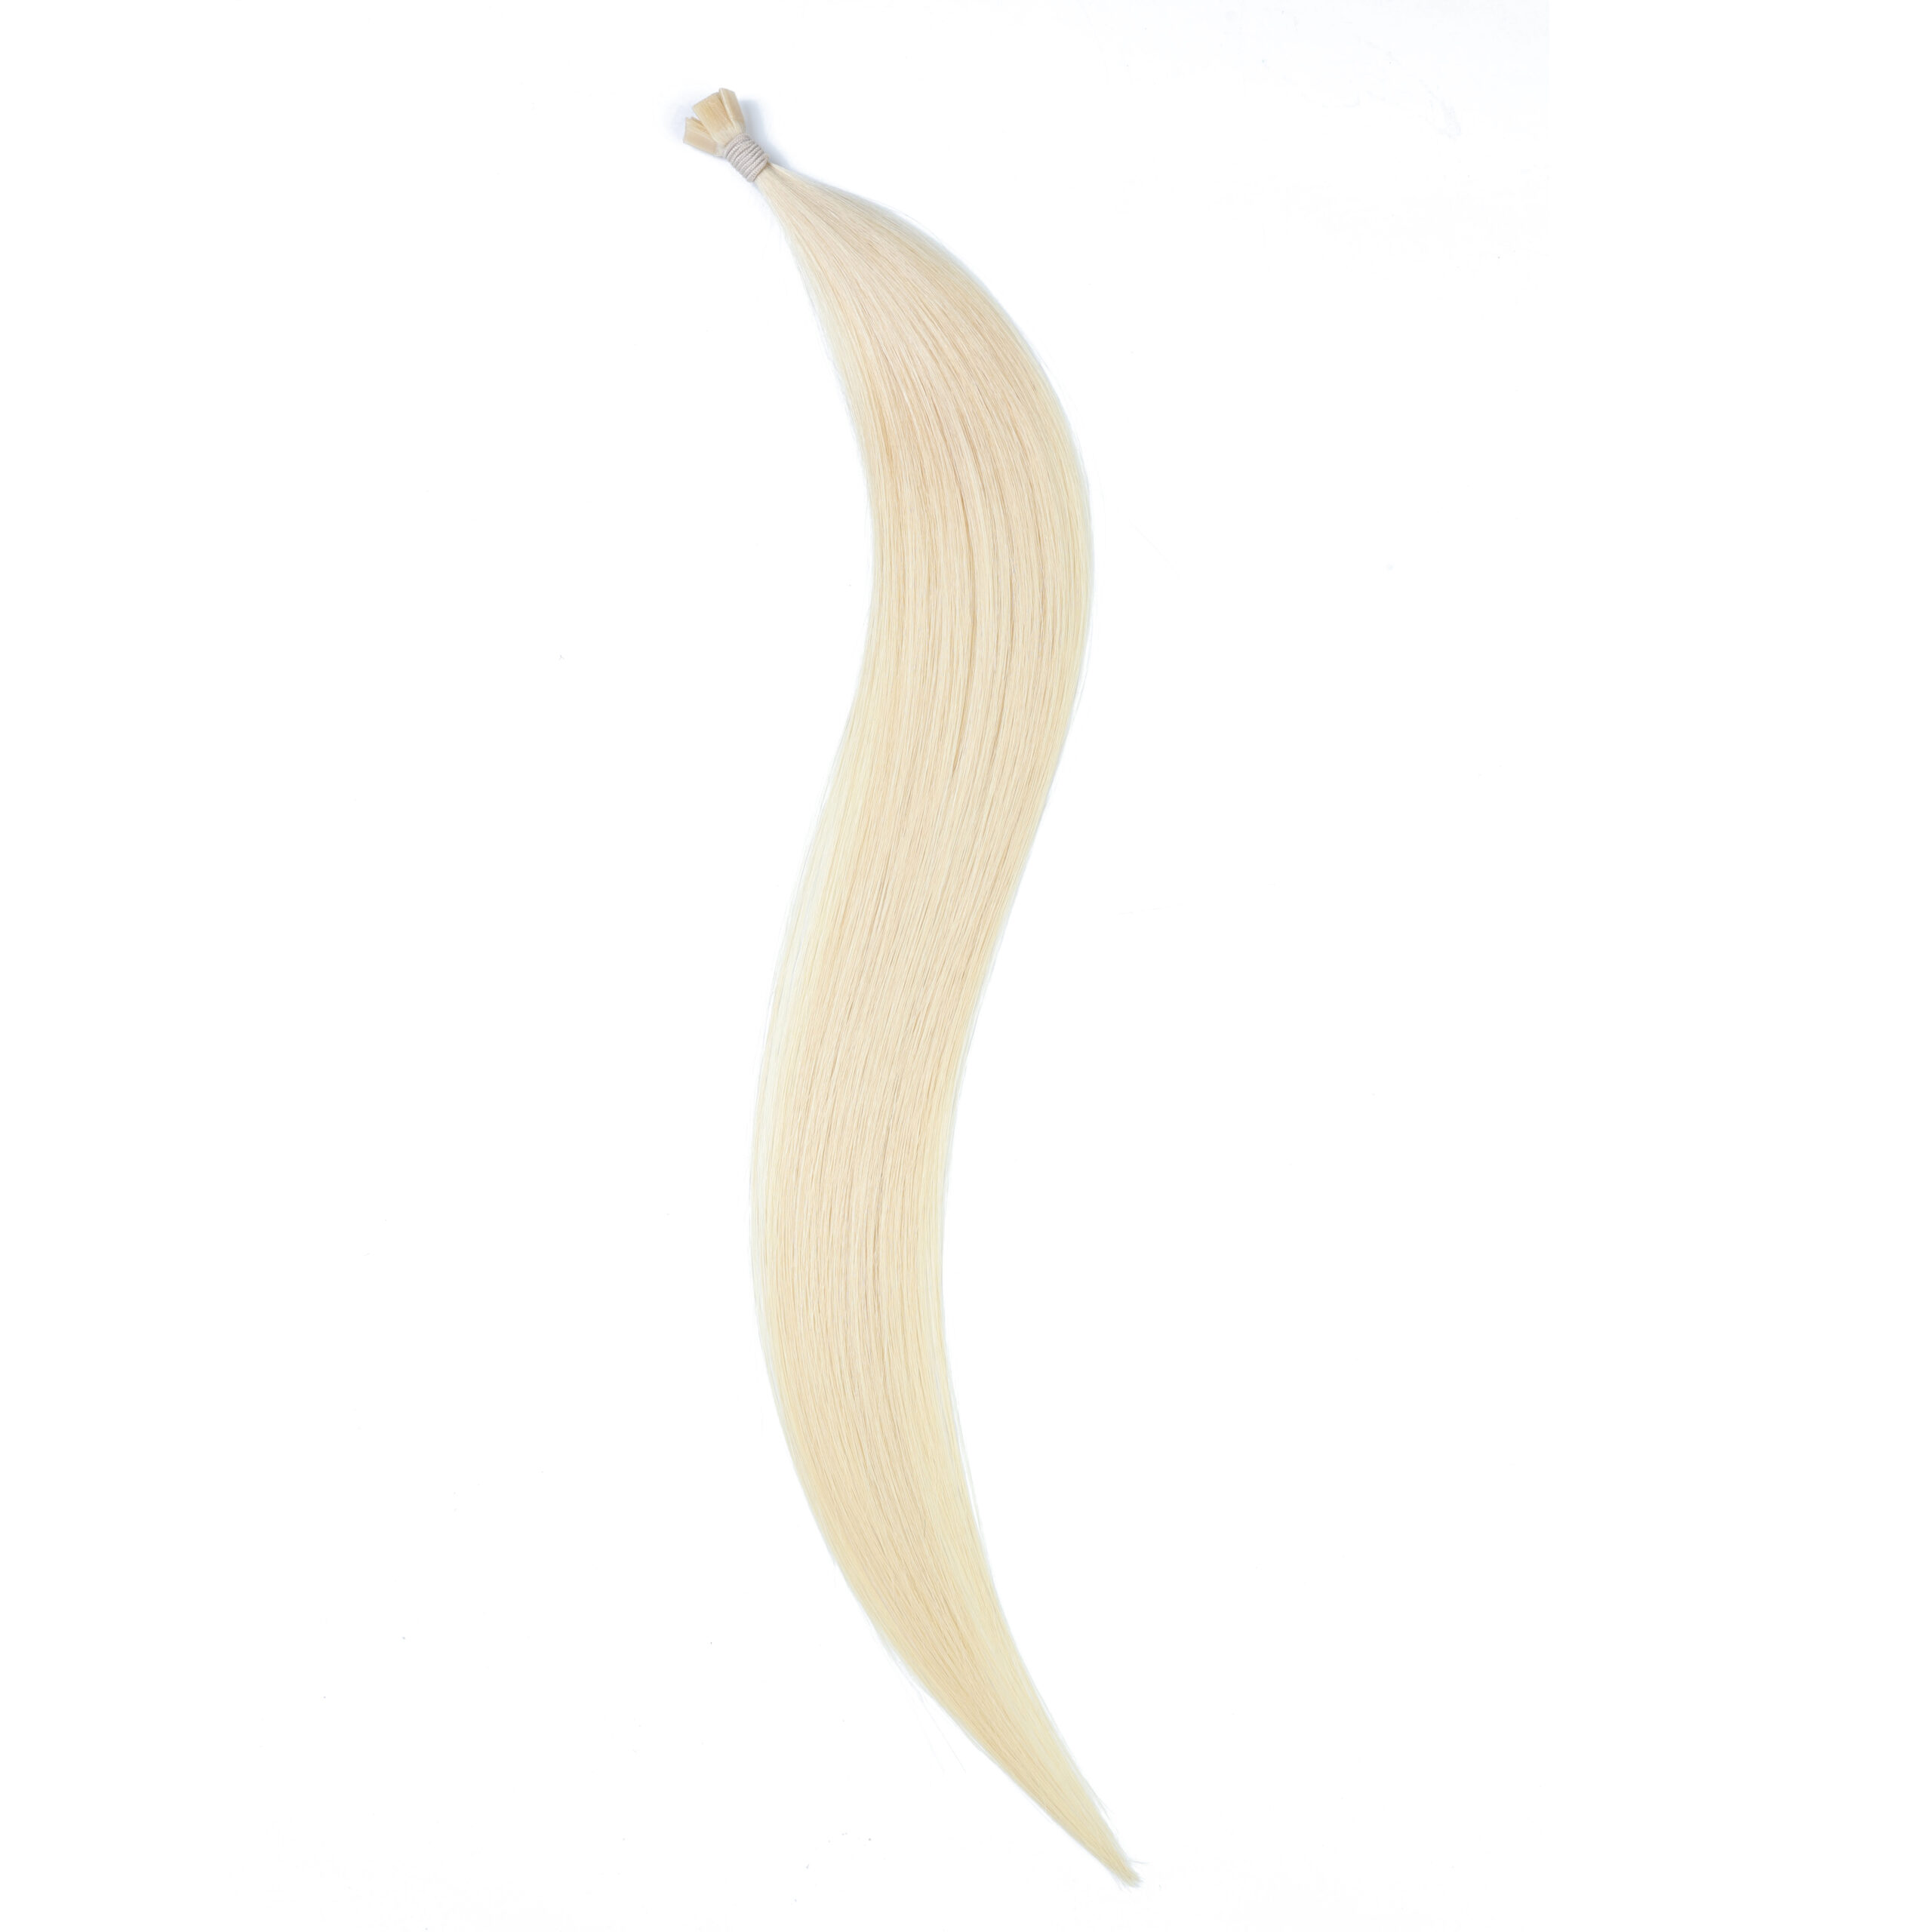
At Alove Hair, our Genius Wefts are crafted exclusively from 100% Pure Luxury Remy Human Hair.
The Cuticle-Aligned Difference
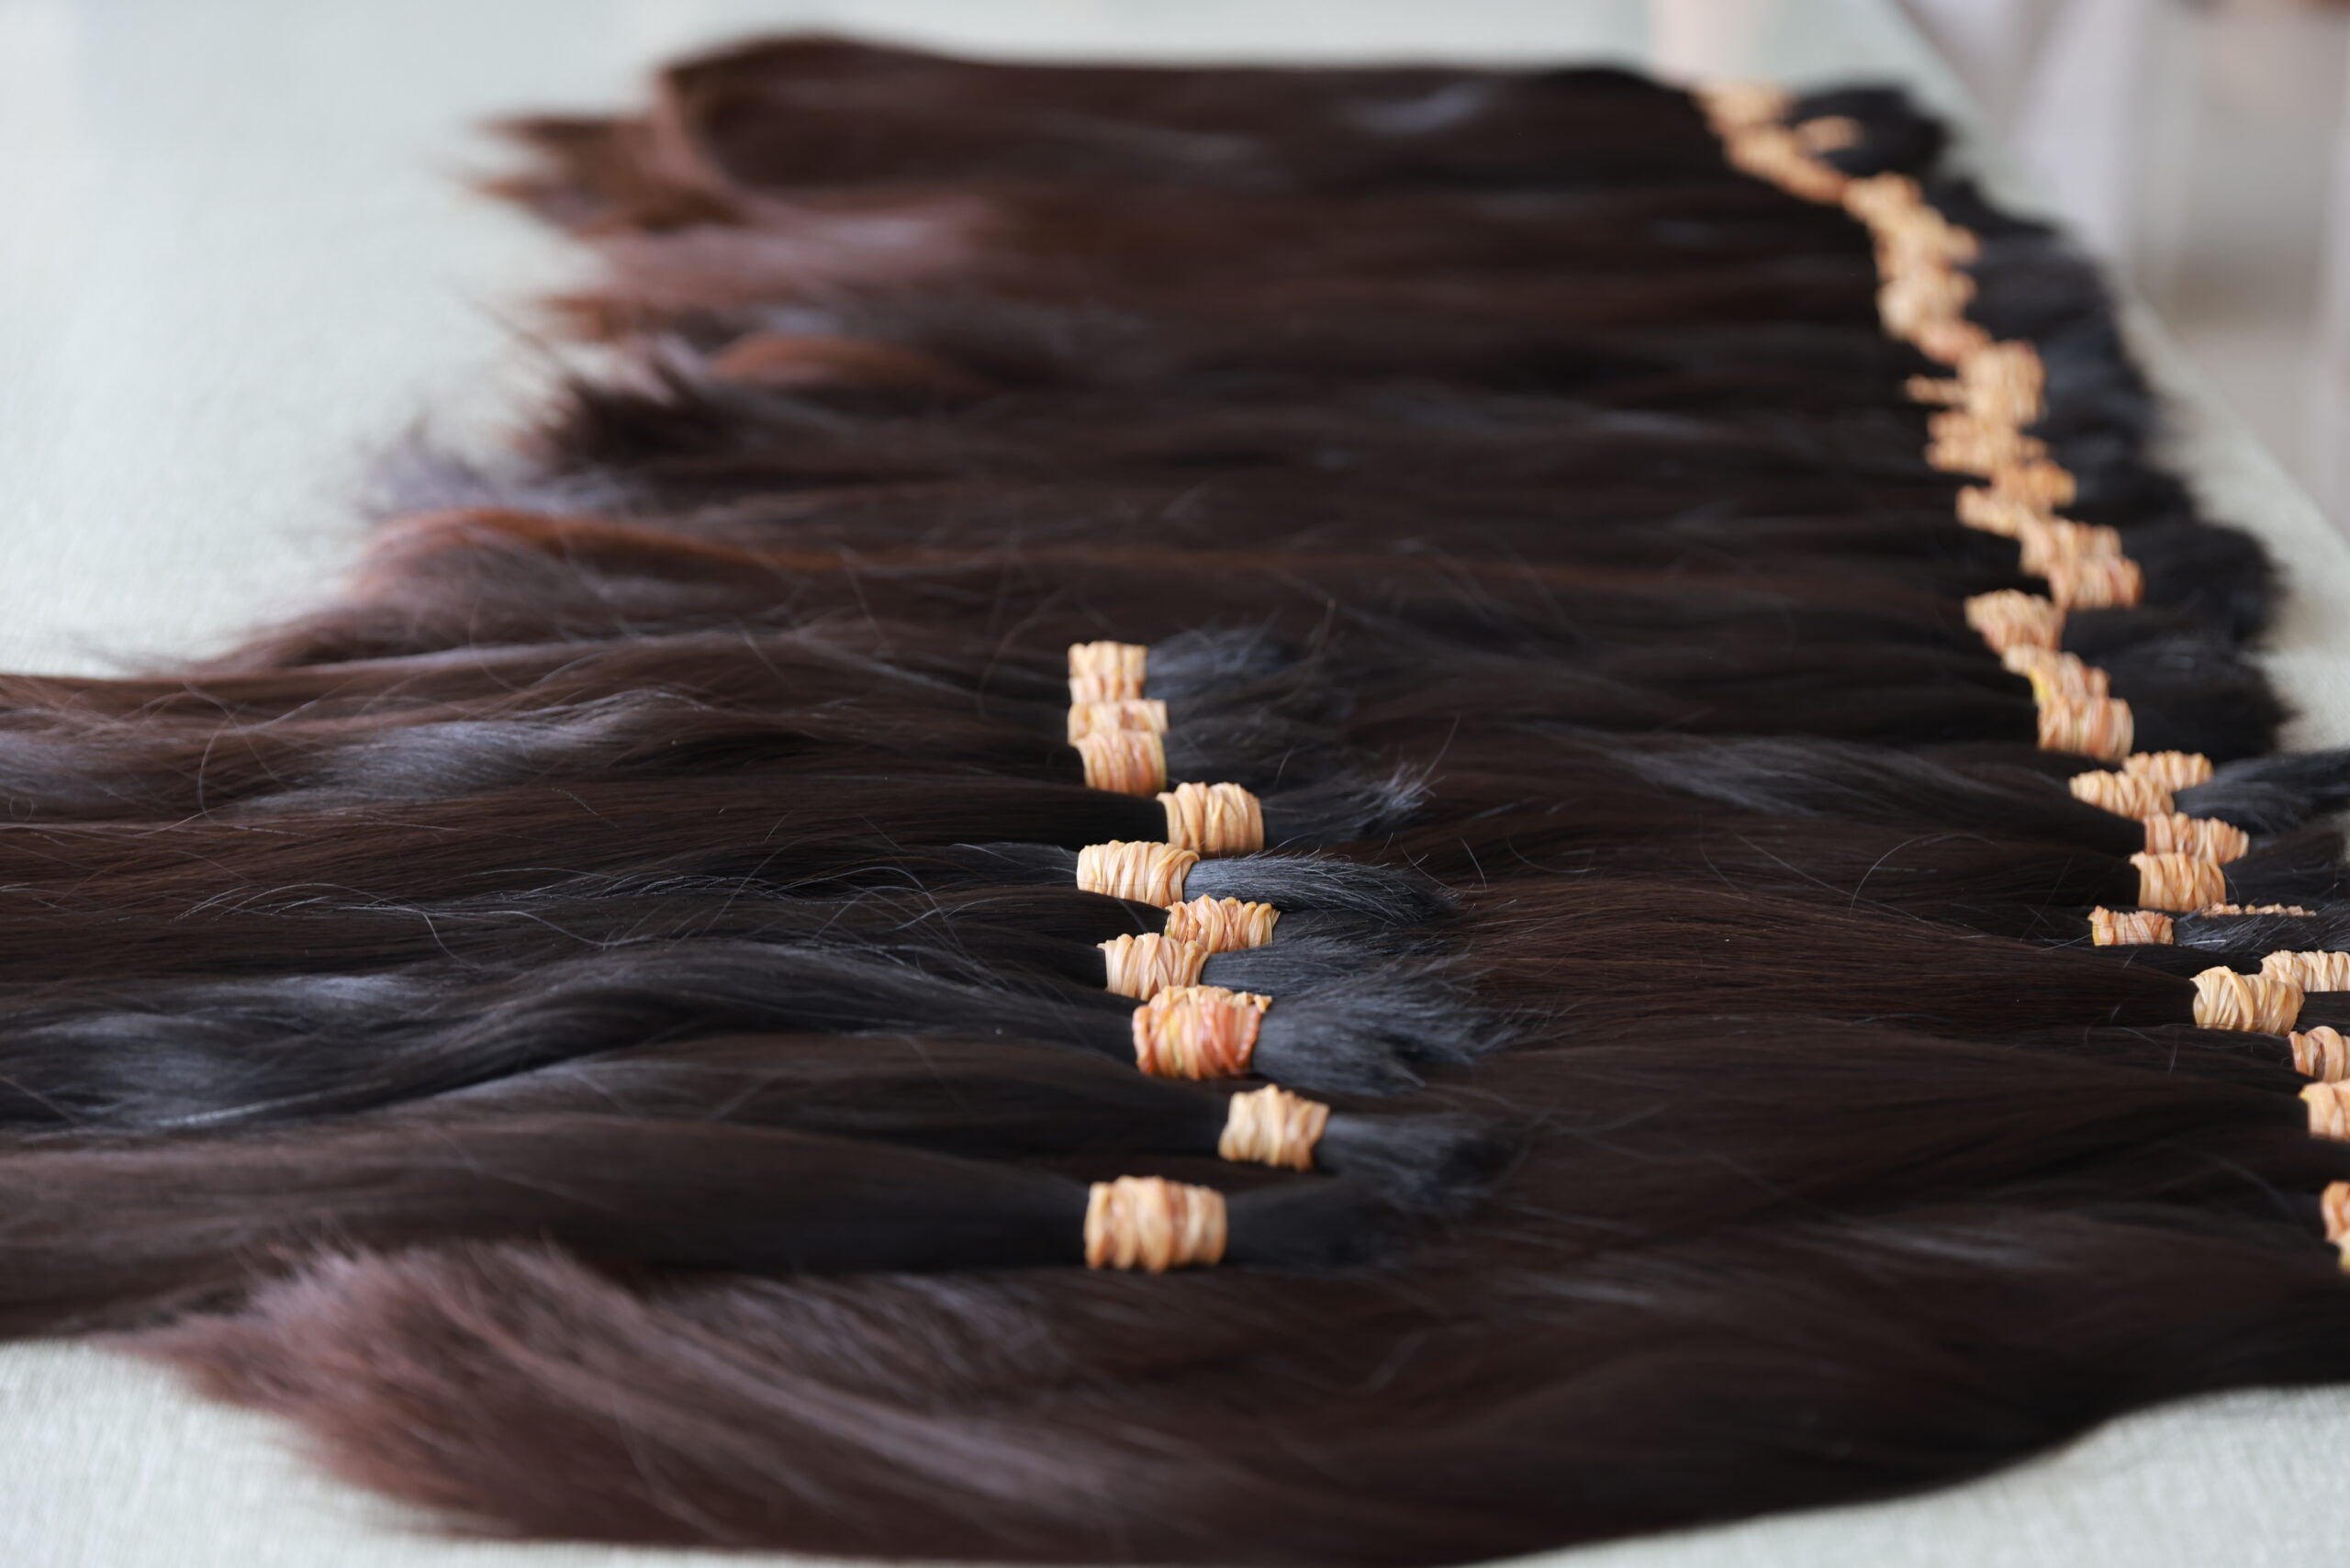
We source raw hair that has never been chemically compromised. During production, we ensure that every single strand maintains its natural cuticle-aligned direction from root to tip. When cuticles run in the same direction, friction is eliminated. This ensures the hair remains naturally glossy, incredibly soft, and completely tangle-free throughout its lifespan.
Gentle, Non-Damaging Cold-Pigmentation Processing
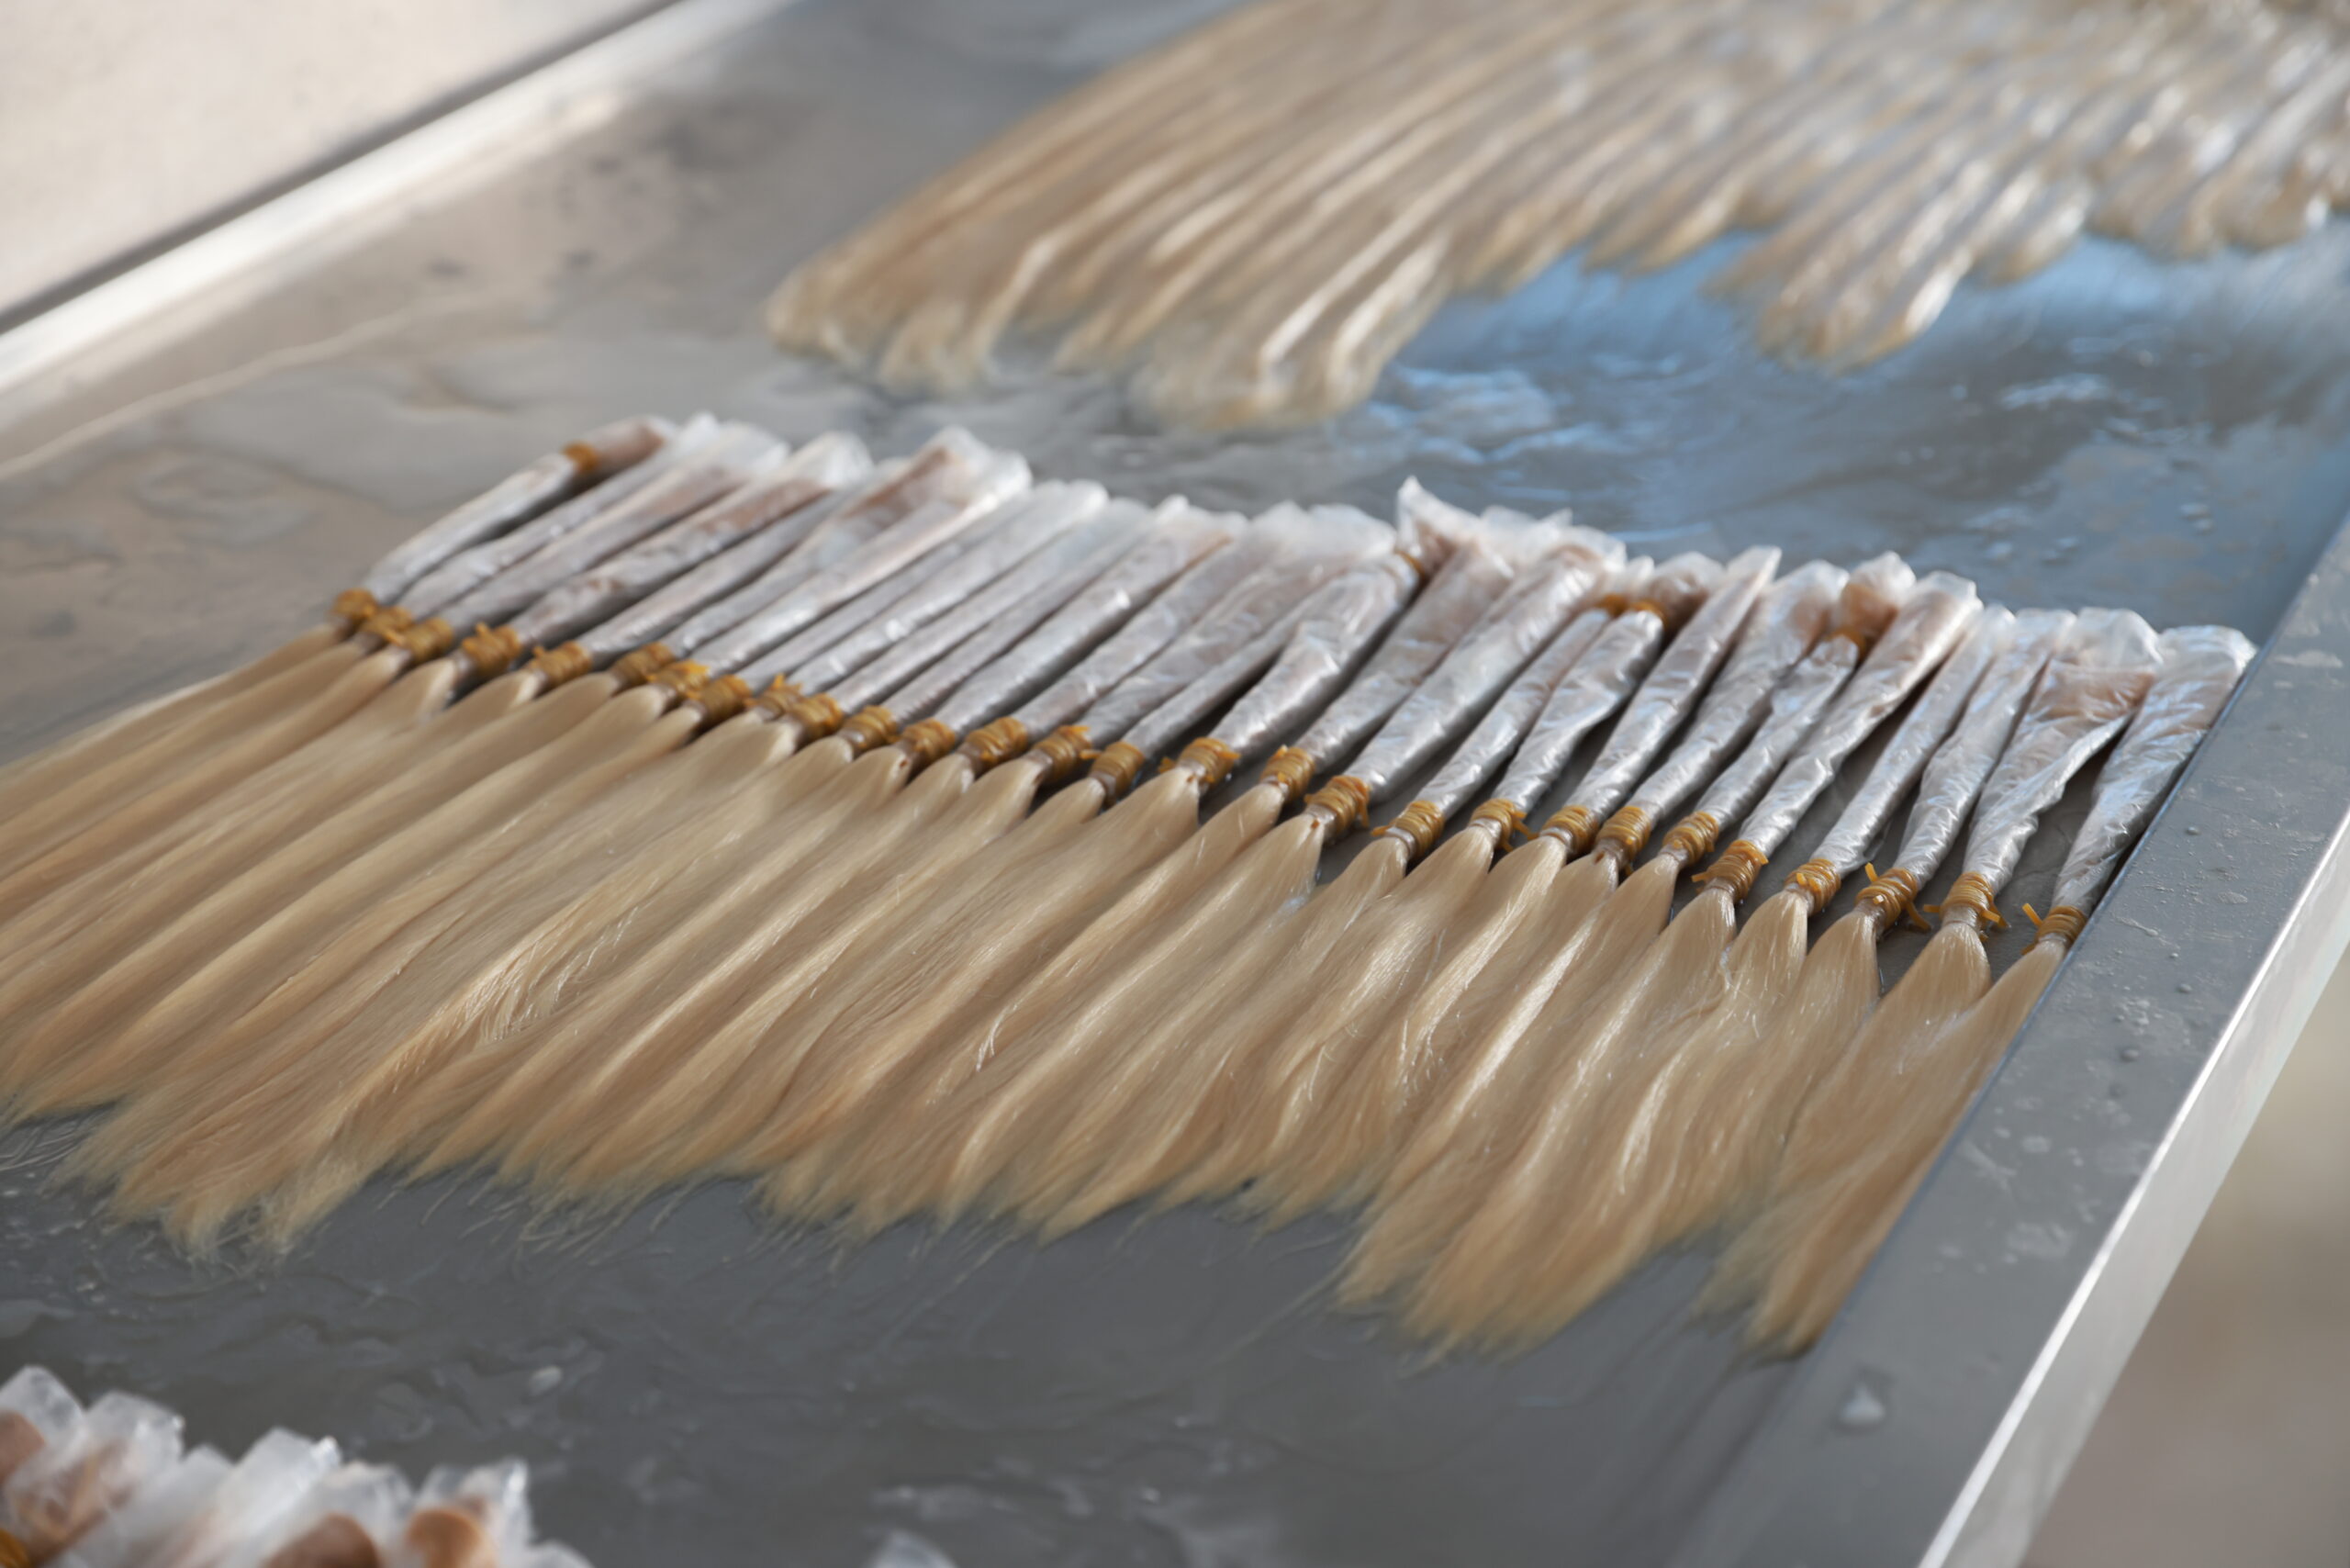
Most factories rush the bleaching and coloring process by using harsh, high-heat chemicals that strip the hair’s internal protein structure. We utilize a proprietary slow, low-temperature cold-pigmentation process that takes up to several weeks per batch. This gentle process lifts the color slowly, preserving the hair’s natural elasticity and moisture barrier.
As a result, our Genius Wefts can easily last 12 to 24 months with proper salon maintenance, allowing clients to reuse the hair for multiple move-up appointments.
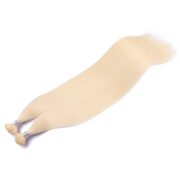
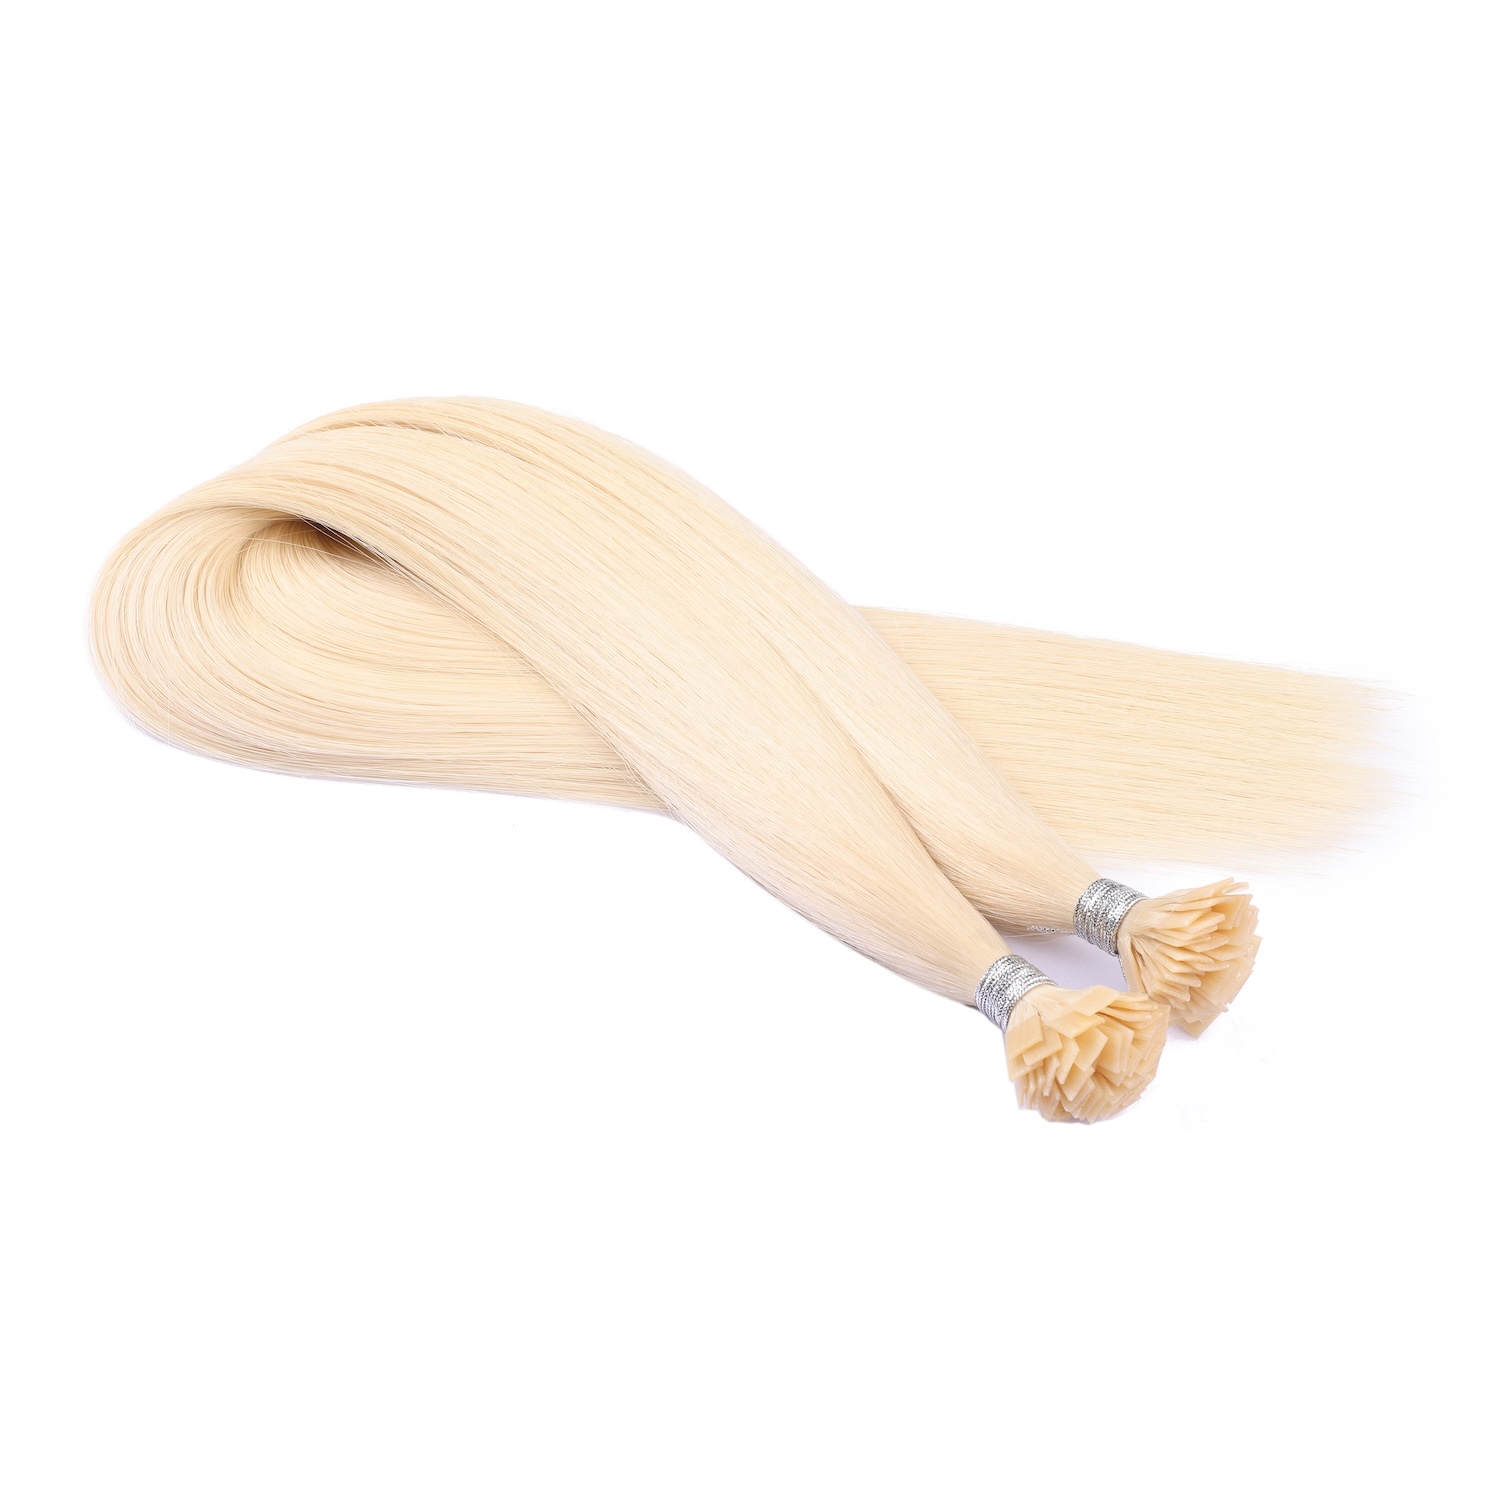
4. Why Top US Stylists (IBE, JZ, Bellami Certified) Prefer Our Wefts
Stylists certified in Invisible Bead Extensions (IBE), JZ Styles, or Bellami methods are trained to look for absolute perfection in track construction. Our Genius Wefts are engineered to seamlessly integrate into these specific attachment methods:
Perfect for Beaded Rows: Because the track is incredibly thin, you can stack multiple Genius Wefts on a single row (e.g., stacking a highlighted shade over a lowlight shade) to create custom density without putting undue weight or stress on the client’s natural hair roots.
Easy Needle Penetration: The micro-injection polyurethane bond is strong yet remarkably flexible. Stylists can easily pass their weaving needles directly through the track or sew cleanly over it, ensuring an ultra-secure hold that won’t slip between maintenance appointments.
Saves Clean-Up Time: With no return hair to blow-dry or smooth down, the finished look is instantly polished right after installation.
5. Our Factory Strengths: Your Premium Wholesale Partner
Great hair extensions require a great supply chain. When you partner with our factory, you are bypassing middlemen and working directly with the source of innovation.
| Factory Capability | What It Means For Your Salon Business |
| Advanced Micro-Injection Tech | Ensures consistent, ultra-precise 0.8mm tracks that never vary in thickness. |
| Strict Multi-Stage Quality Control | Every batch undergoes rigorous washing, shed-testing, and color-matching checks before leaving the floor. |
| Massive Raw Hair Inventory | Guarantees a steady supply of premium cuticle hair, eliminating long out-of-stock delays. |
| Custom OEM / Branding Services | We print custom salon packaging, luxury tags, and boxes to help you build your own brand identity. |
| Fast, Reliable Worldwide Shipping | Accelerated express shipping options directly to your US salon doorstep. |
Direct-From-Factory Price Advantage
By eliminating trading companies and distributors, we pass the cost savings directly onto you. This allows your salon to enjoy higher profit margins on hair retail while still offering your clients a world-class, premium product that rivals—and often outperforms—the biggest consumer brands in the US.
Conclusion: Elevate Your Salon Business with Alove Hair
The American obsession with Genius Wefts is not a passing trend; it is the new benchmark for professional hair extensions. By offering a product that eliminates the limitations of hand-tied wefts while preserving an ultra-flat, invisible finish, you give your clients the ultimate luxury experience.
At Alove Hair, we combine pristine, cuticle-aligned raw hair with cutting-edge factory engineering to deliver Genius Wefts that top US stylists trust. Whether you are looking to scale your salon’s extension revenue, upgrade your current product quality, or launch your own private label brand, our factory is equipped to be your long-term manufacturing partner.
Ready to elevate your inventory? Contact us today to request a color ring, explore our wholesale pricing tiers, or place a sample order to experience the Alove Hair difference firsthand!

Alove Hair is a professional Chinese manufacturer of premium 100% Remy human hair extensions, wigs, and hair systems. Established in 2014, the company specializes in supplying global salons and distributors with high-quality, cuticle-intact hair products and offers comprehensive OEM/ODM private label services.