Tape-in hair extensions have become one of the most popular hair extension methods in the beauty industry. From celebrities and influencers to professional hairstylists and everyday consumers, tape extensions are widely praised for their natural appearance, comfortable wear, and ability to instantly add length and volume. However, not all tape in extensions are created equal. The market is flooded with products ranging from low-grade synthetic fibers to premium 100% Remy human hair extensions.
For consumers, salon owners, and beauty distributors, understanding what makes for the best tape-in hair extensions is essential before making a purchase. Factors such as hair quality, tape strength, longevity, thickness from top to end, and manufacturing methods all influence the final result.
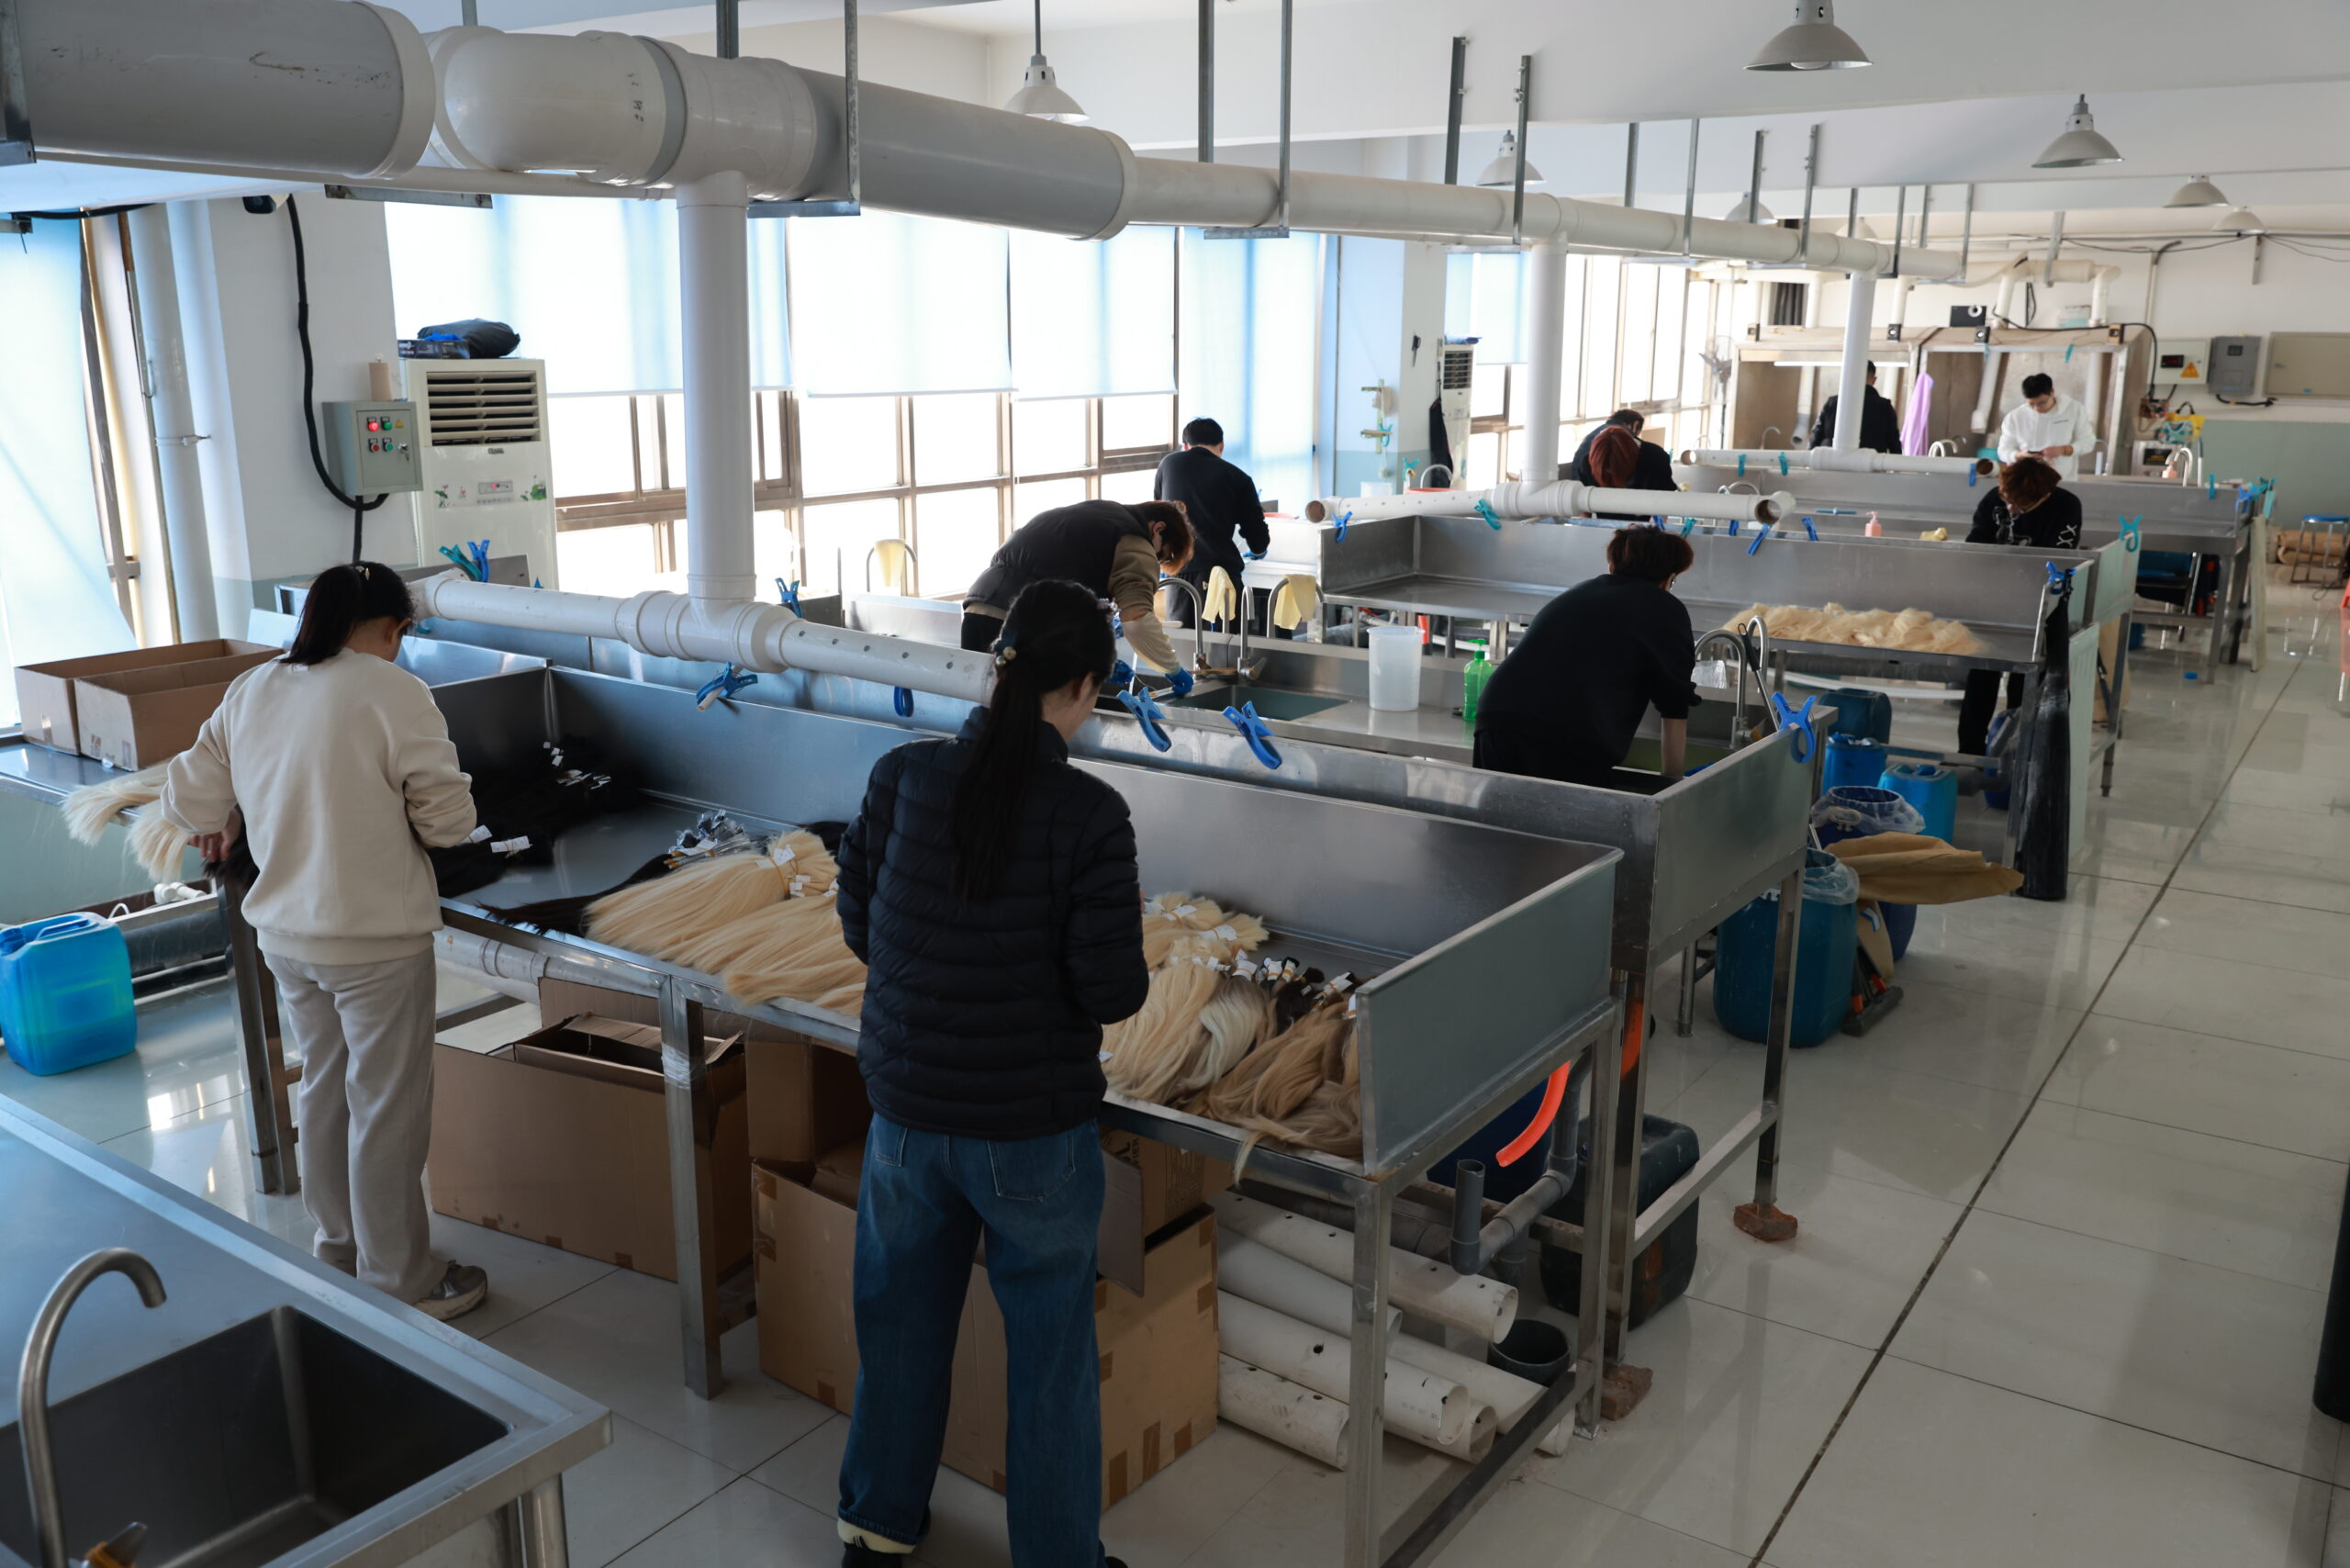
As a professional hair extension manufacturer with years of experience supplying salons and brands worldwide, we have seen firsthand how premium tape extensions can transform a client’s appearance while poor-quality extensions often lead to tangling, shedding, and customer dissatisfaction.
This comprehensive guide explains everything you need to know about choosing the best tape in hair extensions, identifying high-quality human hair, comparing brands, and understanding the advantages and disadvantages of tape extensions.
What Are the Best Tape In Hair Extensions?
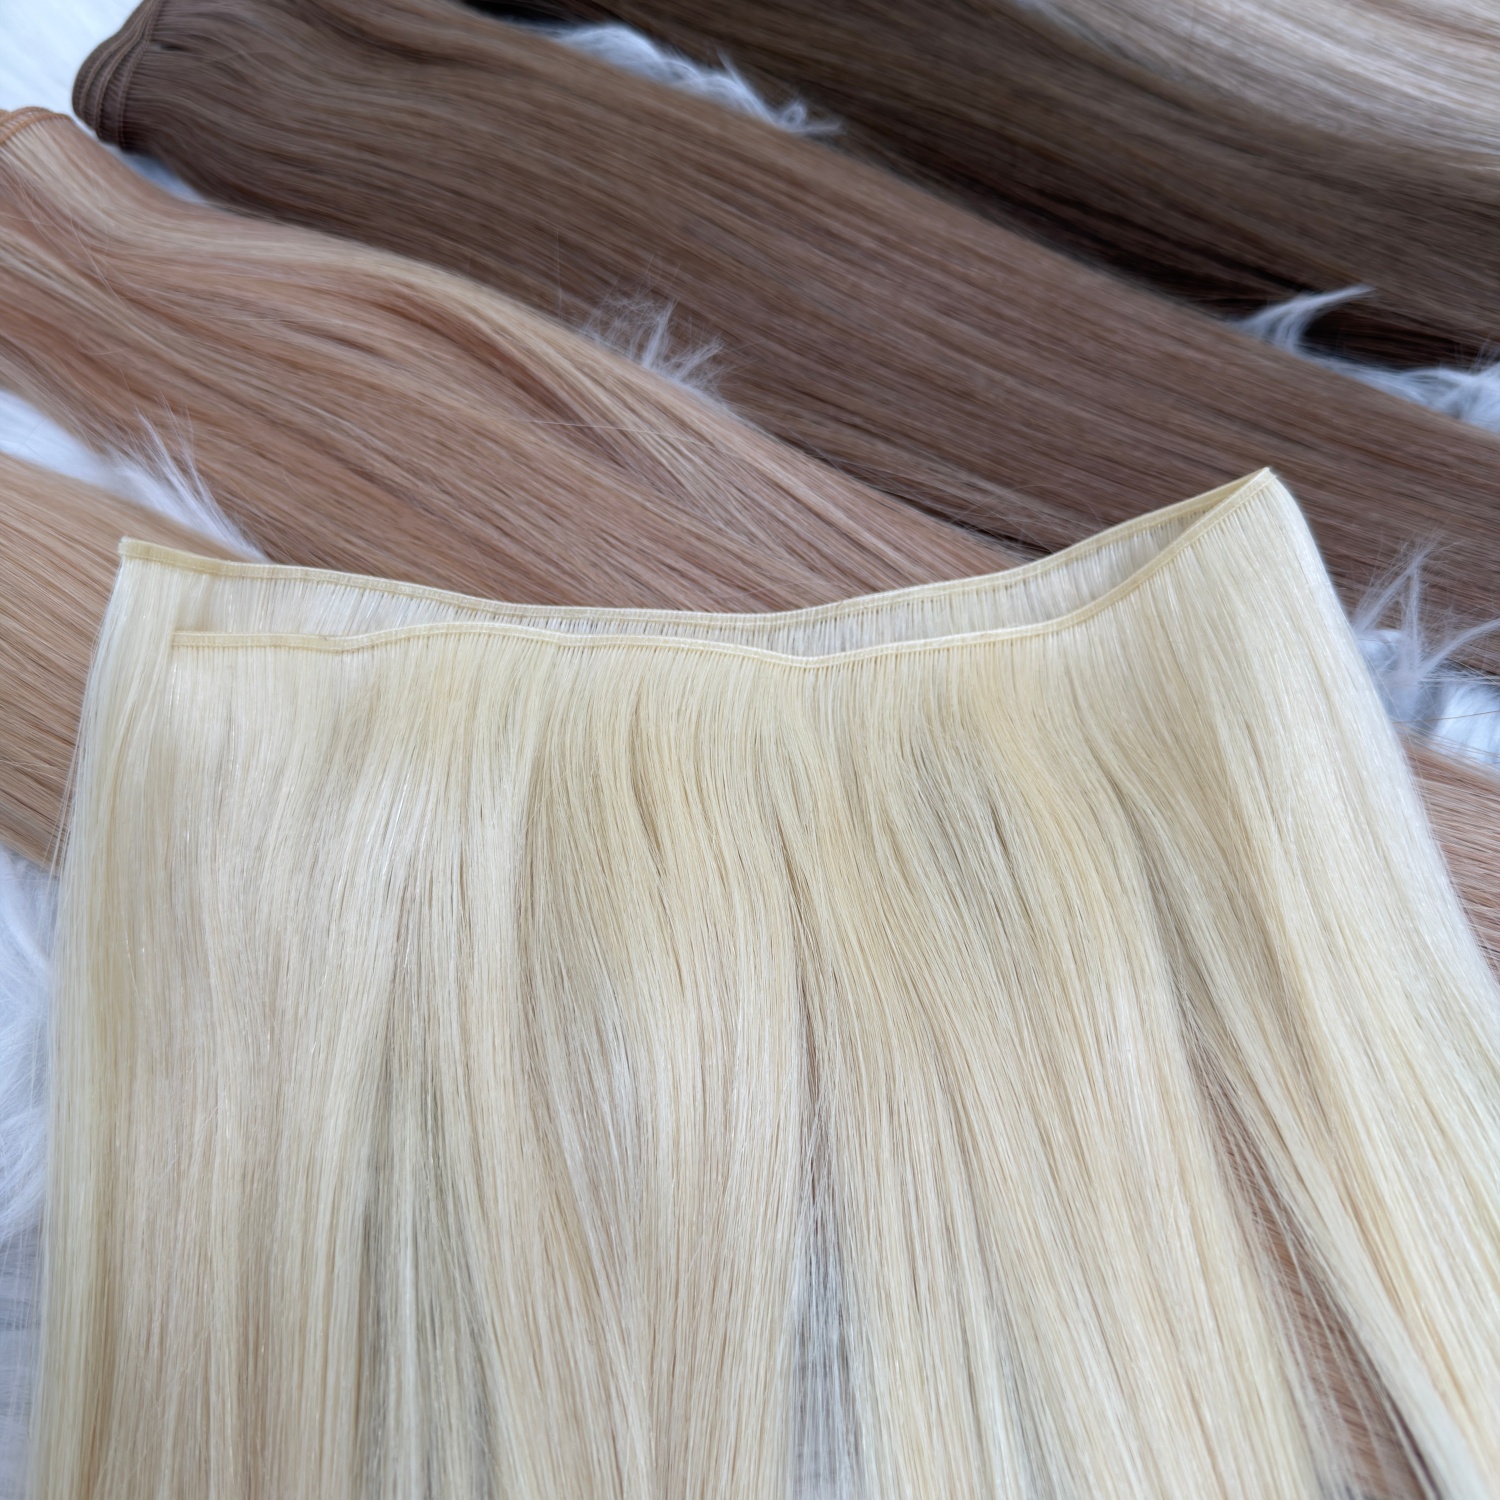
The best tape in hair extensions are those that combine premium 100% human hair with durable adhesive technology, natural blending capability, long lifespan, and minimal damage to natural hair.
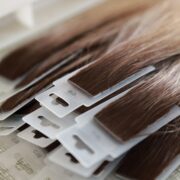
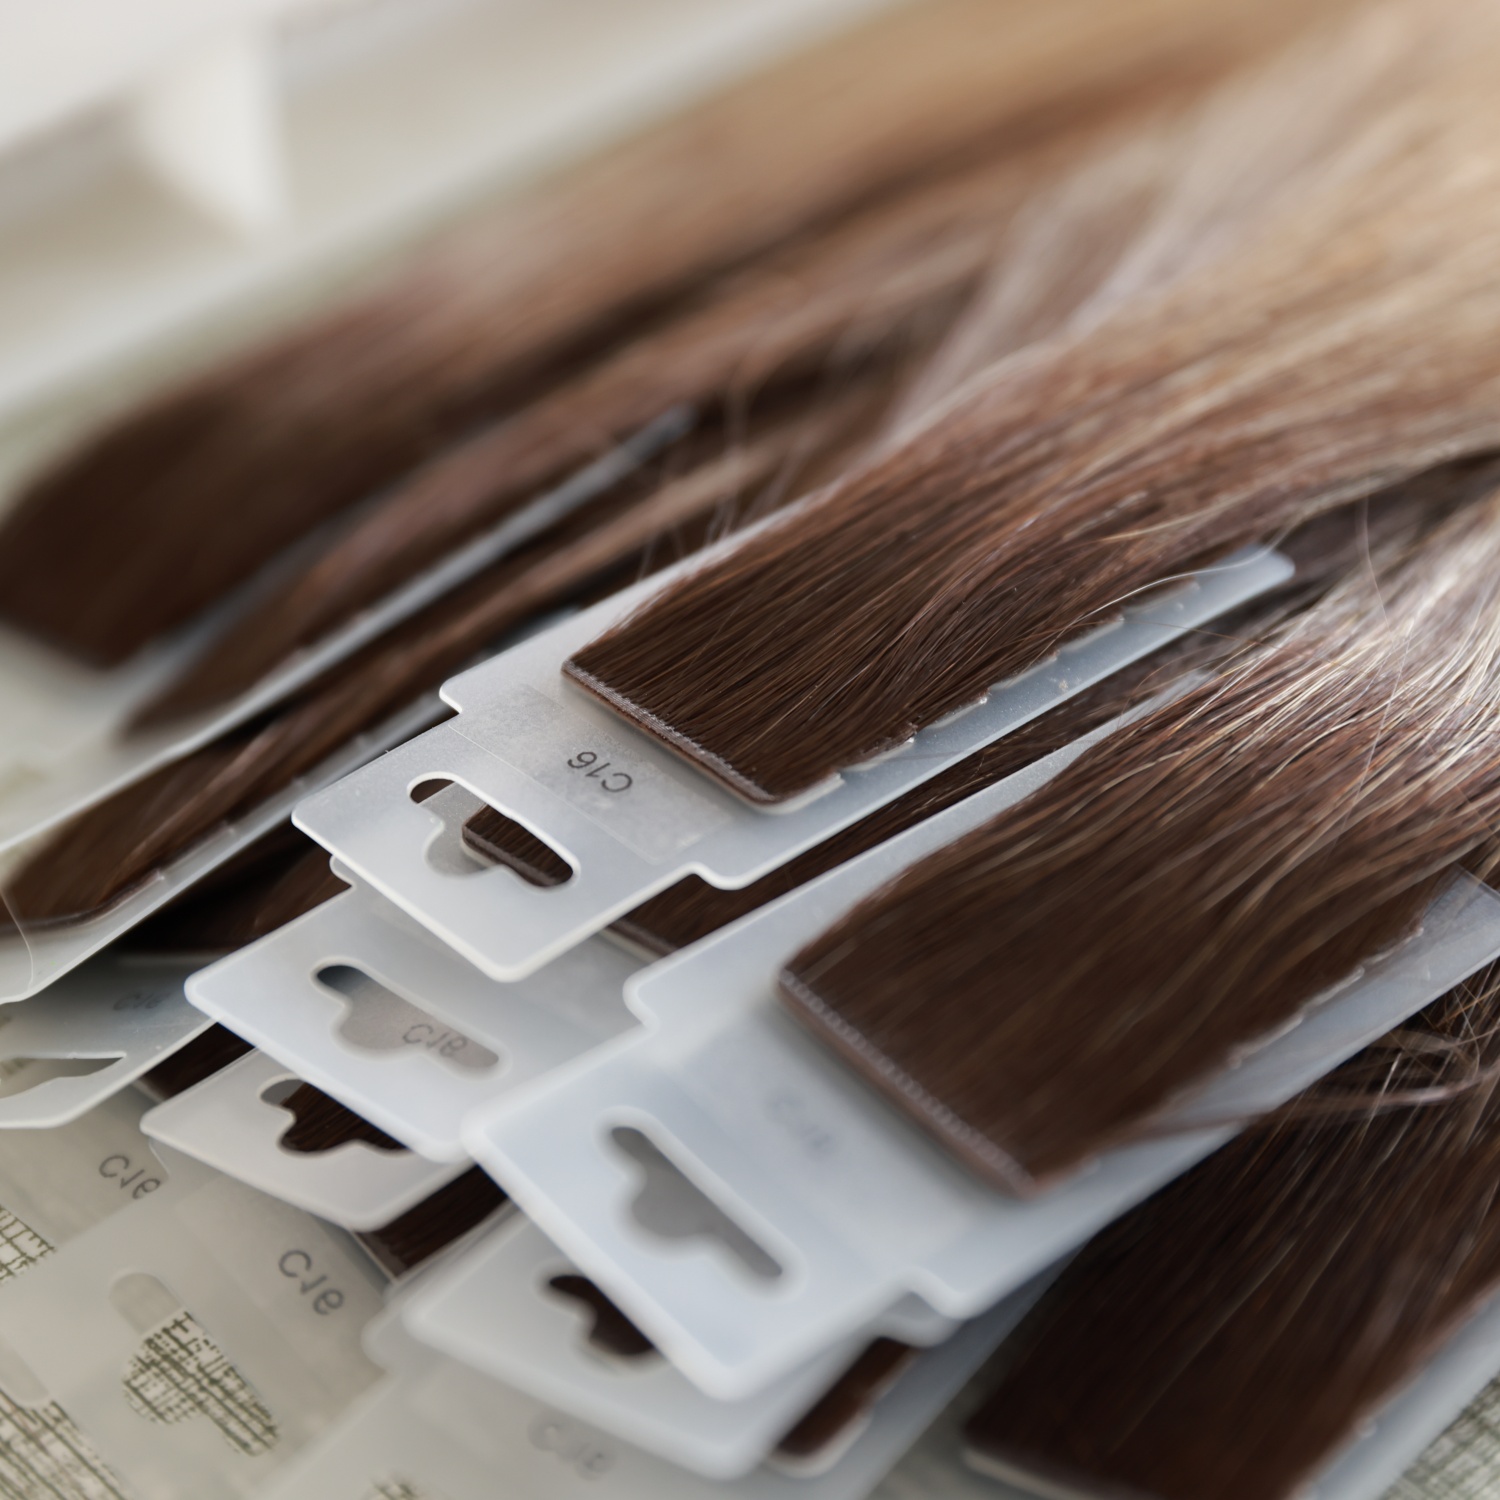
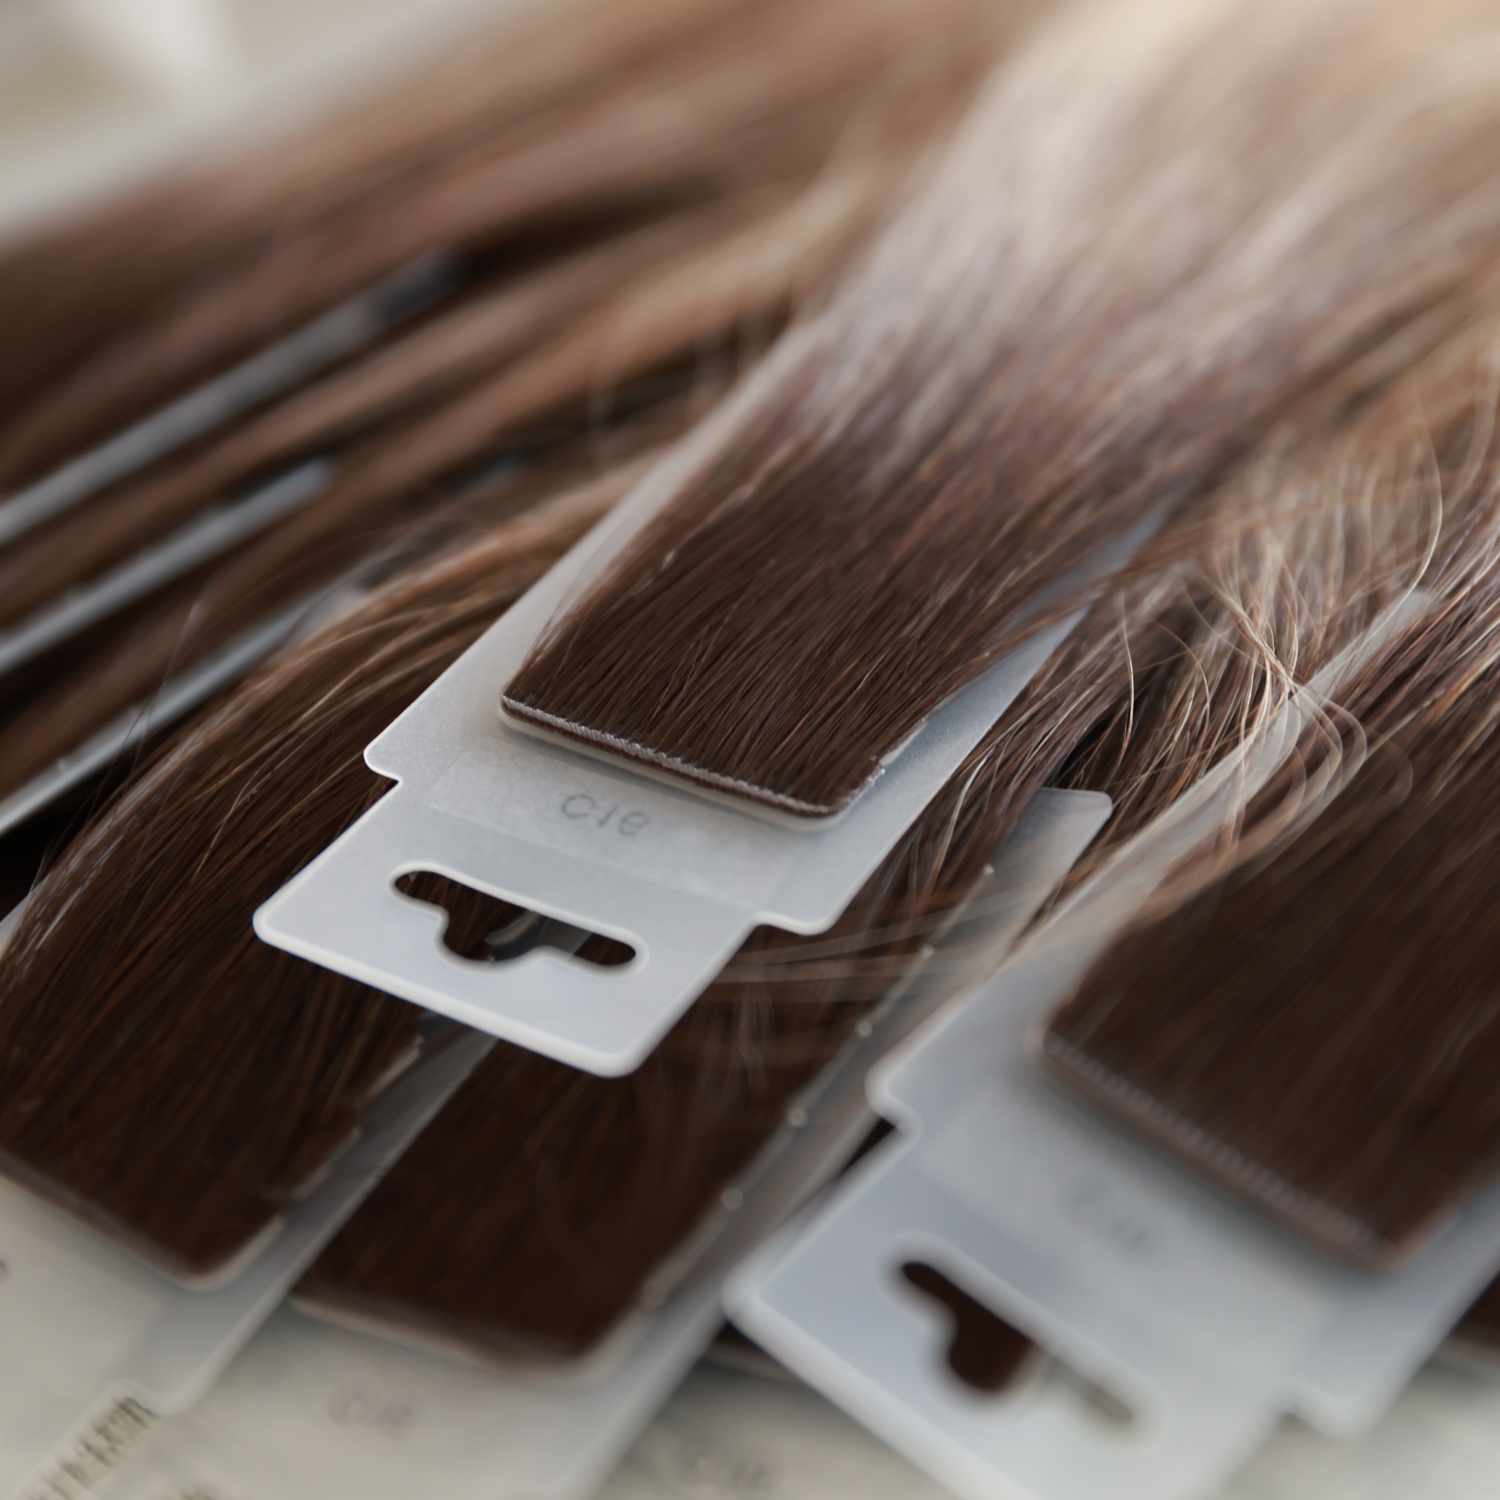
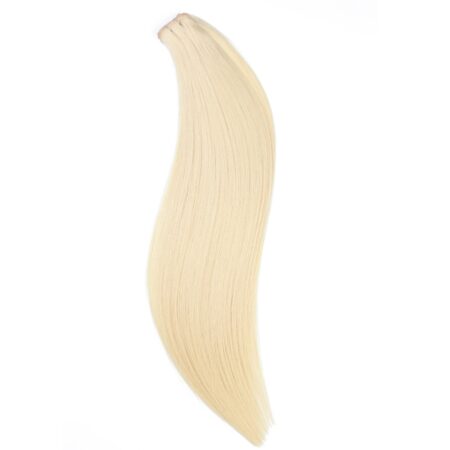
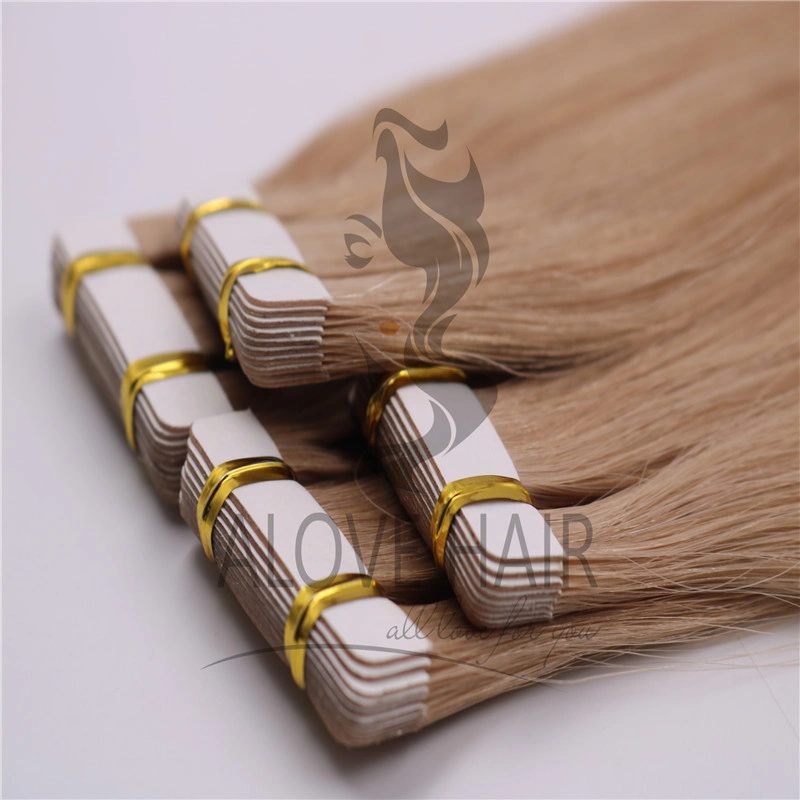
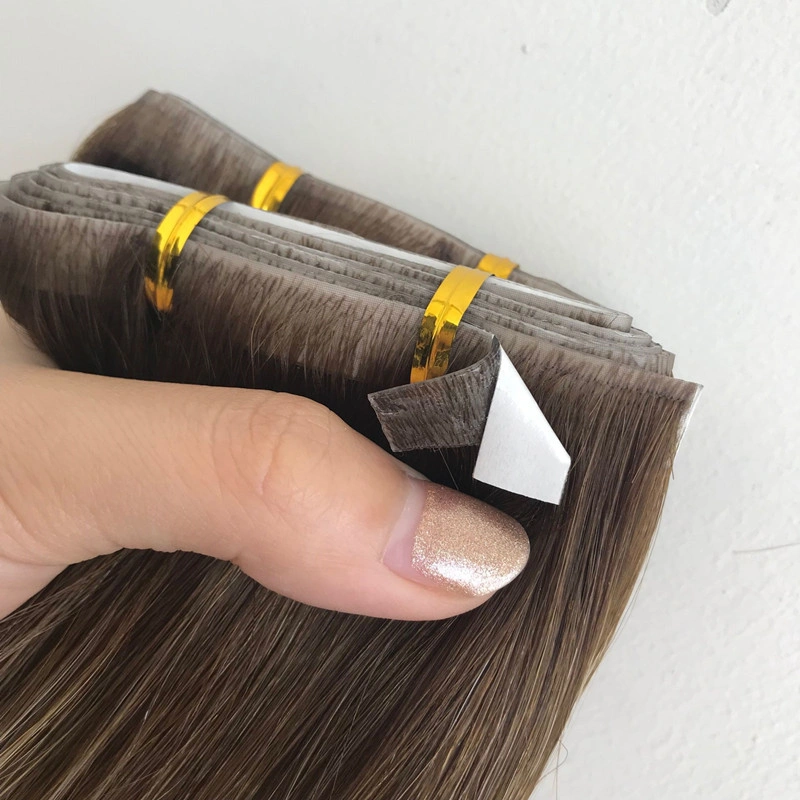
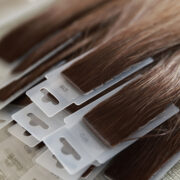
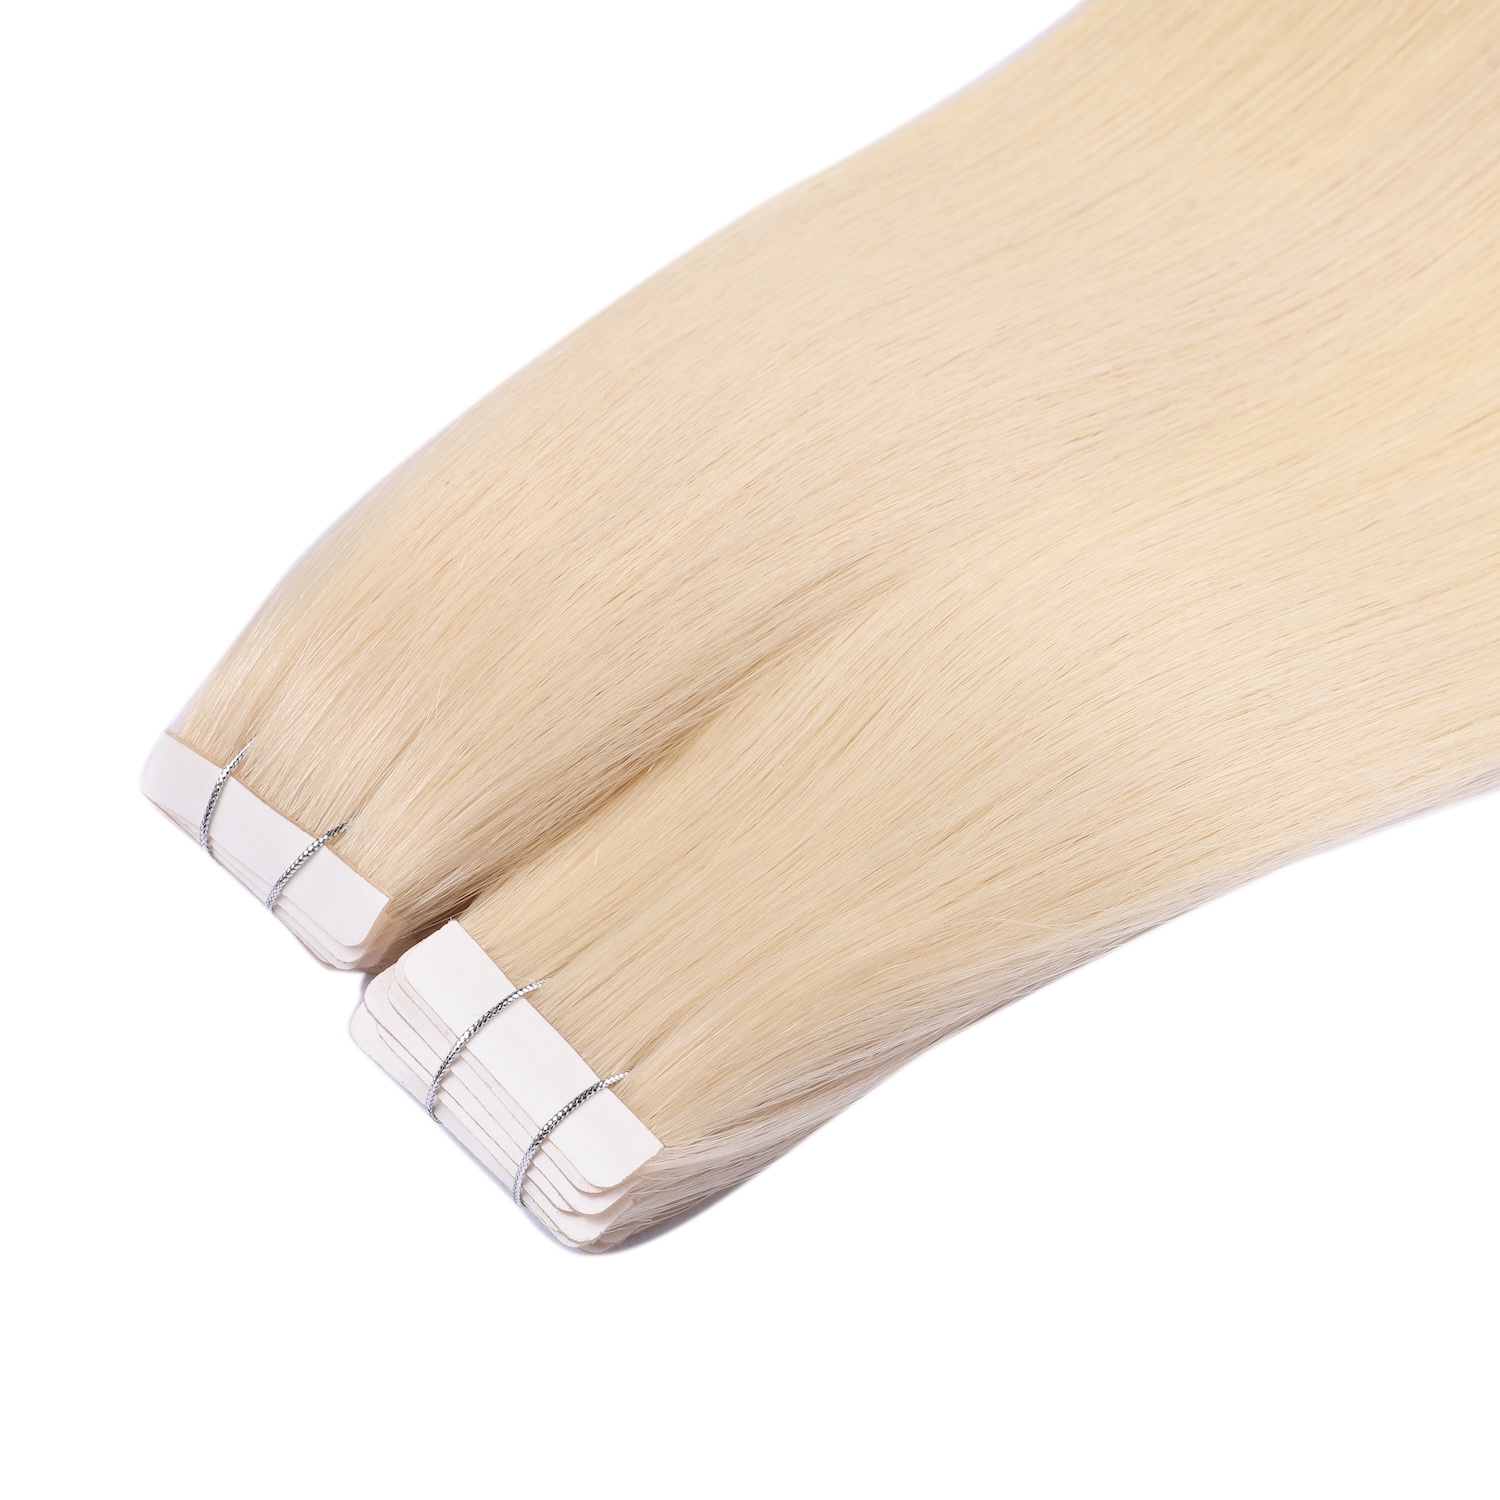
Unlike clip-in extensions, tape-ins are semi-permanent. Thin wefts of hair are attached close to the scalp using medical-grade adhesive strips. The natural hair is sandwiched between two extension tabs, creating a secure and discreet attachment.
The best tape in extensions typically offer:
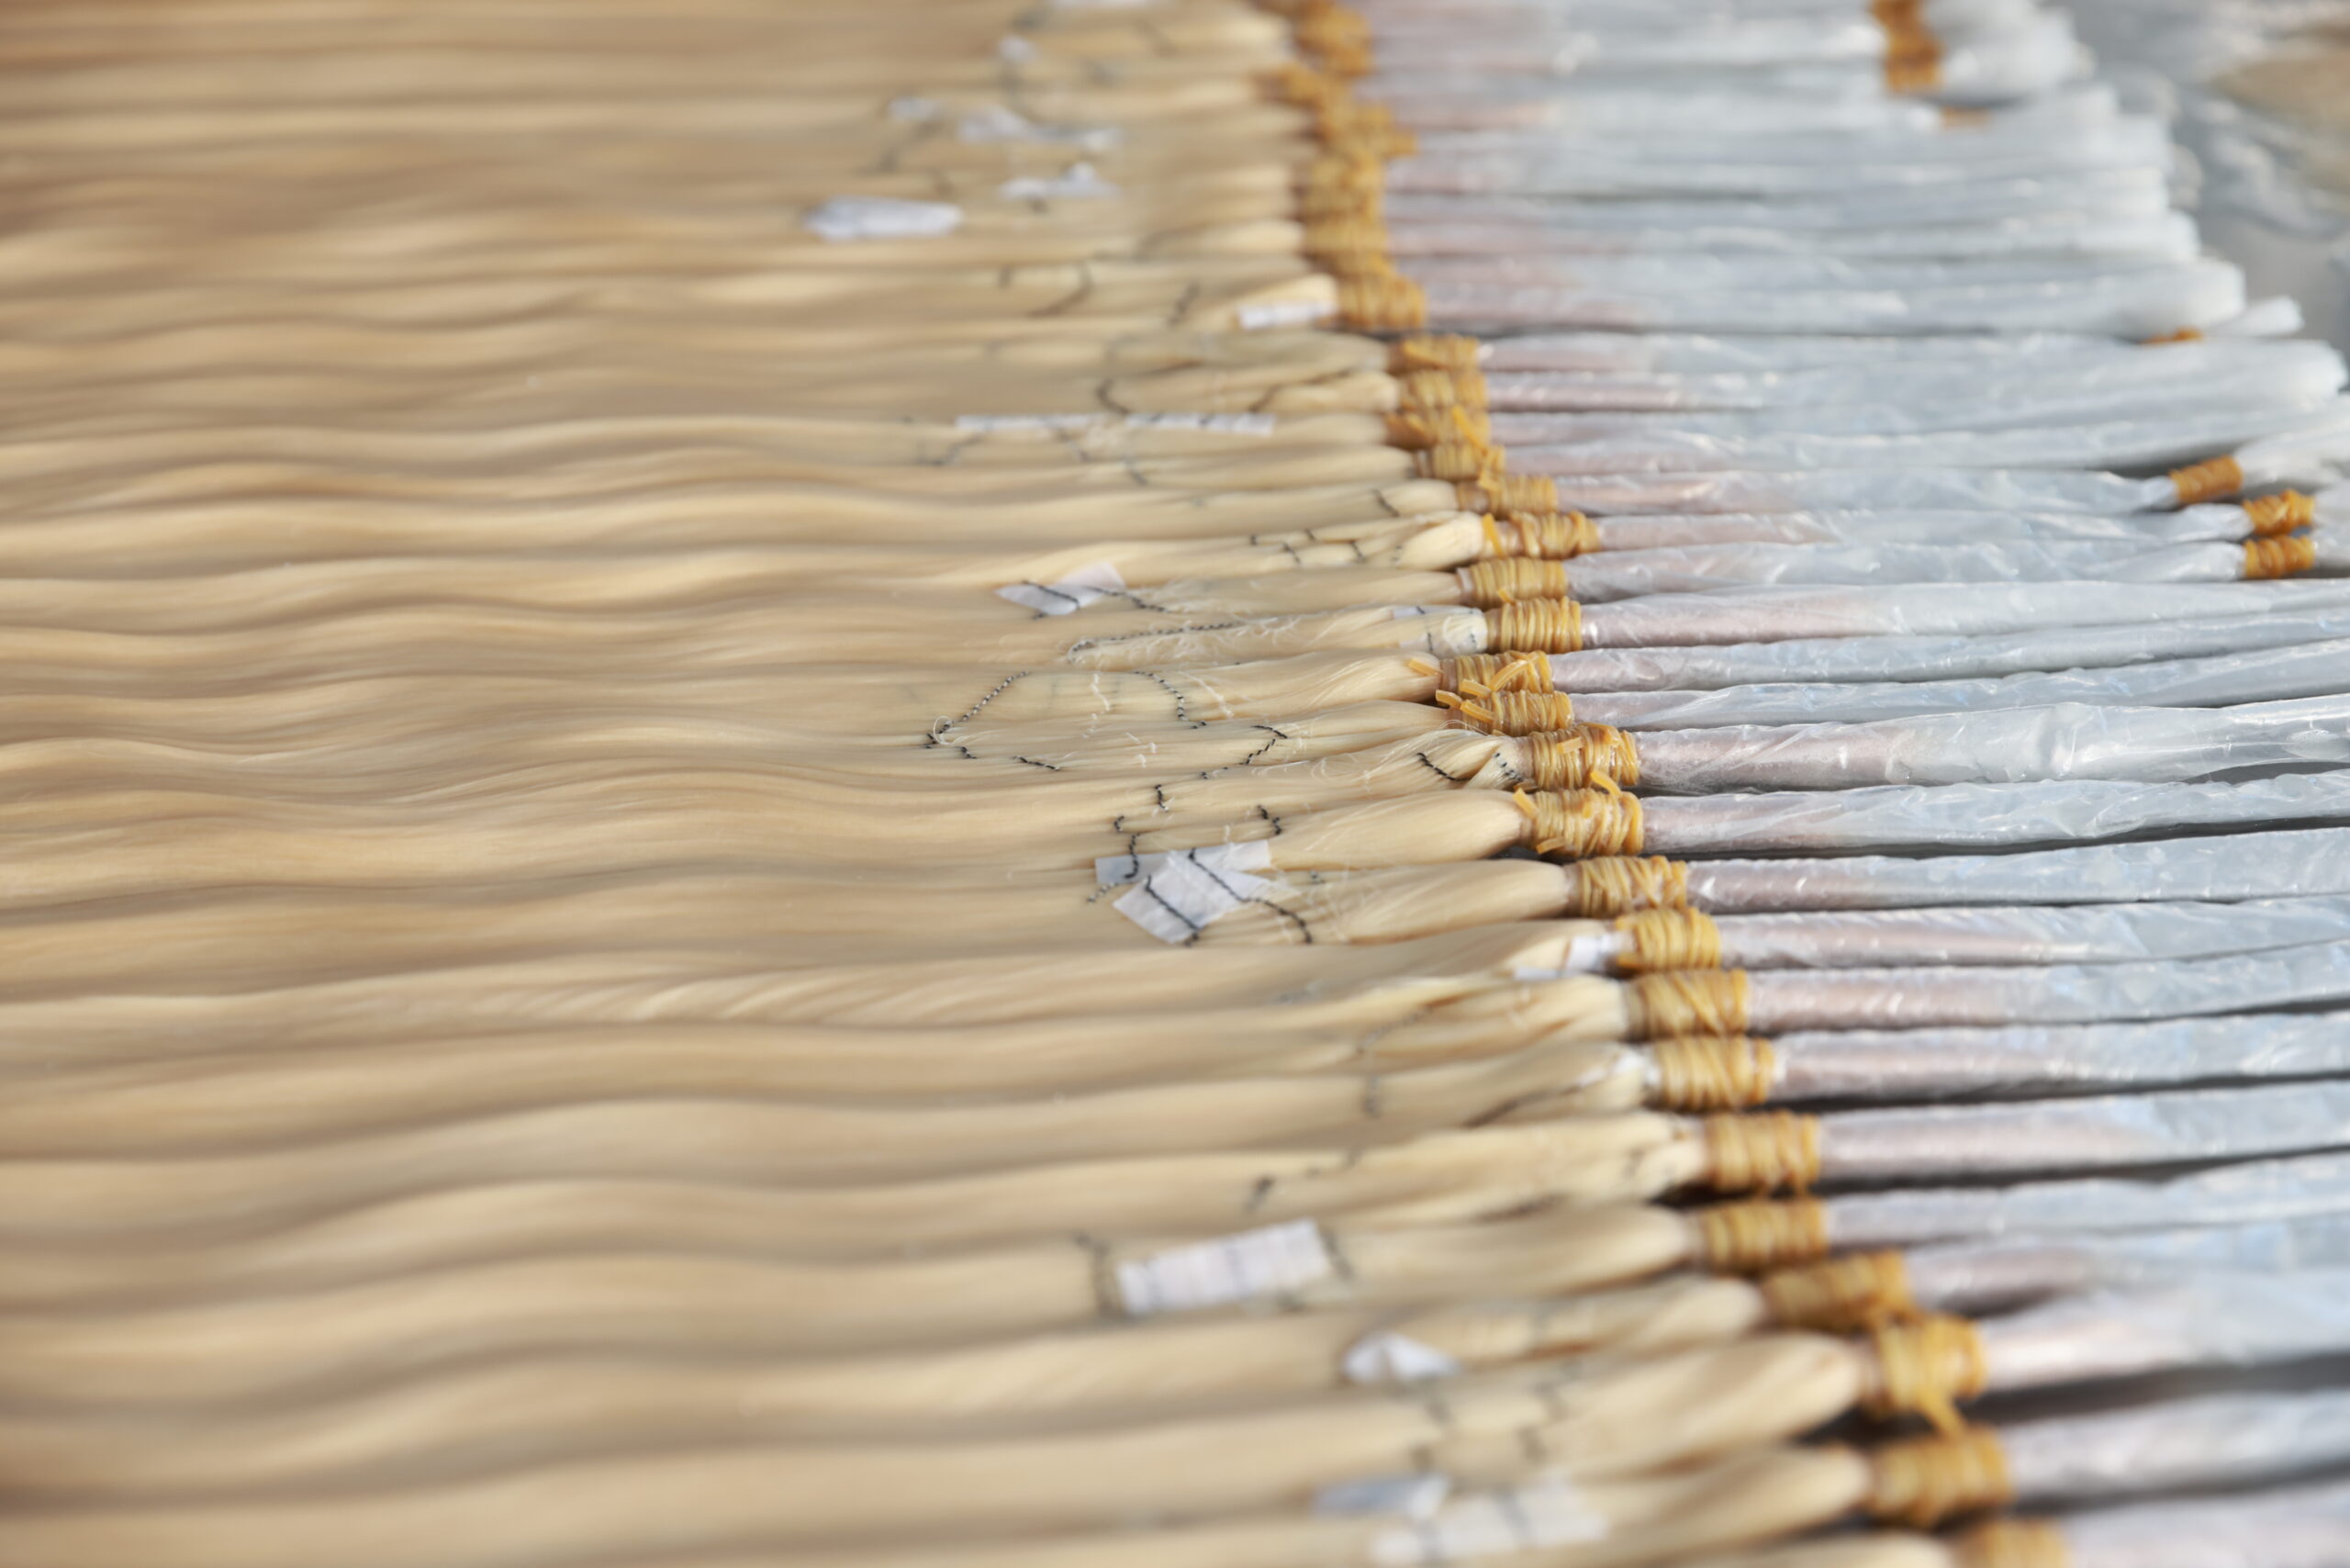
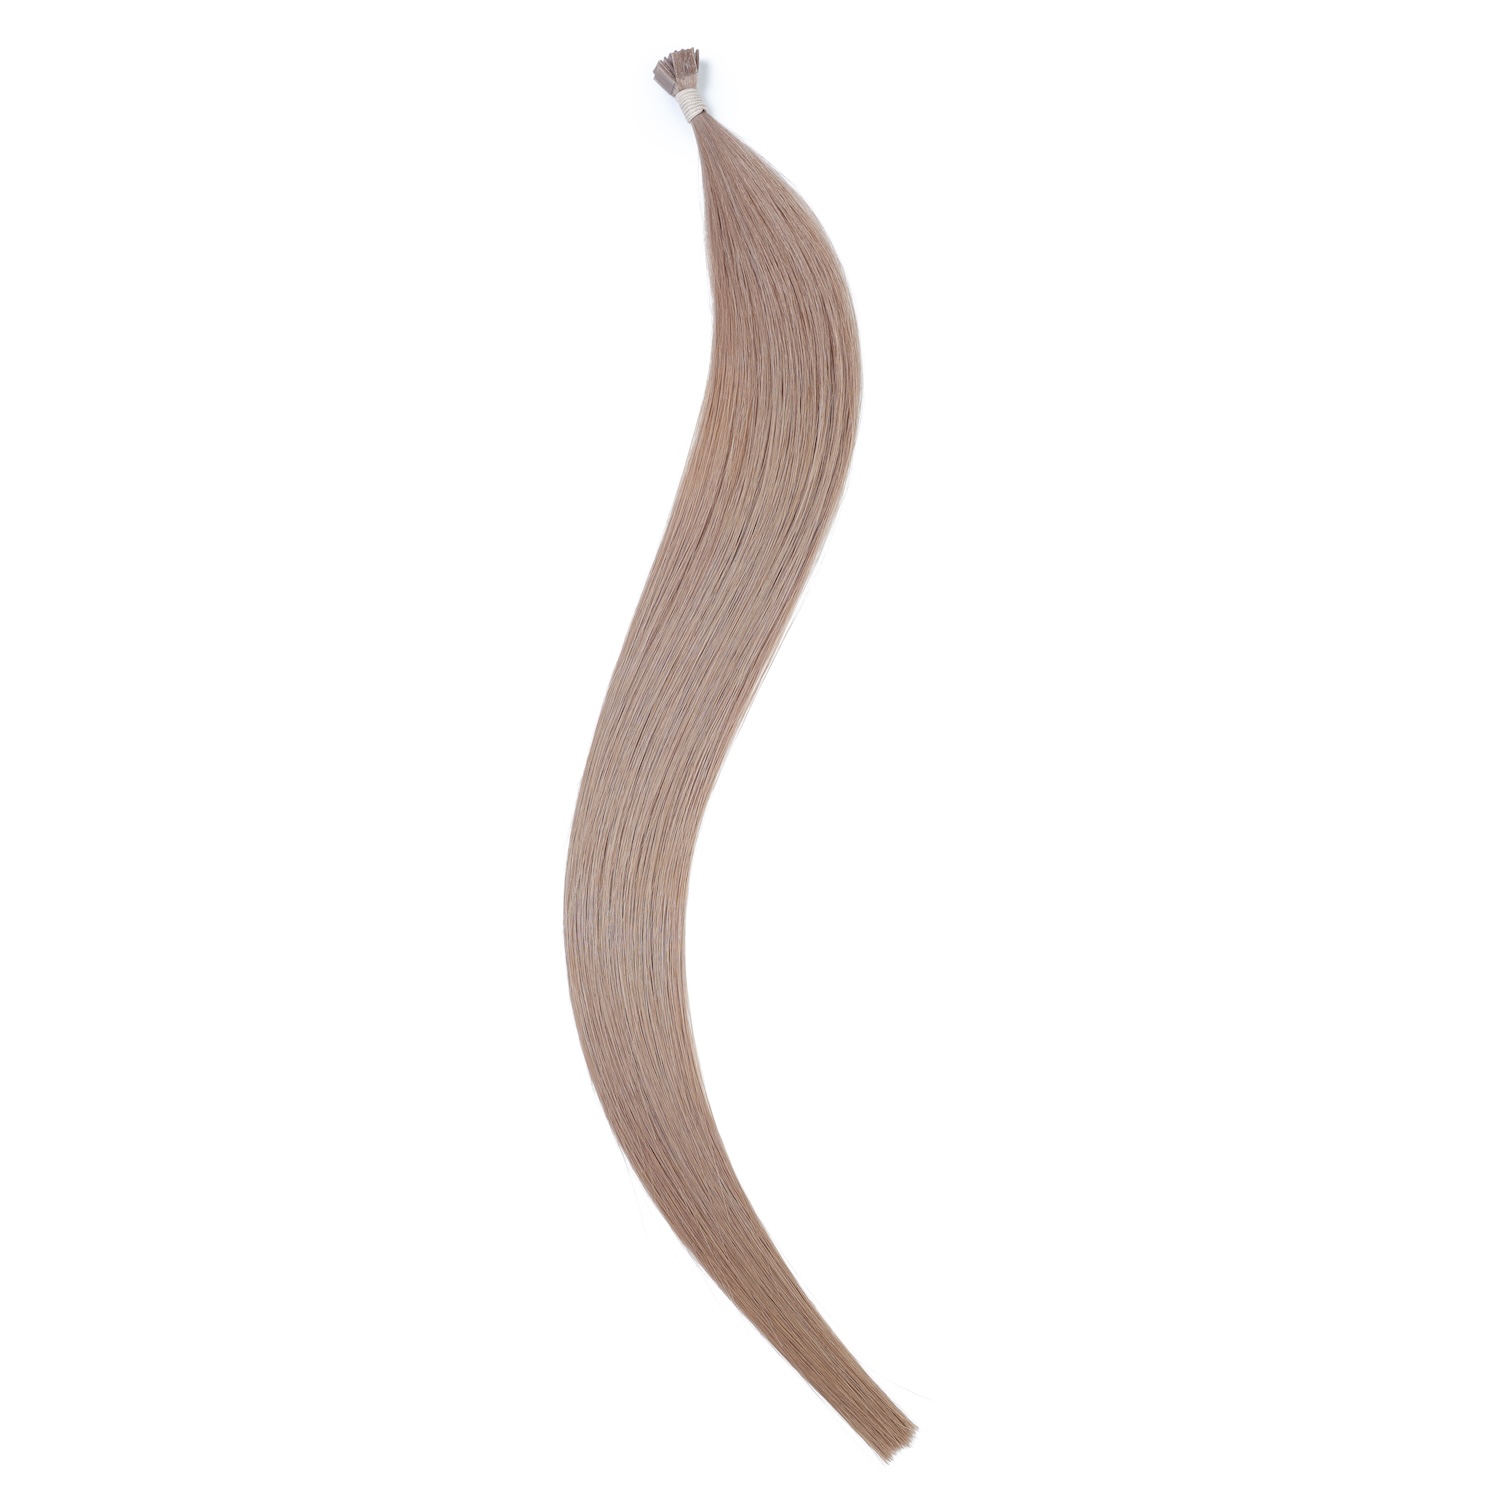
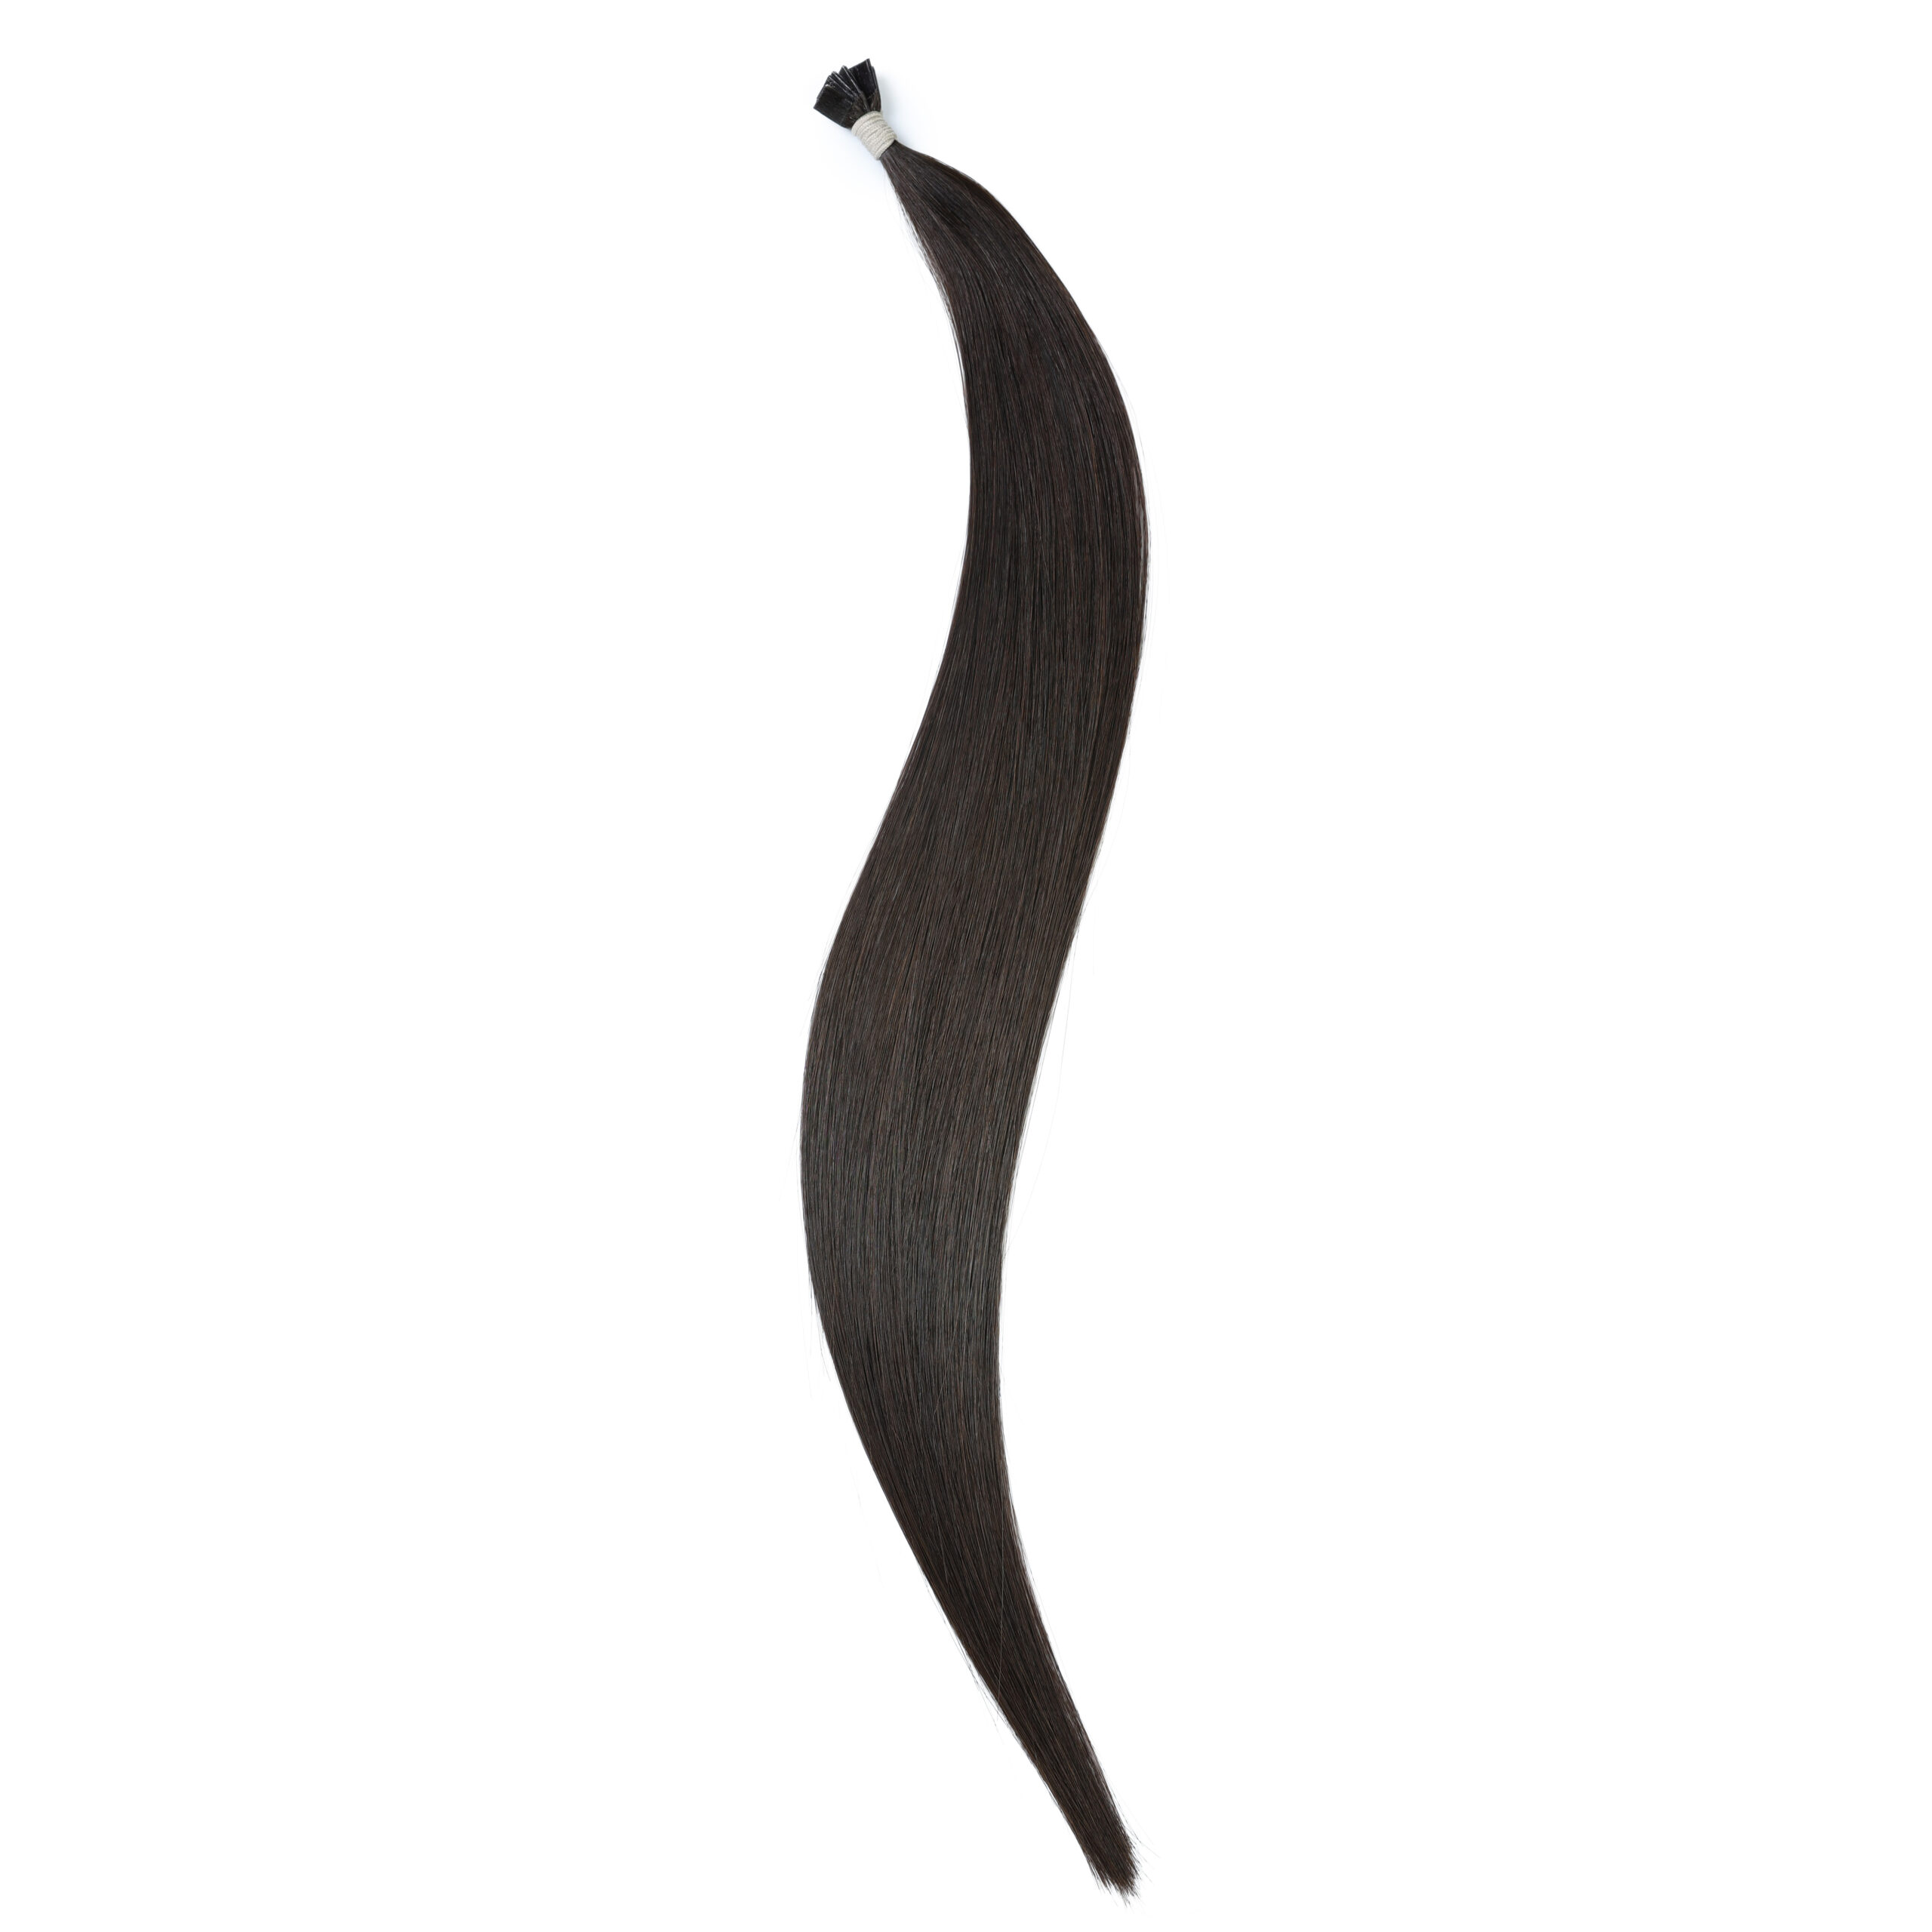
- 100% Remy human hair
- Cuticle-aligned hair strands
- Double-drawn thickness
- Strong medical-grade adhesive
- Minimal shedding
- Tangle-resistant texture
- Reusable installation
- Natural appearance
- Long lifespan
Professional stylists often prefer tape extensions because they are lightweight and distribute weight evenly across the scalp, reducing stress on natural hair.
Characteristics of Premium Tape In Hair Extensions
When evaluating tape-in extensions, experts focus on several quality indicators.
Hair Origin
The highest-quality extensions are usually made from:
- Virgin human hair
- Remy human hair
- Cuticle-intact hair
Hair collected from a single donor often provides superior consistency.
Cuticle Alignment
Premium extensions maintain the natural direction of the hair cuticle.
Benefits include:
- Reduced tangling
- Better shine
- Improved longevity
- Easier maintenance
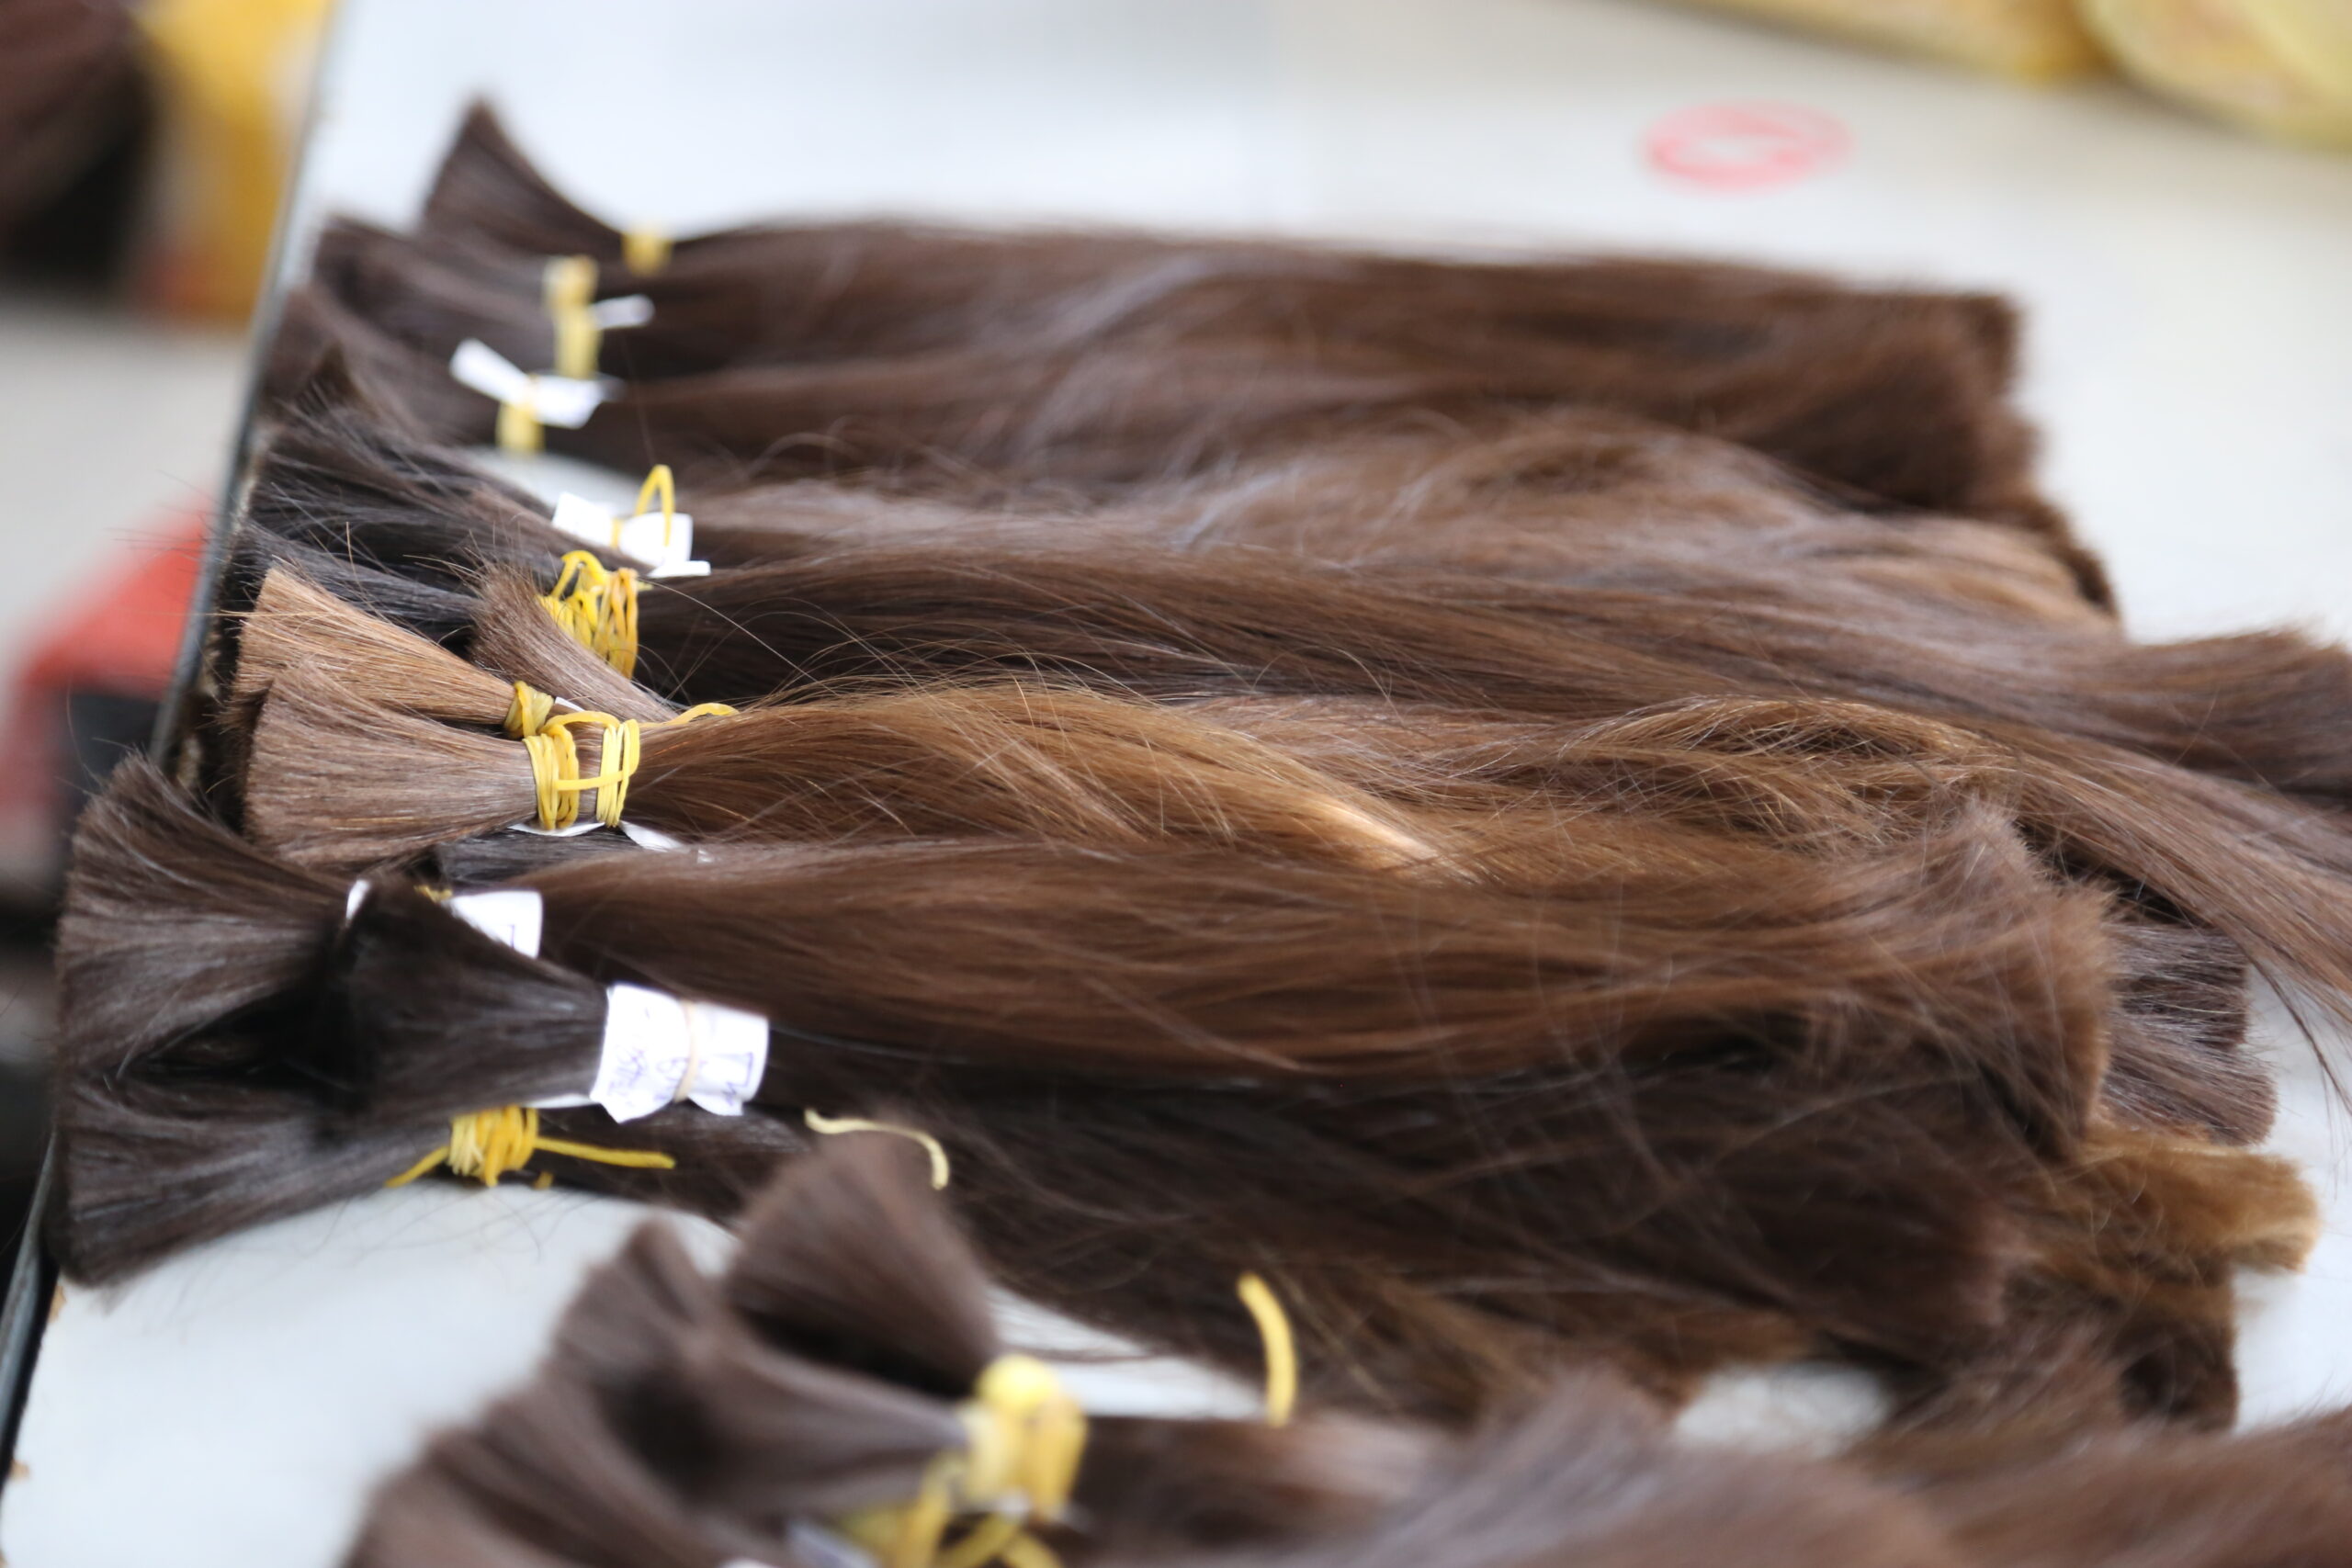
Double Drawn Thickness
Double-drawn extensions contain more full-length strands.
Advantages include:
- Thicker ends
- Fuller appearance
- Better salon results
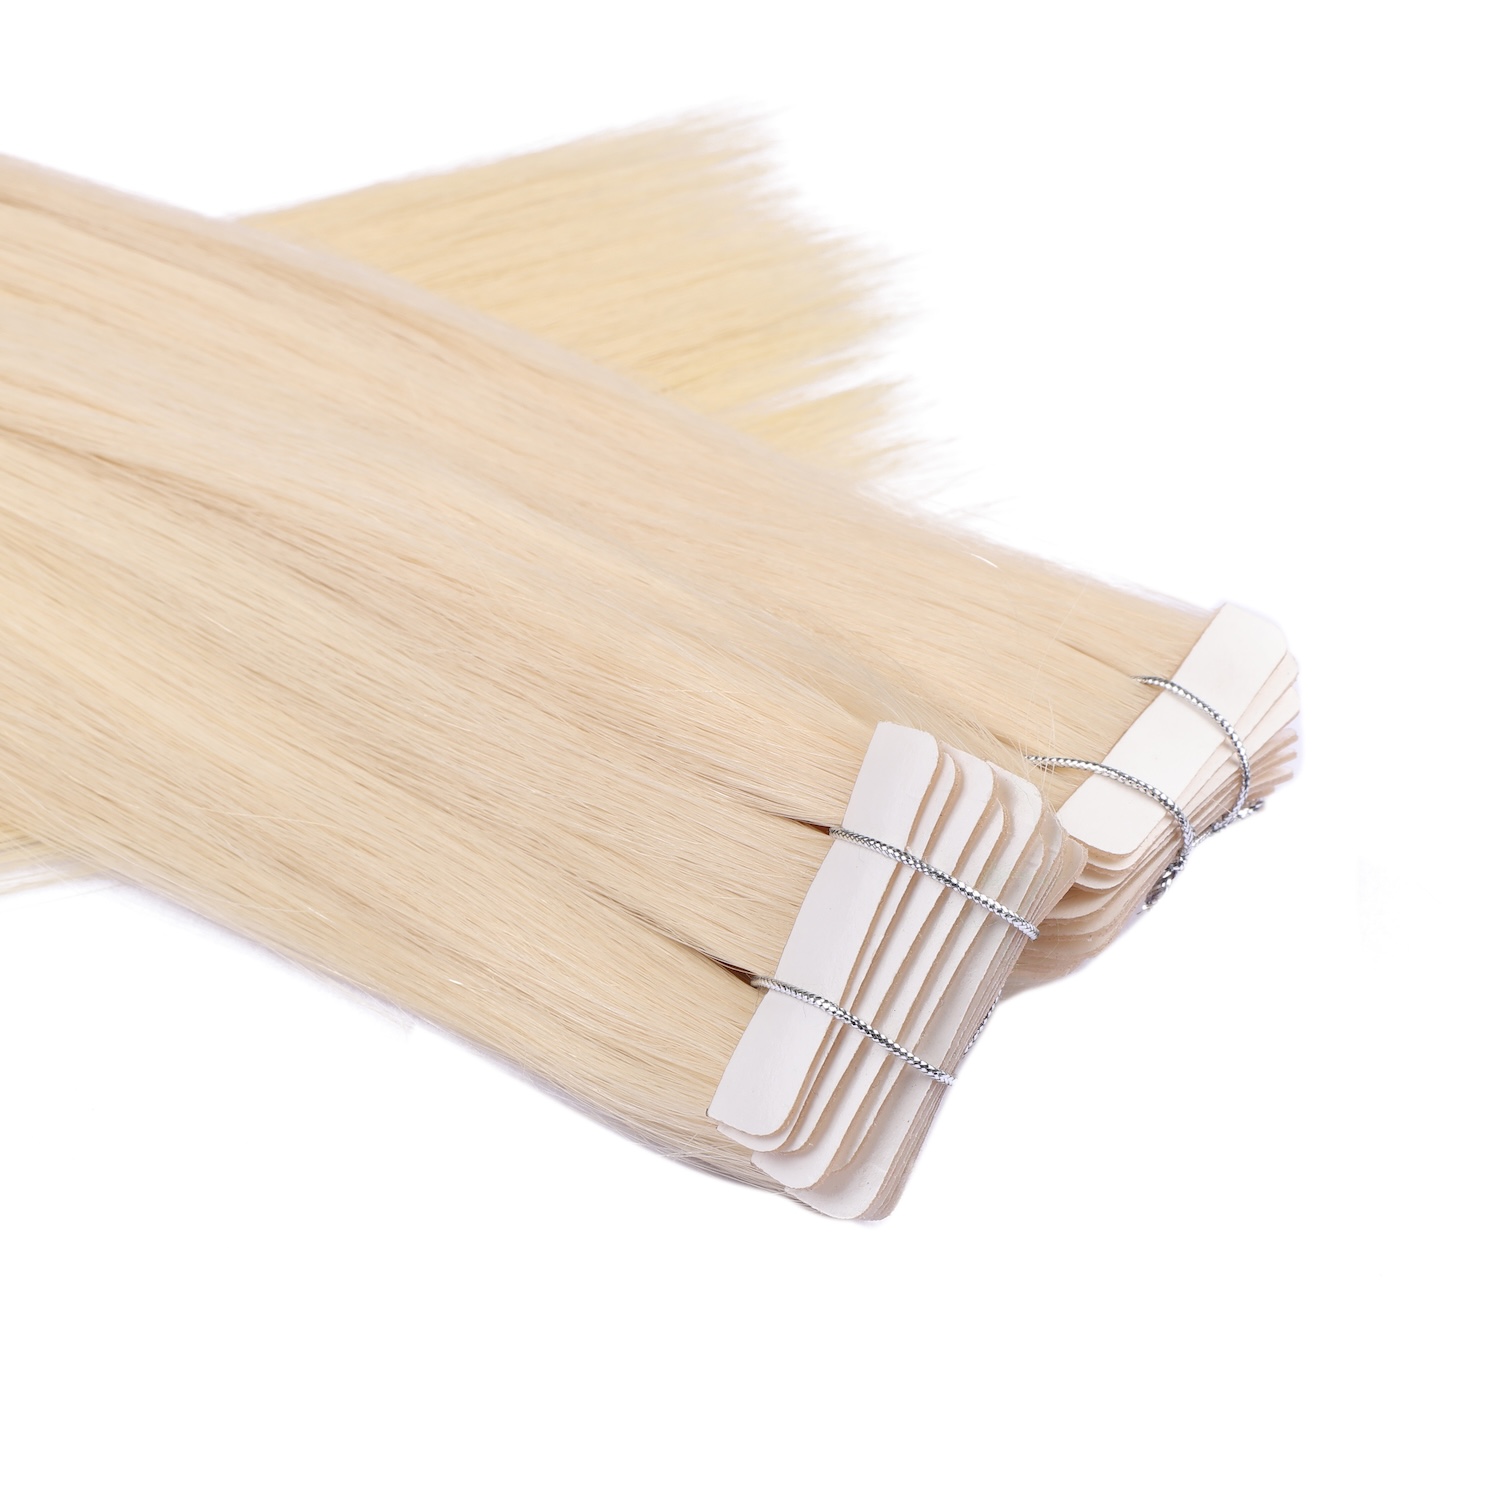
Strong Adhesive
The best tape systems use professional-grade adhesive that:
- Holds securely
- Leaves minimal residue
- Supports multiple reinstallations
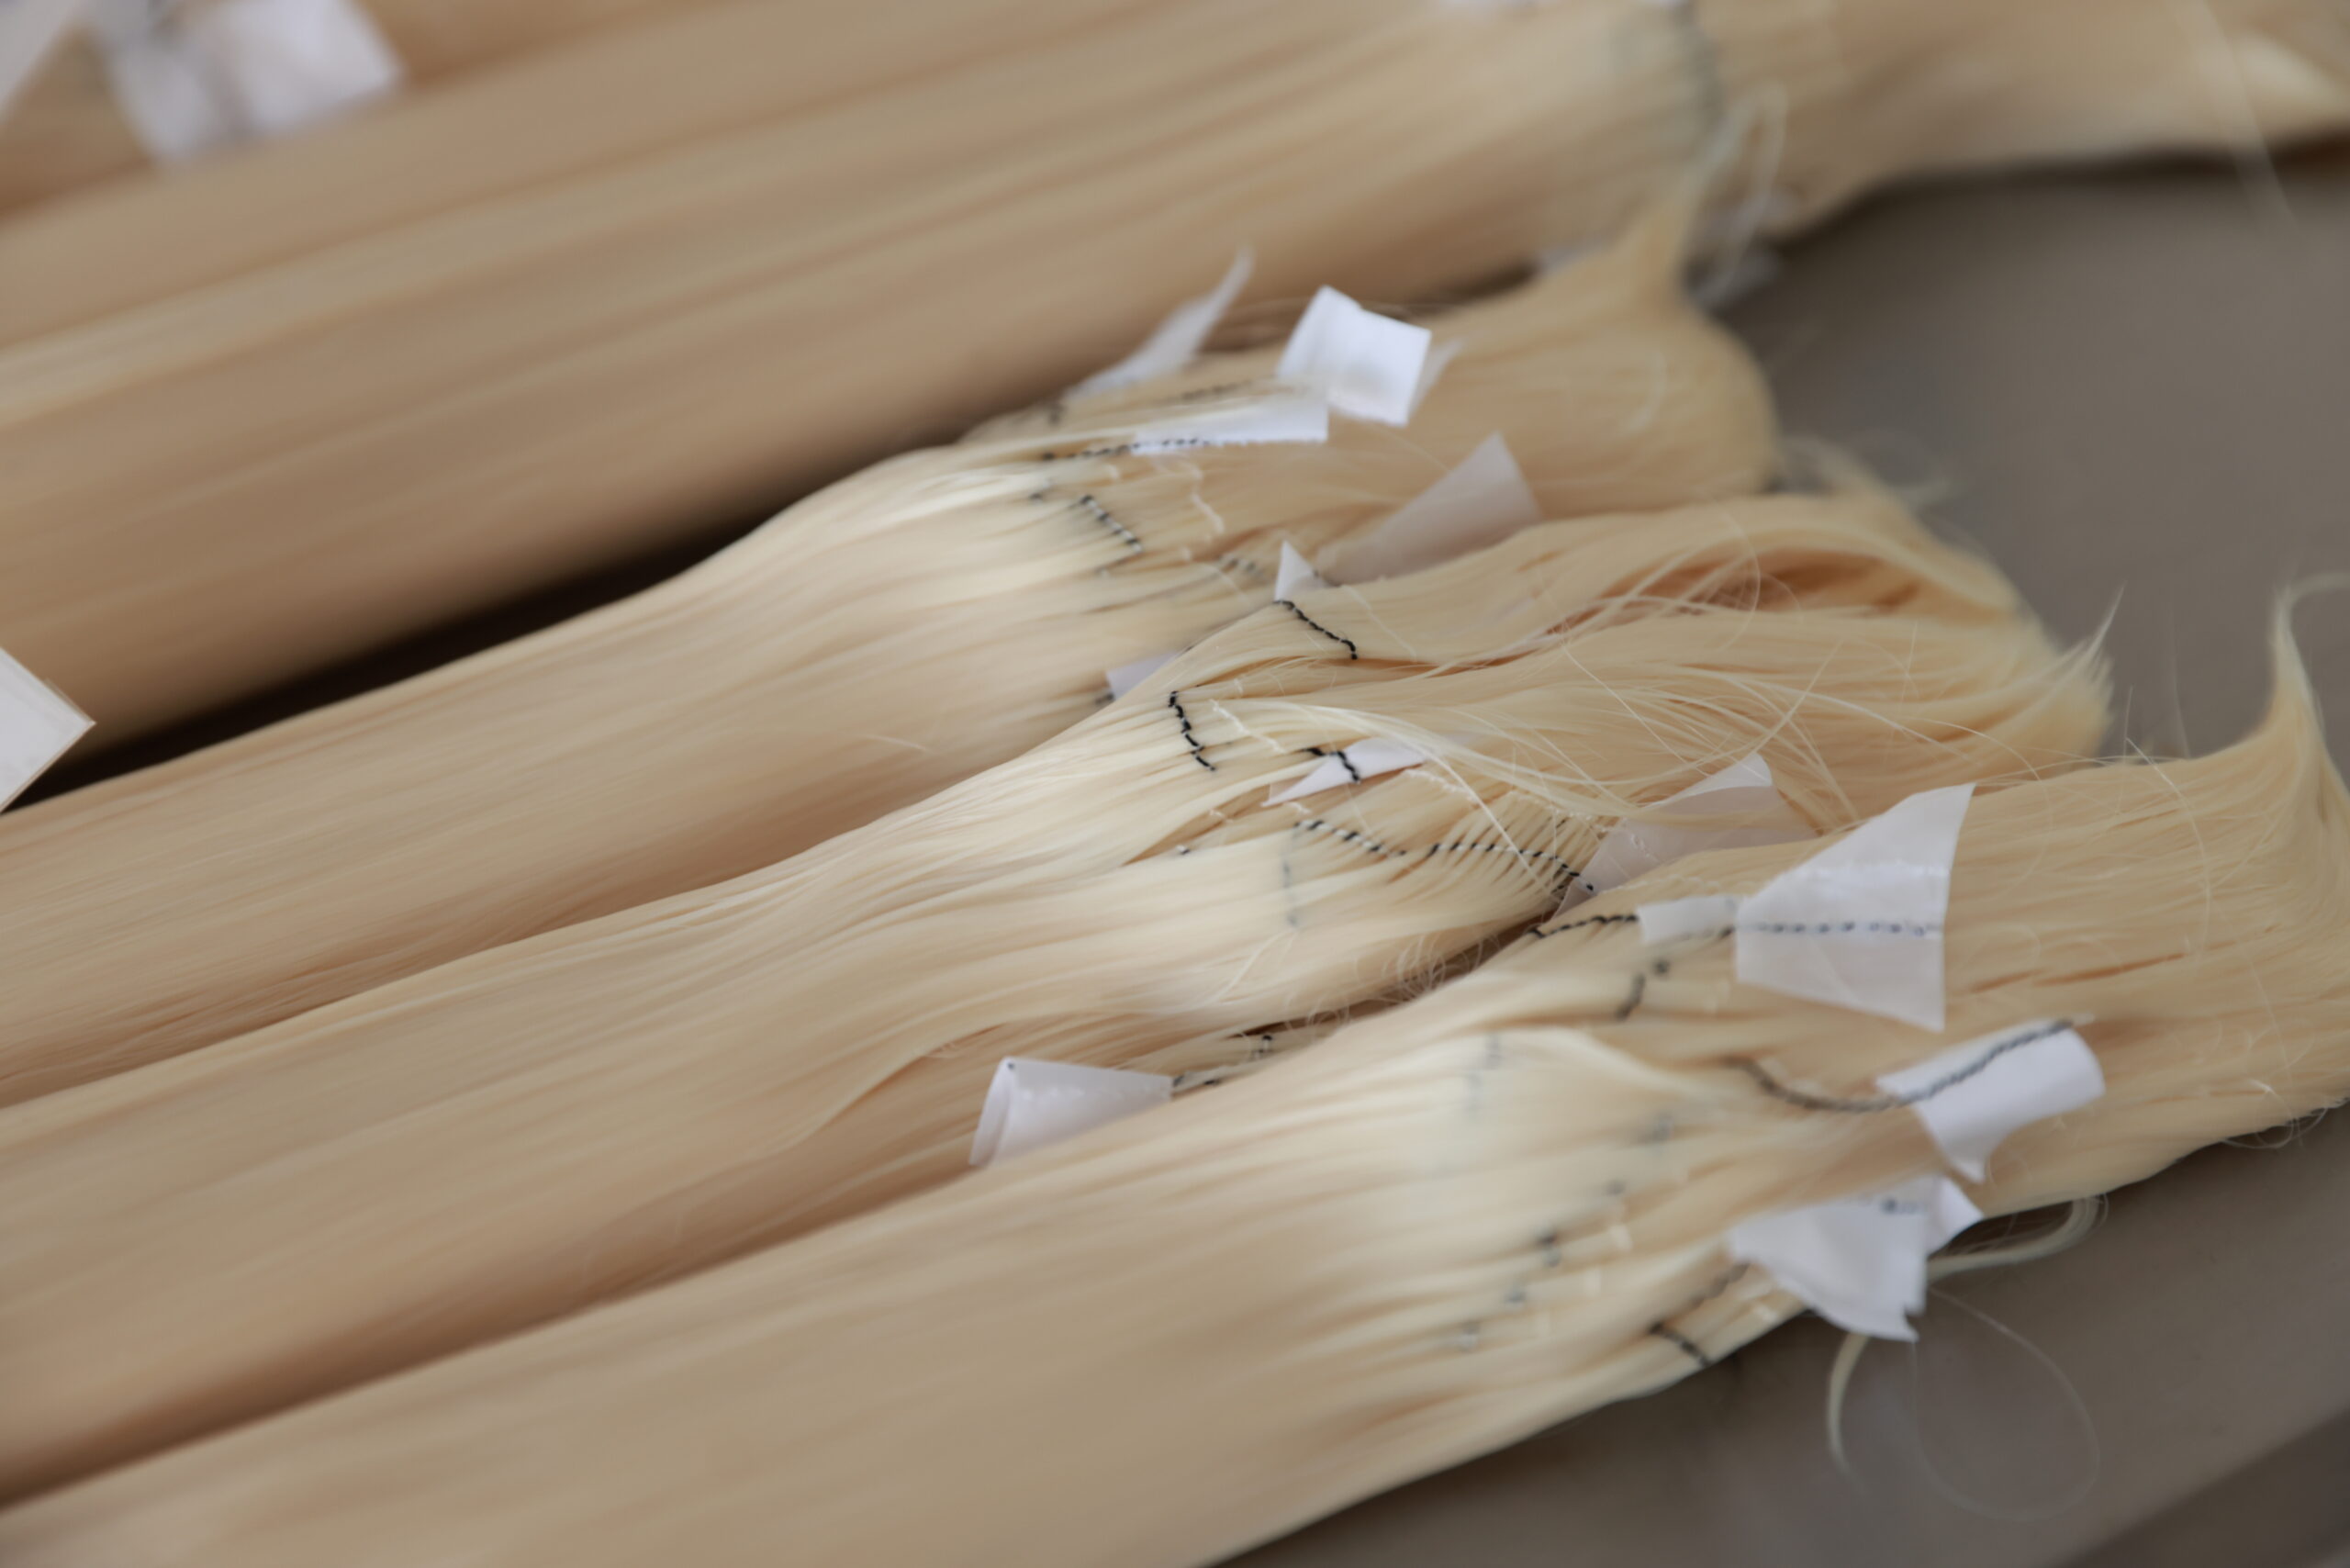
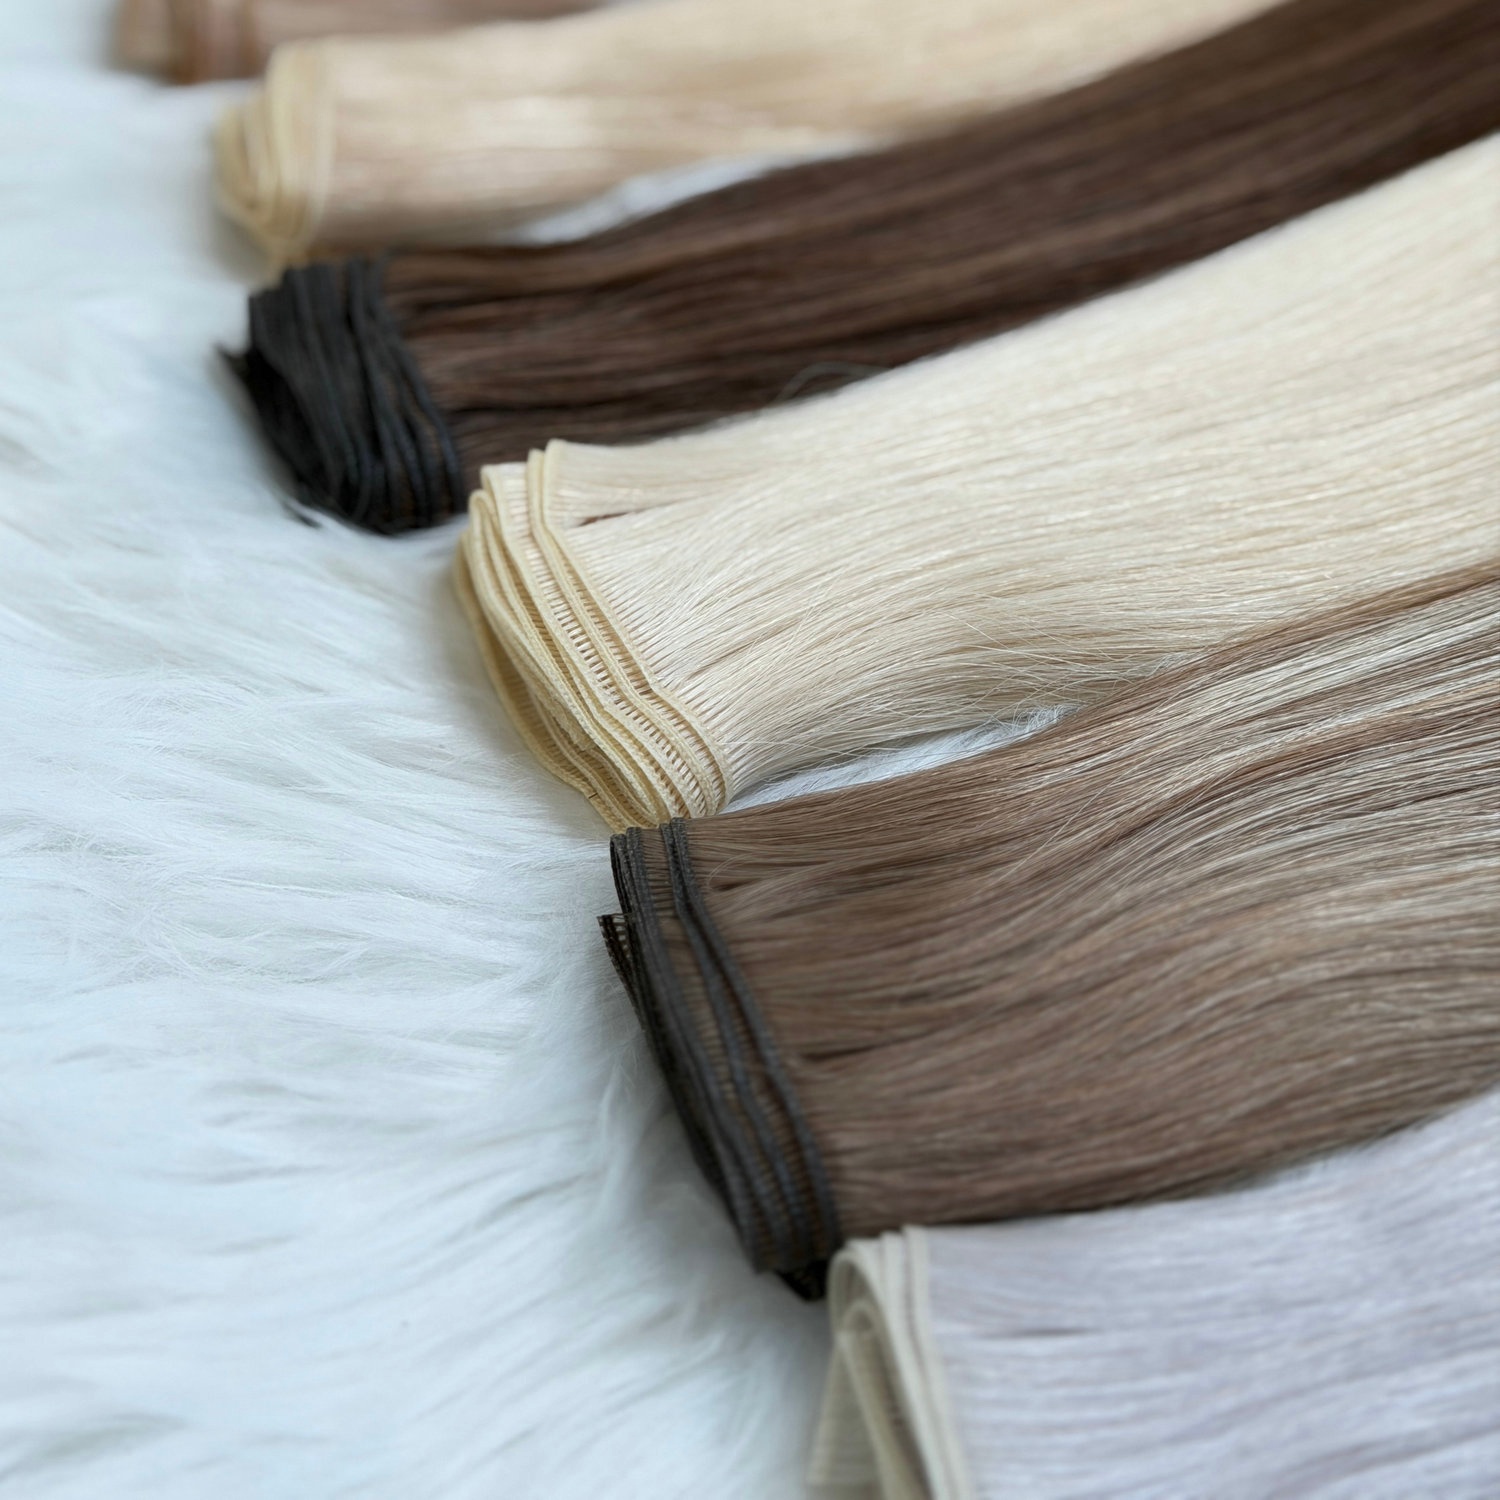
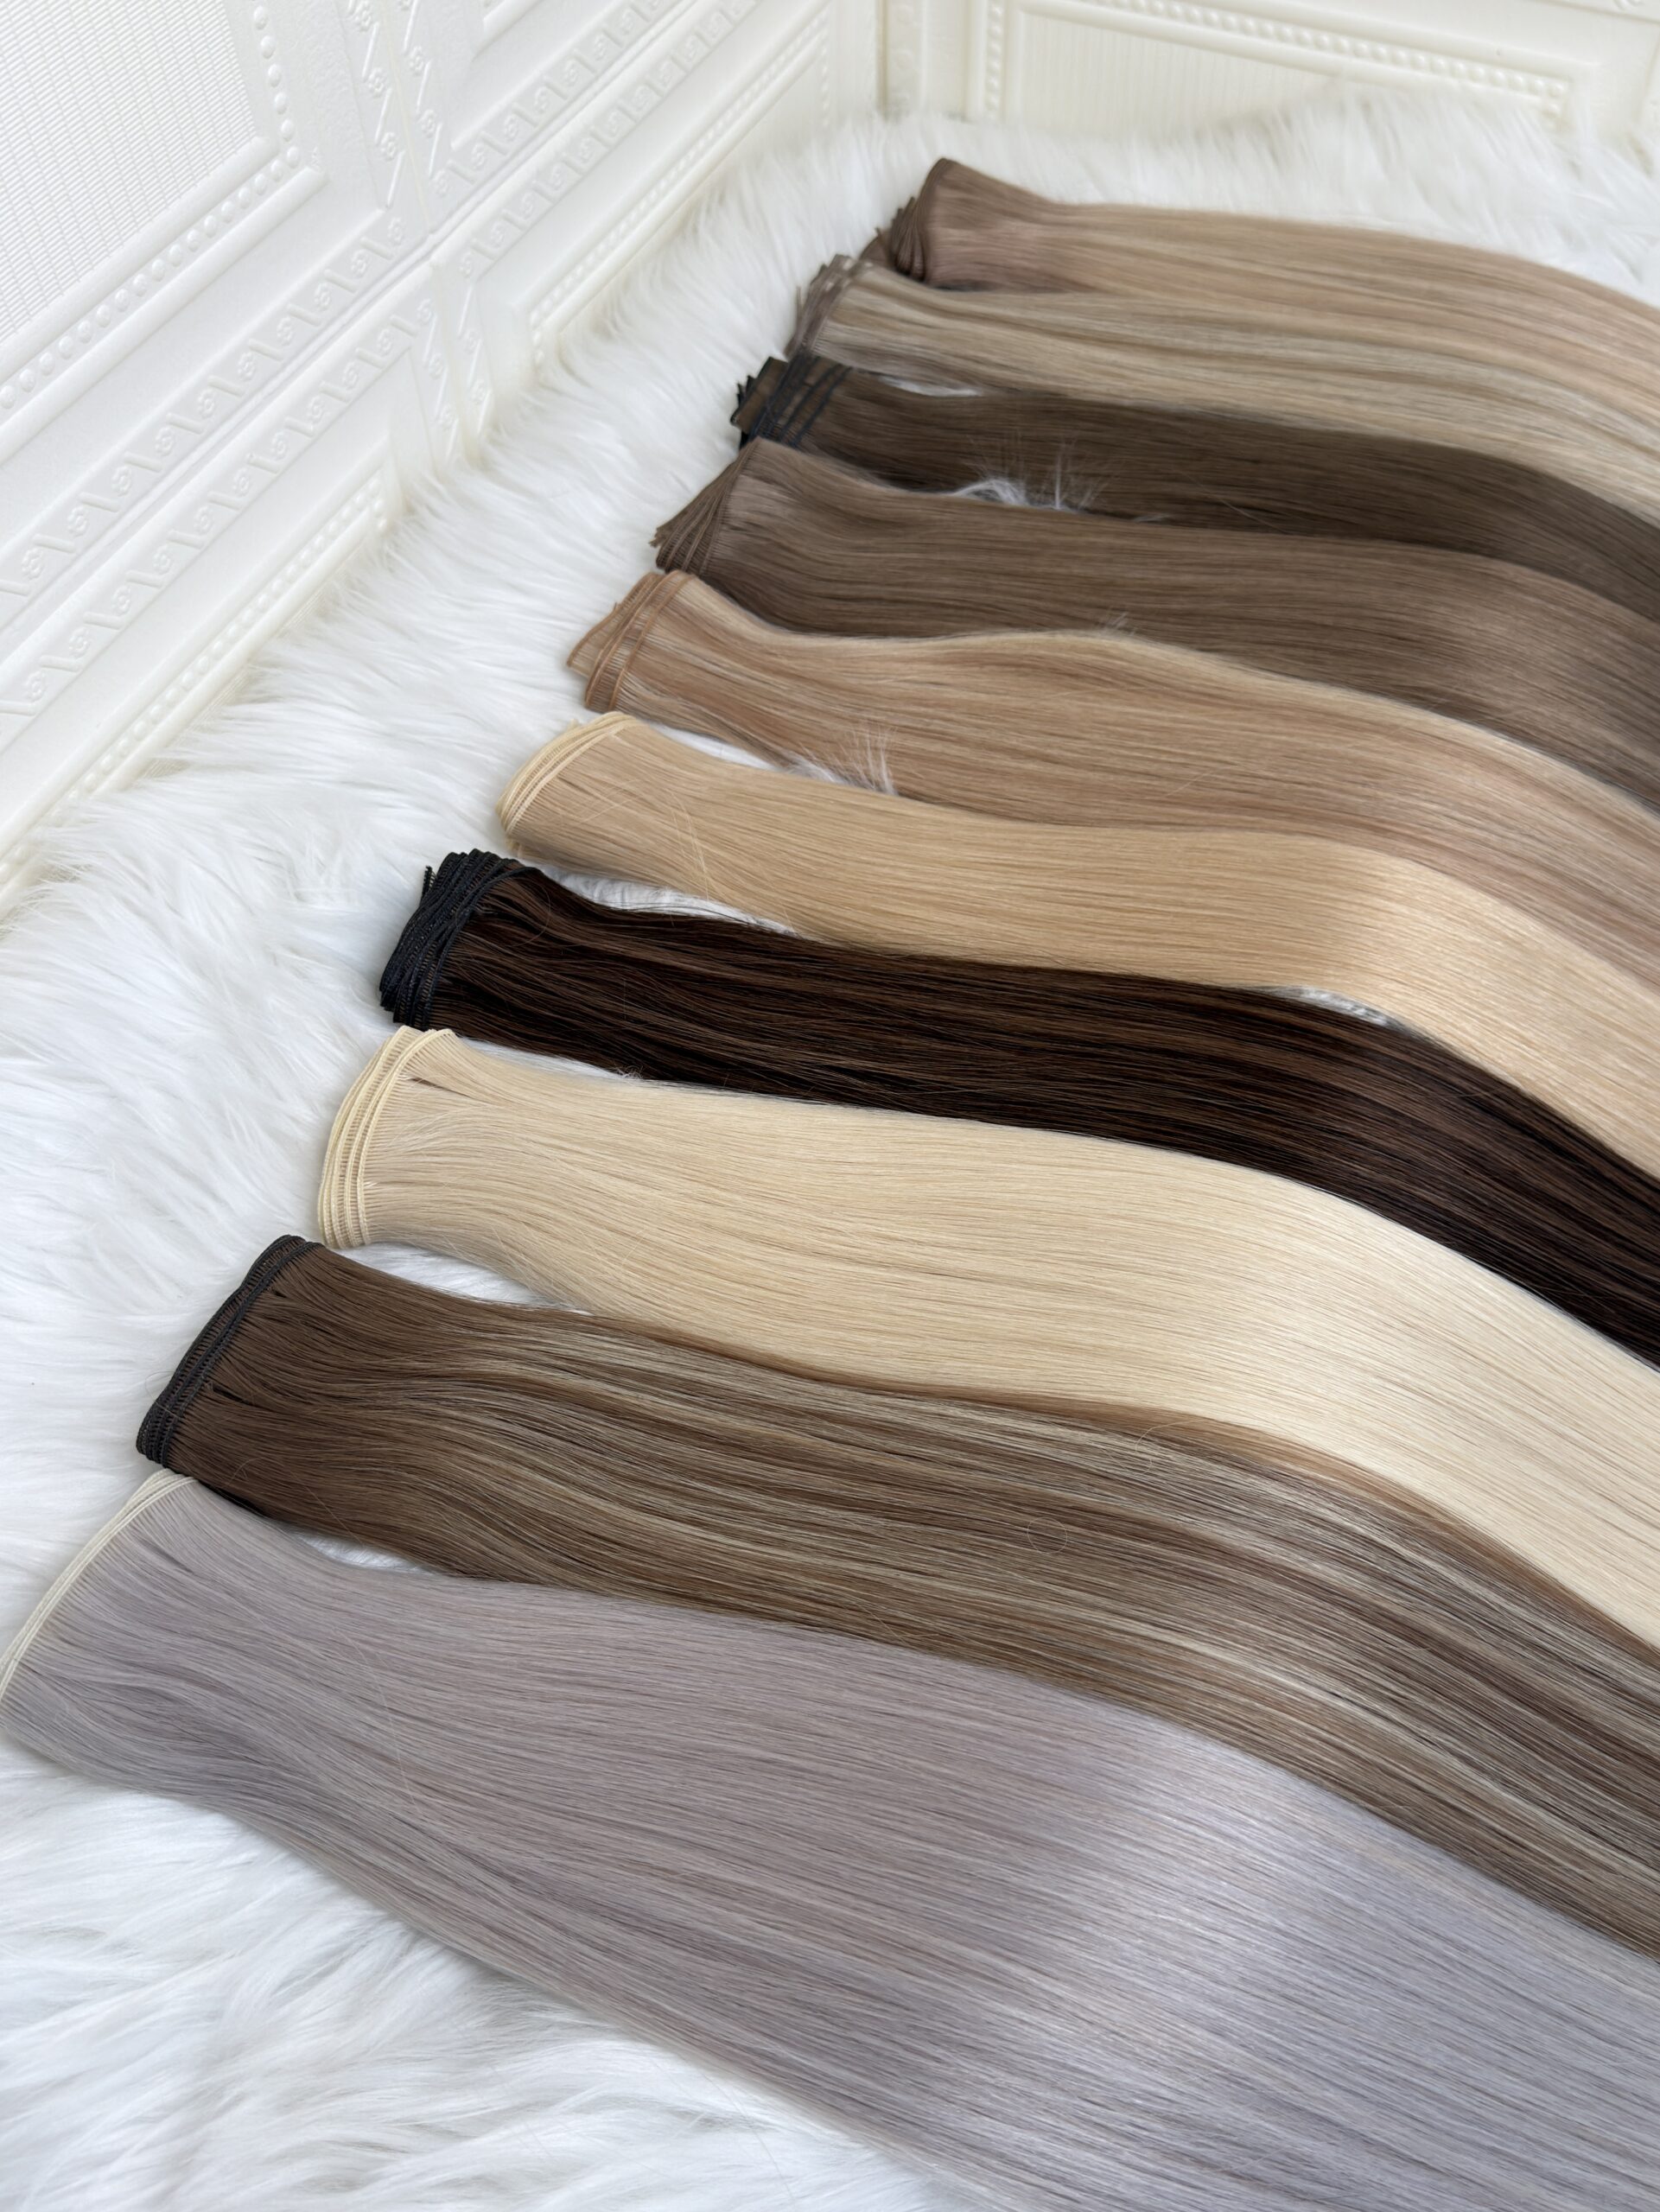
Natural Color Blending
Premium brands offer extensive color ranges to ensure seamless integration.

Best Tape In Hair Extensions Brand
Consumers frequently search for the best hair extension tape brands, but the answer depends on hair quality, budget, and specific needs.
Rather than focusing solely on marketing reputation, professionals evaluate brands according to manufacturing standards and raw material quality.
Characteristics of Top Tape Extension Brands
The most respected tape extension brands generally offer:
- 100% Remy human hair
- Consistent quality control
- Double-drawn options
- Professional salon support
- Long-lasting tape technology
- Extensive color selection
Premium Salon Brands
High-end salon brands are known for:
- Superior hair quality
- Long lifespan
- Consistent thickness
- Excellent customer satisfaction
However, they often come with premium pricing.
Private Label Manufacturers
Many global salon brands actually source from professional hair factories in China, Vietnam, and India.
Advantages of working directly with manufacturers include:
- Competitive pricing
- Custom branding
- Flexible MOQ
- Consistent production quality
Based on feedback from hairstylists, salon owners, distributors, and professional extension specialists, the following brands are frequently recognized for producing high-quality tape-in hair extensions. Each brand has its own strengths, price range, and target customer base.
1. Glam Seamless
Glam Seamless is one of the most recognized tape-in extension brands in North America.
Advantages
- 100% Remy human hair
- Extensive color collection
- Strong tape technology
- Salon-trusted reputation
Best For
- Professional salons
- Premium hair extension clients
- Customers seeking natural blending
Drawbacks
- Higher retail pricing
- Limited wholesale flexibility
Glam Seamless is particularly popular among celebrity stylists and luxury salons.
2. Bellami Hair
Bellami has become a leading global extension brand with strong social media visibility.
Advantages
- High-density hair
- Excellent color options
- Long lengths available
- Strong brand recognition
Best For
- Clients wanting dramatic length
- Influencers and content creators
- Luxury salon services
Drawbacks
- Premium pricing
- May be heavier for very fine hair
Bellami remains one of the most searched tape extension brands worldwide.
3. Hairdreams
Hairdreams is an Austrian company known for premium-quality hair extension solutions.
Advantages
- Exceptional quality control
- Premium European reputation
- Long-lasting hair
Best For
- High-end salons
- Luxury clientele
Drawbacks
- Expensive
- Limited availability in some markets
Hairdreams focuses heavily on professional salon distribution.
4. Great Lengths
Great Lengths is widely regarded as one of the pioneers of premium human hair extensions.
Advantages
- Ethically sourced hair
- Excellent durability
- Consistent quality
Best For
- Luxury salon environments
- Customers prioritizing premium quality
Drawbacks
- Very high cost
- Professional installation required
Many stylists consider Great Lengths one of the benchmark brands in the industry.
5. Donna Bella Hair
Donna Bella offers a wide range of extension methods, including tape-ins.
Advantages
- Competitive pricing
- Large color selection
- Professional training support
Best For
- Mid-range salon clients
- First-time extension users
Drawbacks
- Hair quality can vary between collections
Donna Bella is popular among salons looking for a balance between quality and affordability.
6. Hotheads Hair Extensions
Hotheads helped popularize tape-in technology in professional salons.
Advantages
- Lightweight design
- Comfortable wear
- Reliable adhesive system
Best For
- Thin hair clients
- Natural volume enhancement
Drawbacks
- Premium price compared with generic alternatives
Many stylists consider Hotheads one of the safest choices for fine hair.
7. Zala Hair Extensions
Zala has developed a strong reputation in Australia and international markets.
Advantages
- Soft Remy human hair
- Fashion-forward color options
- Strong online customer support
Best For
- Beauty-conscious consumers
- DIY extension users
Drawbacks
- Not always available through professional distributors
Zala is particularly popular among younger consumers.
8. Easihair Pro
Easihair Pro is designed specifically for professional salon applications.
Advantages
- Reliable quality
- Professional-only distribution
- Extensive stylist education
Best For
- Licensed hairstylists
- Professional extension specialists
Drawbacks
- Less consumer-focused branding
Its strong professional network has contributed to its popularity among salon owners.
9. Babe Hair Extensions
Babe Hair is widely recognized throughout North America.
Advantages
- Affordable premium hair
- Large color range
- Strong tape retention
Best For
- Everyday salon clients
- Medium-budget consumers
Drawbacks
- Lifespan may be slightly shorter than ultra-premium brands
Babe Hair offers excellent value for many consumers.
Alove Hair has become an increasingly popular manufacturer and supplier for salons, distributors, and private-label brands worldwide.
Advantages
- 100% Remy human hair
- Virgin hair options available
- Factory-direct pricing
- OEM and private label services
- Custom colors and lengths
- Double-drawn options
Best For
- Salon chains
- Hair extension distributors
- Beauty brands launching private labels
- Wholesale buyers
Drawbacks
- Primarily focused on B2B and wholesale markets
Unlike many retail-focused brands, Alove Hair operates as a professional manufacturer, allowing salons and distributors to source premium tape-in hair extensions directly from the factory while maintaining competitive pricing and customization flexibility.
Comparison of the Top Tape In Hair Extension Brands
| Brand | Hair Quality | Price Level | Best For |
|---|
| Glam Seamless | Premium Remy | $$$$ | Luxury salons |
| Bellami | Premium Remy | $$$$ | Long, glamorous styles |
| Hairdreams | Premium Human Hair | $$$$$ | Luxury clients |
| Great Lengths | Premium Human Hair | $$$$$ | High-end salons |
| Donna Bella | Remy Human Hair | $$$ | Everyday salon services |
| Hotheads | Remy Human Hair | $$$$ | Fine and thin hair |
| Zala | Remy Human Hair | $$$ | Fashion-conscious users |
| Easihair Pro | Professional Grade | $$$ | Salon professionals |
| Babe Hair | Remy Human Hair | $$$ | Value-focused clients |
| Alove Hair | Remy & Virgin Hair | $$-$$$ | Wholesale and private label |
Which Tape In Hair Extension Brand Is Best?
There is no single “best” brand for every customer. The ideal choice depends on your budget, hair goals, and purchasing needs.
For luxury salon clients, brands such as Great Lengths, Hairdreams, Glam Seamless, and Bellami are often preferred.
For fine hair, Hotheads remains one of the most recommended options.
For distributors, salon chains, and beauty brands seeking factory-direct sourcing, manufacturers such as Alove Hair provide a combination of premium quality, customization, and competitive pricing that is difficult to achieve through traditional retail brands.
Ultimately, the best tape-in hair extension brand is one that consistently delivers a natural appearance, a long lifespan, minimal shedding, comfortable wear, and excellent customer satisfaction.
Best Quality Tape In Hair Extensions
When discussing quality, several technical factors separate premium extensions from average products.
100% Remy Human Hair
Remy hair remains the gold standard.
Benefits include:
- Natural movement
- Cuticle alignment
- Better durability
- Minimal tangling
Virgin Hair
Virgin hair has never undergone chemical processing.
Advantages:
- Stronger hair fibers
- Longer lifespan
- Better color retention
- Superior texture
Double Drawn Construction
Single-drawn hair becomes noticeably thinner toward the ends.
Double-drawn hair provides:
- Uniform density
- Fuller appearance
- Luxury finish
Silicone-Free Processing
Some manufacturers use heavy silicone coatings to create temporary softness.
The highest-quality extensions rely on healthy hair rather than artificial coatings.
Strong Yet Flexible Tape Tabs
Premium tape tabs should:
- Hold securely
- Remain comfortable
- Avoid excessive scalp tension
Longevity
High-quality tape extensions can last:
- 6 to 12 months with proper care
Lower-quality extensions may only last a few weeks.
Signs of Poor-Quality Tape Extensions
Avoid products that:
- Shed excessively
- Tangle easily
- Feel dry after washing
- Become thin quickly
- Use mixed synthetic fibers
Investing in quality often reduces long-term replacement costs.
Best Tape In Hair Extensions Human Hair
Human hair remains the preferred material for tape extensions.
Why Human Hair Is Better Than Synthetic Hair
Human hair provides:
- Natural appearance
- Heat styling compatibility
- Longer lifespan
- Better blending
- Color customization
Synthetic hair lacks these advantages.
Remy Human Hair
Remy hair is collected with cuticles aligned in one direction.
Benefits include:
- Smooth texture
- Reduced friction
- Less tangling
- Longer wear life
Virgin Human Hair
Virgin hair is the highest-quality category.
Characteristics include:
- No chemical treatment
- Maximum durability
- Exceptional softness
- Premium appearance
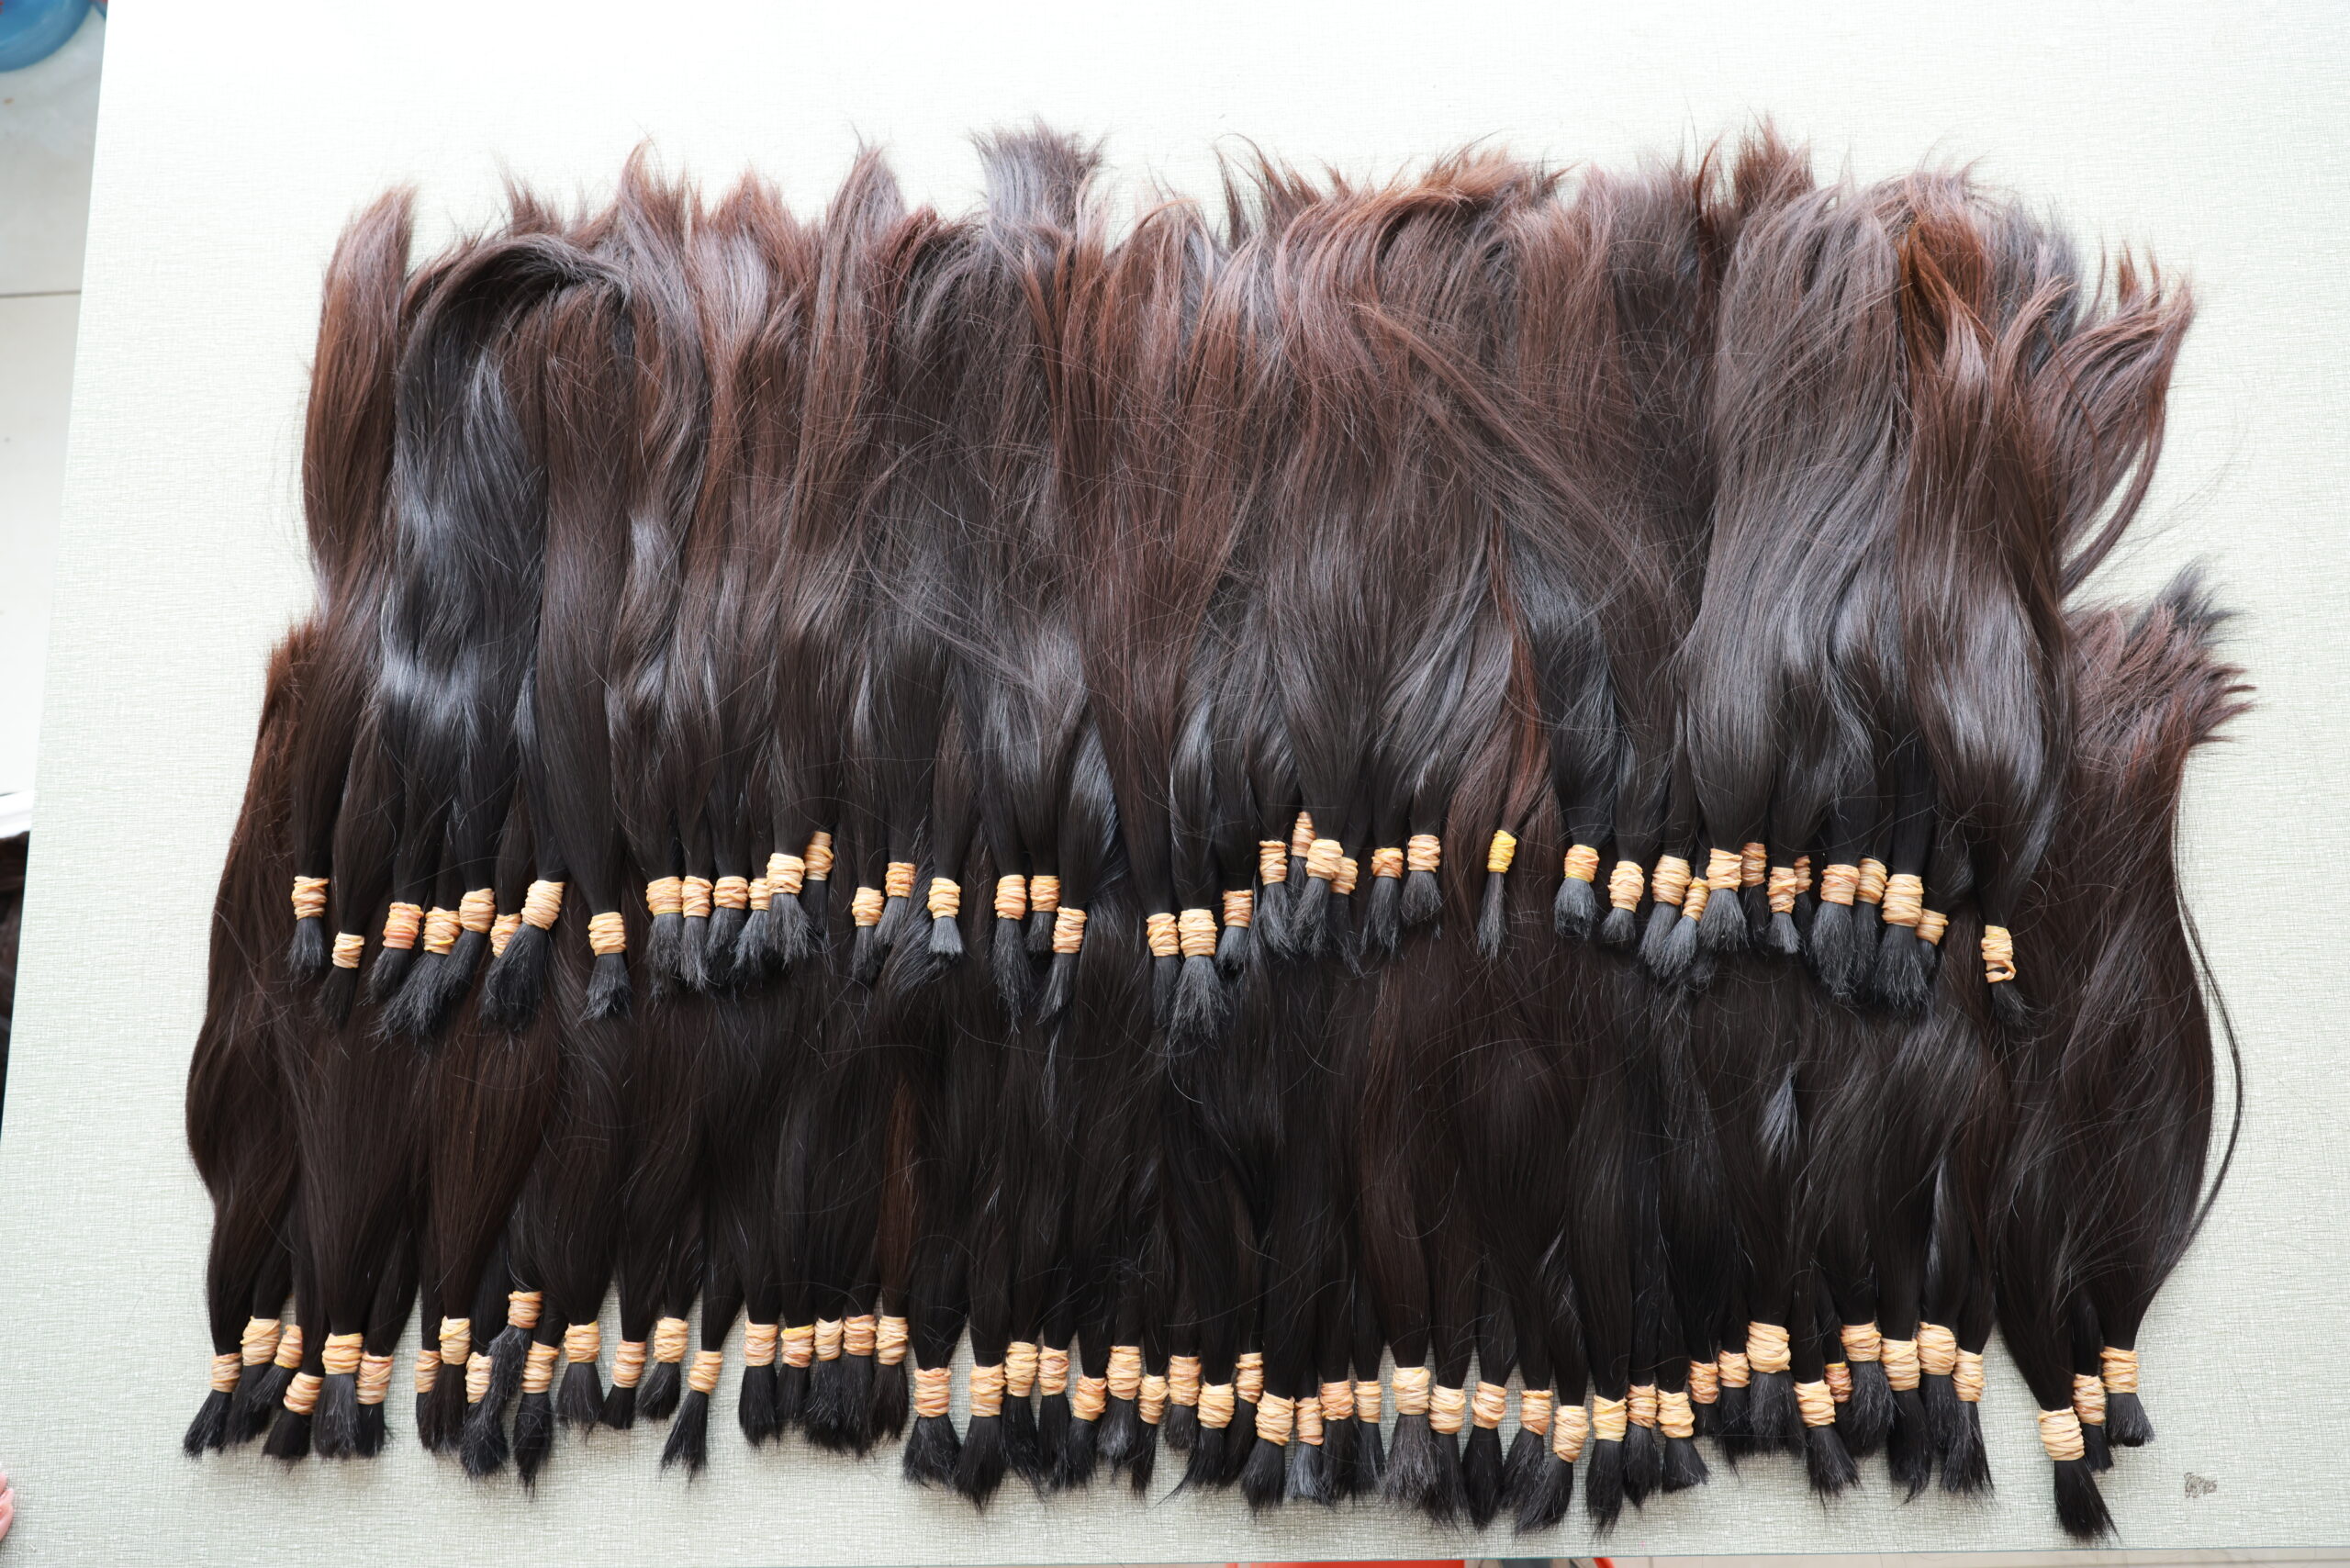
Popular Human Hair Sources
Professional manufacturers commonly use:
Chinese Hair
Known for:
- Durability
- Thickness
- Versatility
Vietnamese Hair
Popular for:
- Natural strength
- Silky texture
- Long lifespan
Indian Hair
Valued for:
- Natural movement
- Texture variety
- Good affordability
Which Human Hair Is Best?
For luxury tape extensions, many professionals prefer:
- Virgin Vietnamese hair
- Premium Remy hair
- Double-drawn human hair
These options consistently deliver superior salon results.

Why Tape In Extensions Are So Popular
Tape extensions have become one of the fastest-growing extension methods worldwide.
Fast Installation
A full head can often be installed within:
Compared with fusion methods requiring several hours.
Comfortable Wear
The thin attachment points feel lightweight.
Many clients forget they are wearing extensions.
Natural Appearance
Tape extensions lie flat against the scalp.
This creates excellent concealment.
Reusability
Premium extensions can be reinstalled multiple times.
This improves long-term value.
Minimal Hair Damage
When installed correctly, tape-ins are considered one of the gentlest professional extension methods.
Every extension method has strengths and limitations.
Understanding both sides helps consumers make informed decisions.
Pros of Tape Hair Extensions
Natural Appearance
Tape-ins blend exceptionally well with natural hair.
The thin wefts remain nearly invisible.
Lightweight Feel
Unlike bulky wefts or heavy clip-ins, tape extensions distribute weight evenly.
Fast Installation
The application is much faster than many other methods.
Reusable Hair
Premium human hair tape extensions can be reused several times.
Comfortable Daily Wear
Most clients find tape-ins comfortable for long-term use.
Suitable for Thin Hair
Tape-ins are often recommended for fine or thin hair because of their lightweight structure.
Styling Versatility
Users can:
- Curl
- Straighten
- Blow dry
- Color (with professional guidance)
Cons of Tape Hair Extensions
Professional Installation Required
DIY installation often leads to poor results.
Regular Maintenance
Most tape extensions require repositioning every:
As natural hair grows.
Adhesive Sensitivity
A small number of users may experience scalp sensitivity.
Oily Products Can Weaken Tape
Heavy conditioners and oils near the tape area can reduce adhesion.
Swimming and Heat Exposure
Excessive chlorine, saltwater, or heat may shorten lifespan.
Are Tape Extensions Worth It?
For most consumers, the answer is yes.
The combination of:
- Natural appearance
- Comfort
- Reusability
- Moderate cost
Makes tape extensions one of the most balanced extension solutions available.

How Long Do Tape In Hair Extensions Last?
One of the most frequently asked questions among first-time buyers is how long tape-in hair extensions actually last. The answer depends on both the quality of the hair and how well the extensions are maintained.
Generally, tape-in extensions consist of two separate lifespans:
Installation Lifespan
The tape tabs themselves typically remain secure for approximately 6 to 8 weeks before requiring reinstallation. As natural hair grows, the extensions move farther away from the scalp and must be repositioned by a professional stylist.
Hair Lifespan
The longevity of the hair itself varies significantly based on quality.
| Hair Quality | Average Lifespan |
|---|
| Synthetic Hair | 1-2 months |
| Basic Human Hair | 2-4 months |
| Remy Human Hair | 6-9 months |
| Virgin Human Hair | 9-12+ months |
Premium 100% Remy human hair tape extensions can often be reused three to five times when properly maintained.
Factors That Affect Longevity
Several factors determine how long your tape extensions will last:
- Frequency of washing
- Heat styling habits
- Swimming exposure
- Hair care products used
- Installation quality
- Daily brushing routine
Clients who use sulfate-free shampoos and avoid excessive heat generally enjoy the longest lifespan from their extensions.
Are Tape In Hair Extensions Damaging?
A common concern among consumers is whether tape extensions damage natural hair. The good news is that tape-in extensions are widely considered one of the safest professional extension methods available today.
When Tape Extensions May Cause Damage
Problems usually occur because of improper application rather than the extensions themselves.
Potential causes include:
- Incorrect installation
- Excessively heavy hair bundles
- Poor-quality adhesive
- Improper removal
- Neglected maintenance appointments
When extensions remain installed for too long without repositioning, tension can develop at the root area.
Why Tape Extensions Are Considered Hair-Friendly
Professional stylists often recommend tape-ins because they distribute weight evenly across larger sections of natural hair.
Benefits include:
- Less tension than clip-ins
- No heat required
- No sewing required
- No harsh chemical bonding
- Comfortable daily wear
When installed and removed properly, tape-in extensions can be worn repeatedly without causing significant damage.
Tape In Hair Extensions Before and After Results
Few beauty services deliver a transformation as dramatic as high-quality tape-in extensions.
Before Tape Extensions
Many clients experience:
- Flat hairstyles
- Fine or thin hair
- Limited styling options
- Visible scalp areas
- Lack of confidence
After Tape Extensions
The transformation often includes:
- Increased volume
- Longer hair
- Fuller ponytails
- Enhanced styling flexibility
- Improved self-confidence
Professional salons frequently report that tape extensions create one of the highest customer satisfaction rates among hair enhancement services.
Fine Hair Transformation
Tape-in extensions are especially effective for women with fine or thinning hair.
The lightweight design allows volume enhancement without creating excessive stress on fragile strands.
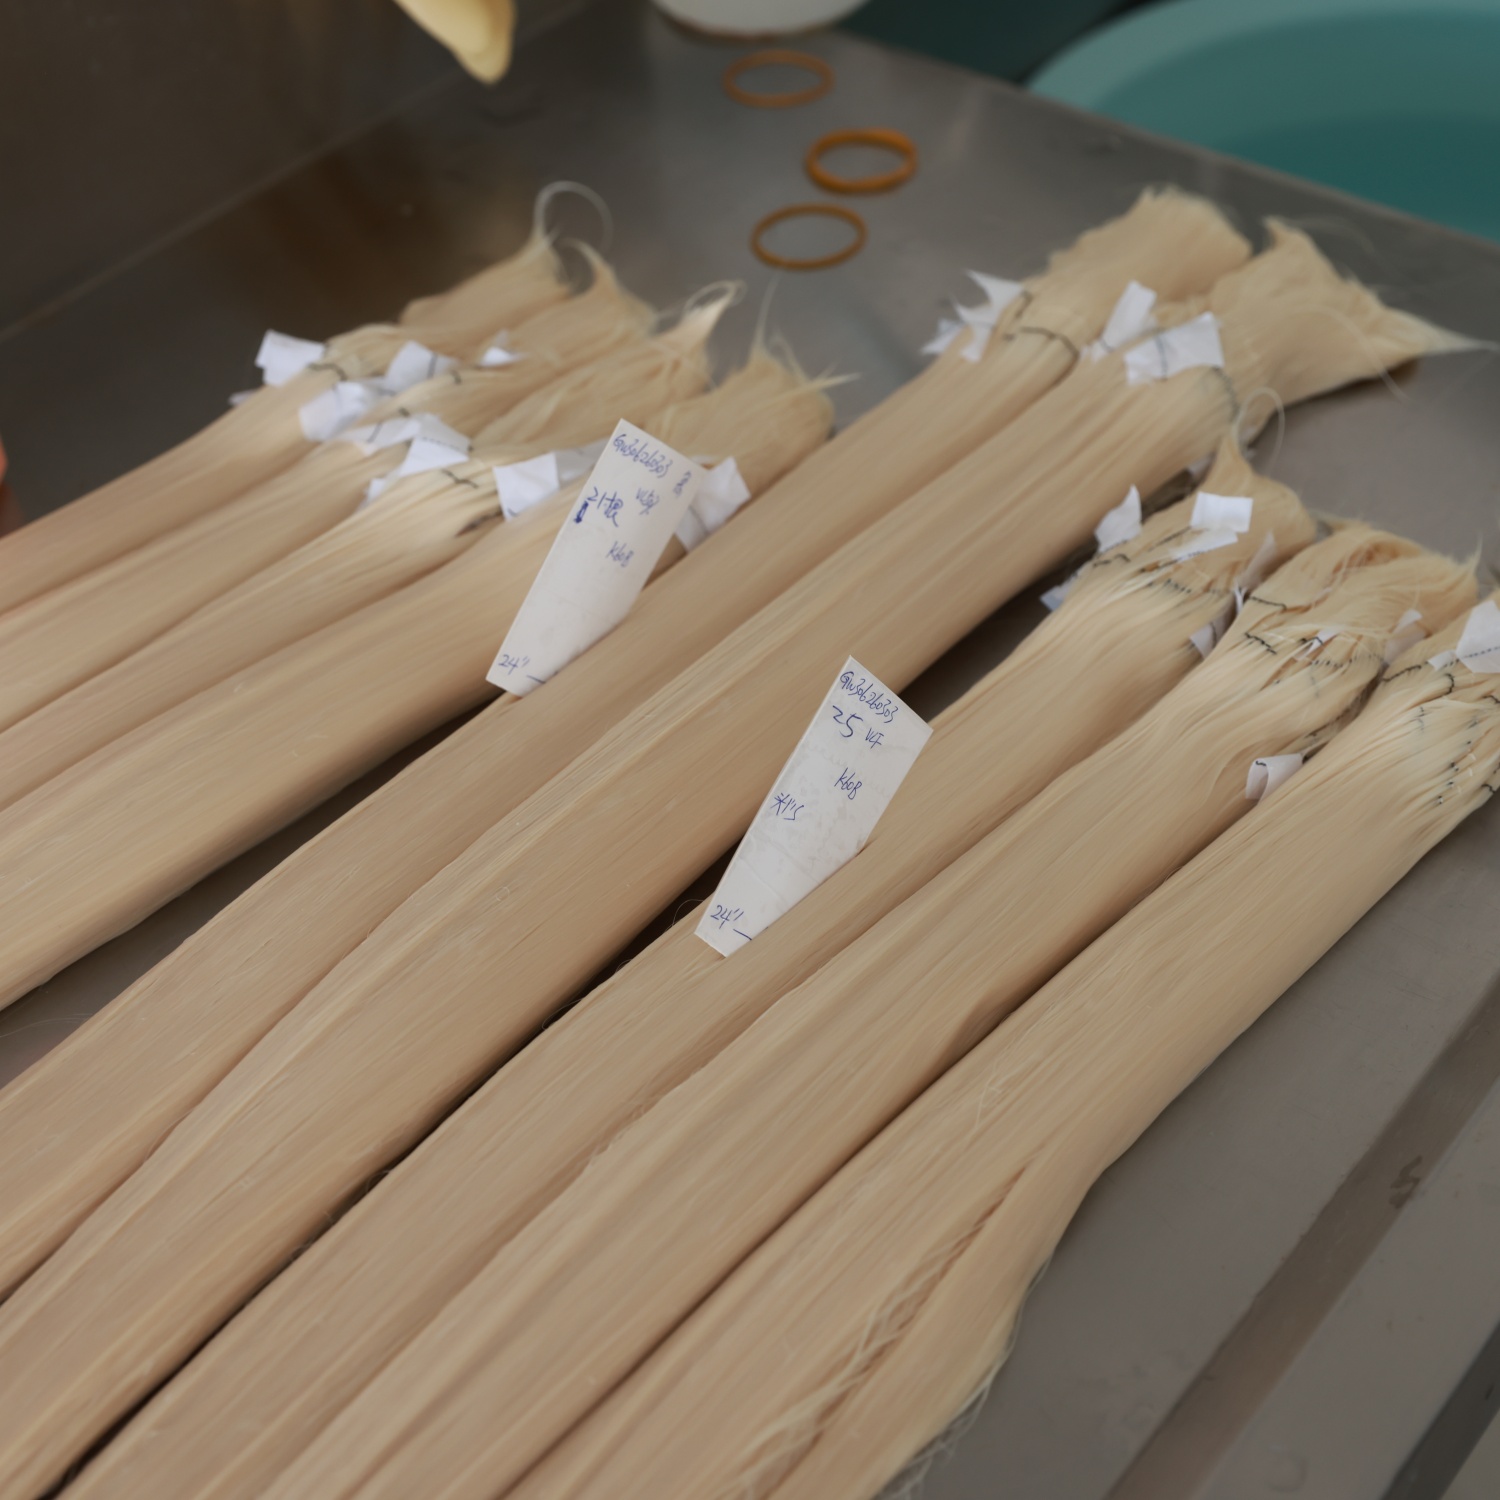
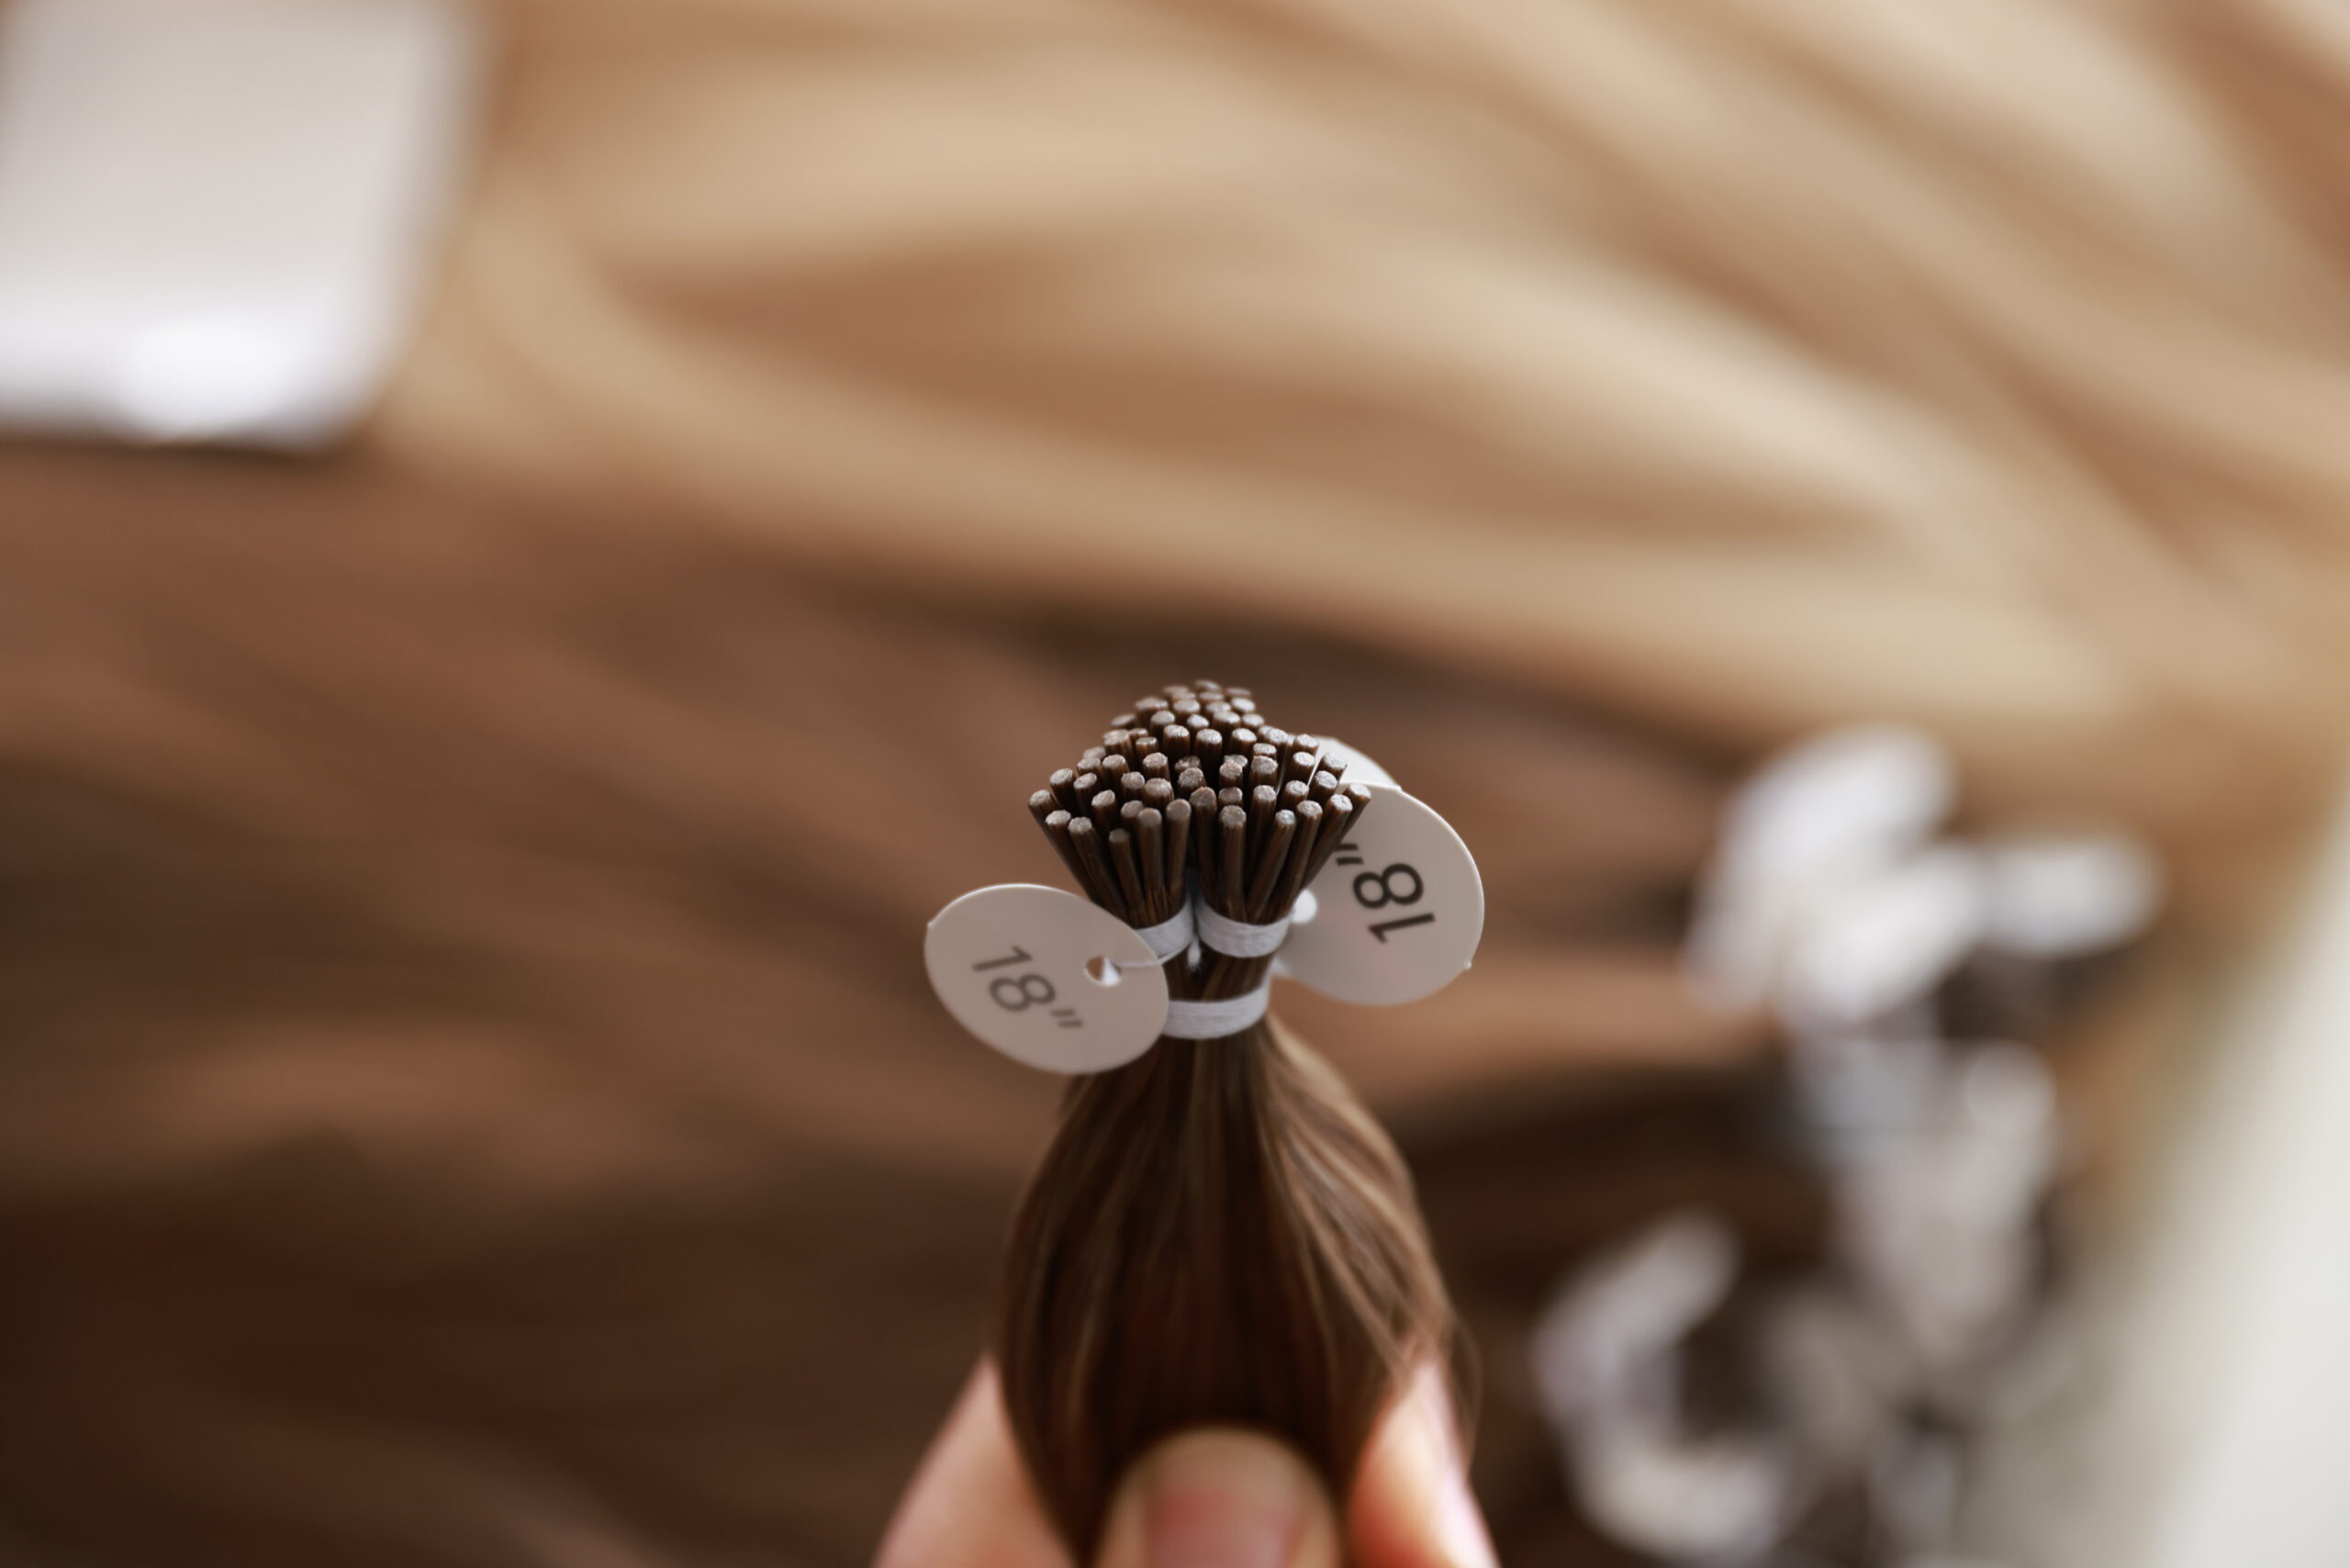
Length Transformation
Clients seeking dramatic length changes can instantly achieve:
- 18-inch hairstyles
- 22-inch hairstyles
- 24-inch hairstyles
without waiting years for natural growth.
How Many Tape In Extensions Do I Need?
The number of tape extensions required depends on your natural hair density and desired result.
For Volume Only
Women seeking fuller hair without significant length increase typically require:
40-60 pieces
For Moderate Length and Volume
Most clients choose:
60-80 pieces
For Full Head Transformation
Clients seeking maximum thickness and long length usually require:
80-120 pieces
Recommended Quantity Chart
| Desired Result | Number of Pieces |
| Volume Only | 40-60 |
| Volume + Length | 60-80 |
| Full Transformation | 80-120 |
| Very Thick Hair | 120-160 |
Professional consultation is recommended to determine the ideal amount for your hair type.
How Much Do Tape In Hair Extensions Cost?
The cost of tape-in extensions varies depending on hair quality, salon location, and installation requirements.
Salon Pricing in Different Markets
| Country | Average Cost |
| United States | $300-$1,200 |
| Canada | CAD 400-$1,500 |
| United Kingdom | £250-£1,000 |
| Australia | AUD 400-$1,800 |
The total investment typically includes:
Wholesale Factory Pricing
For salon owners and distributors purchasing directly from manufacturers:
| Length | Wholesale Price Per Pack |
| 14 Inch | $20-$40 |
| 16 Inch | $25-$45 |
| 20 Inch | $35-$65 |
| 24 Inch | $55-$95 |
| 26 Inch | $70-$120 |
Wholesale purchasing can significantly reduce overall costs for beauty professionals.
Why Professional Salons Prefer Tape In Extensions
Among all semi-permanent extension methods, tape-ins remain one of the most requested services worldwide.
Fast Installation
A full head can often be installed within 45 to 90 minutes.
This allows salons to serve more clients per day.
Excellent Client Satisfaction
Clients appreciate:
- Natural appearance
- Comfortable wear
- Easy maintenance
- Long-lasting results
High Reusability
Because premium hair can be reused multiple times, customers often return for maintenance appointments rather than purchasing entirely new hair.
Strong Profit Margins
For salon businesses, tape extension services often generate attractive revenue while maintaining manageable labor costs.
Tape In Extensions vs Other Extension Methods
Tape In vs Clip In Extensions
Tape-In Advantages:
- More natural
- Longer wear
- Better blending
Clip-In Advantages:
- Removable
- Lower initial cost
- DIY-friendly
Tape In vs Keratin Bond Extensions
Tape-In Advantages:
- Faster installation
- Lower maintenance cost
- Easier removal
Keratin Bond Advantages:
- Longer wear cycle
- Greater styling flexibility
Tape In vs Sew-In Wefts
Tape-In Advantages:
- Less bulky
- Better for fine hair
- More comfortable
Sew-In Advantages:
- High durability
- Suitable for thicker hair

How to Choose the Right Tape Extensions
Determine Your Hair Goals
Do you want:
- Added volume?
- Added length?
- Both?
Match Hair Texture
Choose a texture similar to your natural hair.
Options include:
- Straight
- Body wave
- Loose wave
- Deep wave
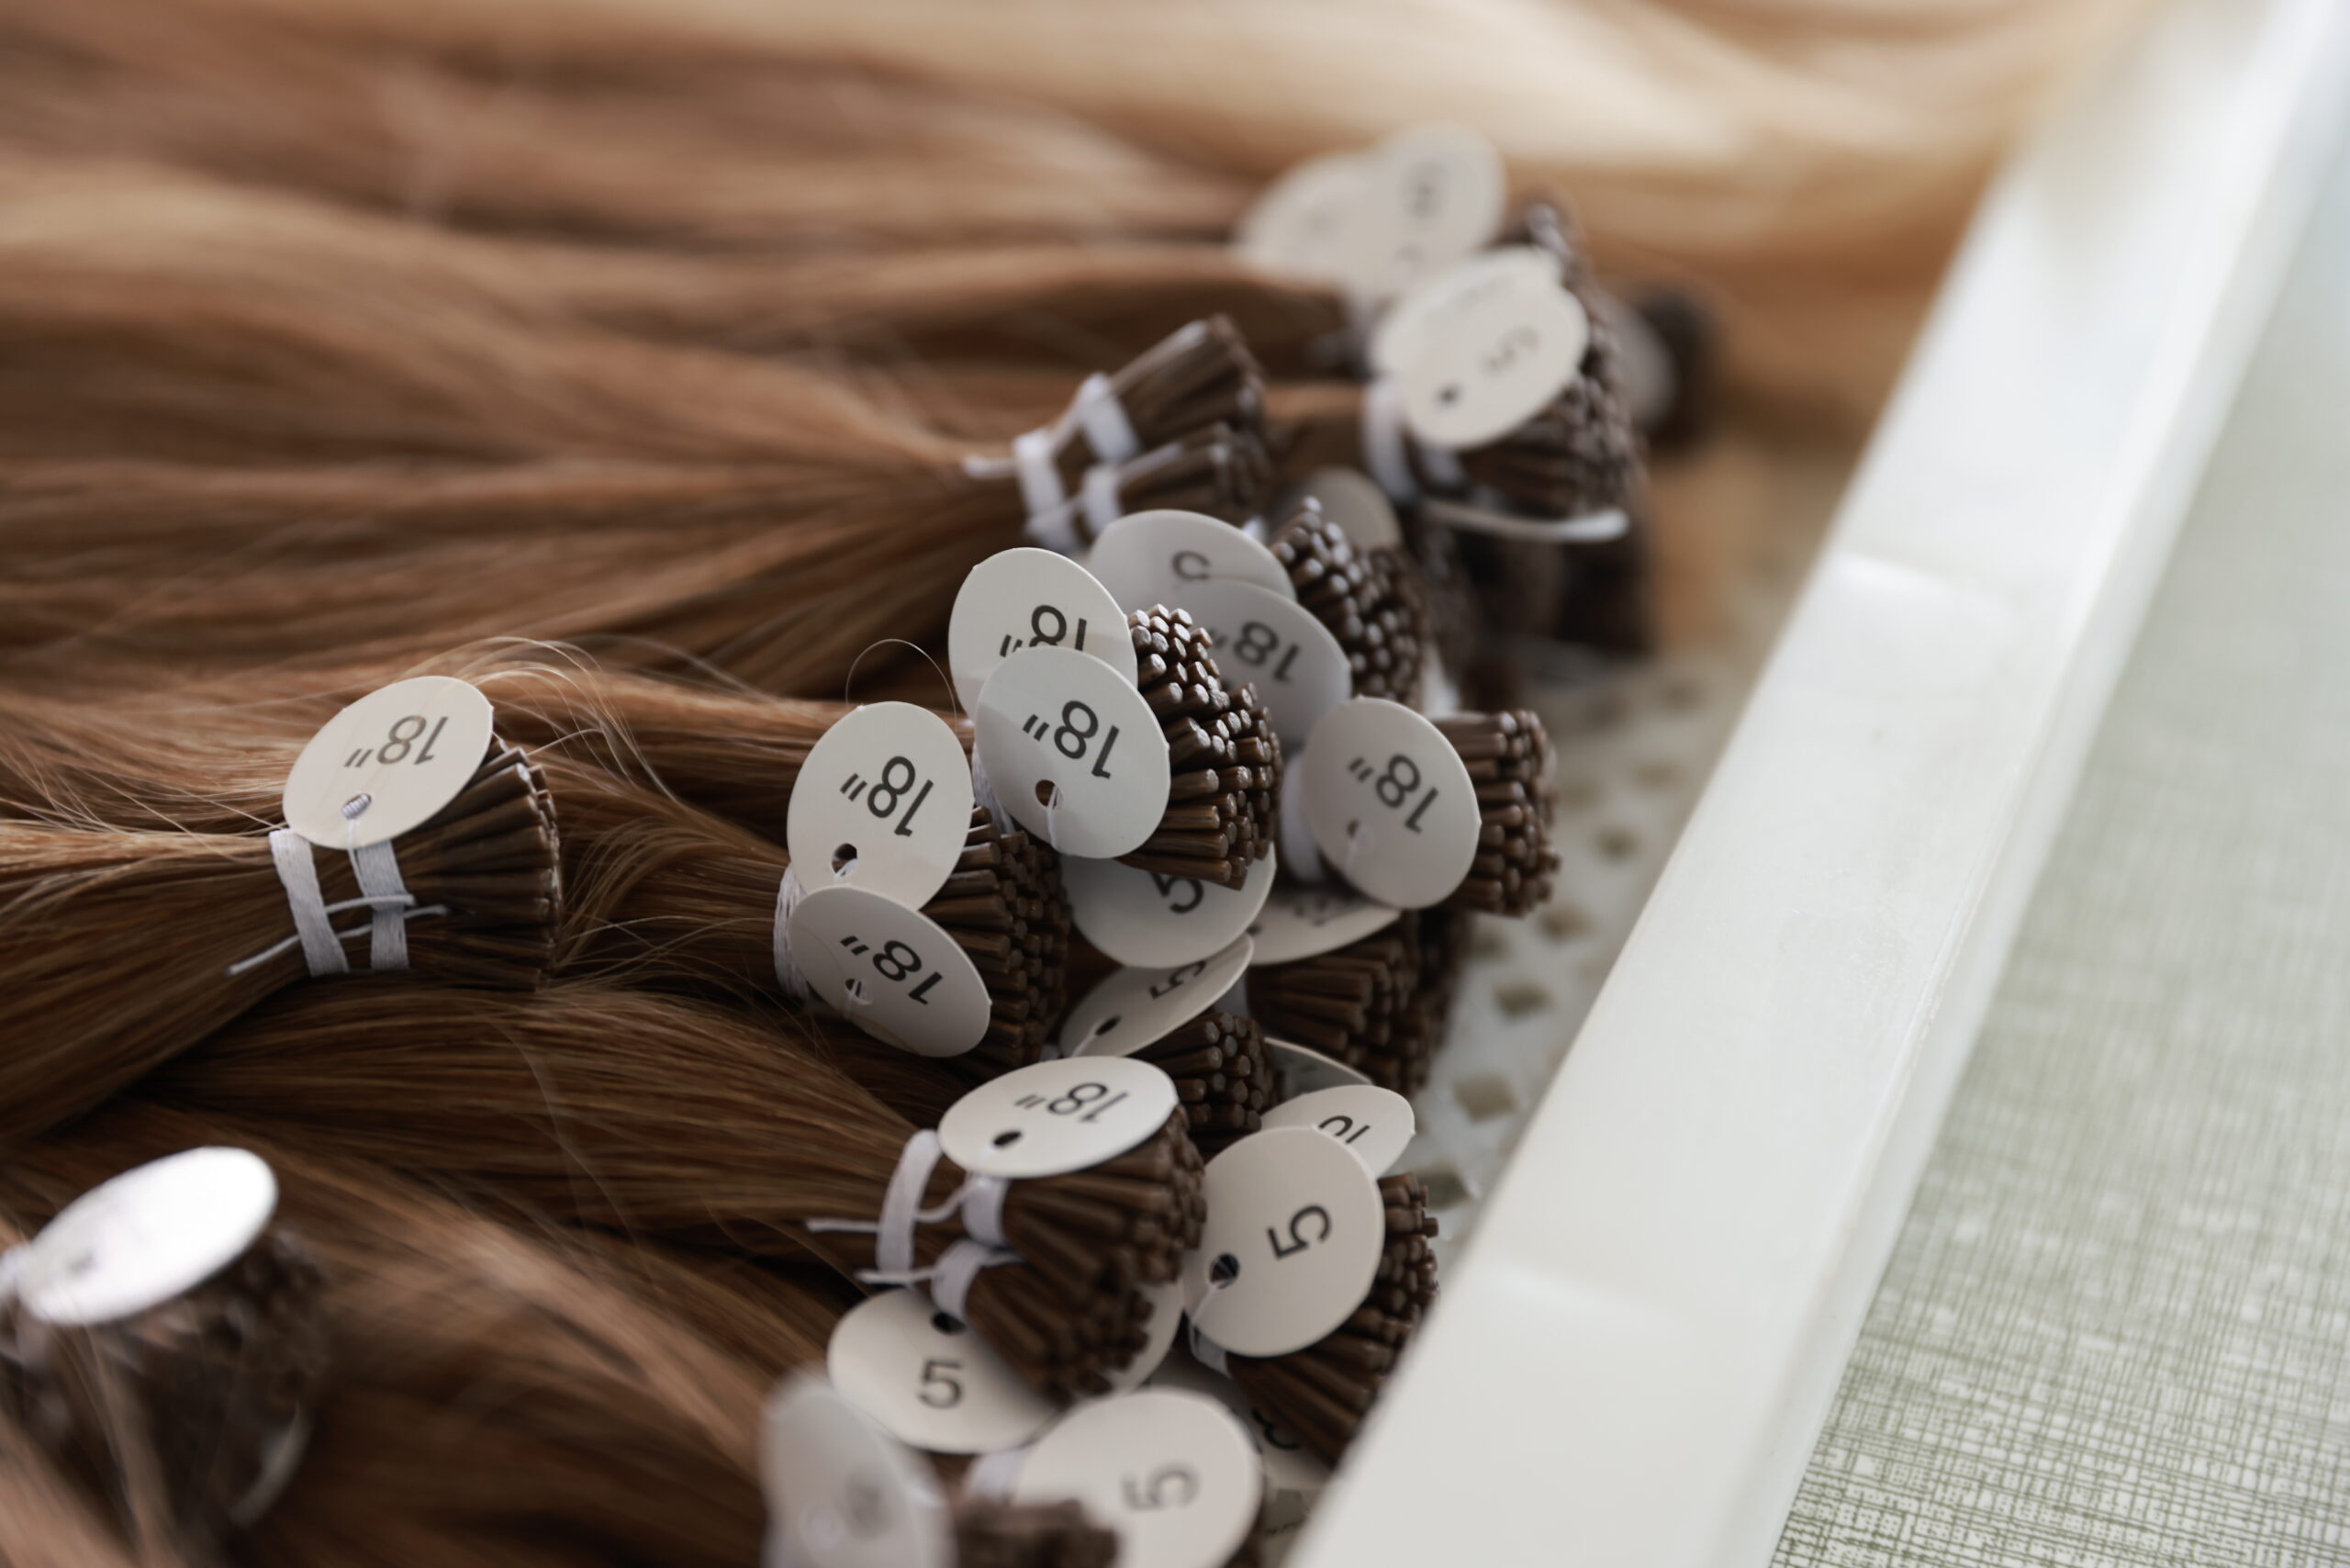
Select the Correct Length
Popular lengths include:
- 14 inches
- 18 inches
- 20 inches
- 22 inches
- 24 inches
Choose Appropriate Density
Fine hair typically requires:
Medium hair:
Thick hair:
Select Professional Color Matching
Accurate color matching creates the most natural appearance.
Professional Maintenance Tips
Use Sulfate-Free Shampoo
Harsh detergents can weaken adhesive bonds.
Avoid Oil Near Tape Tabs
Oils may cause slippage.
Brush Carefully
Use extension-safe brushes.
Sleep Properly
Loose braids or silk pillowcases reduce friction.
Schedule Regular Maintenance
Professional repositioning maintains appearance and comfort.
How to Choose a Reliable Tape In Hair Extension Manufacturer
For distributors, wholesalers, salons, and private label brands, selecting the right manufacturer is critical.
Evaluate Hair Source
Ask suppliers whether they use:
- Remy hair
- Virgin hair
- Single donor hair
Premium raw materials typically lead to higher customer satisfaction.
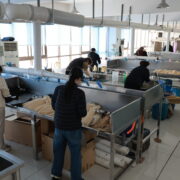
Review Manufacturing Experience
Look for factories with:
- 10+ years of experience
- International export history
- Professional quality control systems
Request Product Samples
Before placing large orders, evaluate:
- Hair softness
- Shedding resistance
- Tangling resistance
- Tape strength
- Color consistency
Verify Production Capacity
Reliable manufacturers should provide:
- Consistent supply
- Custom packaging options
- Private label services
- Fast delivery schedules
Check Customer Reviews
Feedback from salons and distributors often provides valuable insight into long-term product performance.
Future Trends in Tape In Hair Extensions
The tape extension industry continues evolving.
Emerging trends include:
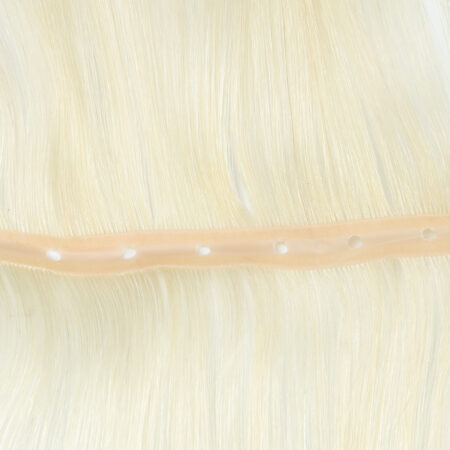
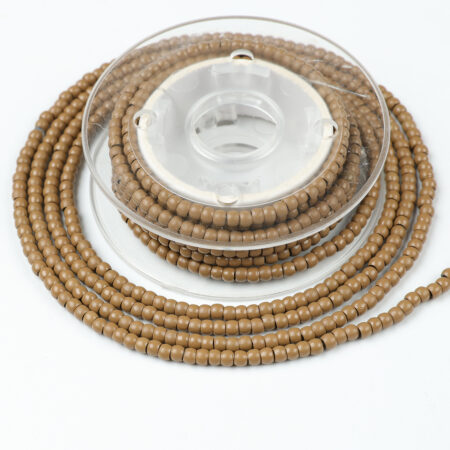
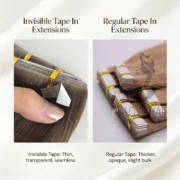
- Invisible tape technology
- Ultra-thin PU tabs
- Genius tape extensions
- Sustainable sourcing
- Custom color blending
- Premium virgin hair products
Manufacturers are focusing on creating lighter, thinner, and more natural-looking extensions than ever before.
Expert Opinion: What We Recommend After Years in the Hair Extension Industry
After supplying tape-in hair extensions to salons, distributors, and professional hairstylists across North America, Europe, Australia, and the Middle East, we have found that 100% Remy human hair tape extensions consistently achieve the highest customer satisfaction rates.
Clients repeatedly prioritize three factors:
- Natural appearance
- Long lifespan
- Comfortable wear
In our experience, double-drawn Remy human hair with medical-grade adhesive offers the best balance between quality, durability, and affordability.
While many extension methods have their advantages, tape-in extensions remain one of the most versatile solutions for women seeking fuller, longer hair without the bulk or discomfort associated with heavier systems.
For most consumers, investing in premium human hair extensions ultimately delivers better value than replacing low-quality hair multiple times throughout the year.
Final Thoughts
Finding the best tape in hair extensions ultimately comes down to hair quality, construction, and professional installation. The highest-performing products are typically made from 100% Remy or virgin human hair, feature double-drawn thickness, and use professional-grade adhesive systems.
Whether you are searching for the best tape-in hair extensions, the best quality tape-in hair extensions, or the best tape-in hair extensions for human hair, the most important factors remain consistent: premium raw materials, excellent craftsmanship, and proper maintenance.
For salons, distributors, and consumers seeking long-lasting beauty and natural results, high-quality human hair tape extensions remain one of the most reliable, comfortable, and versatile hair enhancement solutions available today. When chosen carefully and maintained properly, premium tape-in extensions can provide months of luxurious volume, length, and confidence while preserving the health of natural hair.
Alove Hair is a professional Chinese manufacturer of premium 100% Remy human hair extensions, wigs, and hair systems. Established in 2014, the company specializes in supplying global salons and distributors with high-quality, cuticle-intact hair products and offers comprehensive OEM/ODM private label services.