How to Apply I Tip Hair Extensions: Complete Step-by-Step Guide for Beginners and Professionals
I tip hair extensions have become one of the most popular semi-permanent hair extension methods in the beauty industry. Known for their natural appearance, flexibility, and reusable design, I tip extensions are widely used by salons, hairstylists, influencers, and everyday users who want longer, fuller, and more voluminous hair without glue or heat.
However, properly applying I tip hair extensions requires more than simply attaching strands to natural hair. Incorrect installation can lead to tangling, discomfort, visible bonds, poor blending, or even hair breakage. A professional-quality installation depends on understanding not only how to apply I tip extensions, but also why each step matters and what mistakes to avoid.
In this detailed guide, we will explain exactly how to apply I tip hair extensions step by step, including preparation, sectioning, bead placement, installation techniques, blending methods, maintenance tips, and common mistakes. Whether you are a beginner learning at home or a professional stylist improving your skills, this guide will help you achieve cleaner, safer, and more natural-looking results.
What Are I Tip Hair Extensions?
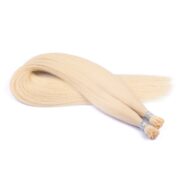
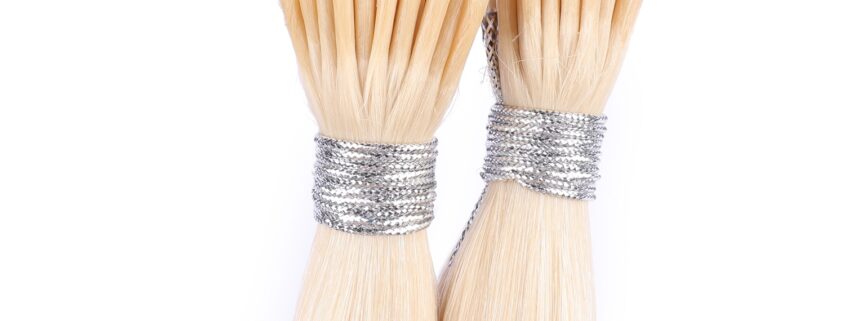
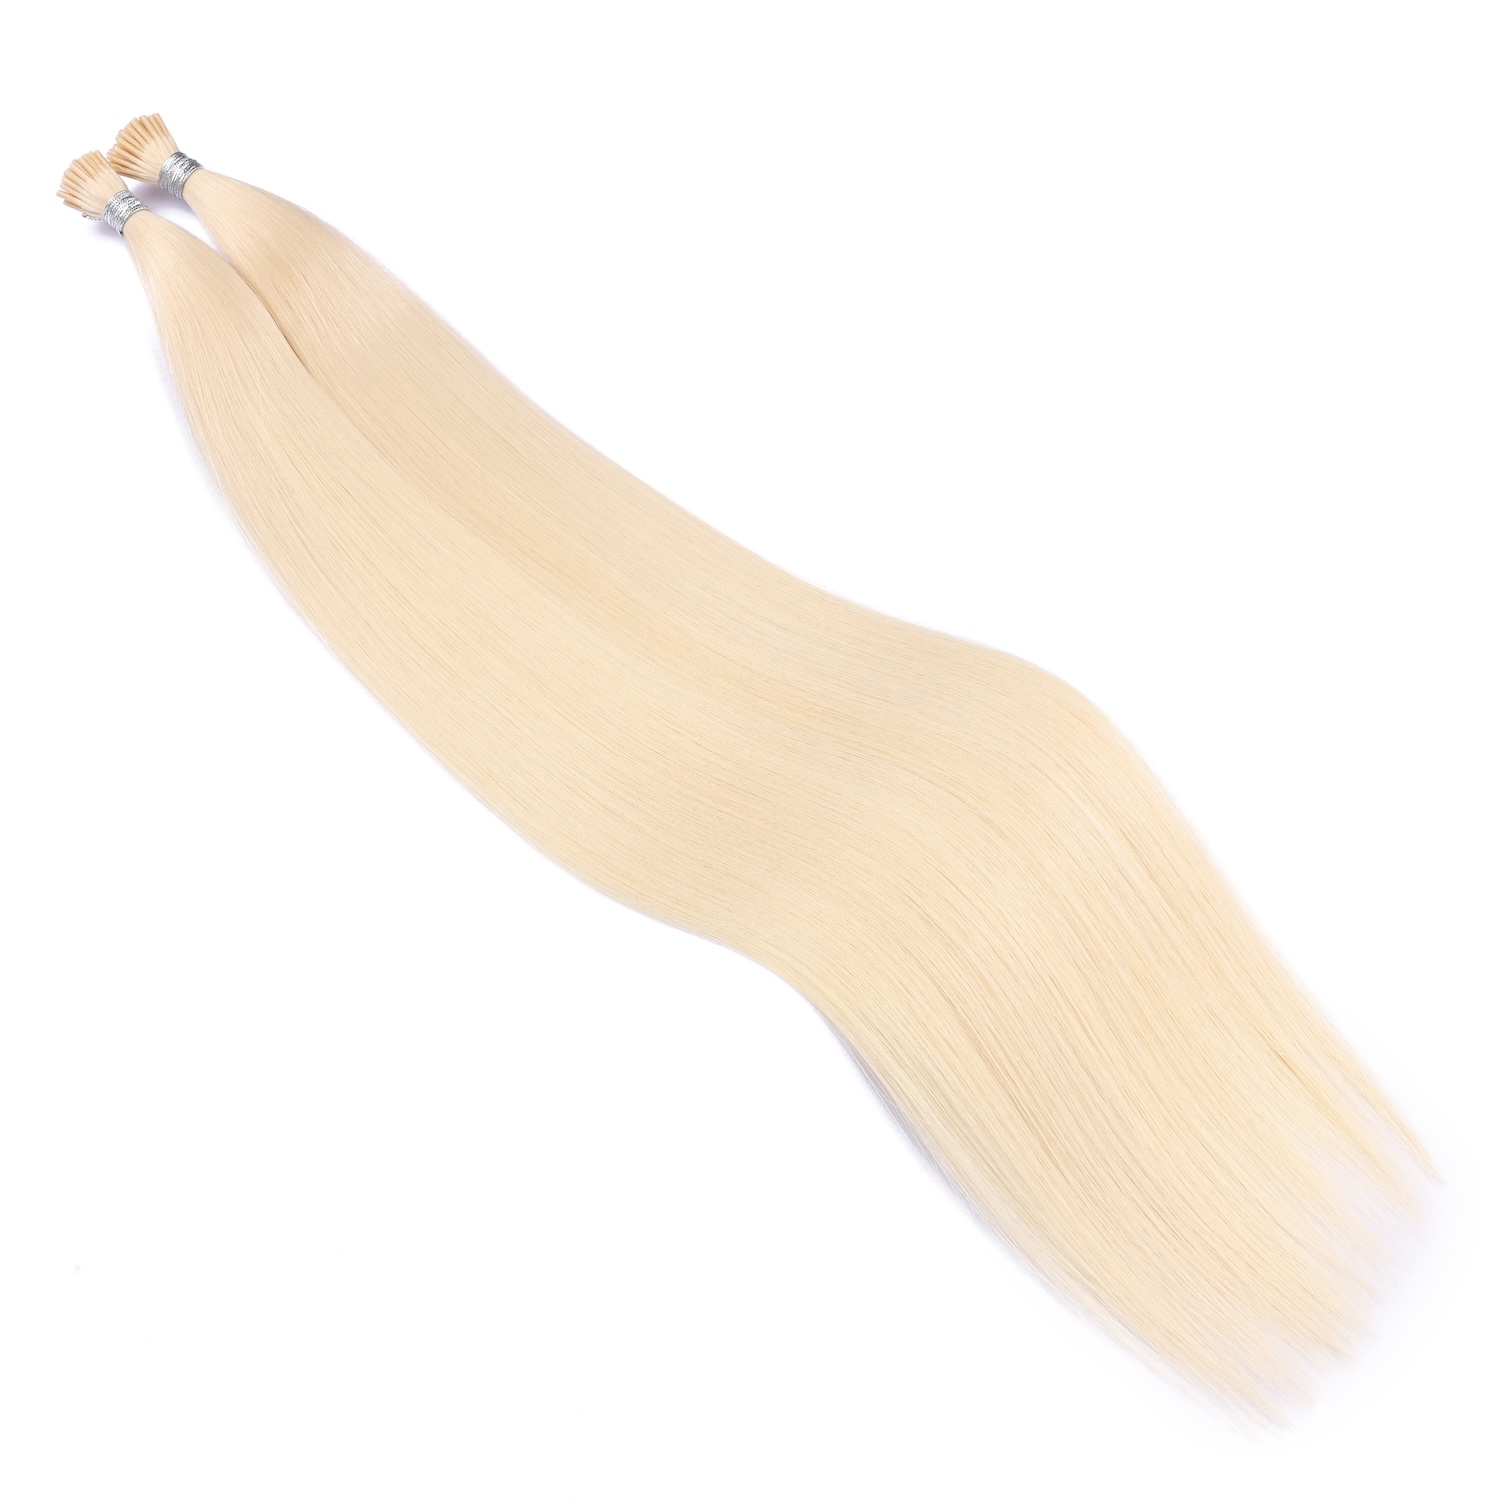
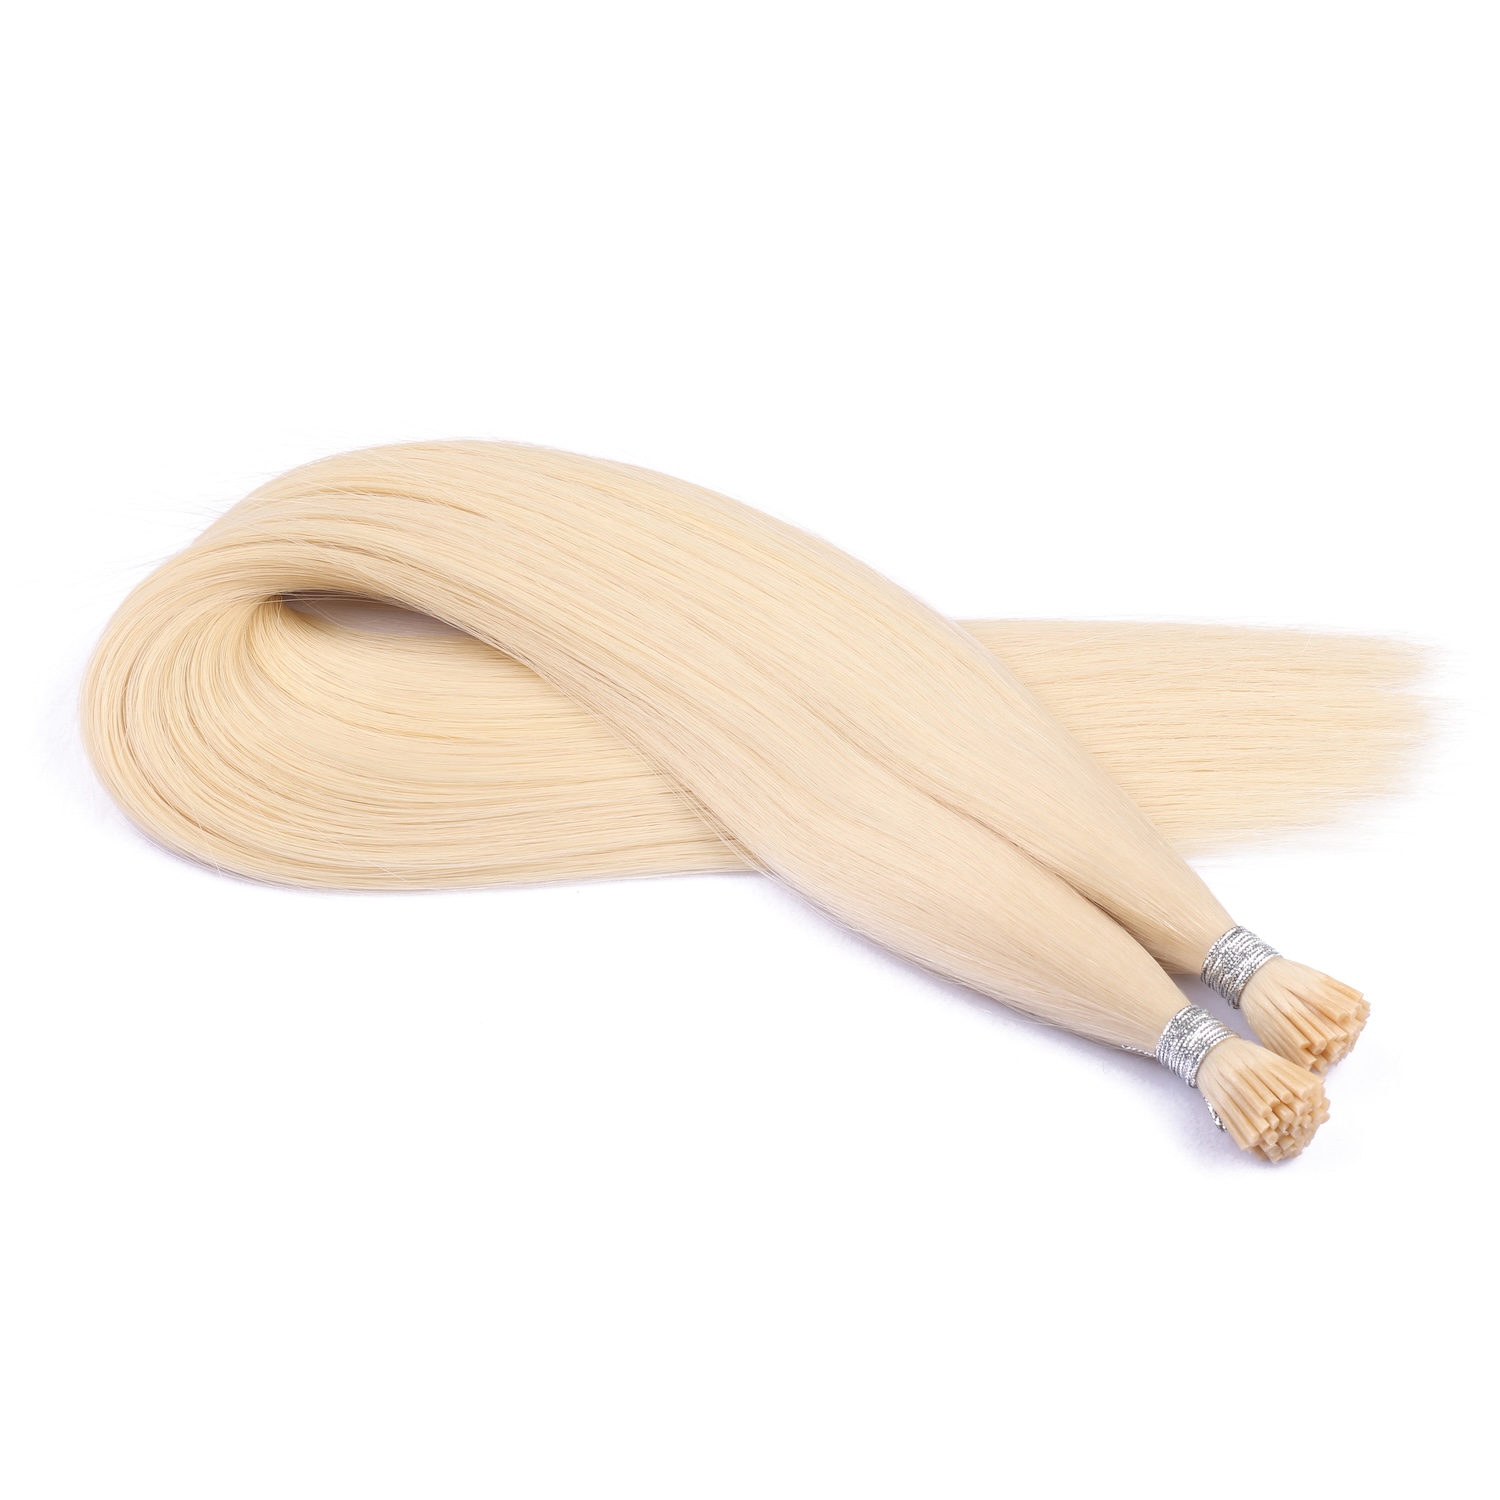
I tip hair extensions, also called micro bead extensions or stick tip extensions, are individual extension strands attached to natural hair using small beads or micro rings.
Unlike keratin fusion extensions:
- No glue is used
- No heat is required
- No chemical adhesive is involved
Each extension strand has a small “I”-shaped tip made from keratin-coated or reinforced material. The extension and natural hair are inserted into a bead, then secured using pliers.
I tip extensions are popular because they offer:
- Natural movement
- Reusability
- Minimal heat damage
- Flexible styling
- Long-term wear
They are commonly made from:
- Remy human hair
- Virgin human hair
- Synthetic hair (less common)
Why Proper Application Matters
Correct installation affects:
- Comfort
- Hair health
- Bond durability
- Styling flexibility
- Overall appearance
Poorly installed I tip extensions can cause:
- Tension on the scalp
- Hair breakage
- Uneven blending
- Bead slippage
- Tangling
- Visible attachment points
A professional installation distributes weight evenly and protects the natural hair.
Think of it like building a suspension bridge: the structure only works when the tension is balanced properly. Except here, the bridge occasionally needs conditioner and a silk pillowcase.
Tools Needed for I Tip Hair Extension Installation
I Tip Hair Extensions
Choose:
- Correct color match
- Desired length
- Appropriate density
Human Remy hair is strongly recommended for the most natural result.
Micro Beads or Micro Rings
These small rings hold the extension and natural hair together.
Common types include:
- Silicone-lined beads
- Aluminum beads
- Copper beads
Silicone-lined beads are popular because they:
- Reduce slipping
- Protect natural hair
- Improve grip
Loop Tool or Pulling Needle
This tool helps thread natural hair through the micro bead.
Hair Extension Pliers
Special pliers flatten and secure the bead.
Do not use ordinary household pliers.
Sectioning Clips
Used to organize the hair during installation.
Rat Tail Comb
Helps create clean and precise sections.
Mirror and Proper Lighting
Good visibility is extremely important for even placement.
Step-by-Step Guide to Applying I Tip Hair Extensions
Step 1: Wash and Prepare the Hair
Before applying I tip extensions, the natural hair must be completely clean.
Use:
- Clarifying shampoo
- No conditioner
- No oils
- No leave-in products
Why This Step Matters
Clean hair improves:
- Bead grip
- Extension longevity
- Installation precision
Oily or conditioned hair makes beads slide more easily.
What to Avoid
Do NOT:
- Use heavy conditioner near roots
- Apply serums
- Use oily scalp products
These reduce bead security.
Step 2: Dry the Hair Completely
The hair must be fully dry before installation.
Why This Step Matters
Wet hair can:
- Expand temporarily
- Cause inaccurate tension
- Increase slipping risk later
Dry hair ensures proper bead compression.
What to Avoid
Never install I tip extensions on damp hair.
Moisture trapped inside beads may contribute to:
- Slippage
- Scalp irritation
- Weak attachment
Step 3: Section the Hair Properly
Sectioning is one of the most important steps.
Create horizontal rows beginning at the nape of the neck.
Use sectioning clips to separate layers neatly.
Why Sectioning Matters
Clean sections help:
- Maintain symmetry
- Create invisible installation
- Improve blending
- Prevent overcrowding
Poor sectioning often creates bulky or uneven results.
Recommended Spacing
Leave enough natural hair between rows to:
- Hide beads
- Allow natural movement
- Prevent scalp stress
Most stylists leave:
- 1–2 inches between rows
Step 4: Load the Micro Bead Onto the Loop Tool
Slide one bead onto the loop tool before pulling natural hair through.
Why This Step Matters
Preloading the bead speeds up installation and improves workflow efficiency.
Professional stylists often organize multiple beads in advance to save time.
Step 5: Take a Small Section of Natural Hair
Use the rat tail comb to isolate a small, clean section of hair.
The amount of natural hair should approximately match the extension strand thickness.
Why Proper Sizing Matters
If too much hair is used:
- The bead may not close properly
- Extensions may slip
If too little hair is used:
- Excessive tension may occur
- Breakage risk increases
Balanced weight distribution is critical.
What to Avoid
Avoid taking:
- Uneven sections
- Triangular sections
- Large bulky sections
Clean square or rectangular sections work best.
Step 6: Pull Natural Hair Through the Bead
Insert the natural hair through the loop tool and slide the bead upward onto the hair strand.
Position the bead close to the scalp.
Correct Placement Distance
Leave approximately:
- 2–5 millimeters from the scalp
Why This Distance Matters
If installed too tightly:
- Scalp discomfort occurs
- Tension increases
- Hair breakage risk rises
If installed too loosely:
- Extensions twist
- Beads become visible
- Slippage increases
The extension should move naturally without pulling.
Step 7: Insert the I Tip Extension Into the Bead
Insert the I tip extension strand upward into the bead alongside the natural hair.
Ensure the extension tip sits securely inside the bead.
Why Proper Insertion Matters
Correct insertion improves:
- Bond strength
- Weight balance
- Longevity
Poor insertion can cause:
- Uneven attachment
- Extension shedding
- Weak grip
Step 8: Clamp the Bead Securely
Use extension pliers to flatten the bead firmly.
Apply controlled pressure.
Why Controlled Pressure Matters
Too much pressure may:
- Damage hair
- Crack the bead
- Create discomfort
Too little pressure may:
- Cause slippage
- Reduce durability
The bead should feel secure but not painful.
Proper Bead Direction
Many professionals flatten beads horizontally for:
- Better comfort
- Lower visibility
- Improved flexibility
Step 9: Continue Row by Row
Repeat the process carefully across each row.
Maintain:
- Even spacing
- Consistent tension
- Balanced distribution
Why Balanced Placement Matters
Balanced installation prevents:
- Uneven weight distribution
- Hair stress
- Visible gaps
- Awkward fullness patterns
Professional installations prioritize symmetry.
Step 10: Blend the Extensions
After completing installation, blend the extensions with the natural hair.
This may include:
- Trimming
- Layering
- Texturizing
- Curl blending
Why Blending Matters
Even expensive extensions look unnatural without proper blending.
Good blending creates:
- Seamless transition
- Natural movement
- Invisible separation lines
What to Avoid
Avoid blunt cutting straight across the ends unless specifically requested.
Soft layering usually creates more natural results.
How Many I Tip Extensions Are Needed?
The number depends on:
- Hair thickness
- Desired volume
- Length goals
Typical Quantities
| Goal | Recommended Strands |
|---|---|
| Volume Only | 50–100 |
| Standard Full Head | 100–180 |
| Extra Full Glam Look | 200–250 |
Using too many extensions can overload the natural hair.
Best Placement Areas
I tip extensions are usually placed:
- At the back of the head
- Around the sides
- Near the crown carefully
Avoid placing extensions too close to:
- Hairline
- Temples
- Part line
These areas expose beads more easily.
Common Mistakes to Avoid
Installing Too Close to the Scalp
This causes:
- Pain
- Restricted movement
- Hair stress
Extensions should move naturally.
Using Too Much Hair in One Bead
Overloading beads weakens grip and increases slipping.
Poor Color Matching
Incorrect color matching makes extensions obvious.
Professional stylists often blend multiple shades for realism.
Uneven Sectioning
Messy sectioning creates:
- Visible rows
- Uneven fullness
- Difficult styling
Overcrowding the Hair
Too many extensions in one area create:
- Tension
- Tangling
- Bulky appearance
Choosing Low-Quality Hair
Cheap hair often:
- Tangles quickly
- Sheds excessively
- Looks unnatural
High-quality Remy hair produces significantly better results.
How Long Does Installation Take?
Typical installation times:
| Experience Level | Installation Time |
|---|---|
| Beginner | 4–6 hours |
| Professional Stylist | 2–4 hours |
Longer hair and higher density require more time.
How Long Do I Tip Extensions Last?
With proper care, I tip extensions typically last:
- 8–12 weeks before maintenance
- 6–12 months for reusable hair
The hair itself can often be reused multiple times.
How to Care for I Tip Extensions
Use Sulfate-Free Shampoo
Harsh shampoos weaken hair quality and dry extensions.
Brush Carefully
Use a loop brush or extension-safe brush.
Always support the root area while brushing.
Avoid Oil Near Beads
Oil weakens bead grip and increases slippage.
Sleep with Braided Hair
Loose braids reduce:
- Tangling
- Friction
- Knotting
Schedule Maintenance Appointments
Extensions should be adjusted as natural hair grows.
Are I Tip Extensions Damaging?
When installed correctly, I tip extensions are considered one of the safer semi-permanent methods.
Advantages include:
- No glue
- No heat
- Reusable design
- Flexible movement
However, poor installation or neglect can still cause damage.
Who Should Avoid I Tip Extensions?
I tips may not be ideal for:
- Extremely fine hair
- Severely damaged hair
- Excessive hair shedding conditions
A professional consultation is recommended beforehand.
I Tip vs Other Extension Methods
I Tip vs K Tip Extensions
| Feature | I Tip | K Tip |
|---|---|---|
| Heat Required | No | Yes |
| Reusable | Yes | Limited |
| Installation Time | Moderate | Long |
| Removal Process | Easier | More complex |
I Tip vs Tape-In Extensions
| Feature | I Tip | Tape-In |
|---|---|---|
| Styling Flexibility | Excellent | Good |
| Visibility | Very low | Moderate |
| Maintenance Frequency | Moderate | Higher |
| Reusability | Excellent | Good |
Why Many Professionals Prefer I Tip Extensions
Professional stylists often recommend I tips because they offer:
- Strong hold
- Natural movement
- Long-term reusability
- Flexible placement
- Minimal chemical exposure
They are especially popular for luxury salon services.
Future Trends in I Tip Hair Extensions
The extension industry continues evolving rapidly.
Emerging innovations include:
- Nano I tips
- Ultra-flat beads
- Invisible bead technology
- Lightweight extensions
- Eco-friendly hair processing
- Improved silicone bead designs
Manufacturers are focusing on improving:
- Comfort
- Durability
- Faster installation
- More natural appearance
Conclusion
Learning how to apply I tip hair extensions correctly requires patience, precision, and understanding of proper tension, sectioning, and placement techniques.
Every step matters — from washing the hair properly to spacing beads evenly and blending extensions naturally. Correct installation improves not only appearance, but also comfort, durability, and hair safety.
When applied properly, I tip extensions provide:
- Natural movement
- Long-lasting wear
- Flexible styling
- Minimal heat exposure
- Reusable value
Whether you are a beginner practicing at home or a salon professional refining your technique, mastering proper I tip installation can help create beautiful, seamless, and professional-quality hair extension results that look natural and feel comfortable for weeks.

Alove Hair is a professional Chinese manufacturer of premium 100% Remy human hair extensions, wigs, and hair systems. Established in 2014, the company specializes in supplying global salons and distributors with high-quality, cuticle-intact hair products and offers comprehensive OEM/ODM private label services.