Hair Extensions for Thin Hair Before and After
Introduction
Thin hair can affect not only your hairstyle options but also your overall confidence. Many people struggle with flat roots, lack of volume, and difficulty maintaining styles. Fortunately, modern hair extensions offer powerful solutions that can completely transform thin hair—both visually and structurally.
In this comprehensive guide, we’ll explore hair extensions for thin hair before and after transformations, explain the best extension types, compare methods, analyze results, and provide a clear roadmap for choosing the right solution.
Understanding Thin Hair: The Core Challenges
Before diving into solutions, it’s important to understand why thin hair behaves differently.
Common Characteristics of Thin Hair
- Low density (fewer strands per square inch)
- Fine strand diameter
- Lack of volume and body
- Easily weighed down by products
- Difficulty holding curls or styles
Common Problems
- Visible scalp
- Flat appearance
- Limited styling options
- Breakage and fragility
👉 These challenges make it essential to choose lightweight, discreet extension methods.
Before Hair Extensions: What Thin Hair Typically Looks Like
Visual Characteristics
- Limp and flat hair
- Minimal root lift
- Lack of fullness at ends
- Uneven appearance
Styling Limitations
- Ponytails look thin
- Braids appear sparse
- Layers lack structure
Emotional Impact
- Reduced confidence
- Frustration with styling
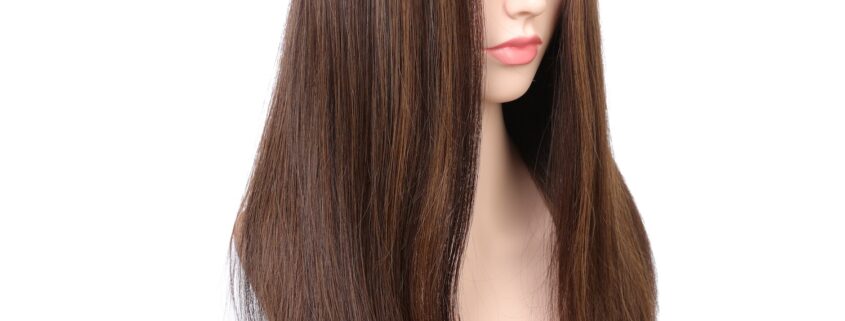
After Hair Extensions: The Transformation
Hair extensions can create dramatic improvements.
Immediate Visual Results
- Fuller, thicker appearance
- Balanced density from root to ends
- Improved hair shape and structure
Styling Improvements
- Voluminous ponytails
- Defined curls and waves
- More versatile hairstyles
Confidence Boost
Many users report:
- Increased self-esteem
- More styling freedom
- Better overall appearance
👉 The transformation is often described as “instant volume and confidence.”
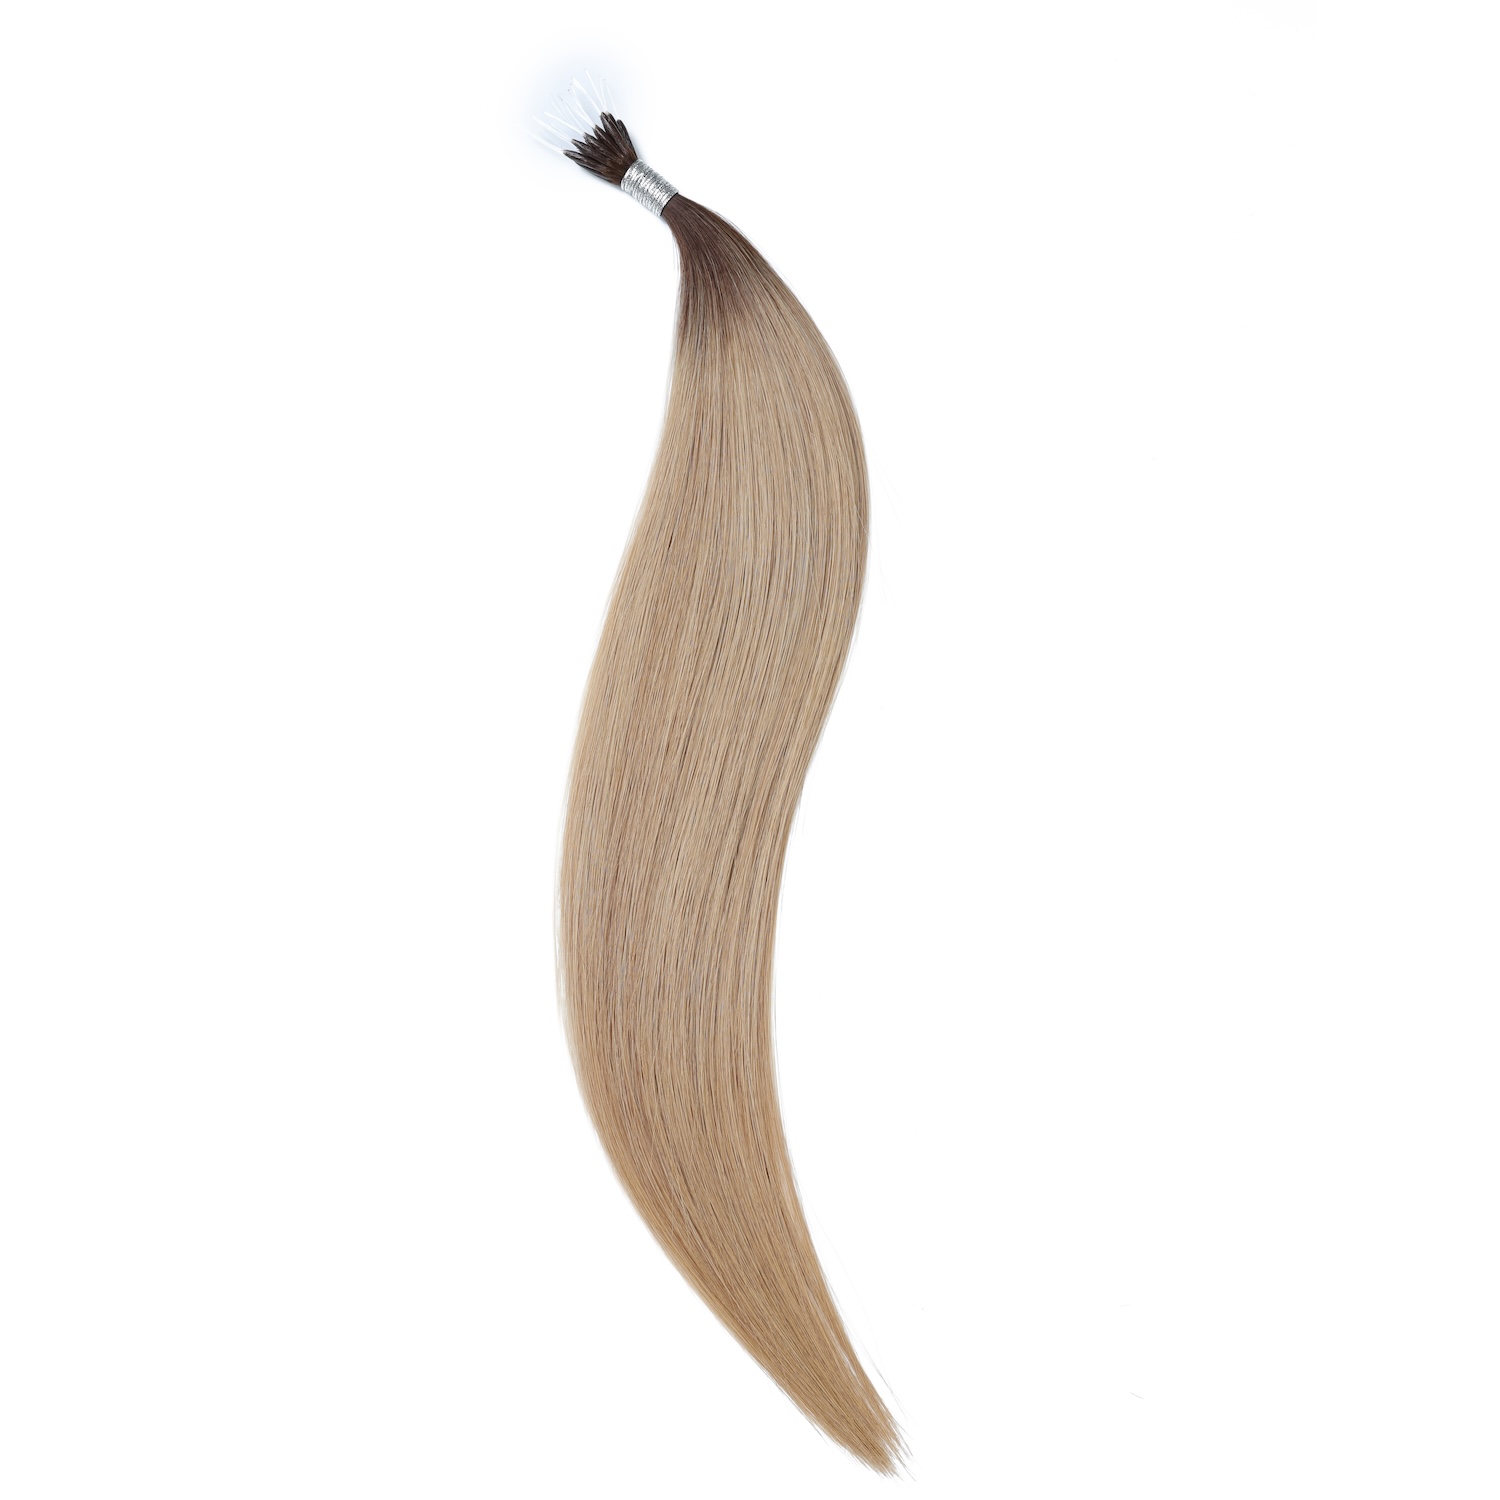
Nano Ring Extensions
Best Hair Extensions for Thin Hair
Not all extensions are suitable for thin hair. Choosing the wrong type can cause damage or look unnatural.
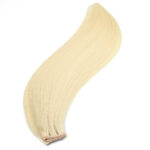
1. Genius Weft Hair Extensions
Why They Work for Thin Hair
- Ultra-thin seam
- Lightweight
- Lies flat against the scalp
Before vs After
Before:
- Flat roots
- Visible scalp
After:
- Natural volume
- Seamless blending
👉 Ideal for clients wanting volume without bulk
2. Tape-In Hair Extensions
Advantages
- Thin adhesive strips
- Quick installation
- Lightweight
Before vs After
Before:
- Thin ends
- Uneven density
After:
- Fuller length
- Balanced appearance
👉 One of the most popular options for thin hair
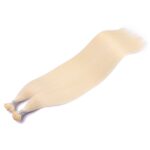
3. K-Tip (Keratin Bond) Extensions
Advantages
- Individual strand application
- Highly natural look
Before vs After
Before:
- Sparse hair
- Limited styling
After:
- Natural movement
- Invisible integration
👉 Best for premium, long-term results
4. Clip-In Extensions (Temporary)
Advantages
- No permanent installation
- Easy to use
Before vs After
Before:
- Flat hair
After:
- Instant volume (temporary)
👉 Ideal for occasional use
Extensions to Avoid for Thin Hair
Some methods may not be suitable:
Heavy Machine Wefts
- Too bulky
- Can cause tension
Poor-Quality Synthetic Hair
- Looks unnatural
- Tangles easily
Before and After Comparison Table
| Feature | Before Extensions | After Extensions |
|---|---|---|
| Volume | Low | High |
| Density | Uneven | Balanced |
| Styling | Limited | Versatile |
| Appearance | Flat | Full |
| Confidence | Low | High |
Real Transformation Scenarios
Case 1: Fine Shoulder-Length Hair
Before:
- Thin ends
- Lack of shape
After (Tape-Ins):
- Fuller length
- Natural movement
Case 2: Sparse Crown Area
Before:
- Visible scalp
After (K-Tips):
- Increased density
- Invisible blending
Case 3: Flat Long Hair
Before:
- No volume
After (Genius Wefts):
- Lifted roots
- Fuller body
How to Choose the Right Extensions for Thin Hair
1. Consider Hair Density
- Very thin → K-Tips or Tape-Ins
- Medium thin → Genius Wefts
2. Consider Lifestyle
- Active lifestyle → K-Tips
- Busy schedule → Tape-Ins
3. Consider Budget
- Budget-friendly → Tape-Ins
- Premium → K-Tips or Genius Wefts
4. Consider Styling Needs
- High styling flexibility → K-Tips
- Volume-focused → Genius Wefts
Installation Tips for Thin Hair
- Use lightweight extensions
- Avoid overloading hair
- Maintain proper spacing
- Always use professional stylists
Maintenance Tips
Daily Care
- Use sulfate-free shampoo
- Brush gently
Weekly Care
- Deep conditioning
- Avoid heavy oils near bonds
Salon Maintenance
- Regular repositioning
- Professional check-ups
Common Mistakes to Avoid
- Choosing heavy extensions
- DIY installation
- Skipping maintenance
- Using low-quality hair
Cost Analysis
Typical Price Range
| Type | Cost Range |
|---|---|
| Tape-Ins | $150–$600 |
| Genius Wefts | $300–$800 |
| K-Tips | $500–$1500 |
Market Trends (2026)
- Growing demand for lightweight extensions
- Increased use of Remy human hair
- Focus on natural results
Benefits of Hair Extensions for Thin Hair
1. Instant Volume
- Immediate transformation
2. Styling Freedom
- More hairstyle options
3. Confidence Boost
- Improved self-image
4. Long-Term Solution
- Semi-permanent results
Final Recommendation
Best Choices by Need
- Best overall: Tape-Ins
- Best premium: K-Tips
- Best for volume: Genius Wefts
Conclusion
The transformation of hair extensions for thin hair before and after is truly remarkable.
From:
- Flat, lifeless hair
To:
- Full, voluminous, and stylish hair
modern extensions provide solutions for every need and budget.
The key to success lies in:
- Choosing the right method
- Using high-quality hair
- Working with professionals
Because when thin hair meets the right extensions, the result isn’t just more hair—it’s a whole new level of confidence (and finally, a ponytail that doesn’t disappear when you turn sideways).
Alove Hair is a professional Chinese manufacturer of premium 100% Remy human hair extensions, wigs, and hair systems. Established in 2014, the company specializes in supplying global salons and distributors with high-quality, cuticle-intact hair products and offers comprehensive OEM/ODM private label services.


776")