How much do tape hair extensions cost?
How much do tape hair extensions cost? A Complete Guide to Materials, Specifications, Wholesale Prices, and Factory Costs
Tape hair extensions have become one of the most popular semi-permanent hair extension methods in the beauty industry because they offer a natural appearance, a comfortable wearing experience, and a relatively fast installation process. From professional hair salons to individual customers, more people are choosing tape-in hair extensions as an alternative to clip-in extensions, sew-in weaves, and keratin fusion extensions.
However, the price of tape hair extensions varies significantly. A set may cost anywhere from a few dollars for low-cost synthetic products to hundreds of dollars for premium human hair extensions. The difference is not only determined by hair quality but also by hair origin, processing method, length, weight, adhesive quality, packaging, customization, and supplier service.
For buyers, salons, distributors, and private-label brands, understanding how much tape hair extensions cost helps make better purchasing decisions and avoid choosing products solely on price.
This guide explains what tape hair extensions are, the materials and specifications, global wholesale prices, Chinese factory prices, and the relationship between price and service.
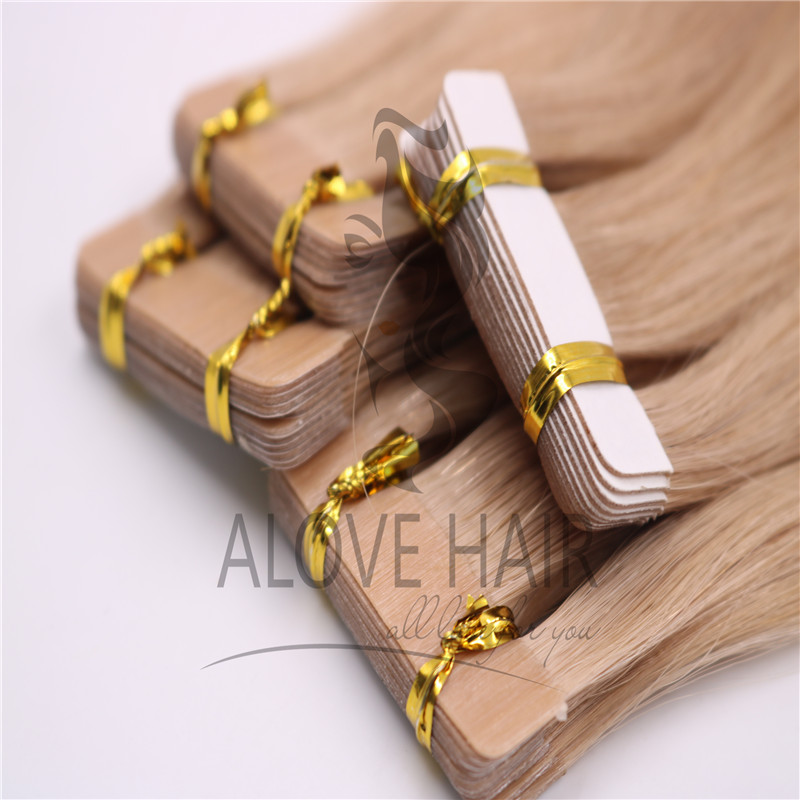
What Are Tape Hair Extensions?
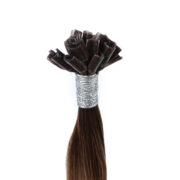
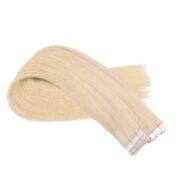
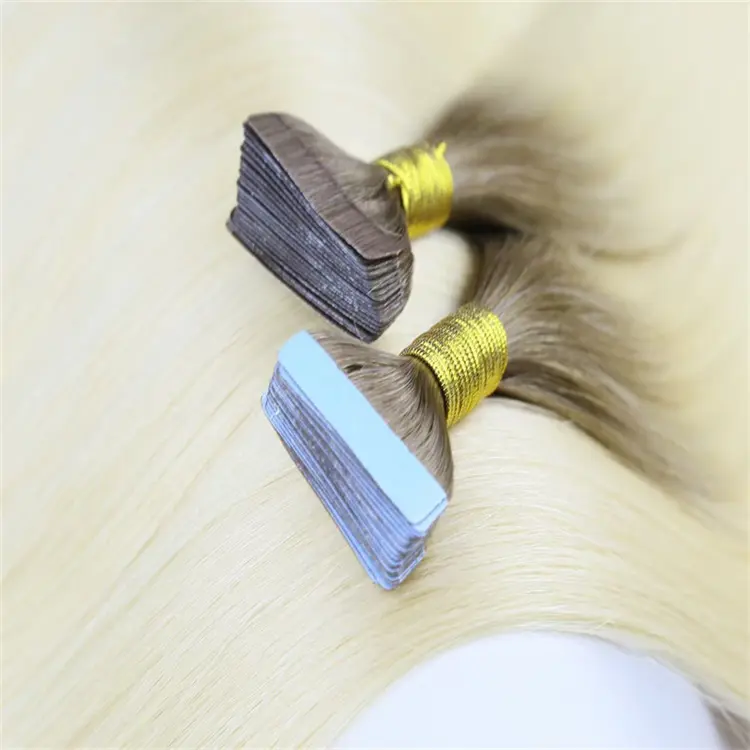
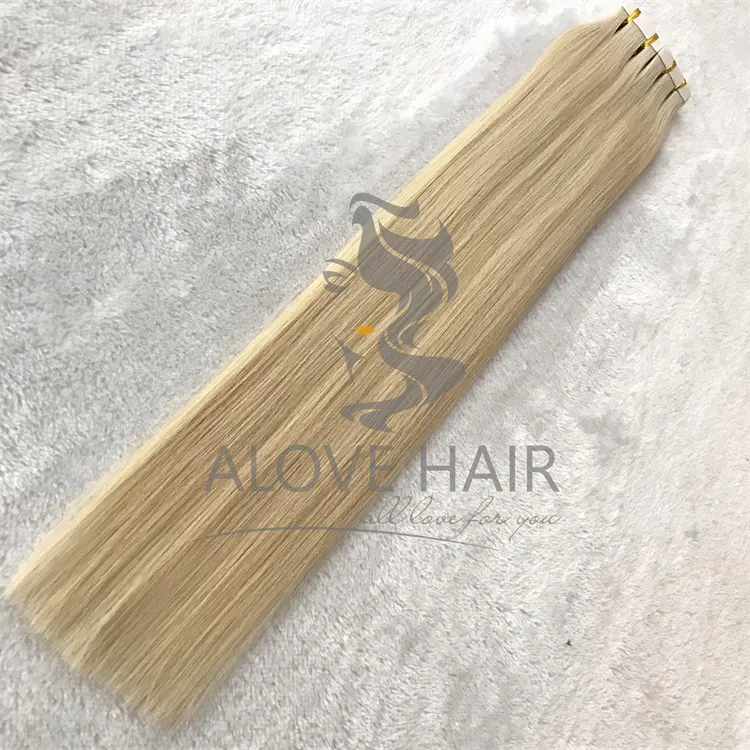
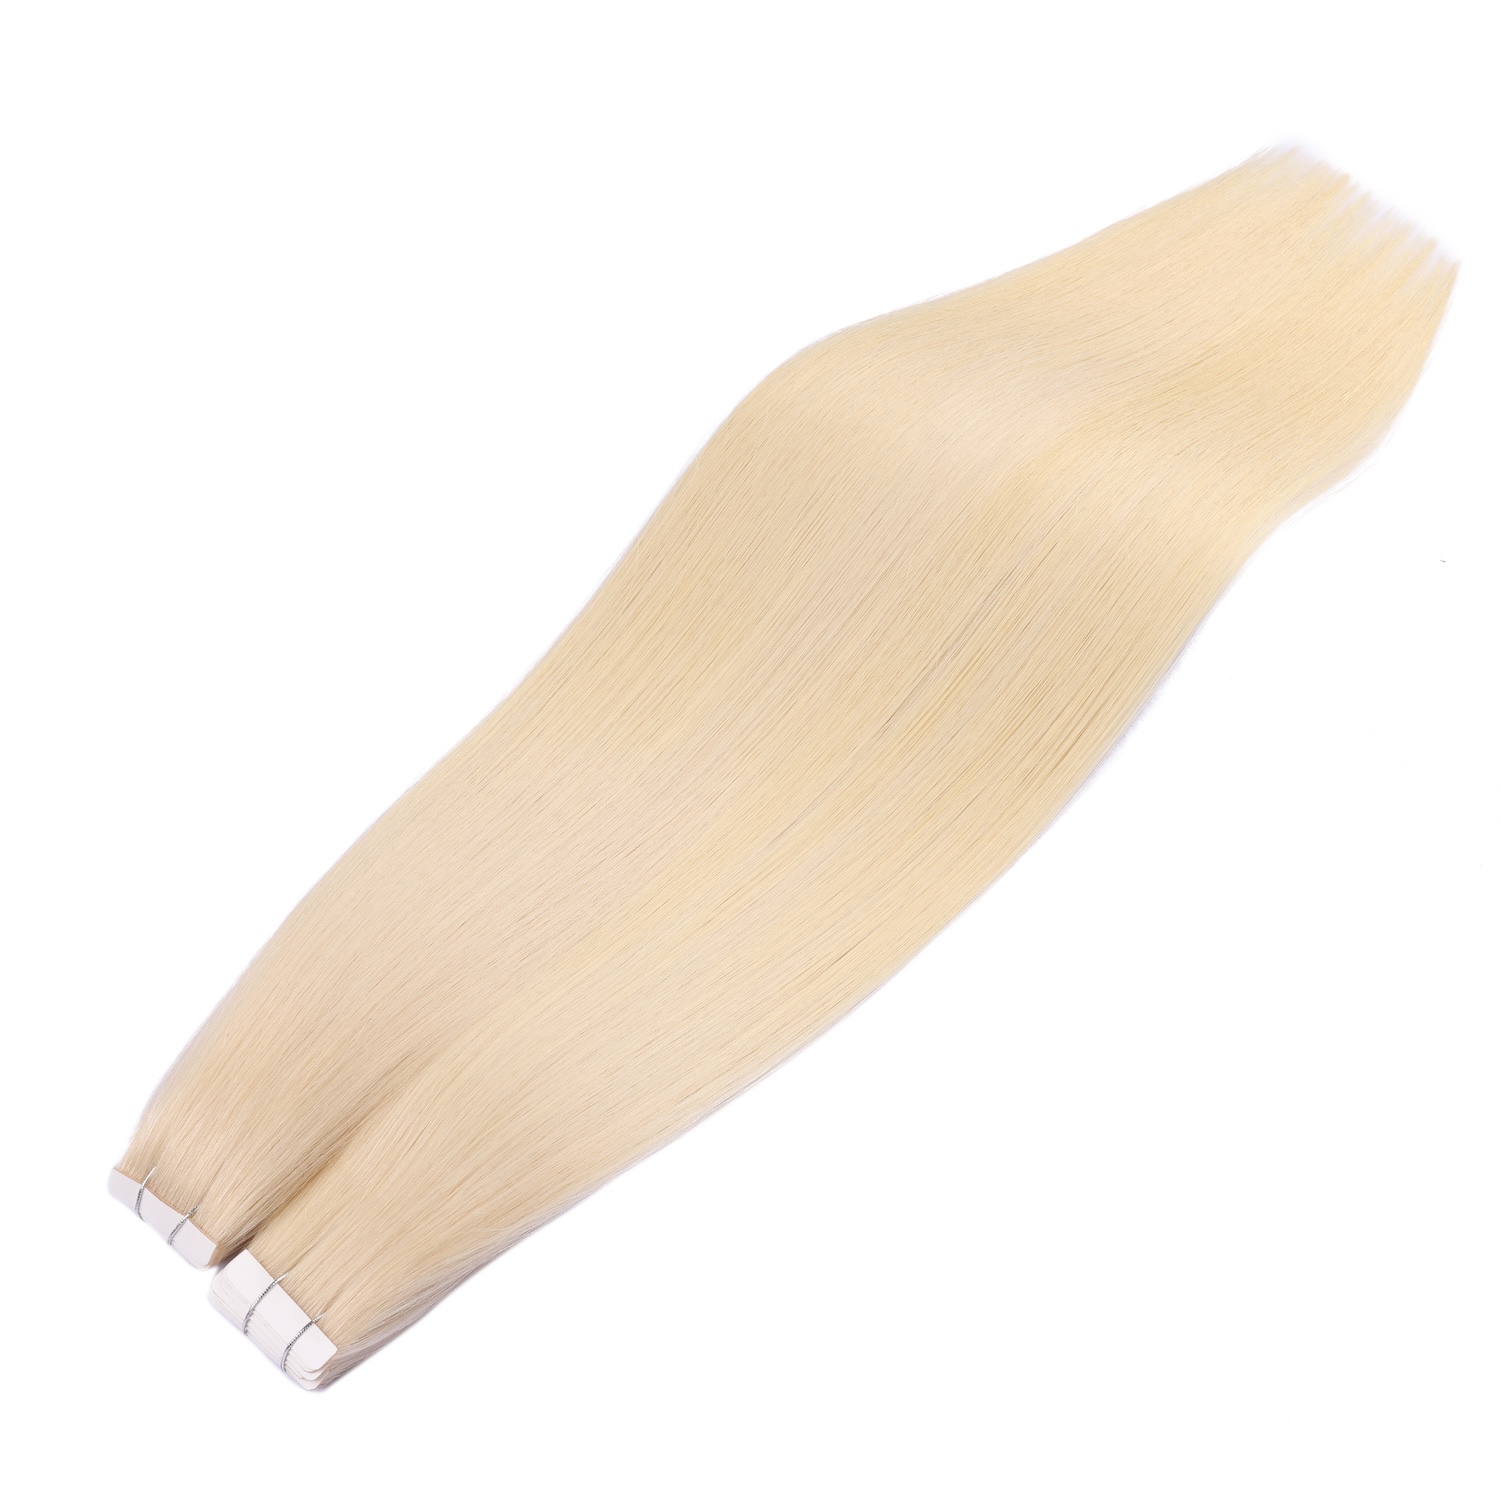
Tape hair extensions are a type of semi-permanent hair extension that uses thin adhesive tape strips to attach hair wefts to the natural hair.
Unlike clip-in extensions that can be removed daily, tape extensions are designed to stay attached for several weeks. Professional stylists usually sandwich a small section of natural hair between two extension pieces with medical-grade adhesive tape.
The installation process is fast, usually taking around 30-90 minutes depending on the number of pieces and the desired volume.
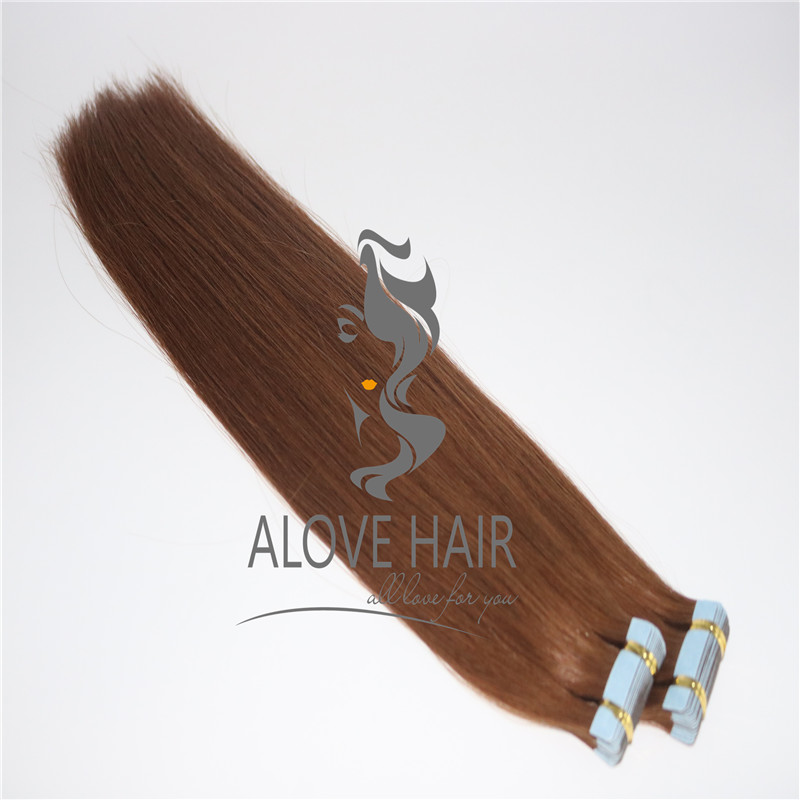
The main components of tape hair extensions include:
- Hair weft
- Adhesive tape
- Tape backing layer
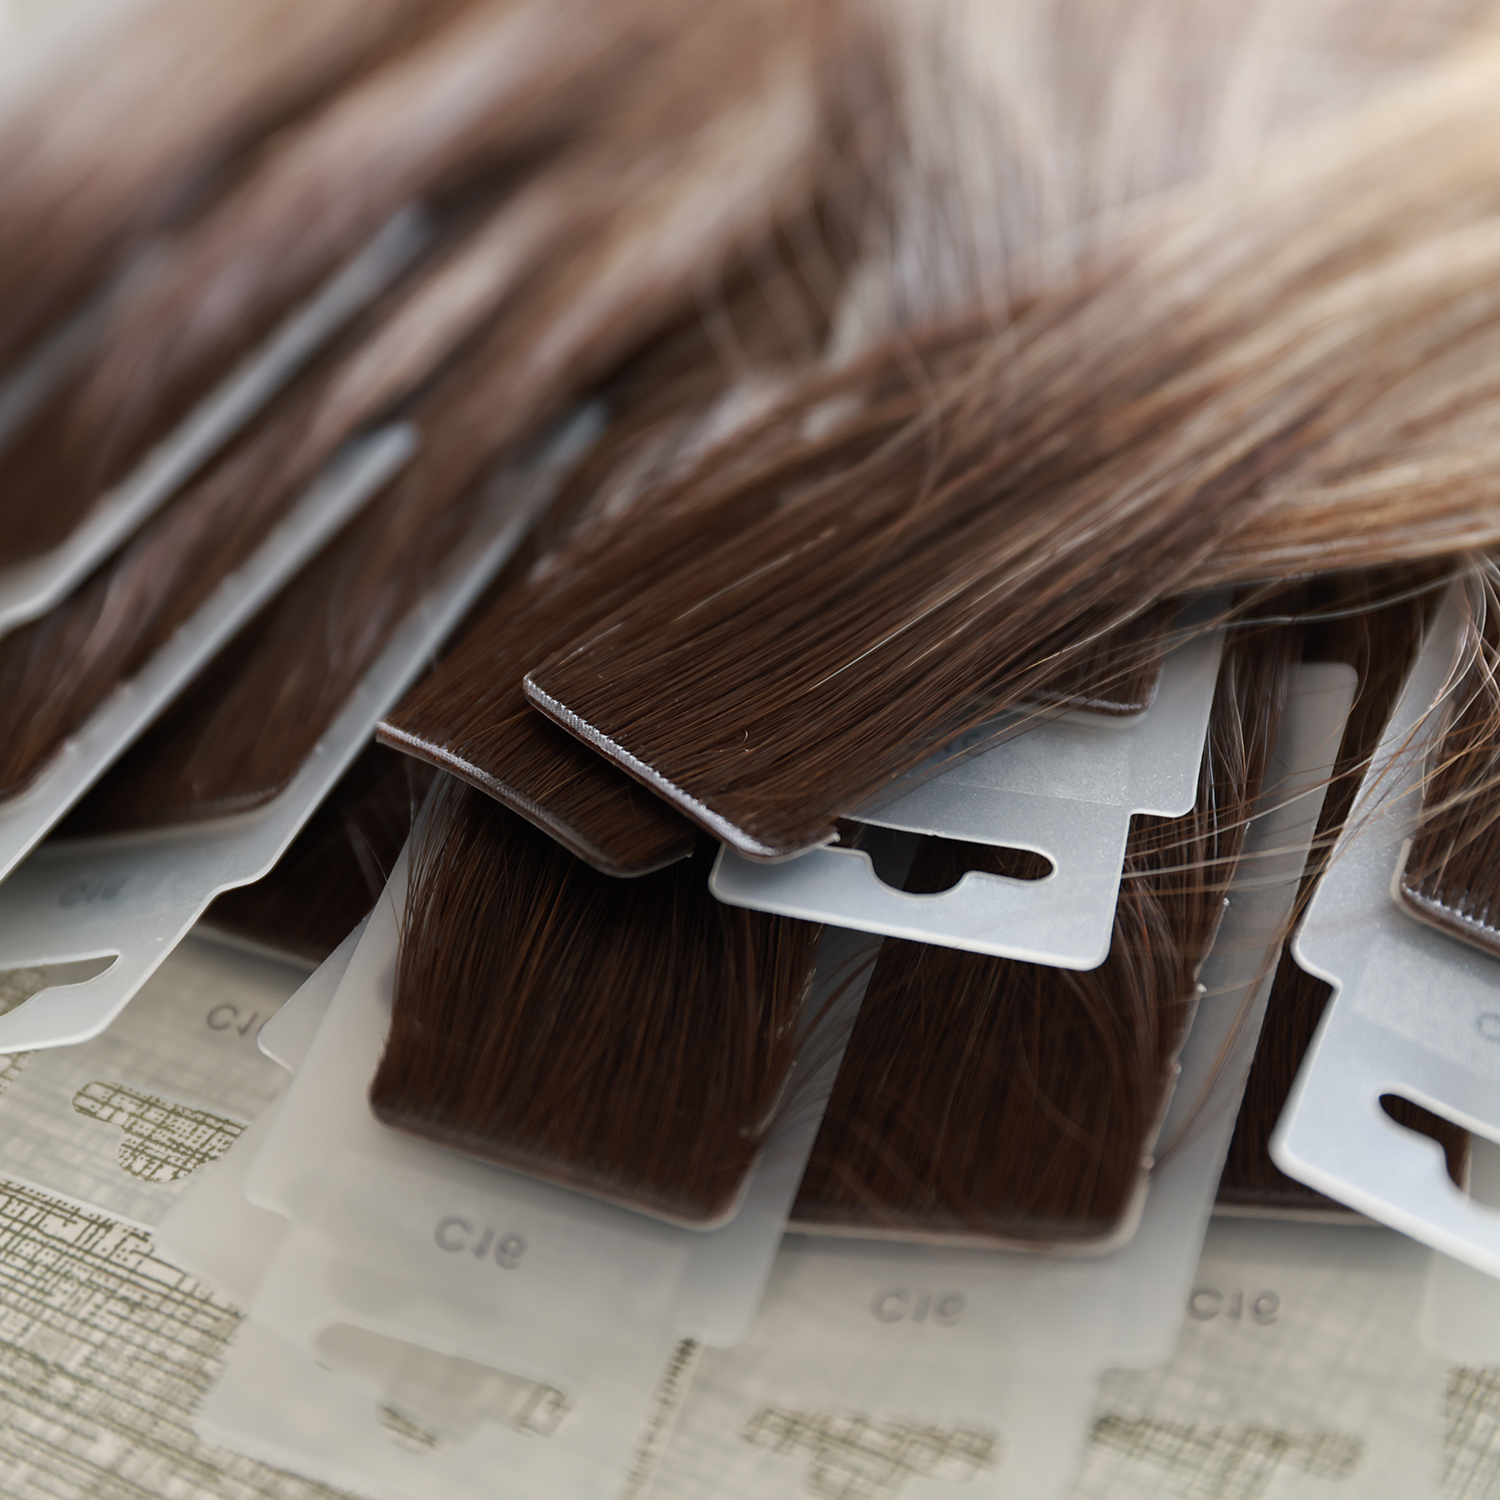
- Protective packaging
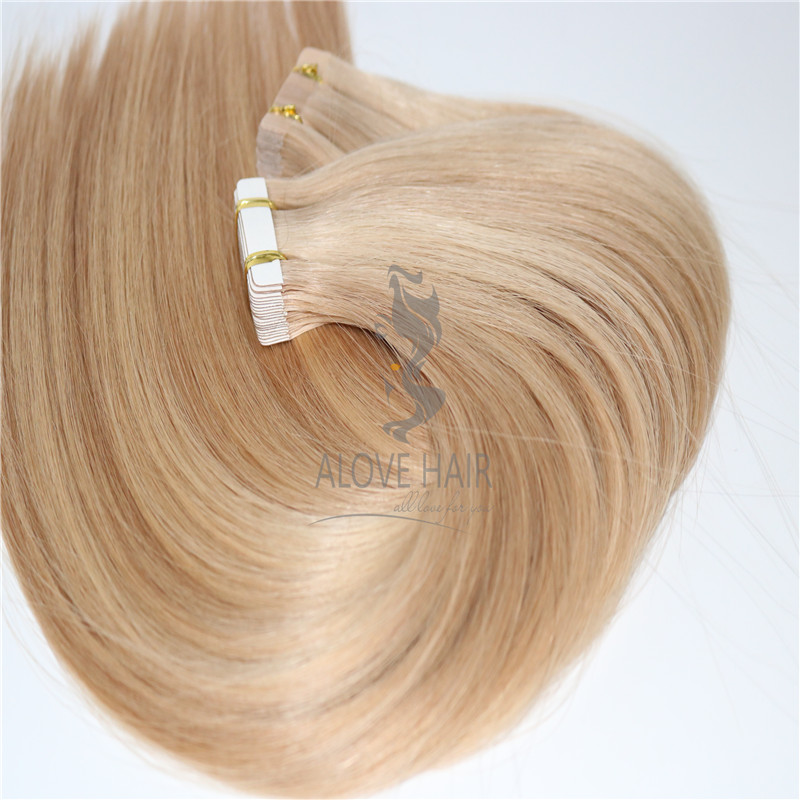
A high-quality tape extension should be:
- Lightweight
- Flat against the scalp
- Comfortable for long-term wear
- Easy to remove and reinstall
- Natural-looking after blending
Tape hair extensions are widely used by:
- Hair salons
- Beauty professionals
- Hair extension distributors
- Online beauty stores
- Private label hair brands
What Materials Are Used for Tape Hair Extensions?
The biggest factor affecting tape hair extension prices is the hair material.
Different materials create significant differences in appearance, durability, and cost.
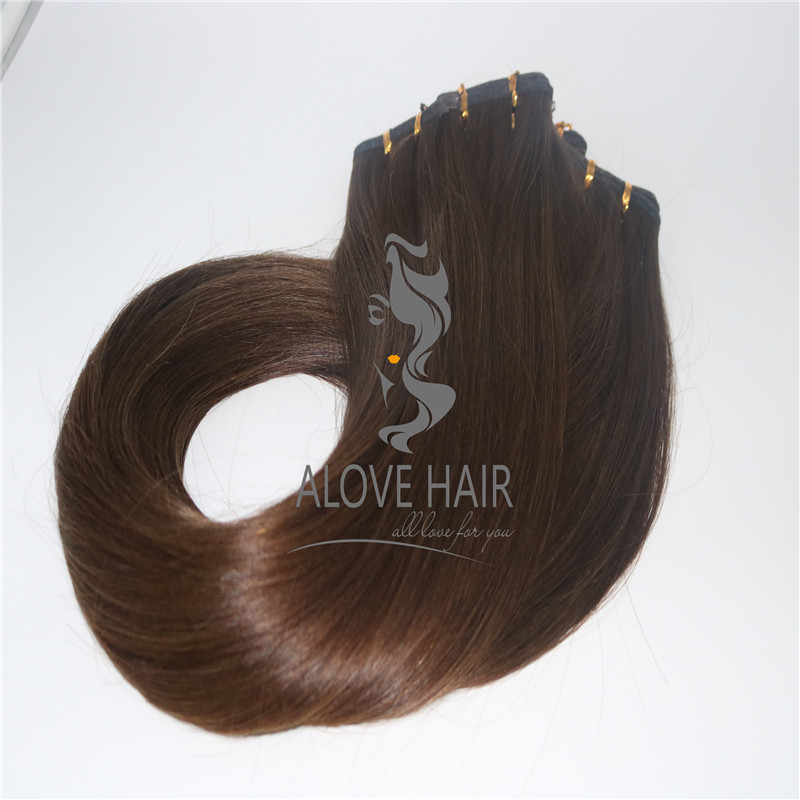
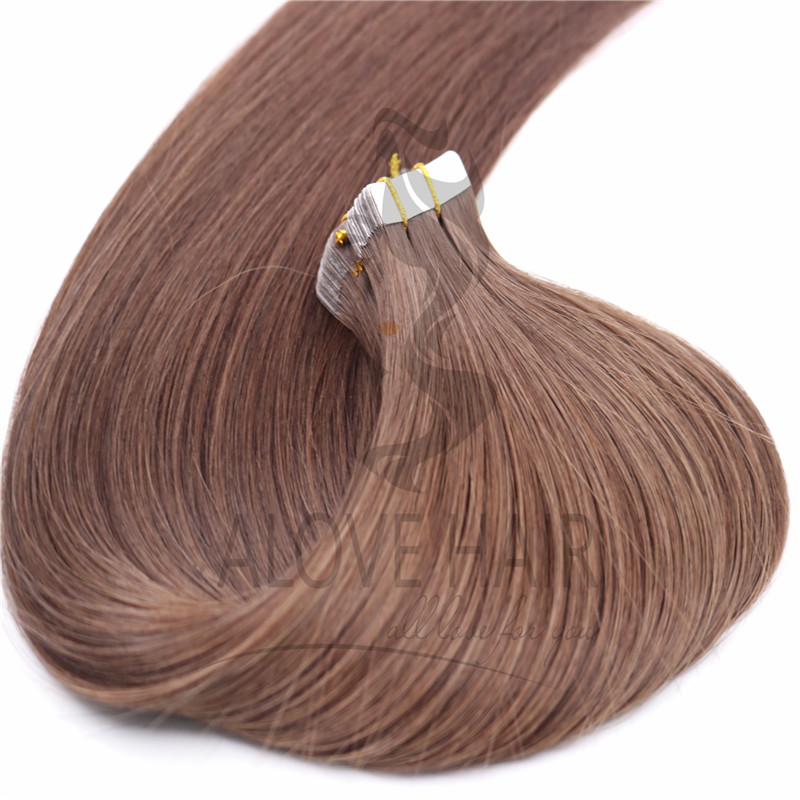
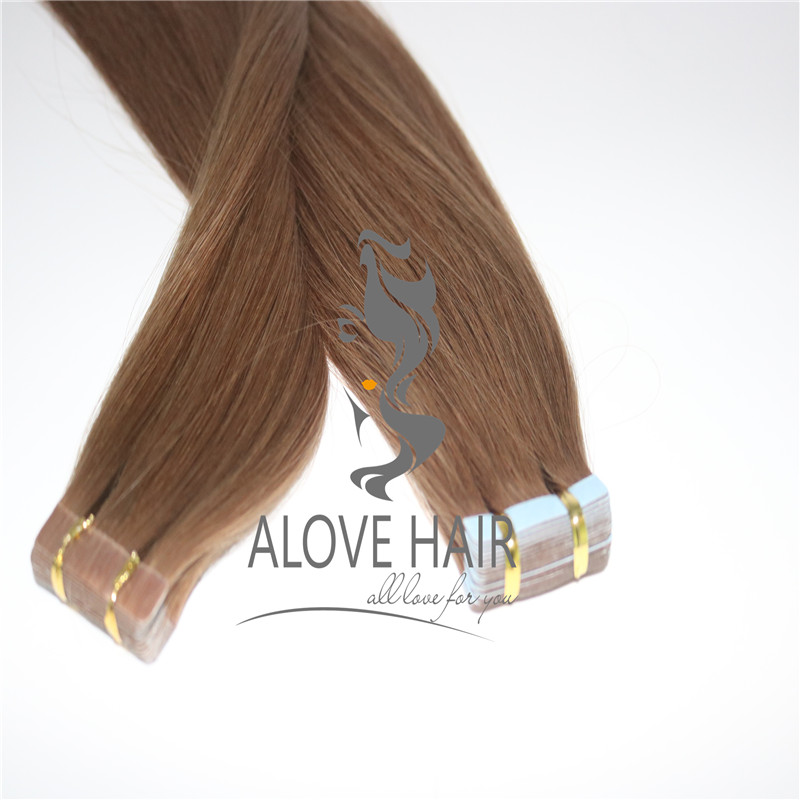
1. Remy Human Hair Tape Extensions
Remy human hair is the premium choice in the tape extension market.
Remy hair means the cuticles remain aligned in the same direction during processing. This reduces tangling and creates a more natural texture.
Advantages:
- Natural appearance
- Soft touch
- Can be washed and styled
- Can be curled or straightened
- Longer lifespan
Typical lifespan:
- 6-12 months with proper care
Remy human hair is commonly made from:
- European hair
- Russian hair
- Indian hair
- Vietnamese hair
- Chinese hair
Among these, European and Russian hair are usually more expensive because of limited supply and fine texture.
2. Virgin Human Hair Tape Extensions
Virgin hair refers to hair that has never been chemically processed.
Benefits:
- Maximum natural quality
- Strong hair structure
- Premium softness
- Better coloring ability
Because supply is limited, virgin hair tape extensions are among the most expensive products.
3. Synthetic Tape Hair Extensions
Synthetic extensions are made from artificial fibers such as:
- Kanekalon fibers
- Heat-resistant synthetic fibers
- Polyester-based fibers
Advantages:
- Low price
- Consistent color
- Easy mass production
Disadvantages:
- Less natural feeling
- Limited styling options
- Shorter lifespan
Synthetic tape extensions are mainly used for:
- Costume styling
- Temporary fashion use
- Low-budget markets

Tape Hair Extensions Specifications
Tape-in hair extensions are typically sold by length, weight, width, and hair grade.
Hair Length
Common lengths include:
- 10 inch (25cm)
- 12 inch (30cm)
- 14 inch (35cm)
- 16 inch (40cm)
- 18 inch (45cm)
- 20 inch (50cm)
- 22 inch (55cm)
- 24 inch (60cm)
- 26 inch (65cm)
Longer hair requires more raw material, so the price increases.
For example:
- 14-inch tape extensions are usually affordable
- 20-inch extensions are medium-priced
- 24-inch+ extensions are premium products
Hair Weight
Tape extensions are commonly sold by:
- 20 pieces
- 40 pieces
- 50 grams
- 100 grams
- 120 grams
Typical salon installation:
- Thin hair: 40-60 grams
- Medium hair: 80-100 grams
- Thick hair: 120-150 grams
More grams mean more volume and a higher cost.
Tape Width
Common widths:
- 1.5cm
- 2.5cm
- 3cm
- 4cm
Standard professional tape extensions usually use approximately 4cm wide wefts.
Hair Grades
Common market classifications include:
- Synthetic hair
- Non-Remy human hair
- Remy human hair
- Virgin human hair
- Double-drawn hair
Double-drawn hair costs more because shorter hairs are removed, creating a fuller appearance from root to tip.
Average Market Price of Tape Hair Extensions
Tape extension prices vary depending on whether customers buy retail, wholesale, or directly from manufacturers.
Retail Prices
For end customers, typical prices are:
Synthetic Tape Hair Extensions
Price:
$10-$50 per set
Suitable for:
- Temporary use
- Fashion styling
- Budget customers
Remy Human Hair Tape Extensions
Price:
$80-$300 per set
Common salon-quality products:
- 16-20 inch length
- 40-100 grams
Premium Virgin Hair Tape Extensions
Price:
$300-$800+ per set
Used for:
- Luxury salons
- High-end clients
- Professional hair replacement
Wholesale Prices of Tape Hair Extensions
Wholesale buyers usually purchase larger quantities, reducing the unit cost.
Typical wholesale prices:
| Product Type | Wholesale Price |
|---|---|
| Synthetic tape extensions | $3-$15/set |
| Non-Remy human hair | $15-$40/set |
| Remy human hair | $30-$120/set |
| Virgin human hair | $100-$300+/set |
Wholesale prices depend heavily on:
- Order quantity
- Hair origin
- Length
- Weight
- Color requirements
China Factory Price of Tape Hair Extensions
China is one of the major global suppliers of hair extensions, especially for OEM and private label production.
Chinese factories usually provide competitive prices because they have:
- Large production capacity
- Mature supply chains
- Professional processing technology
- Flexible customization options
Typical China factory prices:
Synthetic Tape Extensions
Approximately:
$1-$8 per set
Remy Human Hair Tape Extensions
Approximately:
$15-$80 per set
Premium Virgin Hair Tape Extensions
Approximately:
$80-$250+ per set
For example:
A factory order of 500 sets of 18-inch Remy tape extensions may cost around $25-$50 per set, depending on quality.
A small customized order with special packaging may cost more.

What Factors Affect Tape Hair Extension Prices?
The price difference between suppliers can be very large. The main reasons include the following factors.
1. Hair Origin
Hair source is one of the biggest price factors.
Different origins have different characteristics:
Chinese Hair
Advantages:
- Stable supply
- Affordable
- Suitable for many textures
Indian Hair
Advantages:
- Natural wave patterns
- Popular globally
Vietnamese Hair
Advantages:
- Strong quality
- Soft texture
- Increasing demand
European Hair
Advantages:
- Fine texture
- Premium market positioning
Limited supply makes European hair much more expensive.
2. Hair Processing Method
Processing affects both appearance and durability.
Lower-cost processing:
- Heavy chemical treatment
- Silicone coating
Premium processing:
- Cuticle preservation
- Gentle coloring
- Hand sorting
Better processing increases production costs.
3. Hair Length and Weight
Longer and heavier extensions require more raw hair.
For example:
A 12-inch 50g tape extension will cost much less than a 24-inch 120g product.
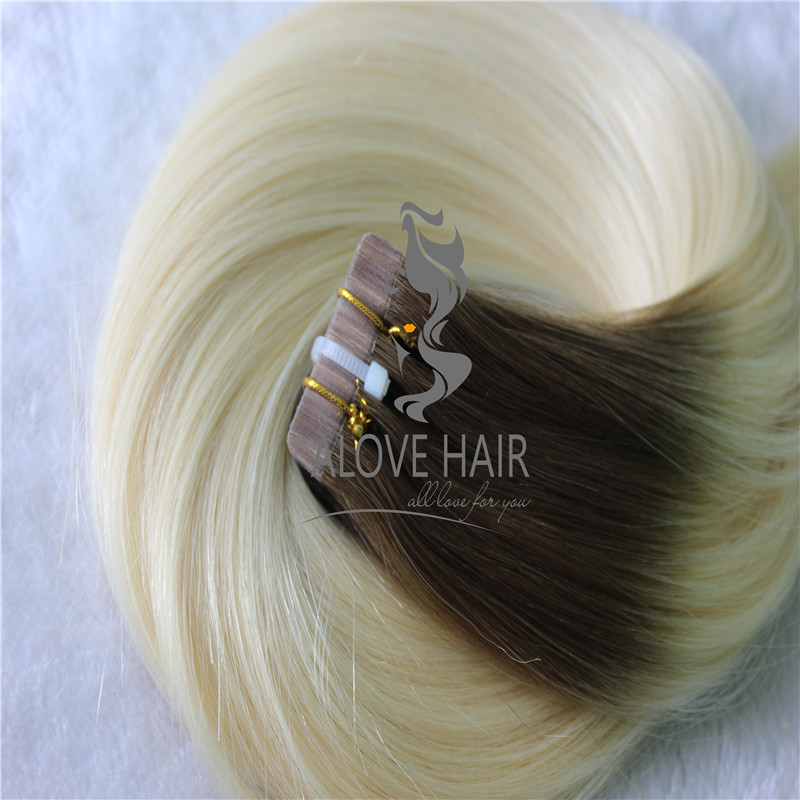
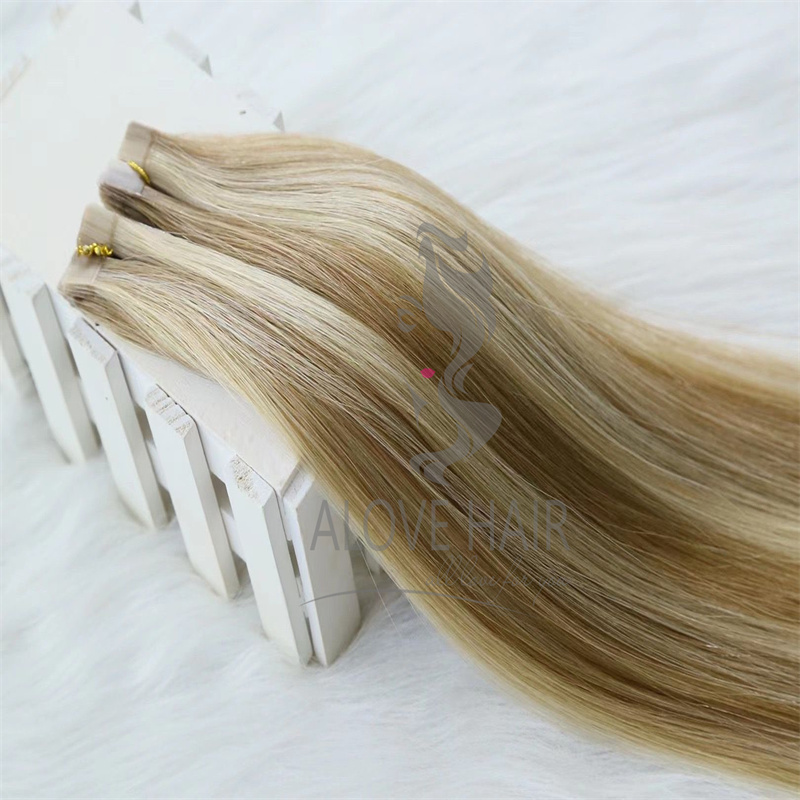
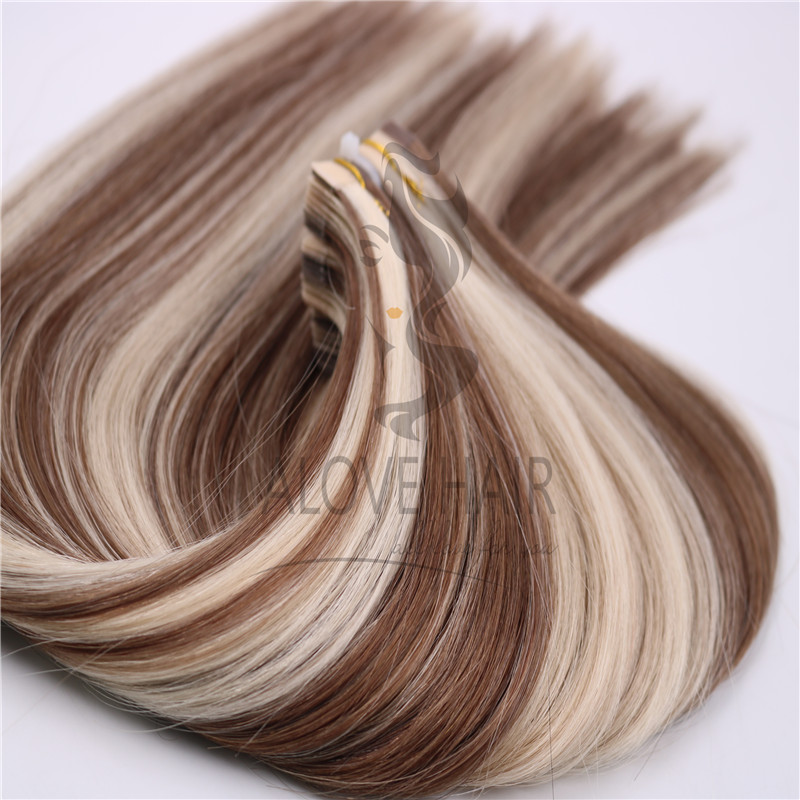
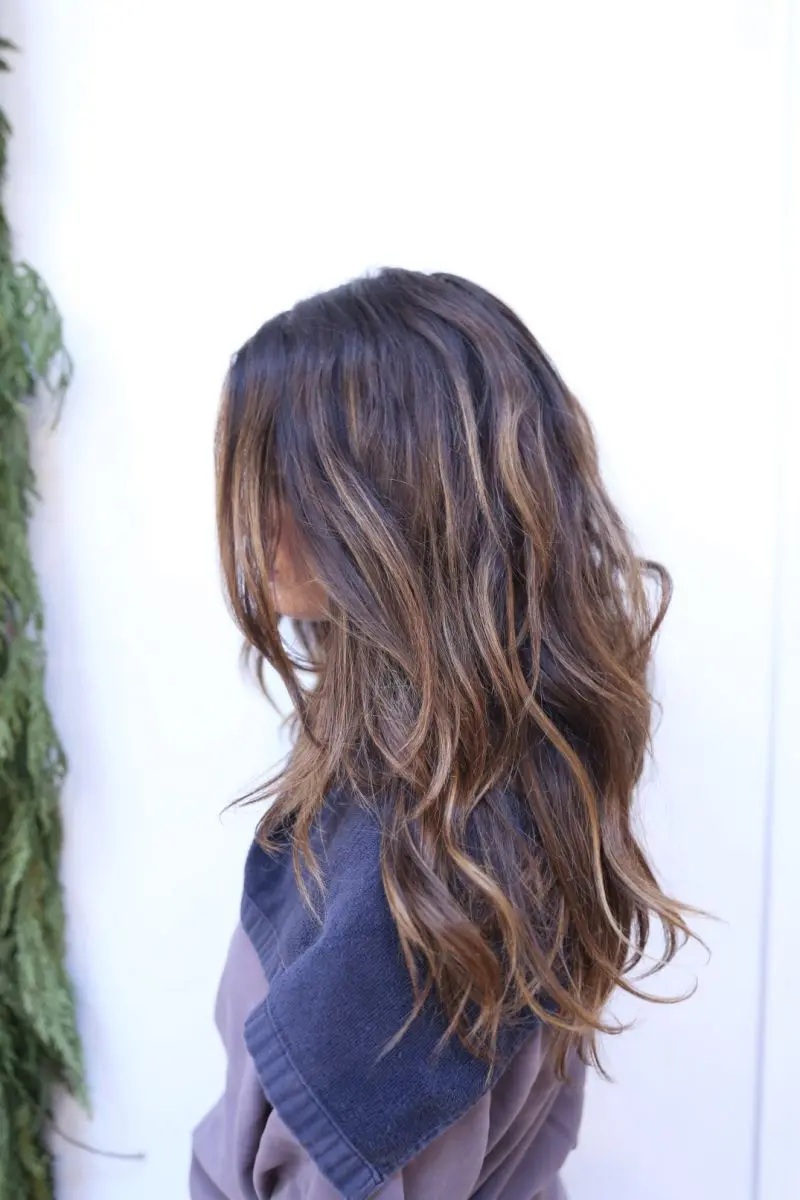
4. Color Customization
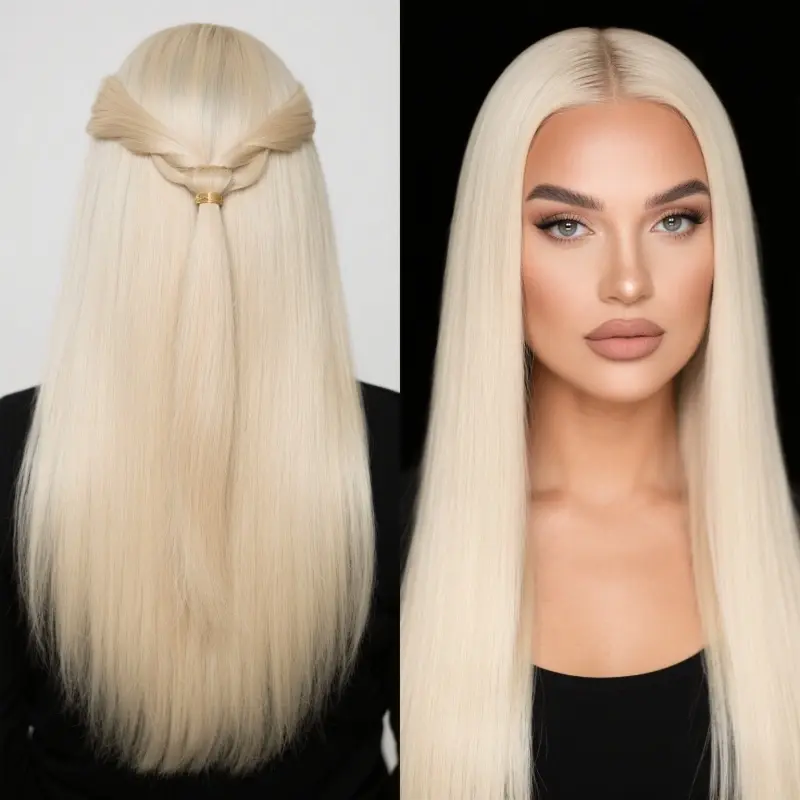
Natural black or brown colors are cheaper.
Special colors increase costs:
- Blonde
- Balayage
- Ombre
- Highlighted colors
- Fantasy colors
Custom coloring requires additional labor.
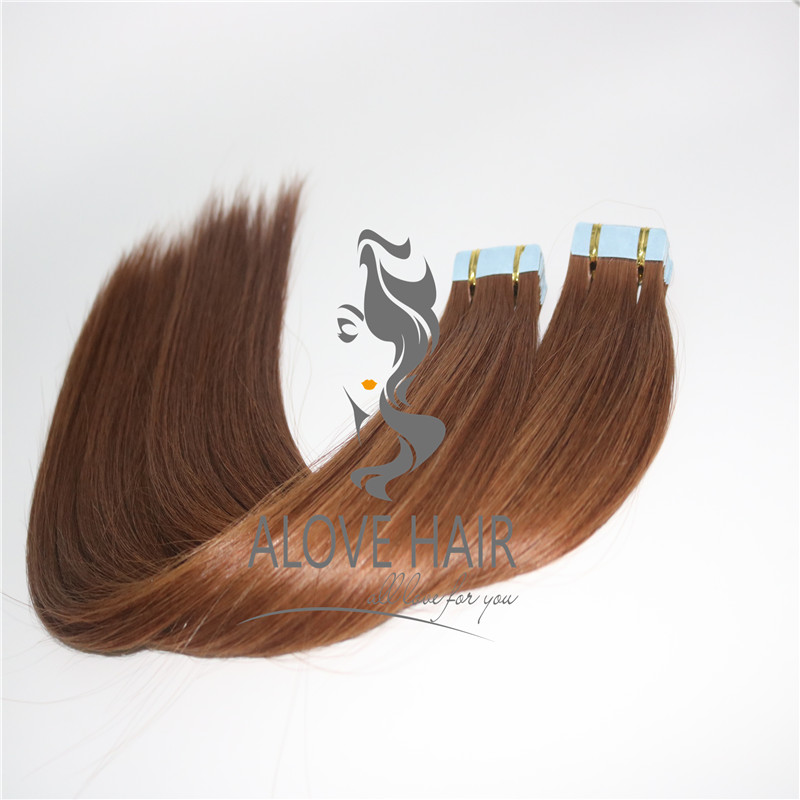
5. Adhesive Tape Quality
The tape system directly affects customer experience.
Cheap tape may cause:
- Falling off
- Residue problems
- Short wearing time
Premium medical-grade adhesive provides:
- Strong holding power
- Comfortable wearing
- Easy removal
Better tape increases product cost.
Price Difference Between Cheap and Premium Tape Extensions
Many buyers focus only on the purchase price, but low-cost products may create additional problems.
Cheap extensions may have:
- Mixed hair lengths
- Excessive synthetic fibers
- Poor tape quality
- Short lifespan
- Uneven thickness
Premium extensions offer:
- Natural appearance
- Better customer satisfaction
- More reuse cycles
- Lower complaint rates
For salons, higher-quality extensions often yield higher profits because customers return for maintenance and replacement.
Relationship Between Price and Service
The supplier’s service level also affects the price of tape hair extensions.
A professional tape hair extensions supplier may provide:
Custom Packaging
Including:
- Brand logo
- Product cards
- Retail boxes
- Instruction manuals
Color Matching Service
Professional suppliers help match:
- Customer photos
- Hair samples
- Existing color systems
OEM Private Label Service
Brands can customize:
- Hair length
- Weight
- Tape design
- Packaging
- Labels
Quality Control
Reliable factories check:
- Hair thickness
- Tape strength
- Color consistency
- Packaging quality
A supplier with better service may charge slightly higher prices but reduces business risks.
How to Choose the Right Tape Hair Extension Supplier?
When comparing suppliers, buyers should consider:
- Hair quality
- Factory experience
- Production capacity
- Customer reviews
- OEM capability
- Sample quality
- After-sales support
The cheapest supplier is not always the best choice. A stable supplier with consistent quality helps brands build long-term customer trust.
Conclusion: How Much Do Tape Hair Extensions Cost?
The cost of tape hair extensions depends on many factors, including hair material, length, weight, origin, processing method, adhesive quality, customization, and supplier service.
In general:
- Synthetic tape extensions cost about $1-$15 wholesale
- Remy human hair tape extensions cost about $15-$120 wholesale
- Premium virgin hair tape extensions can cost $100-$300+ wholesale
Chinese factories usually offer competitive prices to global buyers, especially for bulk orders and private-label projects.
For salons and hair brands, choosing tape extensions solely on price can lead to quality issues. The best value comes from balancing hair quality, factory reliability, customization service, and long-term customer satisfaction.
Alove Hair is a professional Chinese manufacturer of premium 100% Remy human hair extensions, wigs, and hair systems. Established in 2014, the company specializes in supplying global salons and distributors with high-quality, cuticle-intact hair products and offers comprehensive OEM/ODM private label services.