How to Install Tape In Hair Extensions?
Tape-in hair extensions have become one of the most popular semi-permanent hair extension methods in the beauty industry. They are lightweight, comfortable, reusable, and capable of creating natural-looking length and volume without the bulk associated with traditional extension methods.
Whether you are a professional hairstylist, salon owner, beauty student, or someone considering tape in extensions for the first time, understanding the correct installation process is essential. Proper installation not only ensures a seamless appearance but also protects the client’s natural hair and maximizes the lifespan of the extensions.
This comprehensive guide explains exactly how to install tape in hair extensions, including preparation, tools, sectioning techniques, installation steps, common mistakes, maintenance tips, and professional recommendations.
What Are Tape-In Hair Extensions?
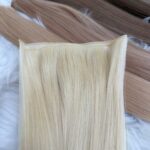
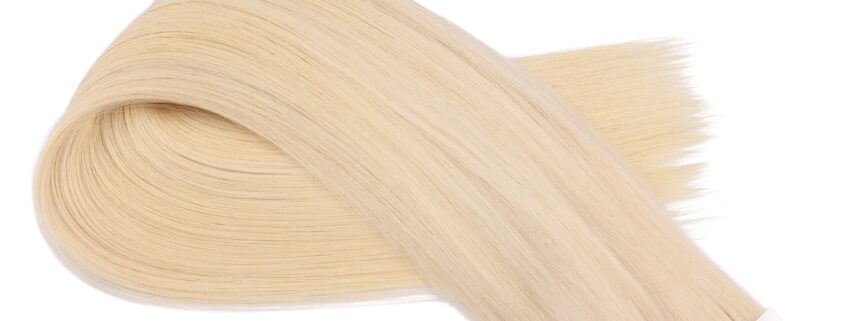
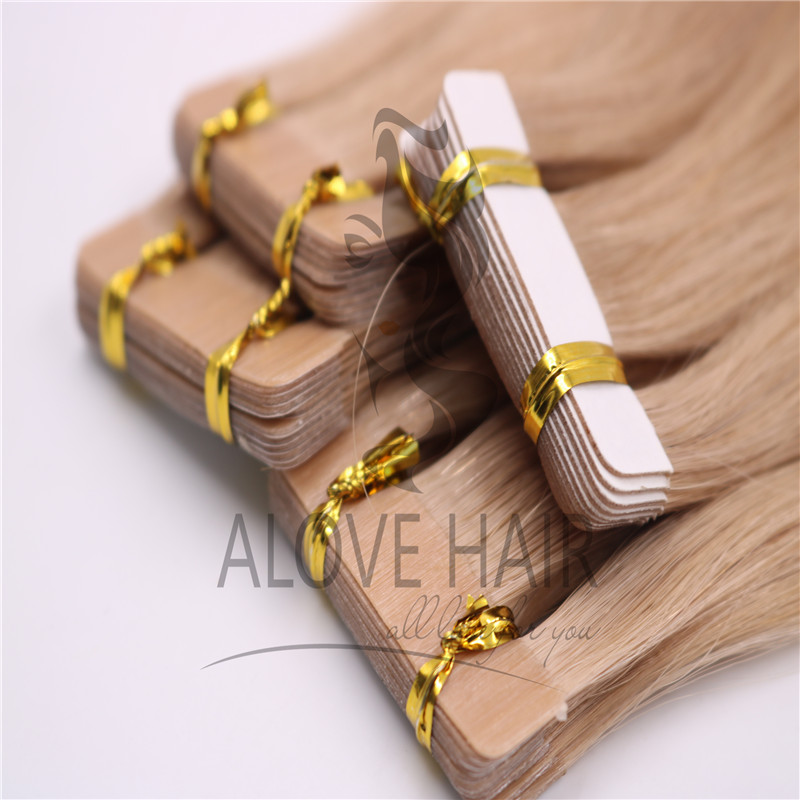
Tape-in hair extensions are thin wefts of human hair or synthetic hair attached to medical-grade adhesive tape.
The extensions are installed by sandwiching a small section of natural hair between two extension tabs.
The result is:
- Natural appearance
- Lightweight feel
- Minimal scalp tension
- Fast installation
- Reusability
Professional tape in extensions can typically last 6-8 weeks before needing reinstallation.
With proper care, the hair itself may be reused multiple times.
Why Tape-In Extensions Are So Popular
Compared with other extension methods, tape-ins offer several advantages.
Faster Installation
Most full-head installations require only 45-90 minutes.
Natural Appearance
The thin tape tabs lay flat against the scalp.
Comfortable Wear
Tape-ins create less tension than many traditional methods.
Reusability
High-quality human hair tape extensions can be re-taped and reused several times.
Easy Maintenance
Clients can style, curl, and straighten them as they would natural hair.
Because of these benefits, tape-ins are widely used in salons worldwide.
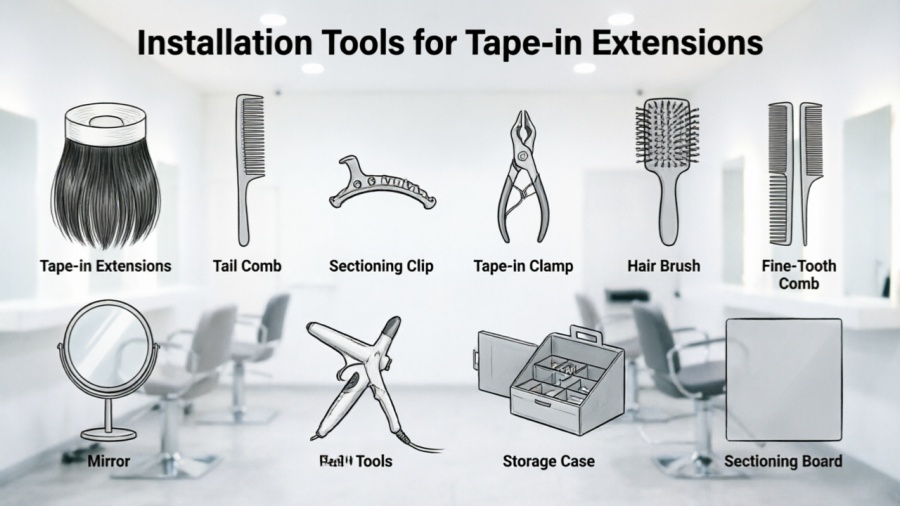
Tools Needed for Tape-In Hair Extension Installation
Before starting, prepare all necessary tools.
Essential Tools
- Tape-in hair extensions
- Rat-tail comb
- Sectioning clips
- Extension pliers
- Hairbrush
- Fine-tooth comb
- Mirror
Optional Professional Tools
- Tail comb for precision sectioning
- Heat tool for sealing tabs
- Hair extension organizer
- Sectioning board
Having the proper tools improves installation speed and accuracy.
Preparing the Hair Before Installation
Preparation is one of the most important steps.
Poor preparation often causes slipping, poor adhesion, and shortened wear time.
Step 1: Wash the Hair Thoroughly
Use a clarifying shampoo to remove:
- Oil
- Dirt
- Silicone buildup
- Styling products
Avoid:
- Conditioner
- Leave-in products
- Hair oils
- Hair masks
The adhesive requires a completely clean surface.
Step 2: Dry the Hair Completely
Tape extensions should never be installed on damp hair.
Moisture can weaken adhesive performance.
Use a blow dryer until the hair is 100% dry.
Step 3: Straighten If Necessary
Straight hair allows for cleaner sectioning.
This is especially helpful for:
- Curly hair
- Wavy hair
- Thick hair
Professional stylists often lightly straighten the roots before installation.
Choosing the Correct Number of Tape Extensions
The amount of hair needed depends on the client’s goals.
Volume Only
20-40 pieces
Moderate Length and Volume
40-60 pieces
Full Transformation
60-100 pieces
Very Thick Hair
80-120 pieces
Using too few extensions may result in poor blending.
Using too many can create unnecessary tension.
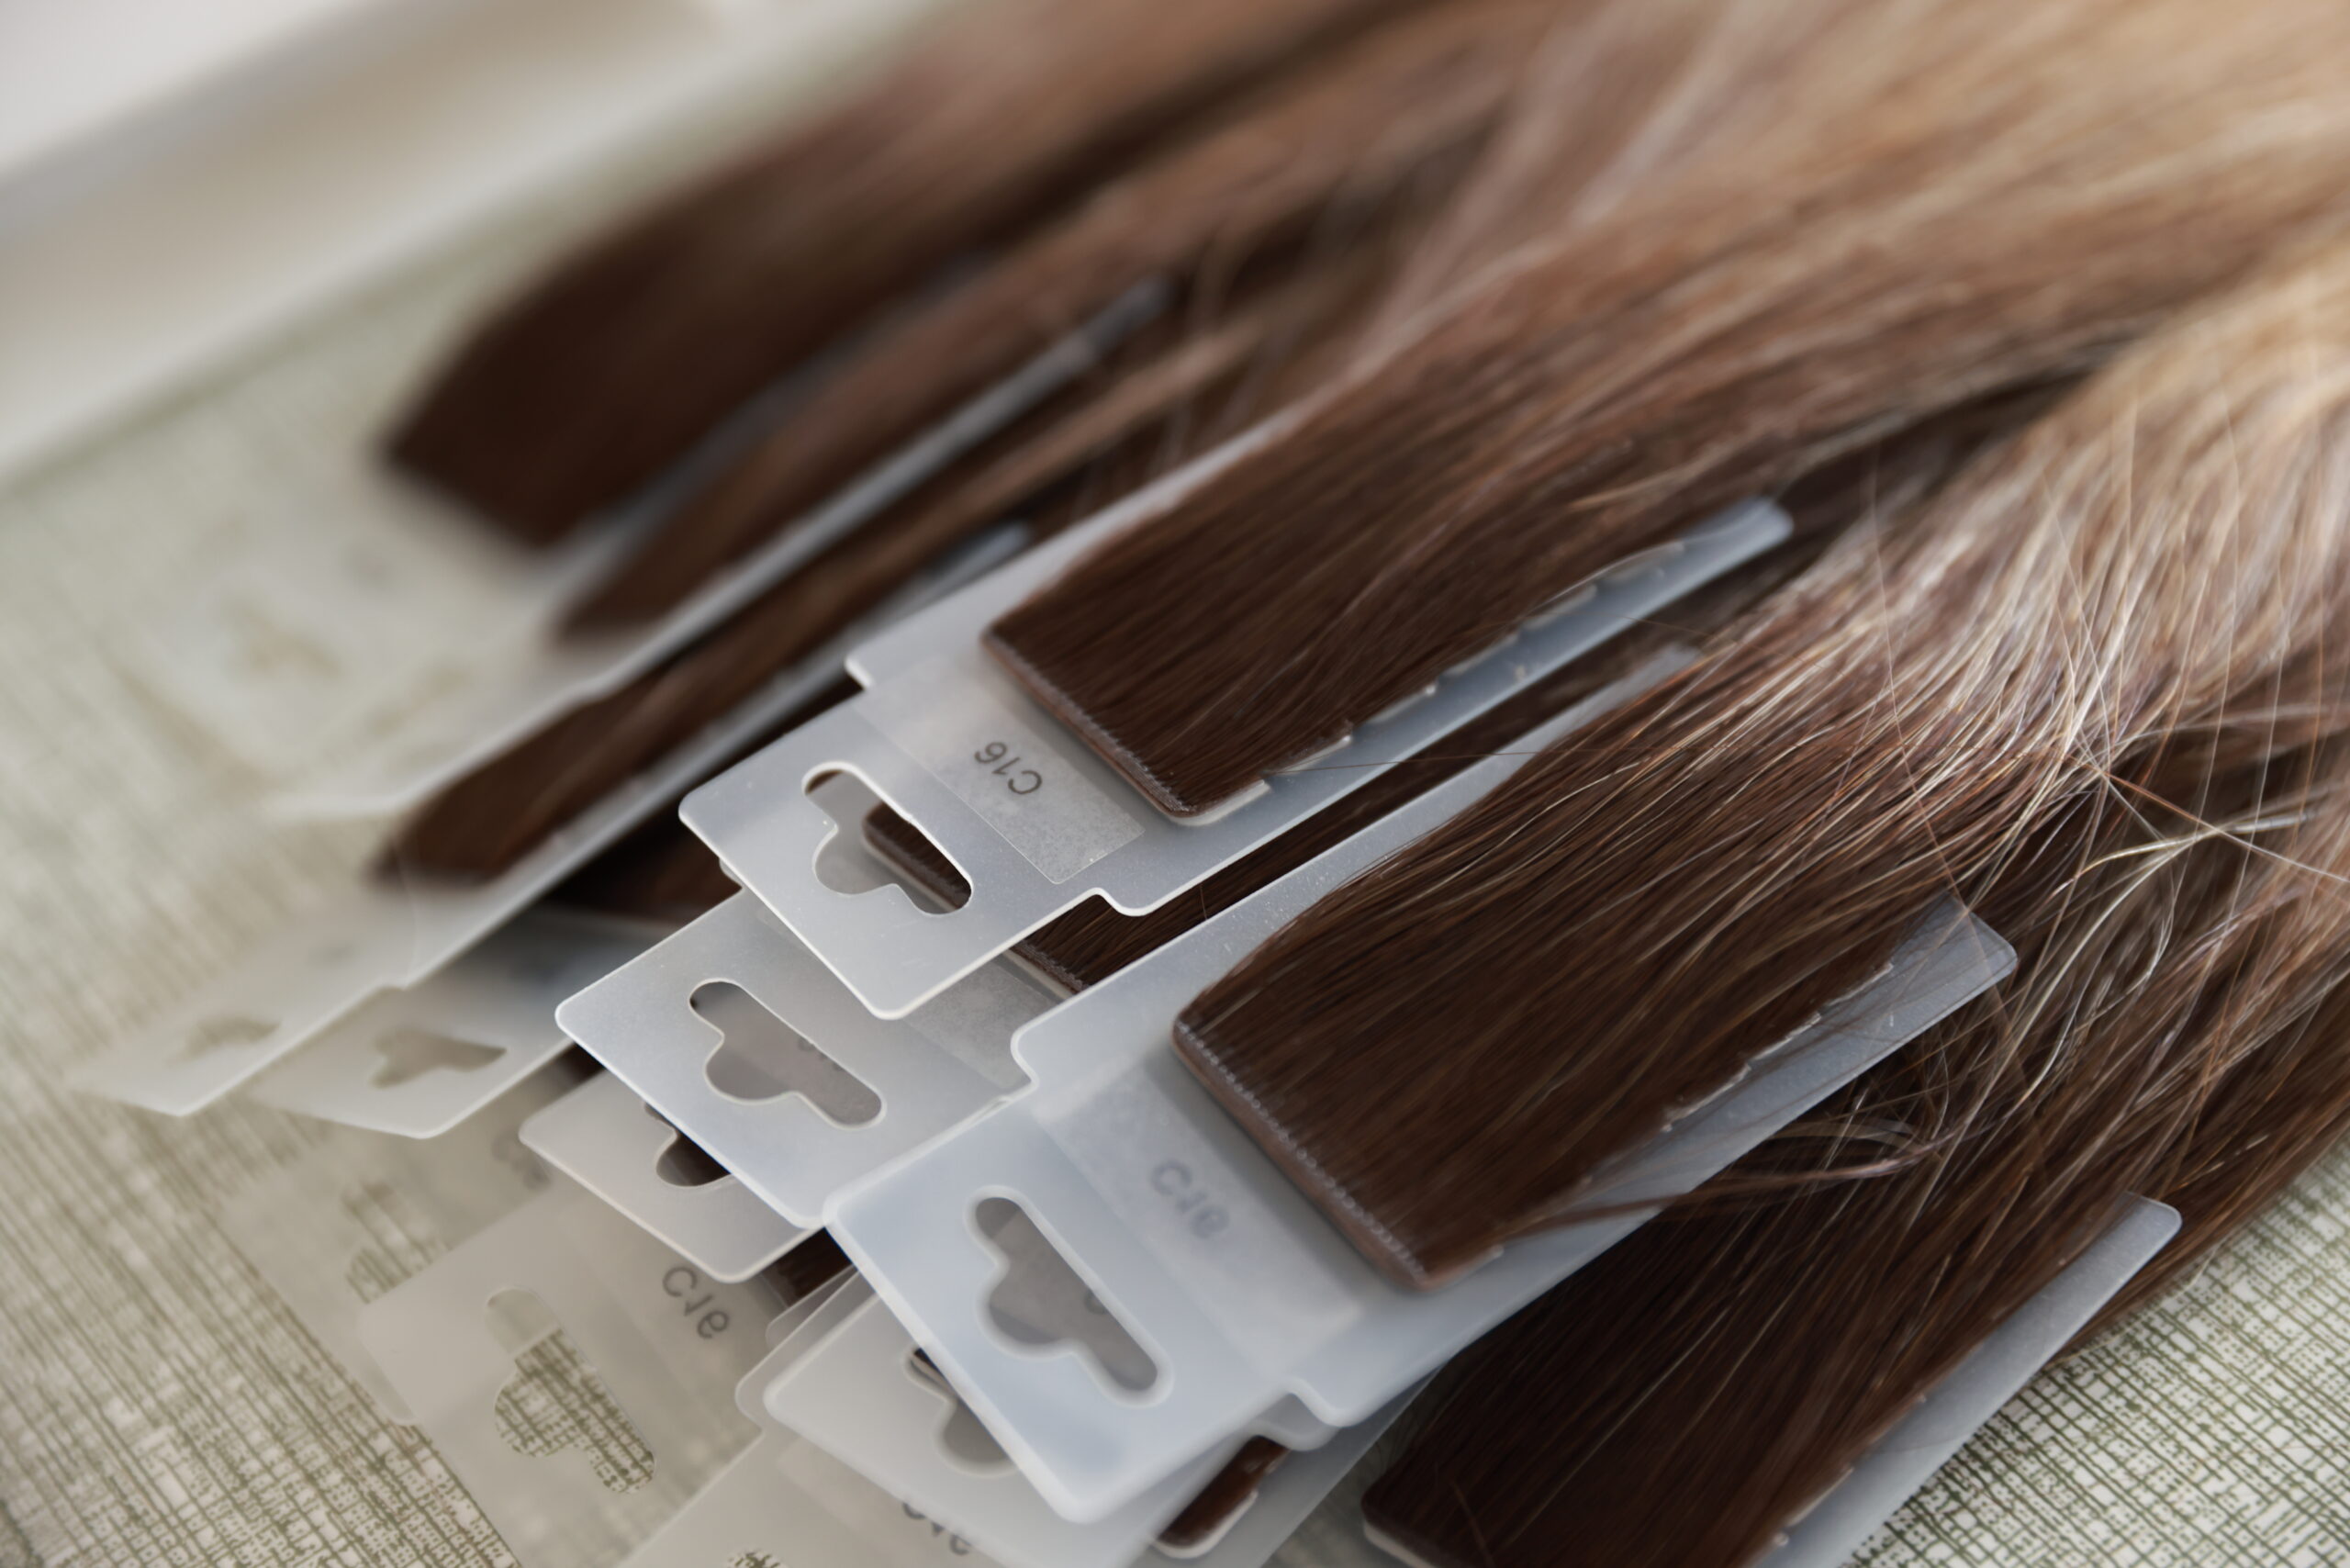
Understanding the Tape Sandwich Method
Tape in extensions are installed using a “sandwich” technique.
The structure is:
Extension Tape
Natural Hair
Extension Tape
The natural hair becomes trapped securely between the two adhesive tabs.
This creates:
- Strong hold
- Even weight distribution
- Comfortable wear
The sandwich method is the foundation of successful tape extension installation.
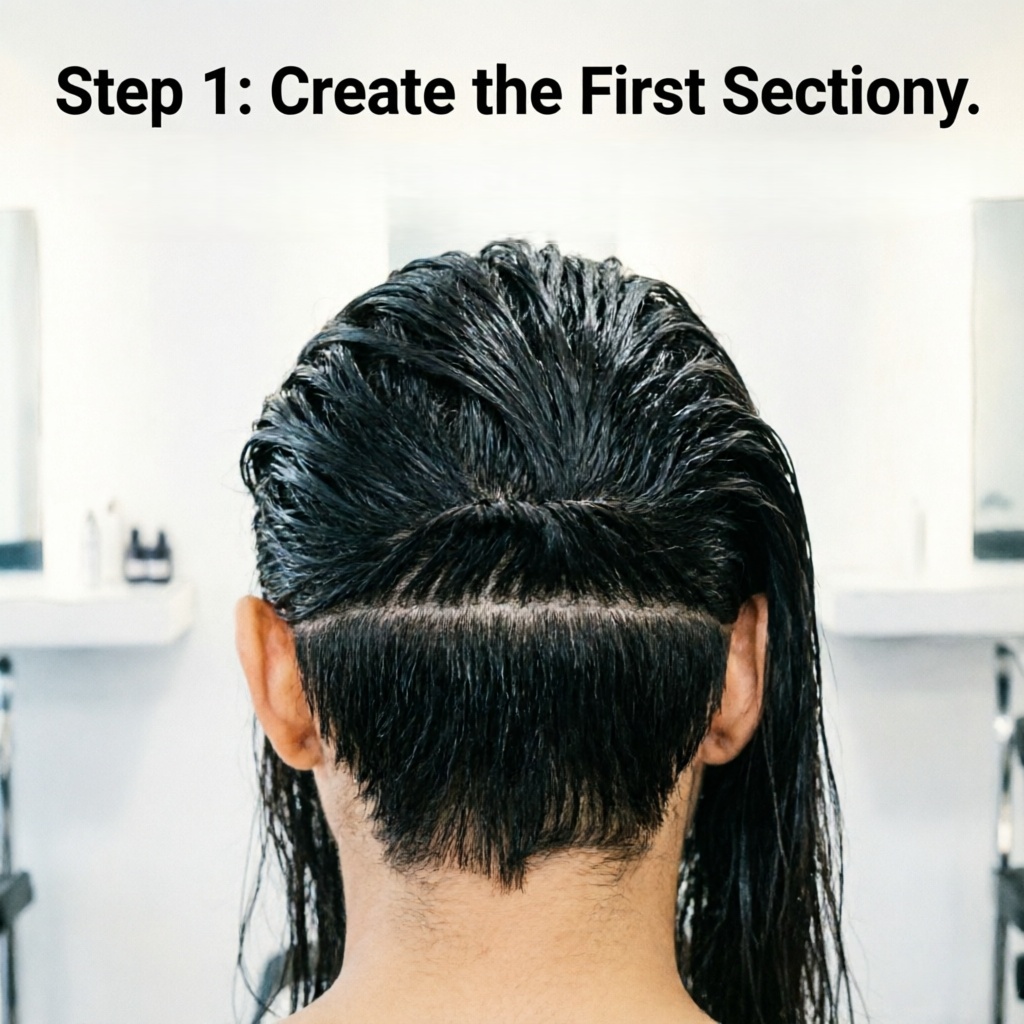
Step-by-Step Installation Process
Step 1: Create the First Section
Begin at the nape of the neck.
Use a rat-tail comb to create a horizontal section.
Recommended thickness:
Approximately 1 cm.
Clip the remaining hair out of the way.
The section should be clean and even.
Step 2: Leave a Safe Margin
Never place extensions directly at the hairline.
Leave:
1-2 inches above the neckline.
This prevents visibility and improves comfort.
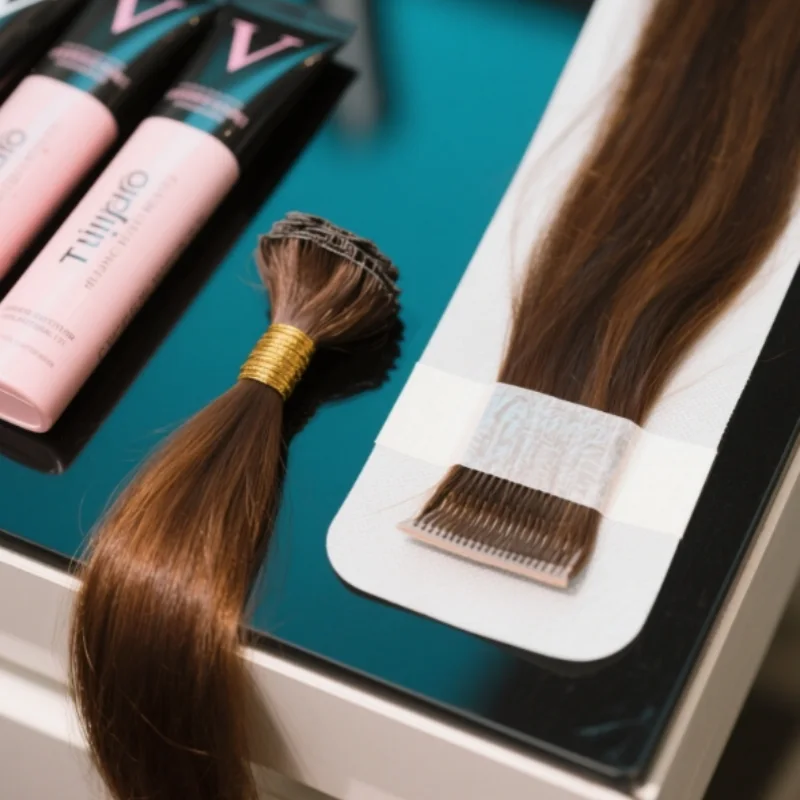
Step 3: Prepare the First Tape Weft
Remove the protective backing from one extension tab.
Expose the adhesive carefully.
Avoid touching the tape with fingers.
Oils from the skin can reduce adhesion.
Step 4: Position the Bottom Weft
Place the extension underneath the natural hair section.
The tape should sit approximately:
3-5 mm away from the scalp.
This distance allows natural movement.
Installing too close may cause discomfort.
Installing too far may create sagging.
Step 5: Add the Top Weft
Take a second extension piece.
Remove the backing.
Align it directly above the bottom piece.
Press firmly.
The natural hair should be evenly distributed between both tabs.
Step 6: Seal the Sandwich
Apply pressure for 5-10 seconds.
Professional stylists often use extension pliers.
This ensures:
- Maximum adhesion
- Even pressure
- Long-lasting hold
The first tape sandwich is now complete.
Step 7: Continue Across the Head
Repeat the process.
Work horizontally from:
- Left side
- Center
- Right side
Maintain consistent spacing.
Avoid overcrowding.
Step 8: Move to the Next Row
Create another horizontal section approximately:
1-1.5 inches above the previous row.
Continue installing tape sandwiches.
Repeat until the desired coverage is achieved.
Proper Placement Guidelines
Correct placement is critical.
Avoid the Hairline
Extensions should remain hidden.
Do not place them too close to:
- Front hairline
- Temples
- Crown edges
Maintain Even Weight Distribution
Avoid concentrating too many extensions in one area.
Uneven placement may cause:
- Discomfort
- Tangling
- Stress on natural hair
Follow Head Shape
Every head shape is different.
Professional stylists adjust placement according to:
- Hair density
- Growth patterns
- Desired style
Installation for Fine Hair
Fine hair requires special attention.
Recommended Techniques
- Use smaller sections
- Reduce extension quantity
- Choose lightweight tape wefts
Benefits include:
- Better concealment
- Reduced tension
- Improved comfort
Modern invisible tape extensions are especially suitable for fine hair.
Installation for Thick Hair
Thick hair often requires:
- More extension pieces
- Additional rows
- Higher density wefts
The goal is to maintain seamless blending.
Insufficient extensions may create visible separation between natural hair and extension hair.
Common Installation Mistakes
Using Oily Hair
This is the most common cause of slipping.
Always clarify before installation.
Taking Sections That Are Too Thick
The adhesive cannot fully bond.
This results in premature extension loss.
Taking Sections That Are Too Thin
Excessive tension may occur.
This can damage natural hair.
Installing Too Close to the Scalp
This restricts movement.
Clients may experience discomfort.
Uneven Alignment
Misaligned tapes create visible bumps and poor adhesion.
Professional precision is essential.
How Long Does Installation Take?
Average installation times:
Partial Installation
30-45 minutes
Volume Installation
45-60 minutes
Full Head Installation
60-90 minutes
Experienced stylists may complete installations even faster.
Aftercare Instructions
Proper aftercare significantly affects longevity.
Wait Before Washing
Do not wash the hair for:
24-48 hours
This allows the adhesive to fully cure.
Brush Carefully
Use an extension-safe brush.
Brush:
- Morning
- Evening
- Before sleeping
Avoid Excessive Oils
Keep oils away from tape tabs.
Products should be applied only to:
- Mid-lengths
- Ends
Sleep Protection
Tie hair loosely before bed.
A silk pillowcase may reduce tangling.
How Long Do Tape In Extensions Last?
Installed Wear Time
6-8 weeks
Reusable Hair Lifespan
6-12 months or longer
Premium Remy human hair often lasts significantly longer with proper care.
How to Remove Tape-In Extensions
Removal requires professional tape remover.
Removal Steps
- Apply remover to tape tabs.
- Wait for adhesive breakdown.
- Gently separate tapes.
- Remove residue.
- Wash hair thoroughly.
- Retape extensions if reusing.
Never pull extensions out manually.
This may damage natural hair.
Tape In Extensions vs Other Extension Methods
Tape In vs Clip In
| Feature | Tape In | Clip In |
|---|---|---|
| Wear Duration | 6-8 Weeks | Daily |
| Comfort | Excellent | Good |
| Visibility | Very Low | Moderate |
| Maintenance | Professional | DIY |
Tape In vs Keratin Bond
| Feature | Tape In | Keratin Bond |
| Installation Time | Fast | Long |
| Reusability | Excellent | Limited |
| Removal | Easy | More Complex |
| Cost | Lower | Higher |
Tape In vs Sew In Wefts
| Feature | Tape In | Sew In |
| Weight | Light | Heavier |
| Comfort | Excellent | Good |
| Visibility | Very Low | Moderate |
| Installation Speed | Fast | Slower |
Why Salons Prefer Tape In Extensions
Modern salons increasingly recommend tape ins because they provide:
- Quick appointments
- High client satisfaction
- Natural results
- Reusability
- Strong profit margins
Stylists can complete multiple tape-in services daily while maintaining excellent quality.
Professional Tips for Perfect Results
Use Premium Human Hair
Higher-quality hair blends more naturally.
Match Color Precisely
Proper color matching creates invisible results.
Maintain Clean Sections
Precision sectioning improves overall appearance.
Use Professional Tape
Medical-grade adhesive performs significantly better than low-cost alternatives.
Schedule Regular Maintenance
Move-up appointments every 6-8 weeks help maintain healthy, natural hair and beautiful extension results.
Conclusion
Learning how to install tape in hair extensions correctly is essential for achieving natural, long-lasting, and comfortable results. The process begins with thorough hair preparation, precise sectioning, and proper sandwich placement. Every step—from washing and drying the hair to sealing the adhesive tabs—plays a crucial role in the final outcome.
When installed correctly, tape-in extensions provide one of the most seamless and versatile hair extension solutions available today. They offer exceptional comfort, natural movement, easy maintenance, and long-term reusability. Whether you are a beginner learning the fundamentals or a salon professional refining your technique, mastering tape in extension installation can help deliver beautiful transformations that clients love while protecting the health of their natural hair.
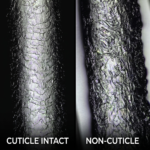
Alove Hair is a professional Chinese manufacturer of premium 100% Remy human hair extensions, wigs, and hair systems. Established in 2014, the company specializes in supplying global salons and distributors with high-quality, cuticle-intact hair products and offers comprehensive OEM/ODM private label services.