
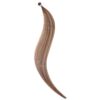
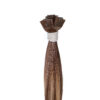
Description
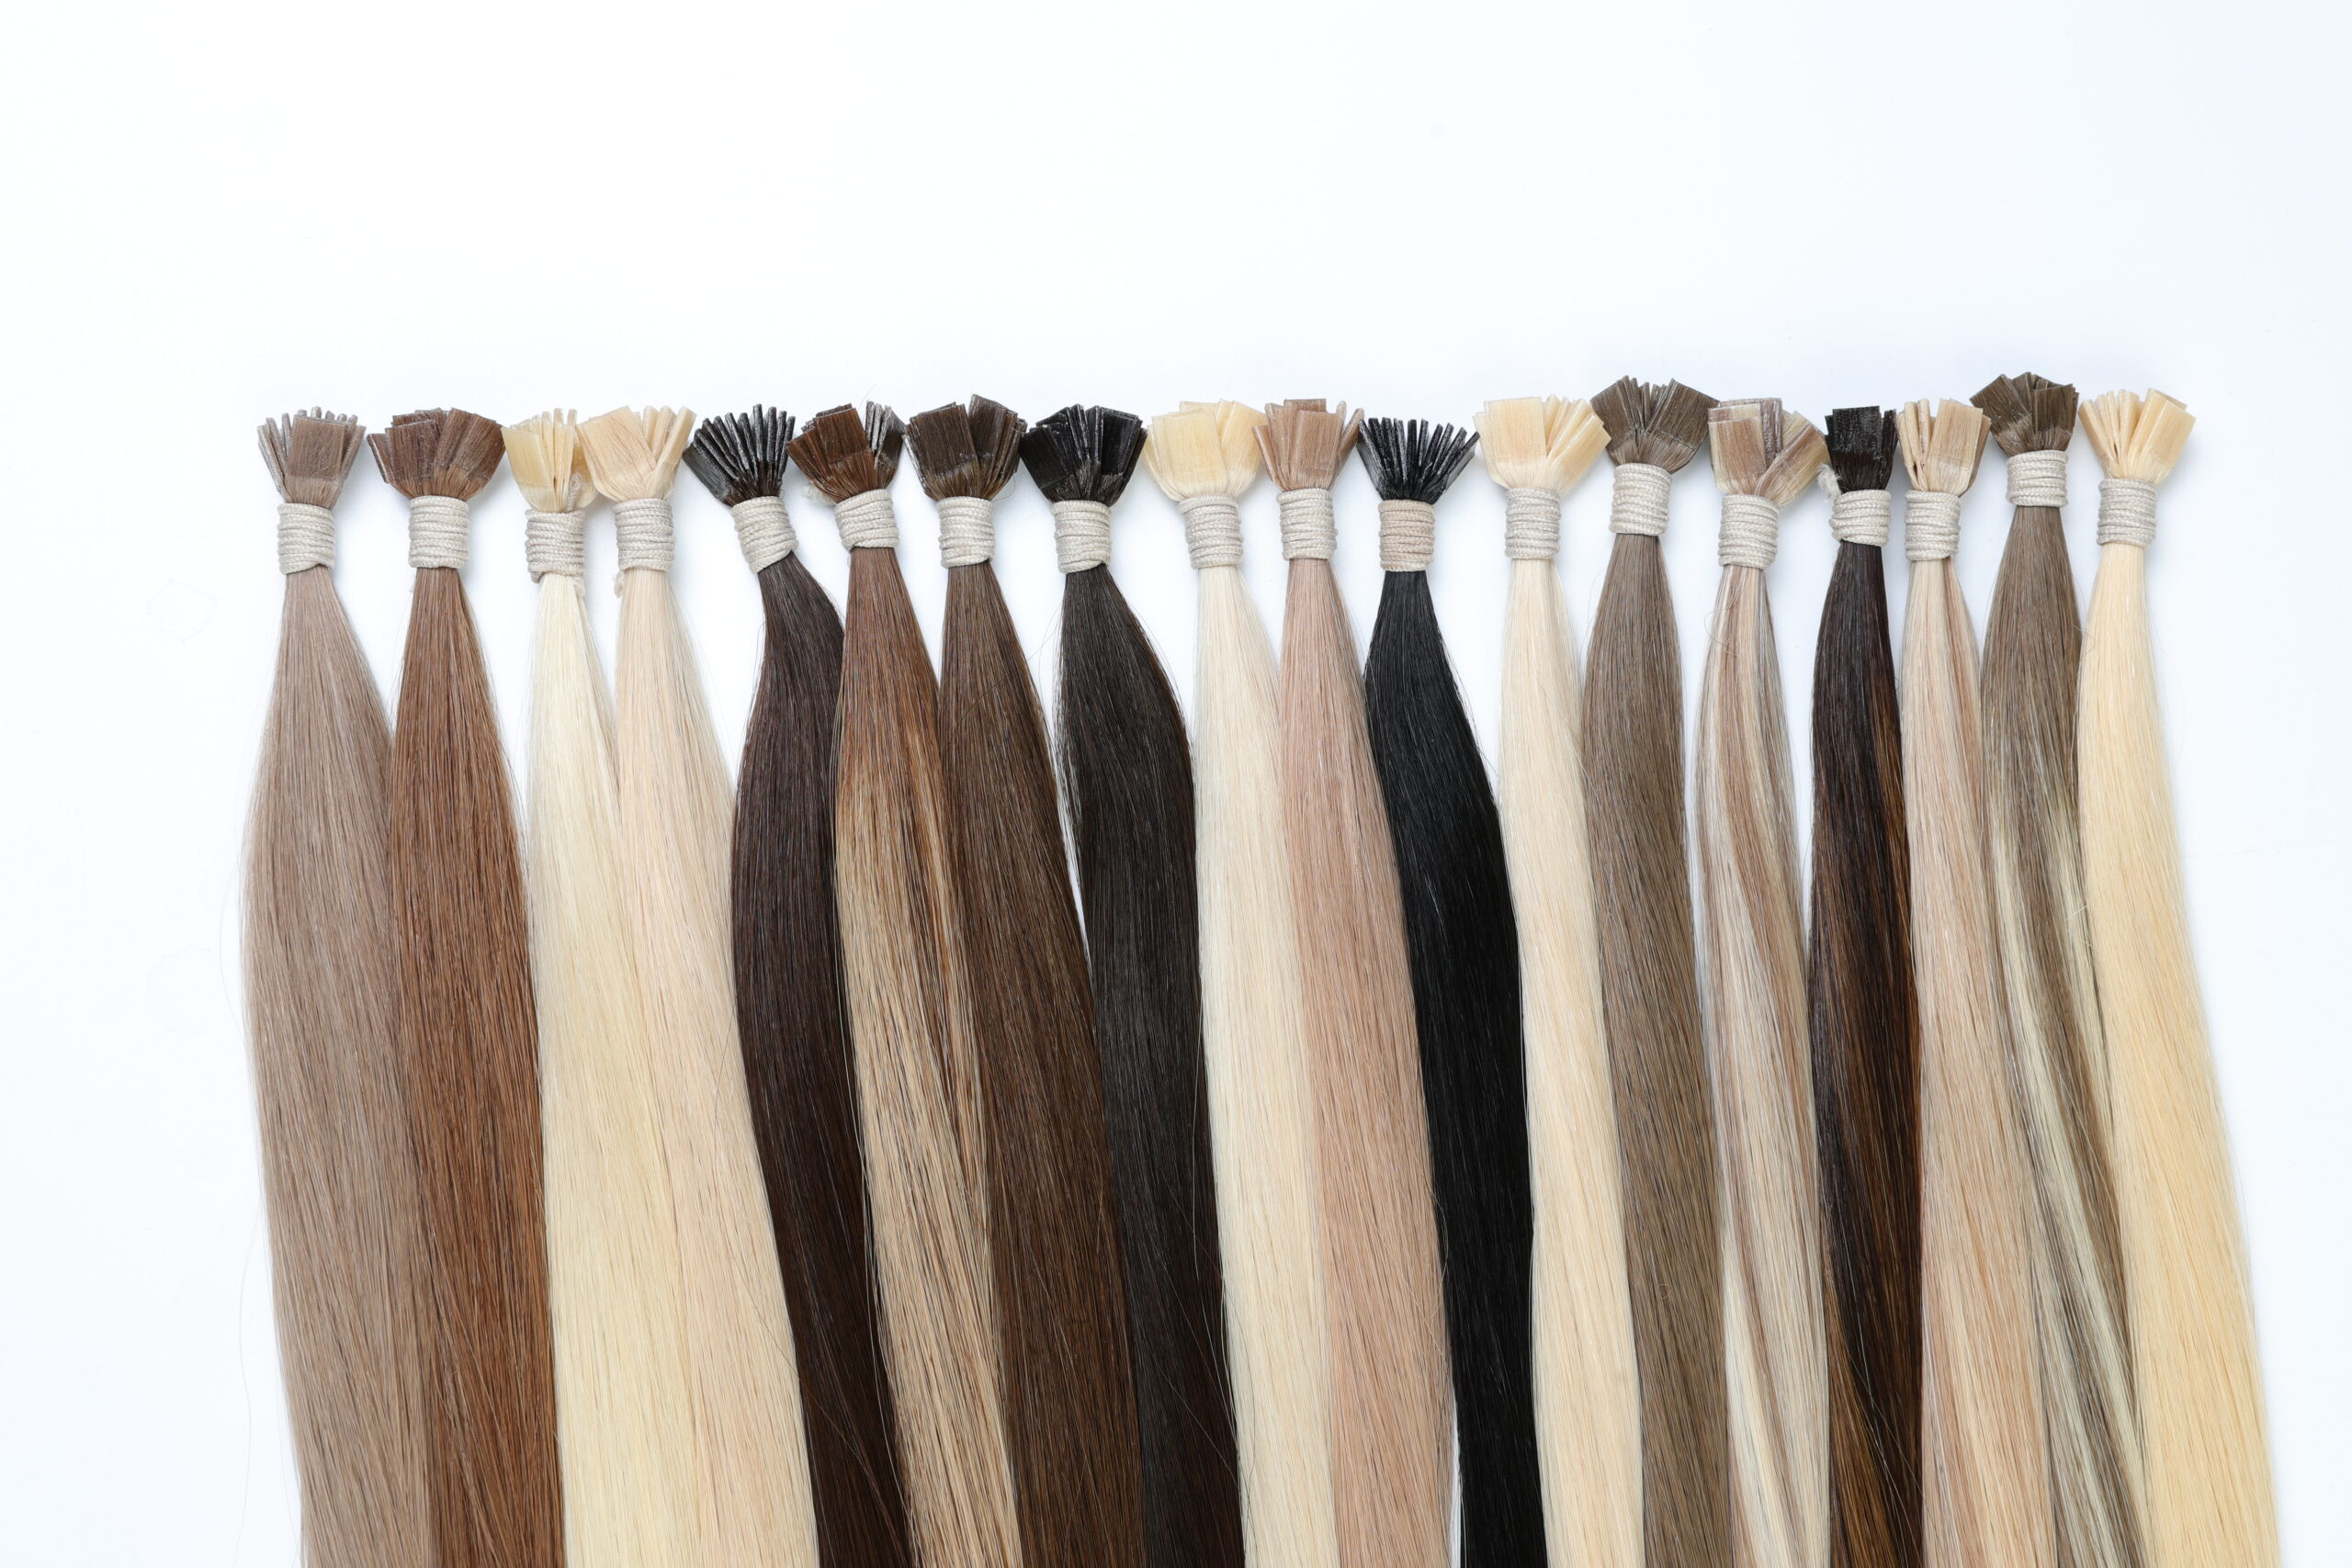
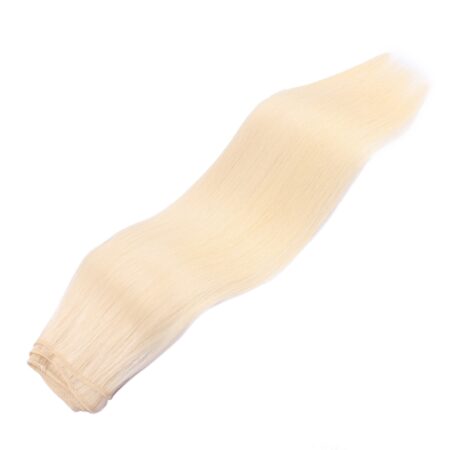
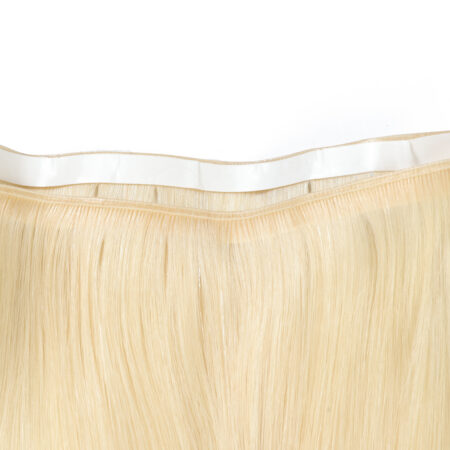
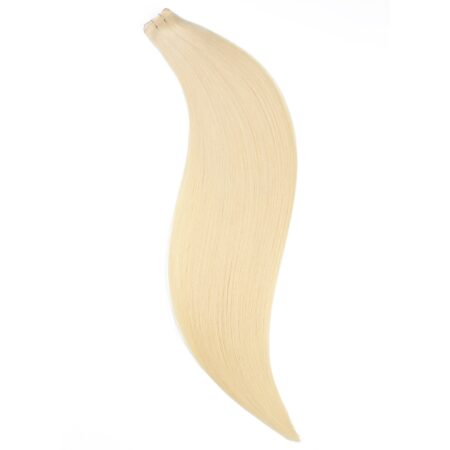
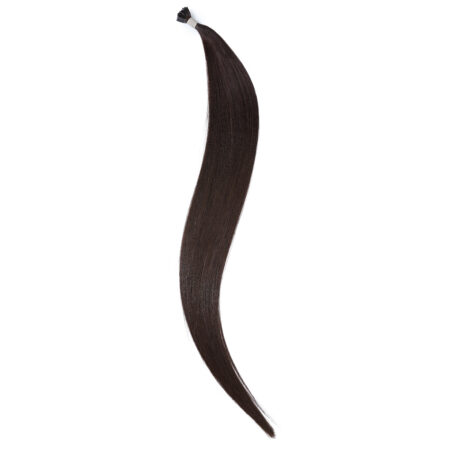
What are Flat K-tip hair extensions?
The Definitive Guide to K-Tip Hair Extensions: Artistry, Longevity, and the Ultimate Hair Transformation
In the ever-evolving world of high-end beauty and hair styling, hair extensions have transitioned from a luxury red-carpet secret to an accessible form of personal empowerment. Among the myriad of techniques available today—ranging from temporary clip-ins to semi-permanent tape-ins and wefts—K-Tip (Keratin Tip) hair extensions remain the gold standard for discerning clients and elite stylists worldwide.
Often referred to as fusion or bonded extensions, K-Tips offer an unparalleled blend of realism, movement, and durability. This comprehensive guide explores the science behind K-Tip extensions, their core advantages, the intricate application process, lifestyle compatibility, and the essential maintenance required to keep your strands looking flawless.
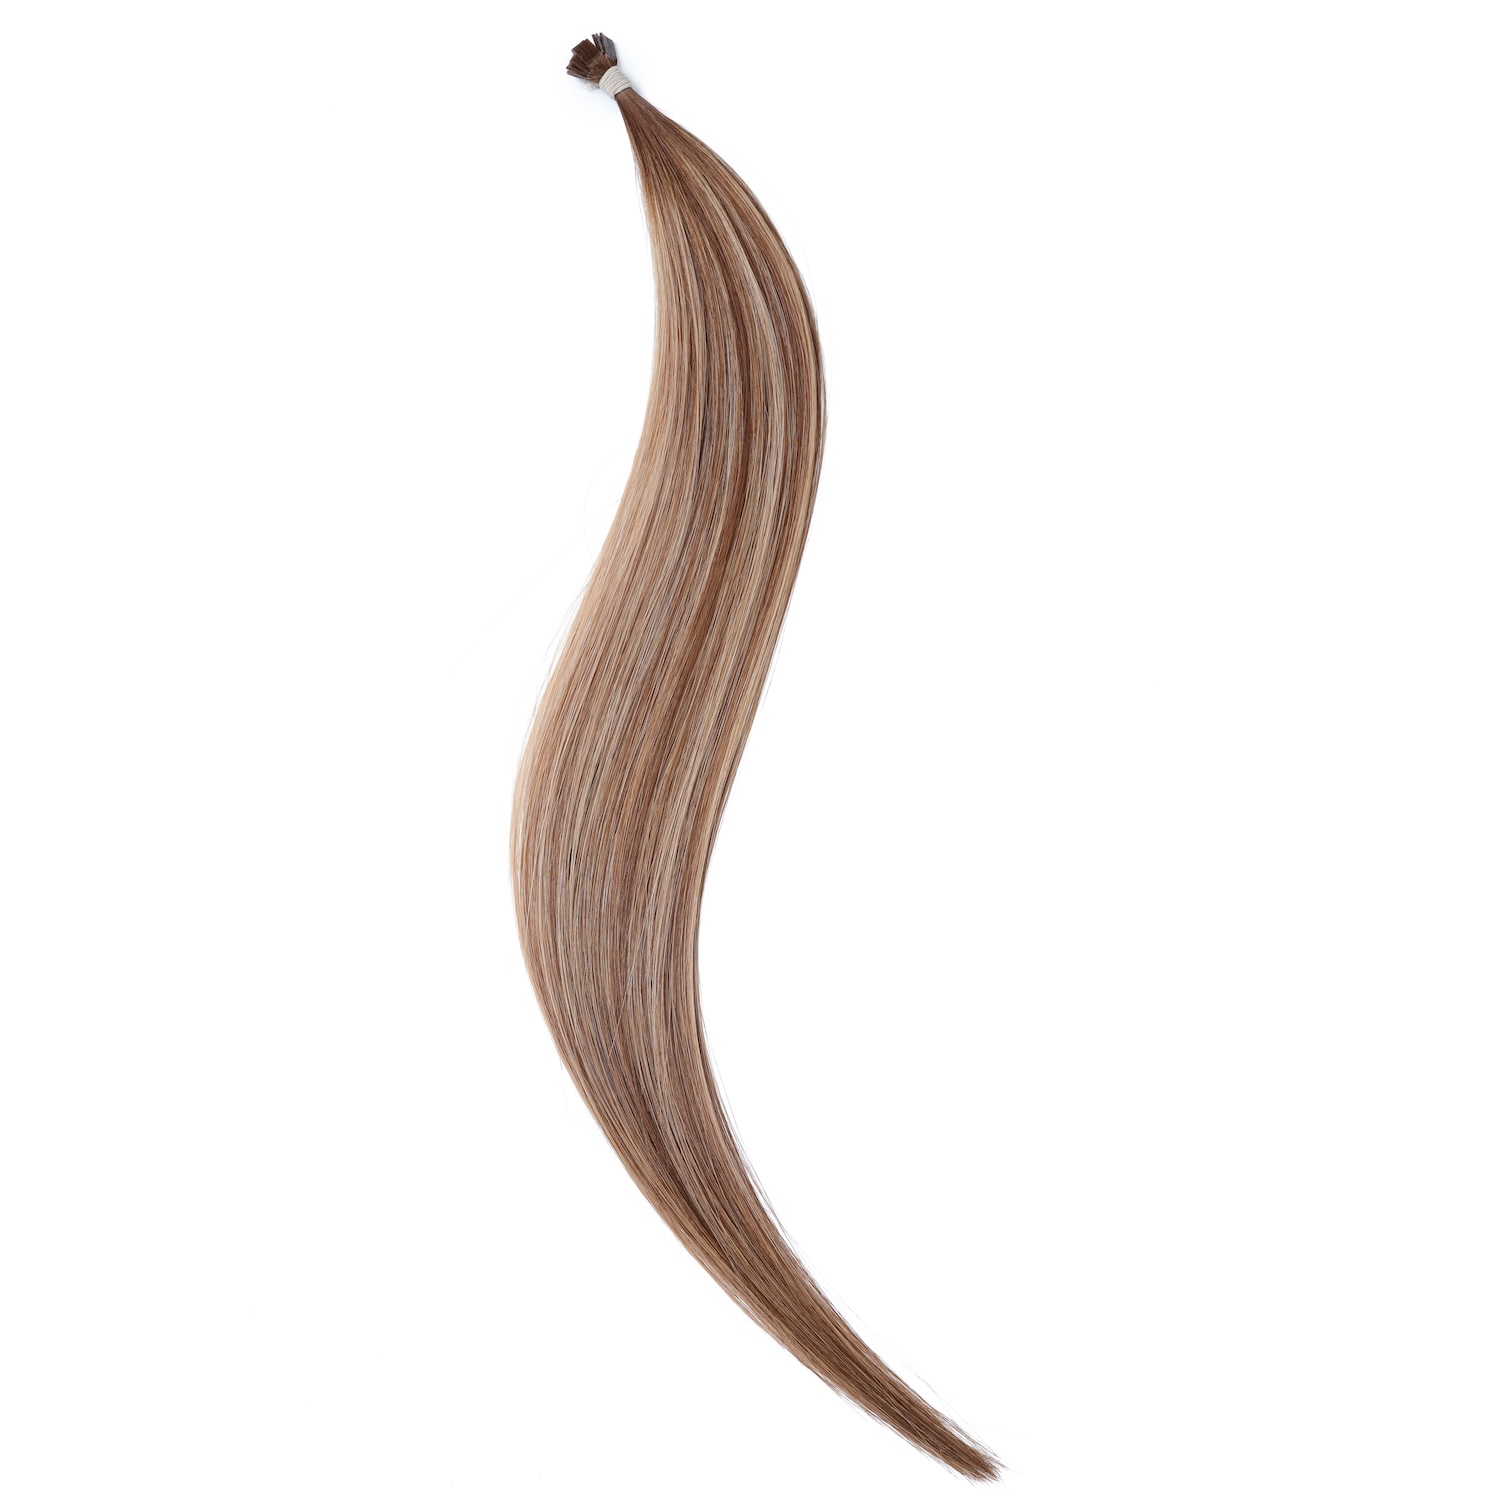
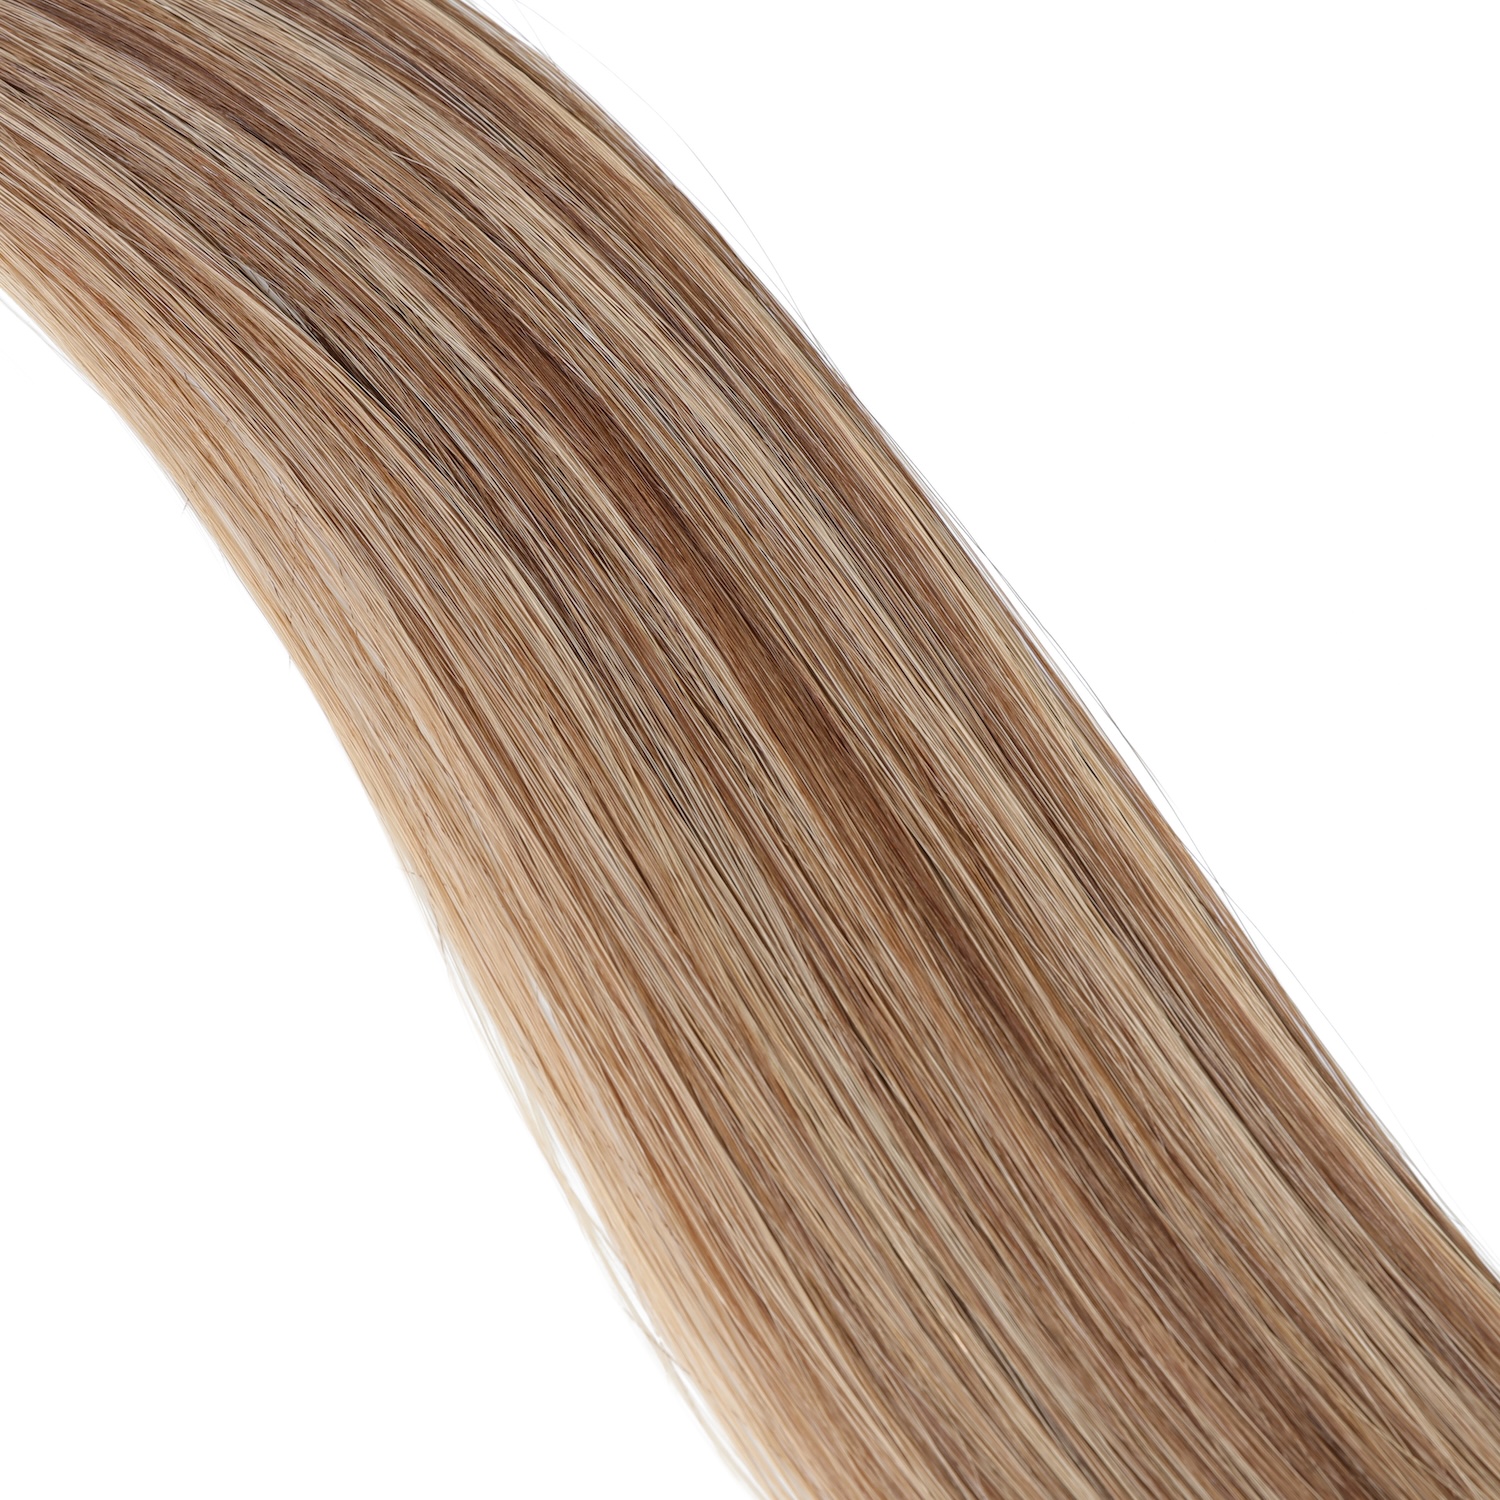
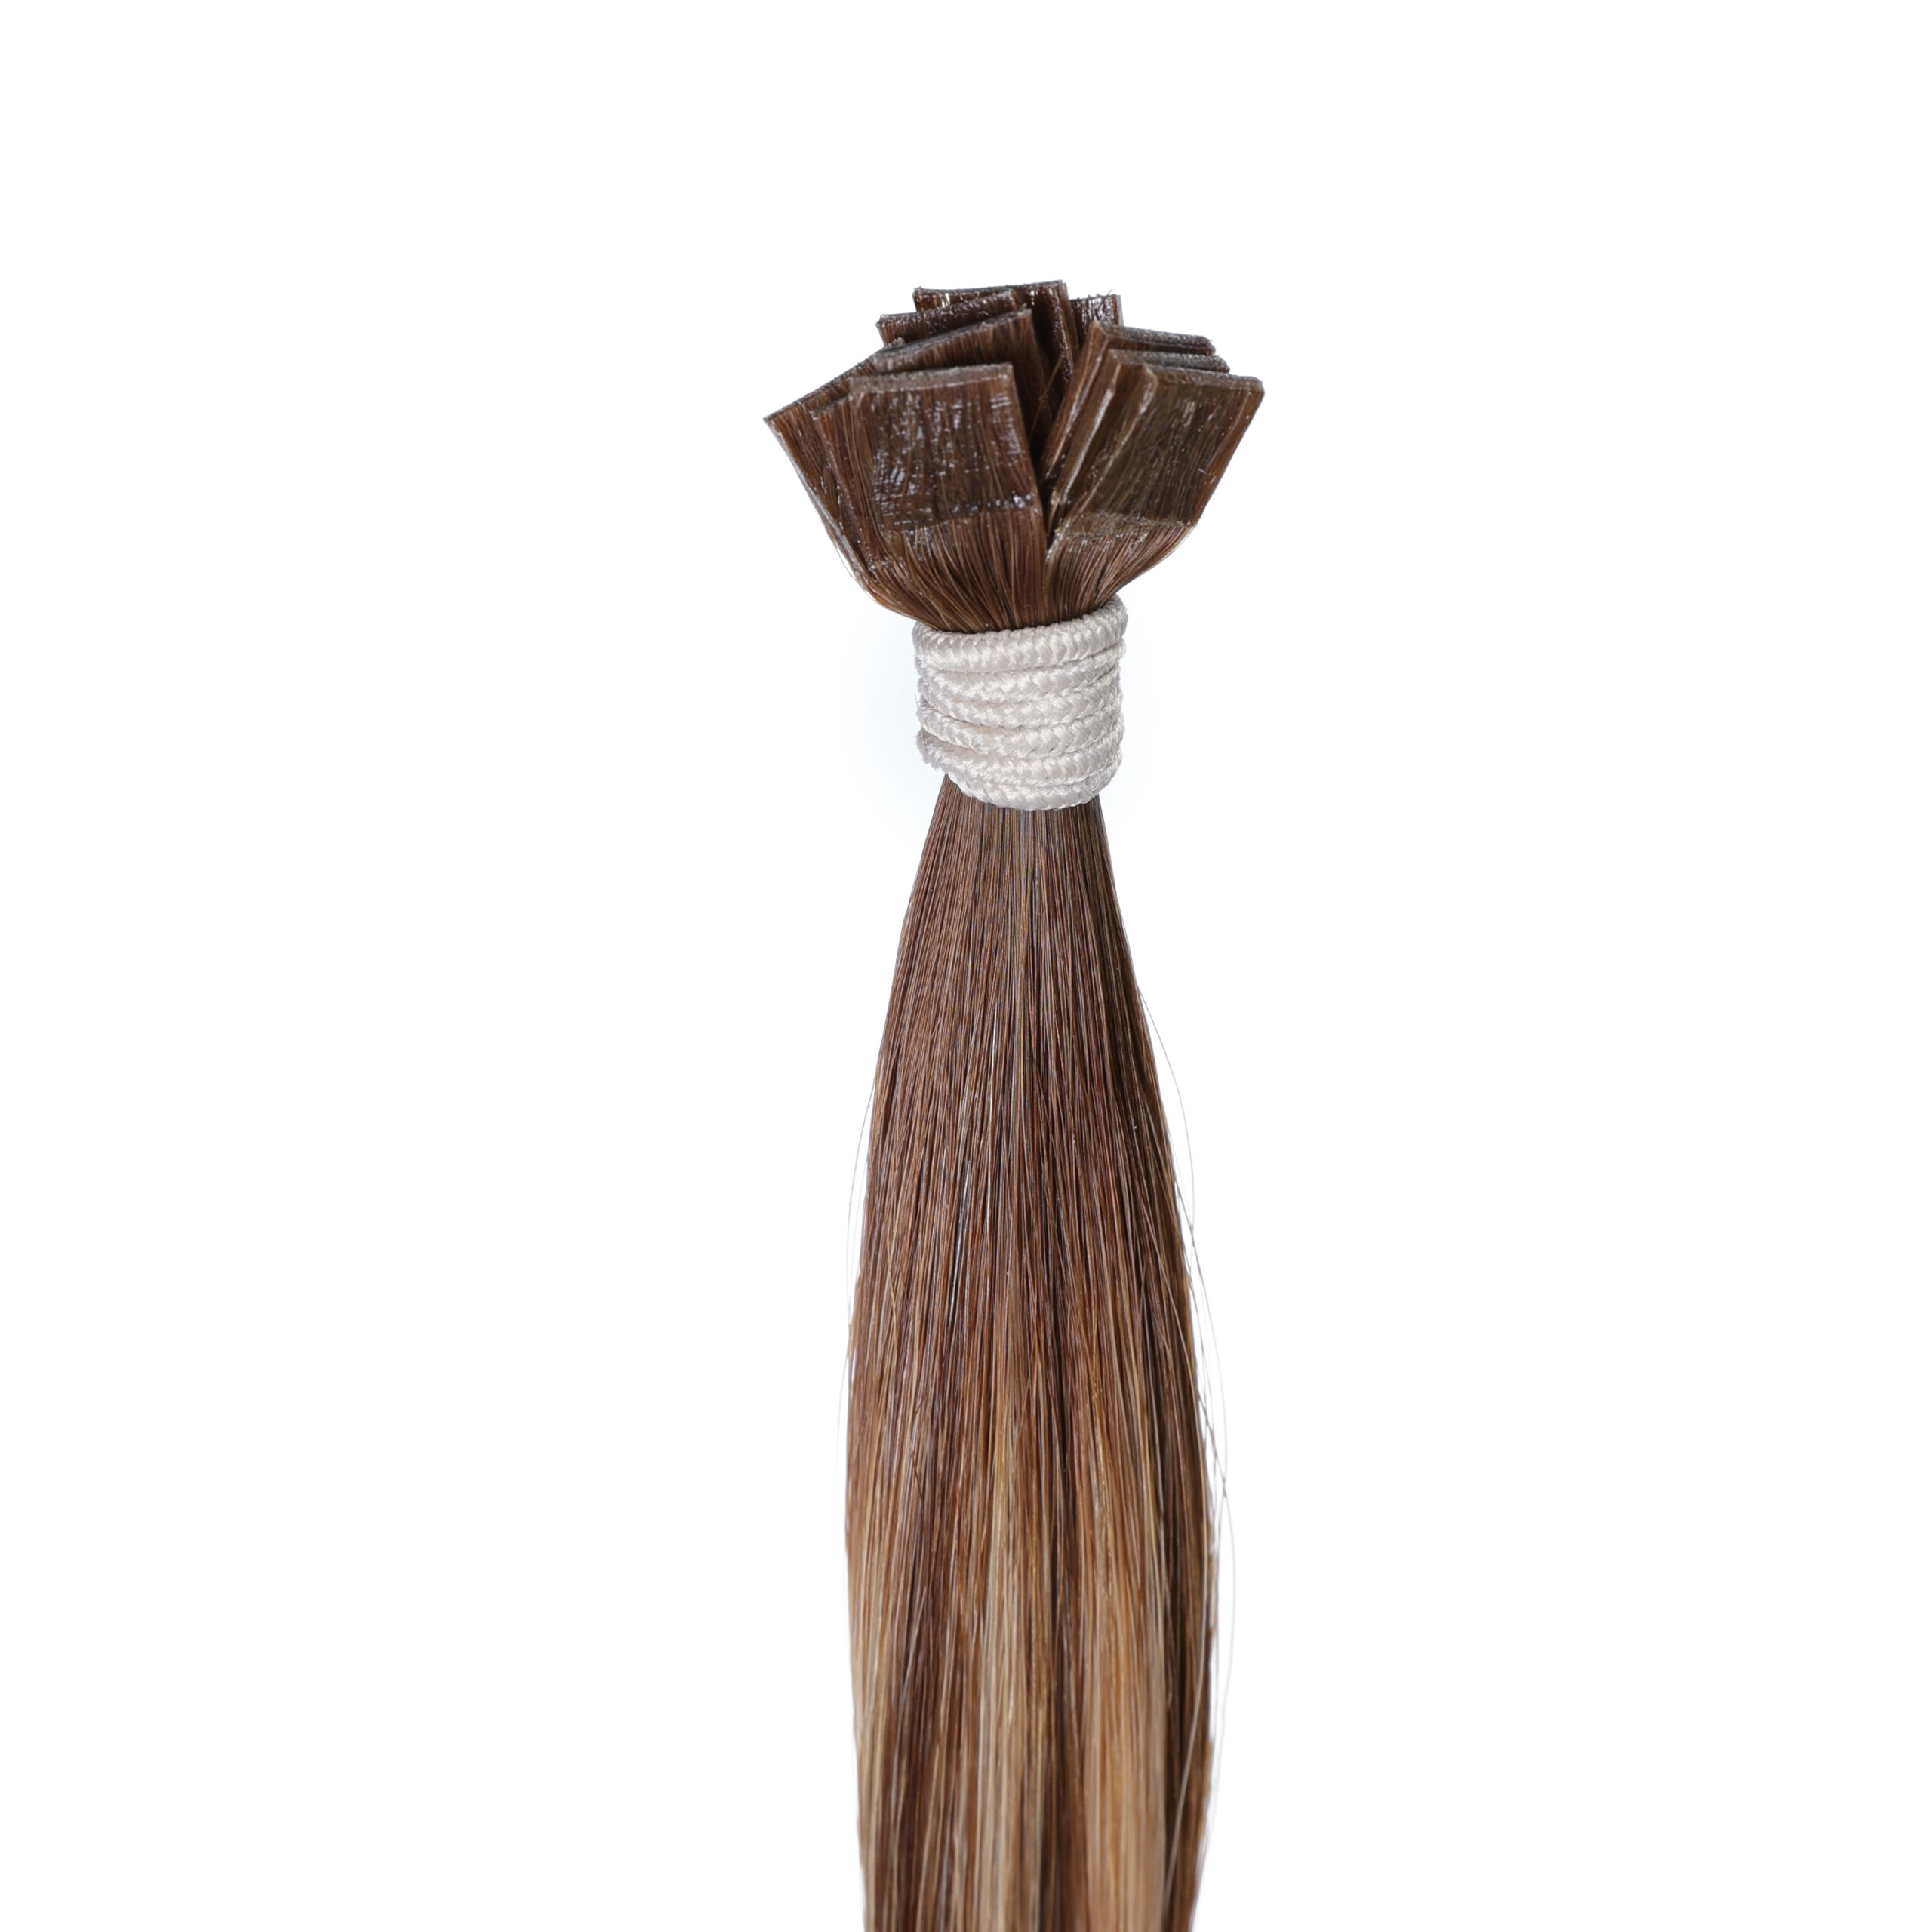
I. Understanding K-Tip Extensions: The Science and Structure
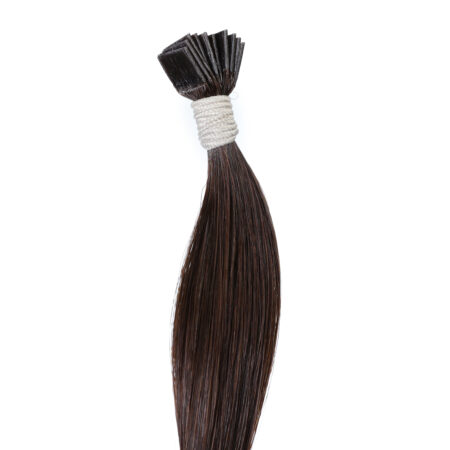
To appreciate why K-Tips are so highly regarded, one must understand their structural composition. A K-Tip extension consists of a small, pre-bonded bundle of high-quality human hair. At the top of this bundle is a small, solid tip made of keratin protein.
The Keratin Advantage
Unlike traditional glues, adhesives, or synthetic polymers, the bonding agent used in K-Tips is formulated to mimic the molecular structure of natural hair. Human hair is composed of roughly 85-90% keratin. Because the extension bond uses a matching protein base, it behaves compatibly with your natural hair—expanding when wet and contracting when dry—thereby minimizing mechanical stress on the hair follicle.
Stylists typically use premium, 100% Remy human hair for K-Tip installations. This ensures that the cuticles are intact and aligned in the same direction, preventing matting and tangling, and allowing the extensions to blend seamlessly with the client’s natural hair texture.
II. The Architecture of Customization: U-Tip vs. Flat-Tip
Within the K-Tip category, the keratin bonds generally come in two primary shapes, each serving a specific stylistic purpose:
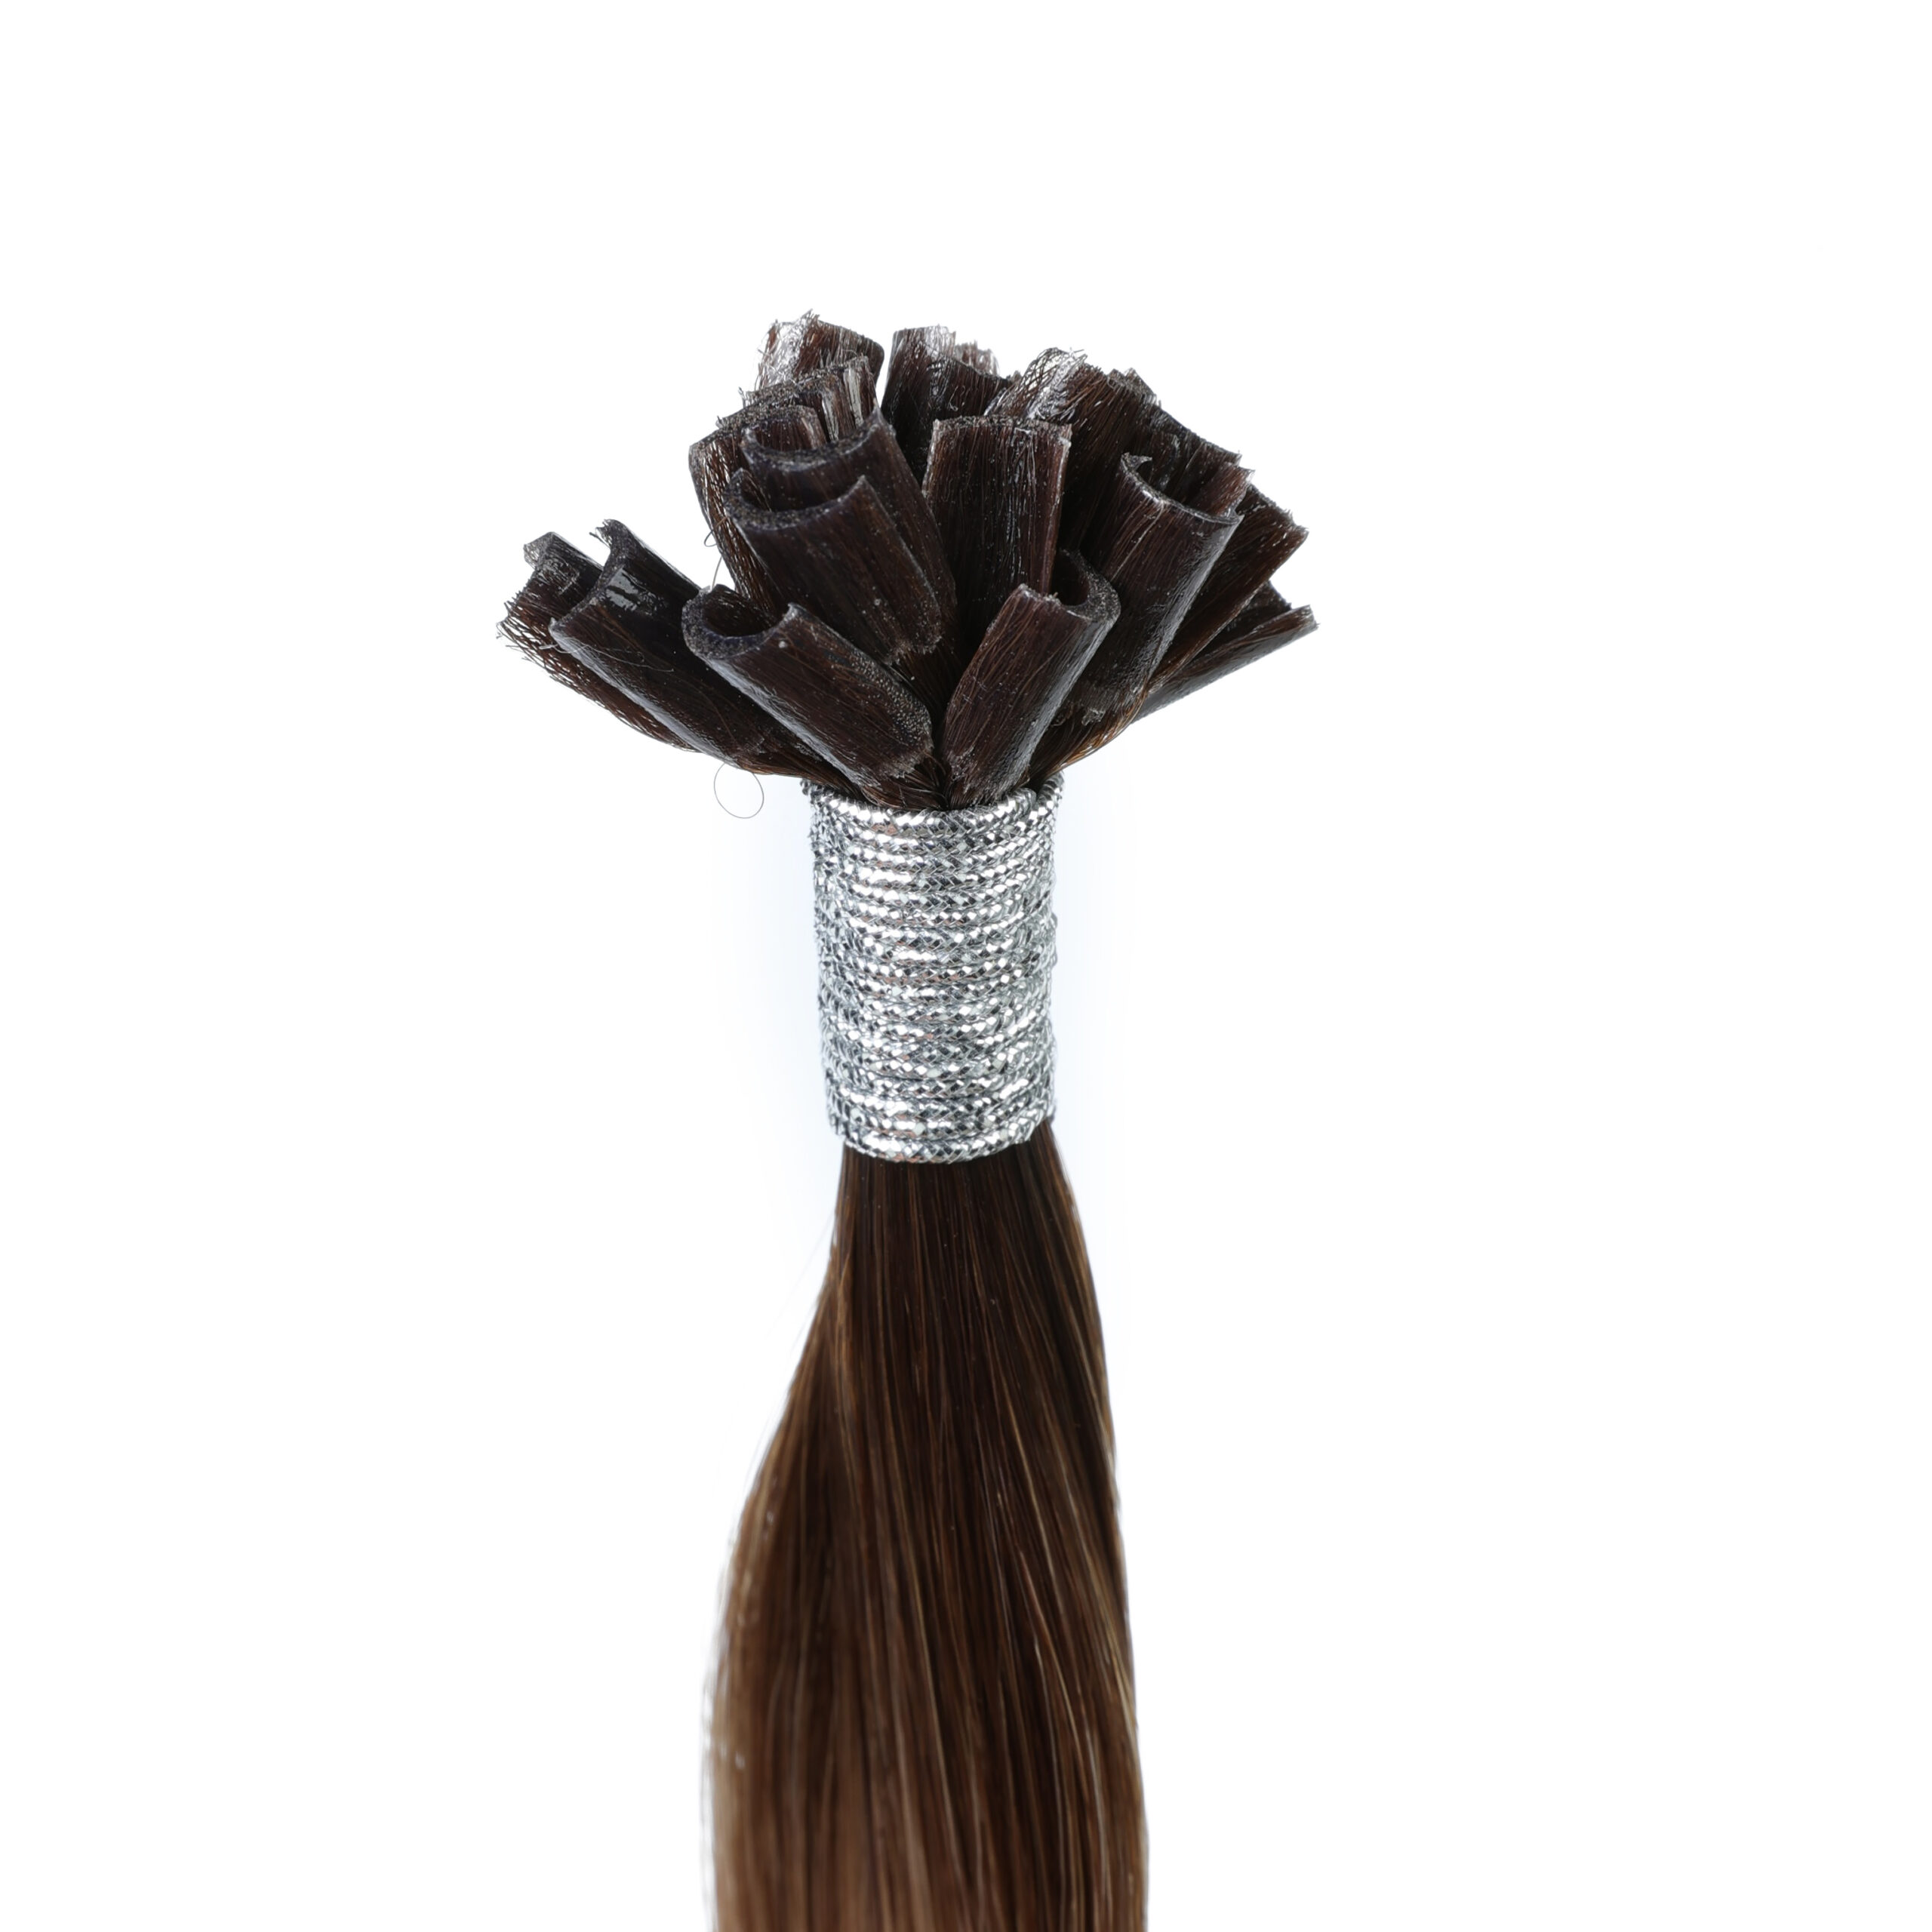
1. U-Tip (Nail-Tip / Horseshoe)
The keratin is shaped like a small crescent or fingernail. During installation, the natural hair strand is placed inside the “U” curve before the bond is heated and rolled into a small, rice-grain-sized cylinder. This traditional method is incredibly strong and allows for 360-degree free movement of the hair bundle.
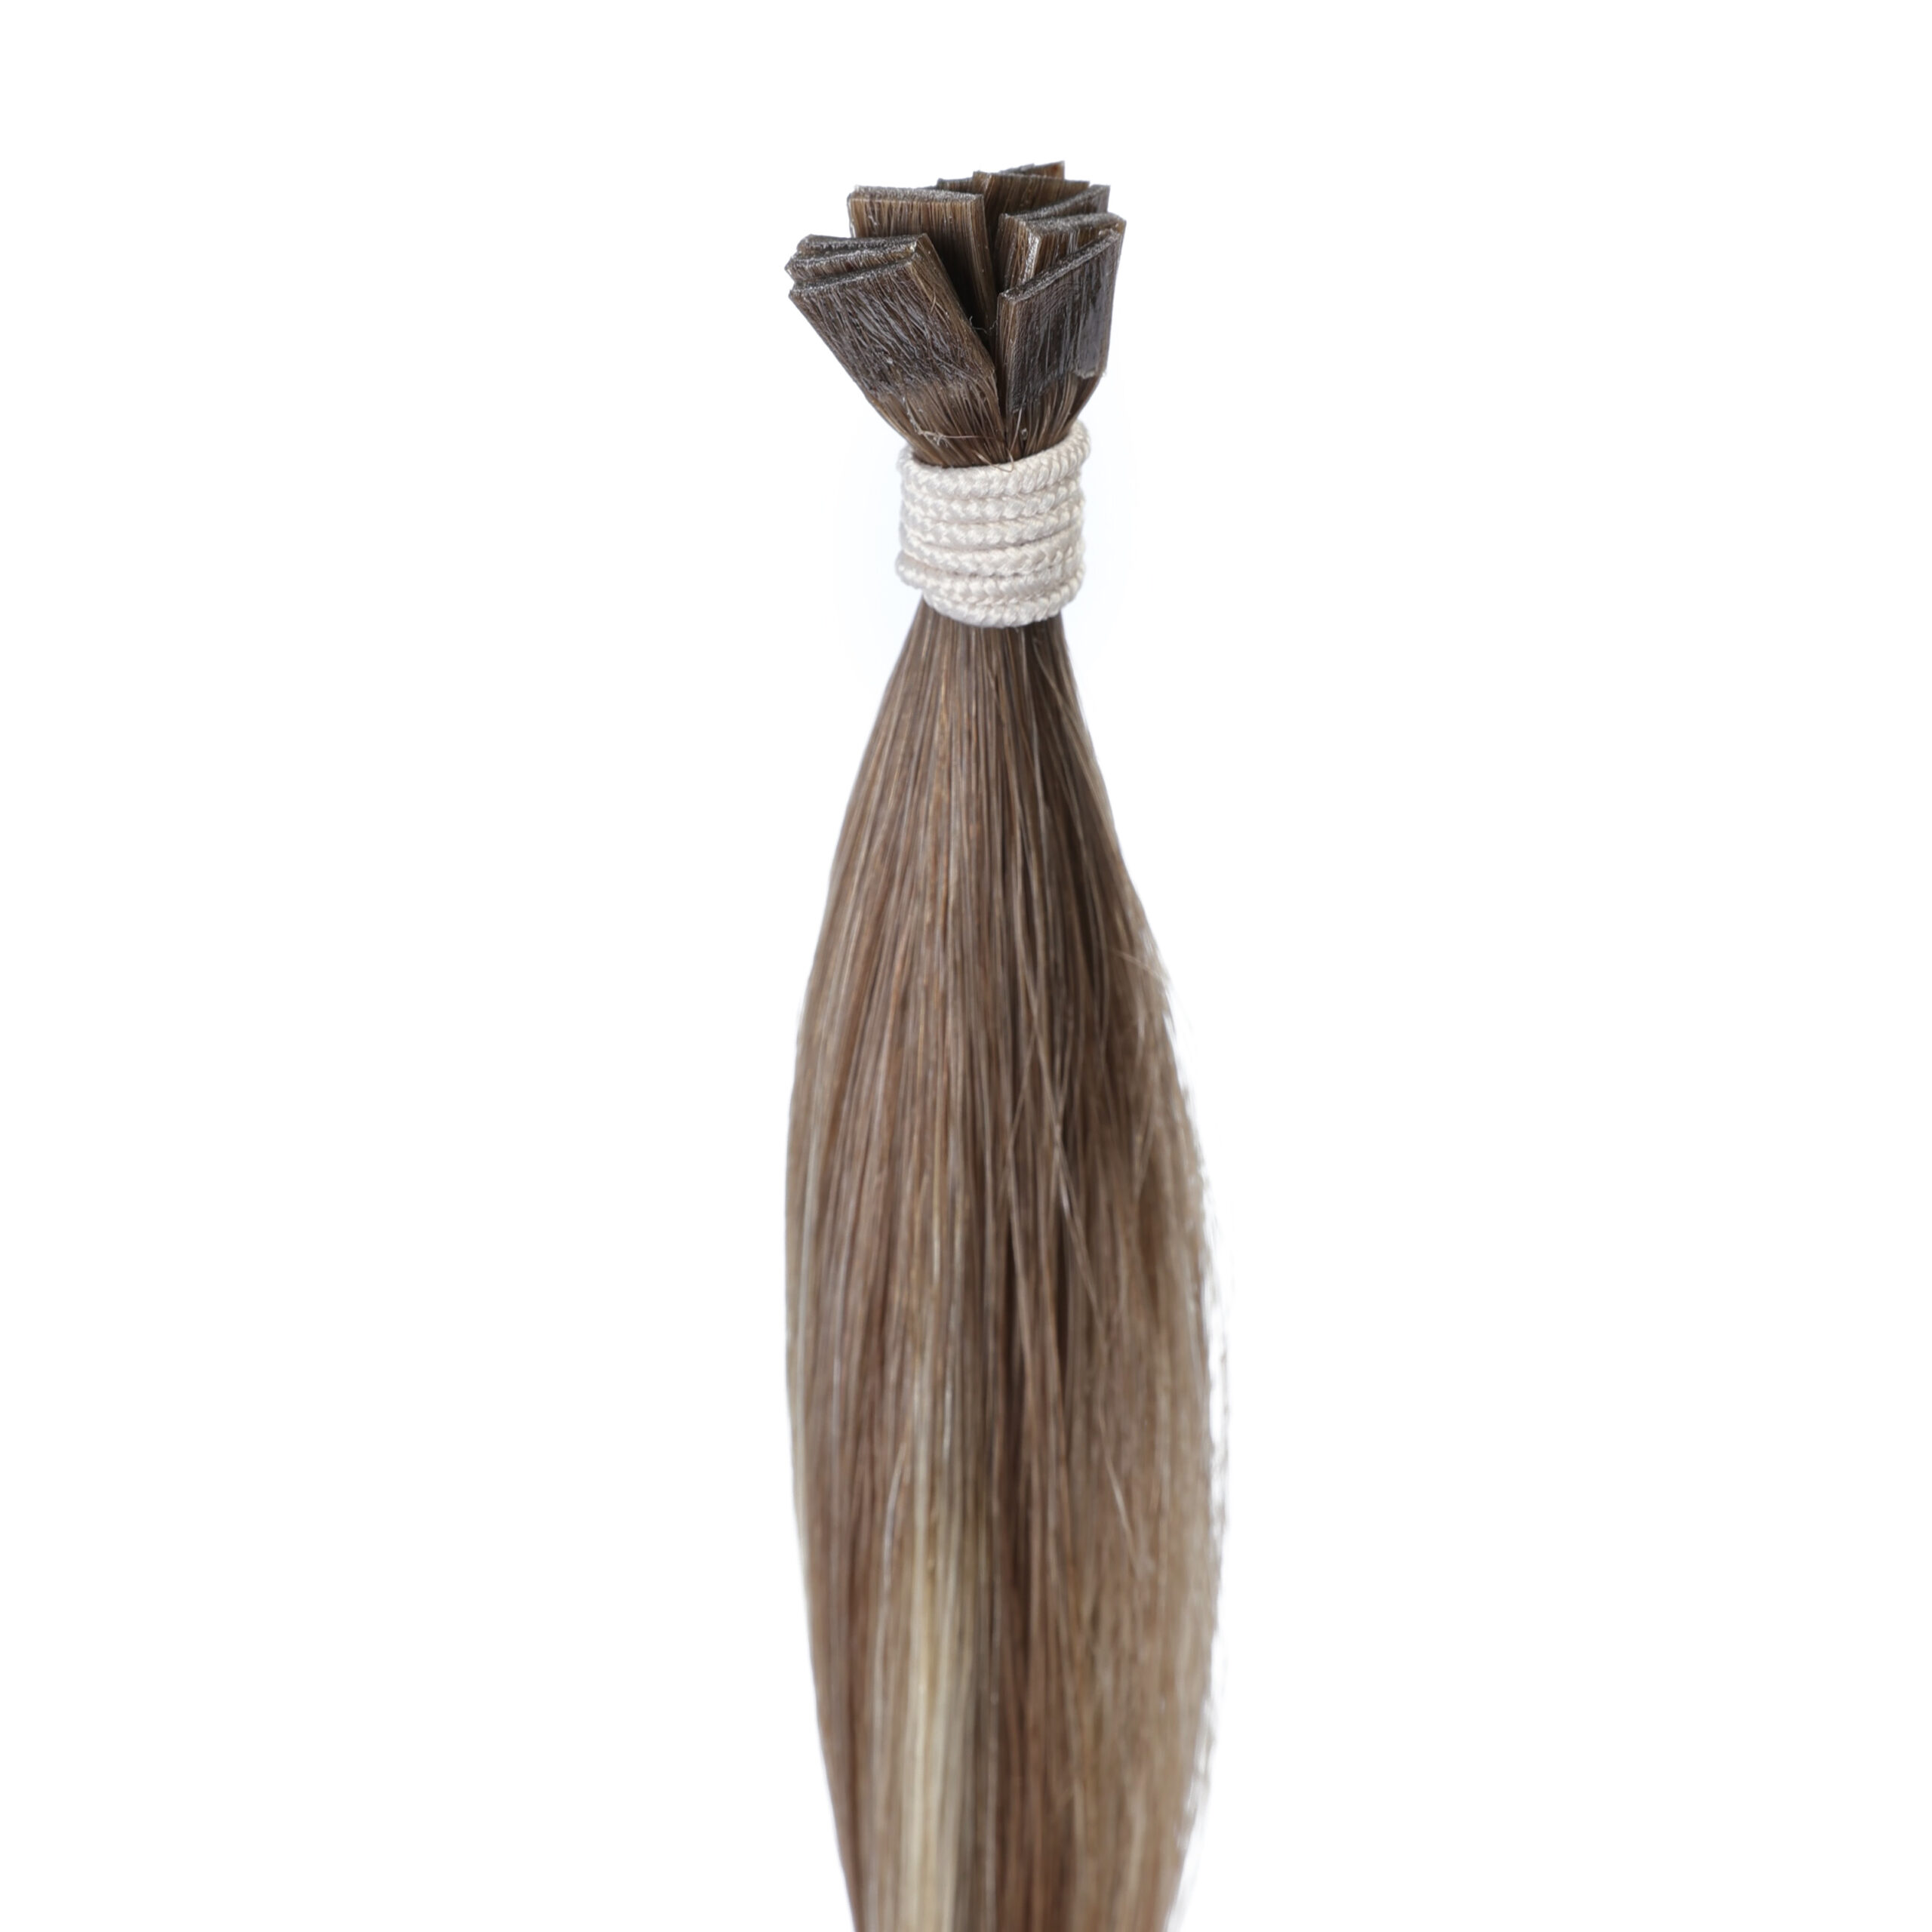
2. Flat-Tip
The keratin bond is completely flat and rectangular. When melted, the stylist presses the bond flat against the natural hair rather than rolling it into a cylinder. This creates a hyper-flat, seamless attachment site that lies flush against the scalp, making it virtually undetectable to the touch and highly favored for clients with ultra-fine hair.
III. Why Choose K-Tips? The Core Benefits
While alternative methods like tape-ins or wefts offer quicker salon turnaround times, K-Tips hold a distinct competitive edge in several critical performance categories:
1. Unmatched 360-Degree Mobility
Because K-Tips are applied in tiny, individual strands rather than wide, rigid tracks or wefts, they move exactly like your natural hair. You can part your hair anywhere, run your fingers through your scalp, and style your hair into high ponytails, top knots, or intricate braids without worrying about exposed tape corners or bulky tracks showing at the crown or hairline.
2. Hyper-Customization for Fine Hair
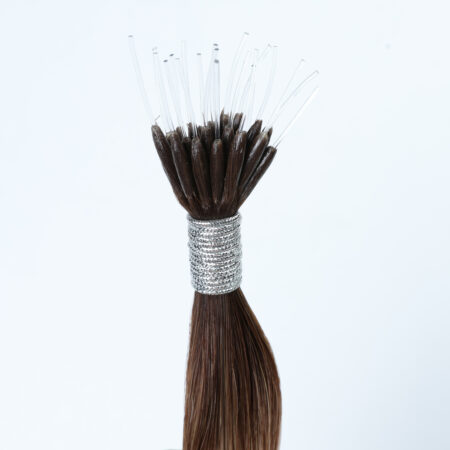
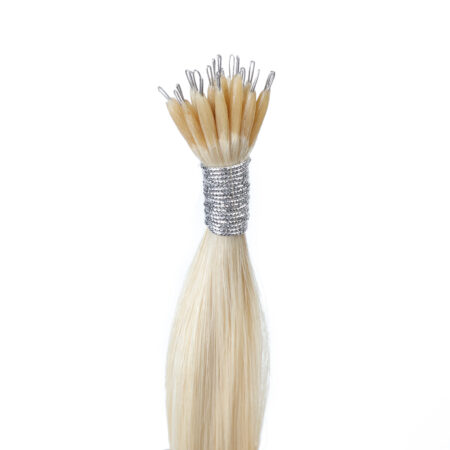
A master stylist can customize K-Tips by cutting a standard bond into halves or thirds, creating Micro-bonds or Nano-bonds. This micro-application is a game-changer for individuals experiencing thinning around highly visible areas, such as the temples, fringe, or crown, where traditional extensions would easily peek through.
3. Maximum Longevity
K-Tips are built for endurance. Thanks to the resilience of high-grade Italian keratin, a properly installed set of K-Tips can last anywhere from 3 to 5 months depending on the client’s natural hair growth cycle. This makes them one of the longest-lasting semi-permanent hair enhancement methods on the market.
4. Lightweight and Comfortable
Because the weight of each extension strand is meticulously balanced against an equal amount of natural hair, there is no excessive downward pulling or localized tension on a single follicle. Once the initial 48-hour settling period passes, most users describe the sensation as entirely weightless.
IV. The Professional Installation Process: Step-by-Step
Installing K-Tip extensions is an intricate, artisanal craft that requires advanced training and precision. A full-head transformation typically takes between 2.5 to 5 hours, depending on the desired density.
Deep Clarifying Wash➔ Grid-Pattern Sectioning ➔ Fusion Thermal Bonding➔ Custom Blending & Cut
Step 1: Decontaminating the Canvas
The process begins with a rigorous wash using a specialized clarifying shampoo. This step is non-negotiable; it strips away any accumulated oils, environmental pollutants, silicones, or leave-in conditioners. The natural hair must be 100% dry and free of moisture or residue to ensure the keratin bond can form a pristine, secure attachment.
Step 2: Grid-Pattern Sectioning
The stylist maps out the scalp using a precise grid pattern. The rows are carefully calculated to leave a “perimeter of concealment”—roughly 1.5 to 2 centimeters of natural hair around the hairline and parting lines—ensuring the bonds remain completely hidden when the hair shifts or is tied up.
Step 3: Thermal Fusion Application
Using a specialized, low-heat fusion iron, the stylist places the K-Tip bond approximately 0.5 to 1 centimeter away from the scalp. The iron softens the keratin for a few brief seconds. The stylist then uses their fingers or a silicone pad to manipulate the softened protein, sealing it around the natural hair strand to form a watertight, secure shield.
Step 4: The Art of the Blending Cut
Once all strands are placed, the extensions must be cut to blend seamlessly with the natural hair. Using free-hand slide-cutting, texturizing shears, and razor techniques, the stylist erases the harsh line of demarcation” between the client’s natural length and the extensions, creating a fluid, believable silhouette.
V. Daily Maintenance and At-Home Care Rituals
The lifespan of your K-Tip extensions and the health of your natural hair depend heavily on your daily home care routine. Treating K-Tips requires a few adjustments to your standard beauty habits.
1. Washing and Product Selection
The Sulfate-Free Rule: Always choose shampoos and conditioners that are free of sulfates, parabens, and heavy silicones. Sulfates can degrade the structural integrity of the keratin bond over time, causing premature shedding.
Targeted Conditioning:Apply conditioners, hair masks, and oils exclusively from the mid-shaft down to the ends. Never apply heavy creams or hair oils directly to the scalp or the keratin bonds, as slippery emollients can break down the bond or cause the extensions to slide out.
2. Drying and Styling Best Practices
Dry the Bonds Promptly:While you can air-dry the lengths of your hair, you should always use a blow dryer on a cool-to-medium heat setting to dry the root area and the bonds promptly after washing. Leaving the keratin bonds waterlogged for extended periods can soften the protein and weaken the attachment.
Mind the Heat: Keep direct, high-heat styling tools (like flat irons and curling wands) a safe distance away from the bonds. Direct contact with a 200°C styling iron will instantly melt the keratin bond, causing it to fuse with neighboring strands and create severe tangles.
3. Detangling and Sleep Protection
Invest in an Extension Brush: Use a dedicated loop brush or a soft-bristle boar brush. These brushes are engineered to glide over the installation bonds at the root without snagging or catching on them. Always detangle your hair starting from the ends and working your way up to the roots while holding the hair above to anchor it.
The Nighttime Braid: Before going to sleep, thoroughly brush your hair and secure it into a loose, low braid or a soft silk scrunchie pineapple. This simple step prevents the strands from friction-tangling during sleep. Sleeping on a silk or satin pillowcase further minimizes friction and maintains cuticle smoothness.
VI. Safe Removal and Hair Health
One of the most persistent myths surrounding K-Tip extensions is that they cause inevitable damage or baldness. In reality, damage is almost entirely caused by improper installation, poor at-home care, or incorrect removal.
When it comes time to remove the extensions after 3 to 5 months, never attempt to pull or force them out at home. The removal process must be handled by a licensed professional.
Apply Alcohol-Based Gel/Fluid ➔ Squeeze Bond with Removal Pliers➔ Gently Slide Extension Down
The stylist applies a gentle, alcohol-based or citrus-infused breakdown gel directly to each bond. Using a pair of specialized removal pliers, the stylist applies gentle pressure to crack the crystallized keratin structure. Once the bond is broken down into a powdery residue, the extension slides effortlessly off the natural hair strand without pulling out a single healthy hair follicle.
(Note: It is normal to see a small accumulation of shed hair inside the bond upon removal. On average, a human naturally sheds 50 to 100 hairs per day; these naturally shed hairs remain trapped inside the keratin bond during the months of wear and are simply released during the removal process).


Reviews
There are no reviews yet.