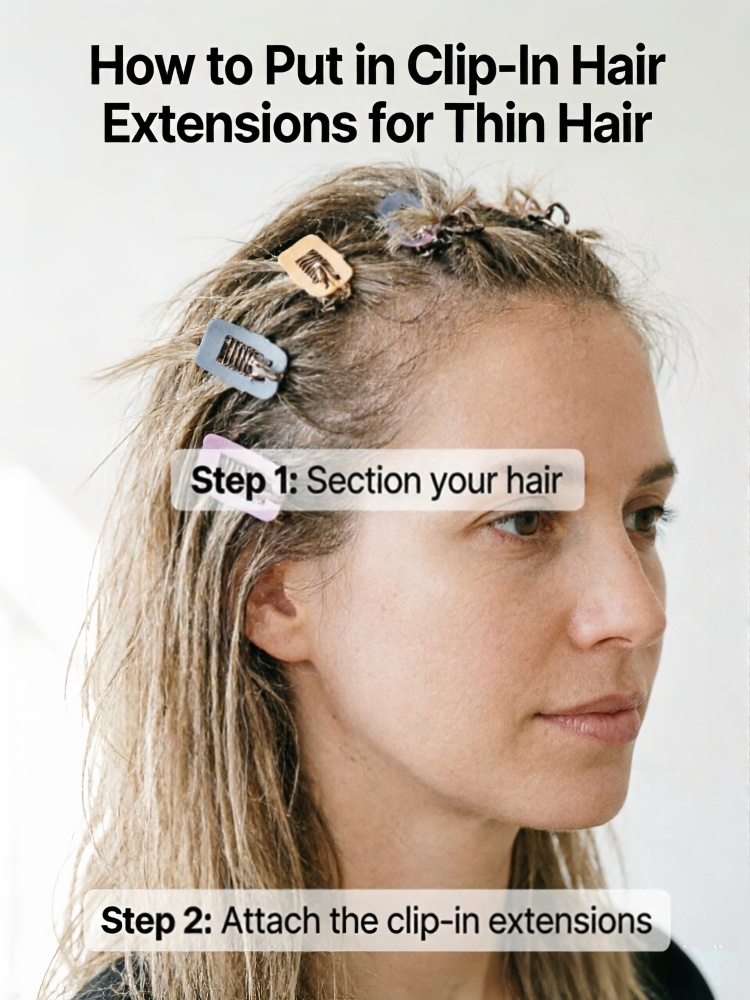
How to Put in Clip-In Hair Extensions for Thin Hair
Clip-in hair extensions are one of the easiest and safest ways to add instant volume, length, and fullness to thin hair without a permanent commitment. Unlike tape-in, sew-in, or fusion extensions, clip-ins can be installed in minutes, removed at the end of the day, and reused for years with proper care.
However, people with fine or thin hair often face unique challenges. Traditional installation methods may expose clips, create visible bumps, or cause the extensions to slide throughout the day. Fortunately, with the right techniques, products, and extension selection, clip-in hair extensions can look completely natural—even on very fine hair.
This comprehensive guide explains everything you need to know about installing clip-in hair extensions for thin hair, from choosing the right extensions to preparing your hair, applying them correctly, styling them naturally, and maintaining both your extensions and your natural hair.
Why Thin Hair Requires a Different Installation Method
Thin hair has less density than medium or thick hair. This means there is less natural hair available to hide extension wefts and support the clips.
Common challenges include:
- Visible extension clips
- Wefts showing through the hair
- Extensions slipping downward
- Uneven volume
- Flat appearance at the roots
- Damage caused by attaching clips too tightly
Because of these issues, simply clipping extensions into thin hair without preparation rarely produces professional-looking results.
The good news is that most problems can be solved with proper placement and lightweight extension choices.
Are Clip-In Hair Extensions Safe for Thin Hair?
Yes. Clip-in hair extensions are considered one of the safest extension methods for thin hair because they are temporary.
Unlike permanent extensions that stay attached for weeks or months, clip-ins:
- Do not require glue
- Do not require heat
- Do not require chemicals
- Can be removed daily
- Reduce continuous tension on the scalp
- Allow natural hair to recover overnight
When installed correctly, clip-ins create significantly less stress than tape-in, fusion, or micro-ring extensions.
Choosing the Best Clip-In Hair Extensions for Thin Hair
Before installation, selecting the correct extensions is the most important step.
Choose Lightweight Wefts
Heavy extensions pull on delicate hair.
Look for:
- Thin silicone wefts
- Seamless PU wefts
- Invisible clip-in extensions
These designs lie flatter against the scalp and are easier to conceal.
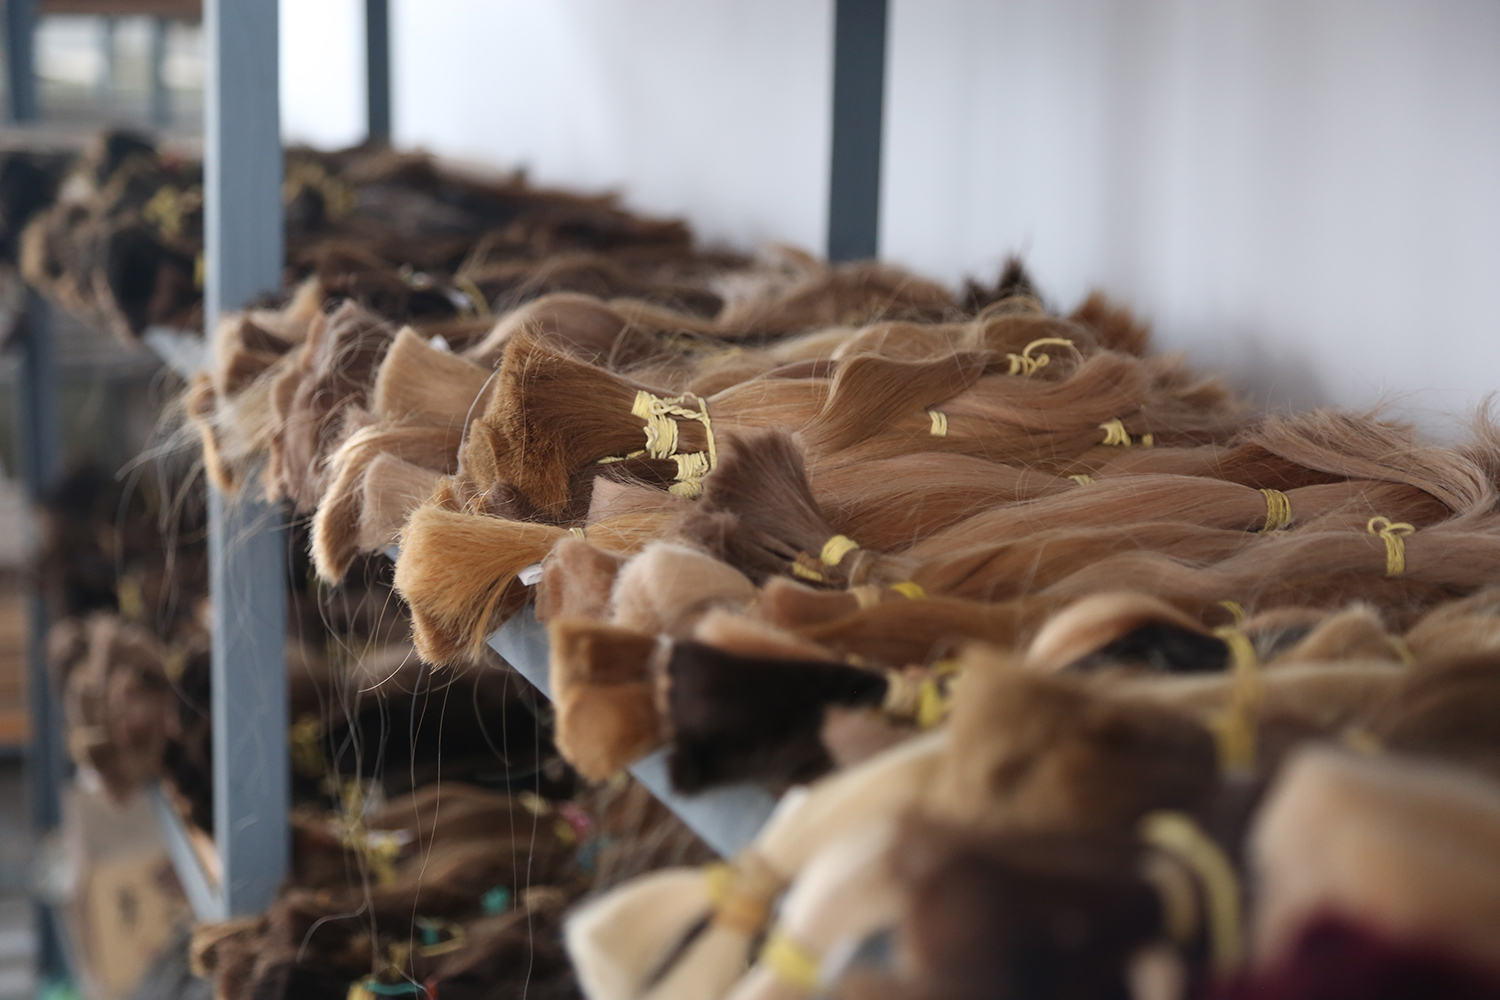
Select 100% Human Hair
Human hair offers several advantages:
- Natural shine
- Softer texture
- Longer lifespan
- Heat styling compatibility
- Better blending
Remy human hair is particularly recommended because the cuticles remain aligned, reducing tangling and maintaining a smooth appearance.
Match Hair Texture
Choose extensions that match your natural hair texture.
Examples include:
- Straight
- Slightly wavy
- Deep wave
- Body wave
- Loose curl
- Curly
- Kinky straight
Matching the texture minimizes styling time and creates a seamless finish.
Match Hair Color Carefully
For the most natural look:
- Compare colors in natural daylight.
- Match the mid-lengths and ends rather than the roots.
- Consider balayage or highlighted extensions if your hair has multiple tones.
Some suppliers also offer color rings or sample swatches to help with accurate selection.
Select the Appropriate Weight
For thin hair, lighter sets generally perform better.
Recommended weights include:
| Hair Length | Suggested Weight |
|---|---|
| 12–14 inches | 80–100 g |
| 16–18 inches | 100–120 g |
| 20–22 inches | 120–140 g |
Very thick 180–250 g sets may be too heavy for fine hair and can make the clips more noticeable.
Tools You Will Need
Prepare the following before installation:
- Clip-in hair extensions
- Tail comb
- Sectioning clips
- Soft brush
- Teasing comb
- Hair spray or texturizing spray
- Mirror
- Curling iron or flat iron (optional)
Having everything within reach will make the installation faster and more organized.
Step 1: Wash and Dry Your Hair Properly
Freshly washed hair is often too soft and slippery.
For best results:
- Wash your hair the night before, or
- Use a lightweight volumizing shampoo.
- Avoid heavy conditioners on the roots.
- Blow-dry completely before installation.
Dry hair provides a more secure grip for the clips.
Step 2: Create Volume at the Roots
Thin hair benefits from extra texture.
Spray a small amount of:
- Dry shampoo
- Volumizing powder
- Texturizing spray
Focus on the roots where the clips will attach.
This increases friction and helps prevent slipping.
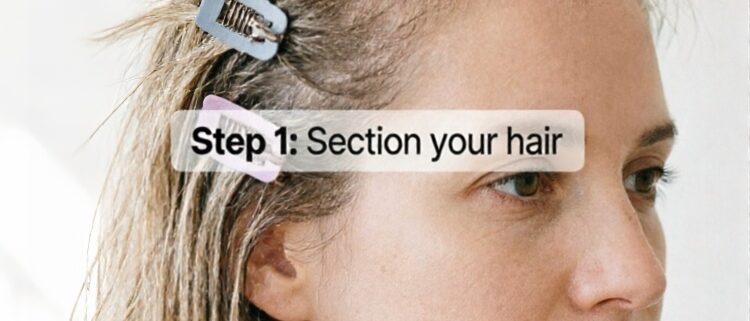
Step 3: Section the Hair
Use a tail comb to create a horizontal section about 1–2 inches above the nape of your neck.
Clip the upper hair out of the way.
Ensure the section is straight and even.
Step 4: Backcomb the Roots
This is one of the most important steps for thin hair.
Using a teasing comb:
- Hold a small section of hair upright.
- Comb downward toward the scalp two or three times.
- Create a small cushion of hair.
The cushion gives the clips something to grip, reducing movement throughout the day.
Step 5: Spray the Backcombed Area
Apply a light mist of hairspray to the teased roots.
Allow it to dry for a few seconds.
This adds extra hold without making the hair stiff.
Step 6: Attach the First Weft
Open all clips on the extension.
Starting with the center clip:
- Place it against the teased roots.
- Snap the clip closed.
- Stretch the weft gently.
- Secure the remaining side clips.
Avoid placing clips too close to the scalp, as this can create discomfort.
Step 7: Continue Layer by Layer
Release another section of hair approximately one inch above the first row.
Repeat:
- Tease
- Spray
- Clip
Work upward until reaching the crown.
Leave enough natural hair at the top to completely cover the extensions.
Step 8: Install Side Pieces
Smaller wefts are ideal for the sides.
Avoid clipping too close to your hairline.
Maintain about one inch of natural hair around the face to hide the clips.
Step 9: Blend Your Natural Hair
Brush gently using:
- A loop brush
- A wide-tooth comb
- A soft extension brush
Brush from the ends upward.
Avoid pulling directly on the clips.
Step 10: Style Everything Together
Curl or straighten your natural hair together with the extensions.
This helps blend:
- Layers
- Texture
- Length
- Volume
Soft waves often provide the most natural finish for thin hair because they disguise any differences between natural hair and extensions.

Best Placement Tips for Thin Hair
Proper placement can make the difference between visible and invisible extensions.
Keep Extensions Below the Crown
Never place wefts too high.
The crown should always have enough natural hair to cover the clips.
Avoid the Hairline
Hair around the temples is usually the thinnest.
Skip this area to prevent clips from showing.
Leave Adequate Coverage
Keep at least:
- 1 inch below the part line
- 1 inch from the front hairline
- Enough natural hair between each row
This creates a layered effect that conceals the wefts.
How Many Wefts Should You Use?
Less is often more for fine hair.
General recommendations:
| Hair Density | Number of Wefts |
|---|---|
| Very Fine | 4–5 |
| Fine | 5–6 |
| Medium-Fine | 6–7 |
Using too many wefts can make the hair appear bulky or reveal the clips.
How to Make Clip-In Extensions Look Natural
Professional stylists often recommend these techniques:
- Curl natural hair and extensions together.
- Trim the extensions if they are much longer than your natural hair.
- Layer the ends for a softer transition.
- Use lightweight styling products.
- Avoid perfectly straight, blunt styles unless the extensions are cut to match.
These finishing touches help create a seamless blend.
Common Mistakes to Avoid
Installing on Wet Hair
Wet hair stretches more easily and provides less grip, increasing the chance of slipping.
Choosing Extensions That Are Too Heavy
Overly heavy extensions can pull on fine hair, making clips visible and causing discomfort.
Placing Wefts Too High
Extensions positioned near the crown or part line are more likely to show through.
Skipping Root Teasing
Without a textured base, clips may slide throughout the day.
Wearing Extensions Every Day
Giving your scalp regular breaks helps maintain healthy hair.
Sleeping with Clip-Ins
Always remove clip-ins before bed.
Sleeping in them can cause tangling, unnecessary tension, and damage to both the extensions and your natural hair.
Caring for Clip-In Hair Extensions
Proper maintenance extends the lifespan of your extensions.
Washing
Wash only when needed.
Use:
- Sulfate-free shampoo
- Moisturizing conditioner
- Cool or lukewarm water
Avoid rubbing or twisting the hair.
Drying
Pat dry with a towel.
Lay flat or hang to air-dry.
Avoid excessive heat.
Brushing
Brush before and after each use.
Always start from the ends and work upward.
Storage
Store extensions:
- In a protective bag
- On a hanger
- In a storage box
Keep them away from moisture and direct sunlight.
Protecting Thin Hair While Wearing Extensions
Healthy natural hair provides a better foundation for extensions.
To minimize stress:
- Rotate clip positions instead of attaching them to the same spots every day.
- Remove extensions before sleeping or exercising.
- Avoid clipping onto weak or damaged areas.
- Use nourishing hair oils on the mid-lengths and ends of your natural hair, but keep oils away from the clip attachment points.
- Schedule regular trims to reduce split ends.
If you notice increased shedding or scalp sensitivity, reduce how often you wear extensions and give your hair time to recover.
Clip-In Extensions vs. Other Extension Methods for Thin Hair
| Extension Type | Best For | Pros | Cons |
|---|---|---|---|
| Clip-In Extensions | Occasional wear | Easy to install, reusable, no glue or heat | Must be removed daily |
| Tape-In Extensions | Medium-term wear | Lightweight and discreet | Requires professional application and maintenance |
| Halo Extensions | Very thin or fragile hair | No clips attached to the scalp | Less secure for active lifestyles |
| Sew-In Extensions | Thick hair | Durable and long-lasting | Not recommended for very fine hair |
| Fusion/Keratin Extensions | Long-term wear | Highly natural appearance | Higher cost and greater maintenance requirements |
For most people with fine or thin hair who want flexibility and minimal commitment, clip-in extensions remain one of the most practical choices.
Frequently Asked Questions
Can clip-in hair extensions damage thin hair?
When installed and removed correctly, lightweight clip-in extensions are generally safe. Avoid pulling the clips out abruptly and do not attach them to the exact same area every day.
How long does it take to install clip-in extensions?
Beginners typically need 15–30 minutes. With practice, installation often takes less than 10 minutes.
Can I curl or straighten clip-in extensions?
If they are made from 100% human hair, yes. Always use a heat protectant and avoid excessively high temperatures to preserve the hair’s quality.
Will people notice that I’m wearing extensions?
Not if they are properly matched in color and texture, installed below the crown, and blended with your natural hair. Lightweight seamless wefts are especially effective for thin hair.
How long do clip-in extensions last?
High-quality Remy human hair clip-ins can last 6–18 months or longer, depending on how often they are worn and how well they are maintained.
Conclusion
Learning how to put in clip-in hair extensions for thin hair is all about preparation, placement, and choosing the right products. Lightweight, seamless extensions combined with careful sectioning, gentle teasing at the roots, and strategic clip placement can create natural-looking volume without placing unnecessary stress on delicate hair.
Whether you’re preparing for a special event, adding fullness to your everyday hairstyle, or experimenting with longer lengths, clip-in extensions offer a versatile, reusable, and beginner-friendly solution. By investing in high-quality human hair extensions, following the installation steps outlined above, and maintaining both your extensions and your natural hair, you can enjoy comfortable wear, beautiful results, and long-lasting performance while keeping your thin hair