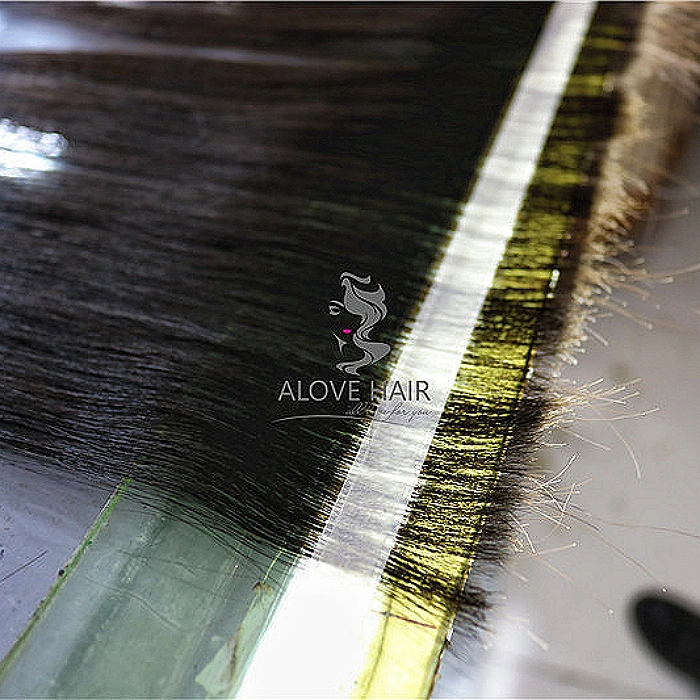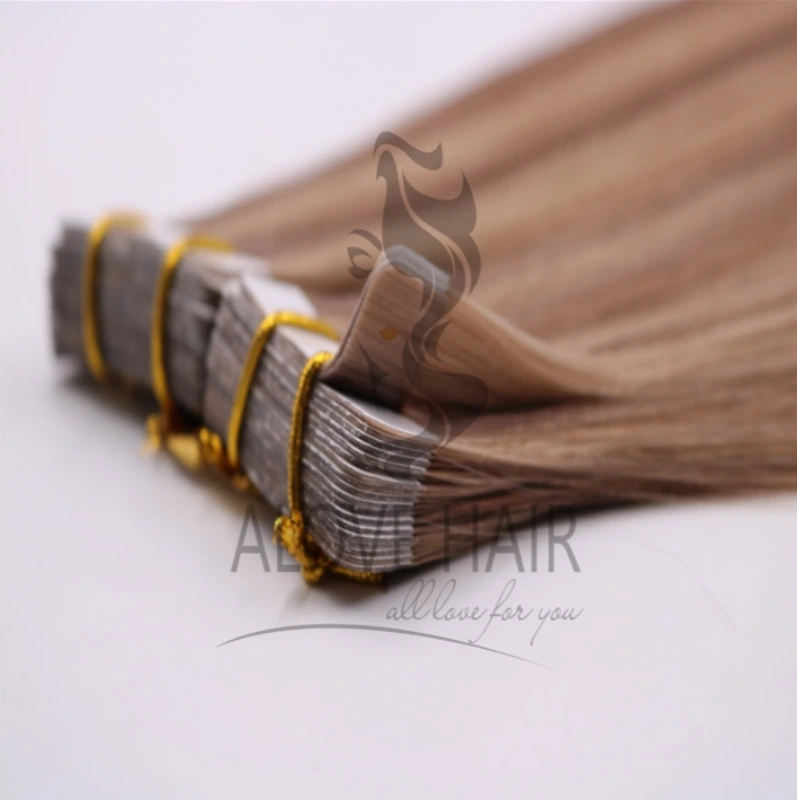
Invisible tape extensions are a modern hair enhancement solution featuring ultra-thin wefts with medical-grade adhesive tabs that create seamless, undetectable volume and length. Unlike traditional methods, these extensions use a unique sandwich technique where natural hair is secured between two adhesive strips, offering a flawless blend and comfortable wear. Their innovative design makes them virtually invisible when applied correctly, providing instant transformation without bulky clips or obvious attachment points.
The growing popularity of invisible tape extensions stems from their unbeatable combination of natural appearance, easy application, and reusability. They deliver the most undetectable results among all extension types, with no visible tracks or bulky seams. Application is quick and straightforward - often completed in under an hour by professionals - while their semi-permanent nature allows for weeks of continuous wear. With proper care, high-quality invisible tape extensions can be reused multiple times, offering excellent value compared to temporary alternatives.
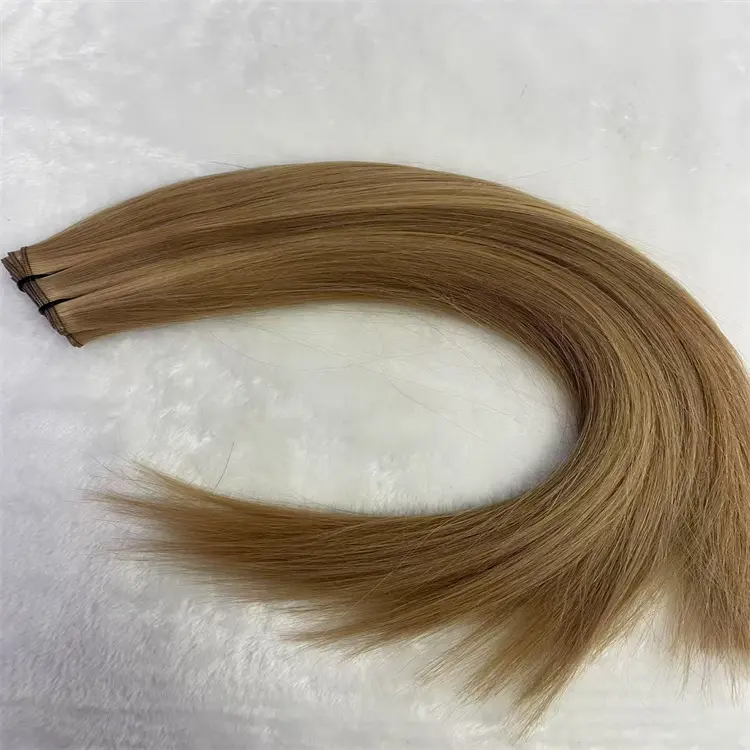
Ideal for those with fine to medium hair textures, invisible tape extensions provide weightless volume without stressing delicate strands. They're perfect for adding length (typically 14-22 inches), thickness, or dimensional color with minimal commitment. While suitable for most hair types, individuals with very short hair (under 3 inches) or excessively oily scalps should consult a stylist first. When properly installed and maintained, invisible tape extensions offer a comfortable, long-lasting solution for achieving gorgeous, salon-quality hair at home or professionally.
Pre-Installation Preparation for Invisible Tape Extensions
Proper preparation is essential for achieving flawless, long-lasting results with your invisible tape extensions. Follow these detailed steps to ensure your hair and tools are ready for application.
Tools You'll Need:

Invisible Tape Extensions
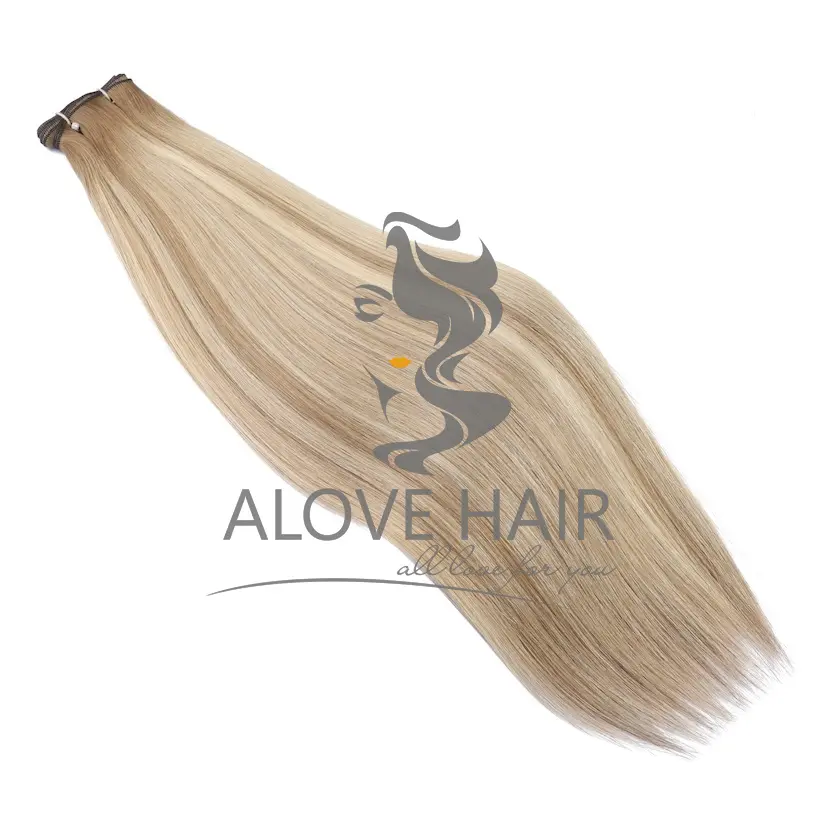
Choose high-quality human hair extensions or synthetic extensions that match your hair color, texture, and desired length.
Ensure the adhesive tabs are fresh and sticky (not dried out).
Alcohol-Based Scalp Cleanser
Removes oils, dirt, and product buildup to help the adhesive bond securely.
Look for a gentle, non-drying formula to avoid scalp irritation.
Tail Comb & Sectioning Clips
A fine-tail comb helps create clean, precise sections for even placement.
Sectioning clips keep hair organized and out of the way during installation.
Hair Adhesive Remover (For Later Removal)
A specialized solvent to safely dissolve the adhesive when removing extensions.
Avoid harsh chemicals that could damage your natural hair.
Flat Iron (Optional for Sealing Bonds)
Some stylists recommend lightly heating the adhesive tabs with a flat iron (low heat) to strengthen the bond.
Use a heat protectant spray if applying heat.
Hair Preparation:
Wash Hair 24 Hours Before Application
Shampoo with a clarifying or sulfate-free shampoo to remove oils and residue.
Avoid conditioners, serums, or styling products, as they can weaken the adhesive.
Let hair air-dry or blow-dry completely—no moisture should remain.
Blow-Dry Thoroughly
Use a blow dryer on a medium heat setting to ensure hair is 100% dry.
Damp or oily hair will prevent the tape from adhering properly.
Avoid Styling Products
Skip leave-in conditioners, oils, or dry shampoo before application.
These can create a barrier between the tape and your natural hair.
Brush Hair Smoothly
Detangle gently with a wide-tooth comb or soft bristle brush.
Ensure no knots or tangles are present where extensions will be placed.
Pro Tips for Best Results:
✔ Work in a Clean, Well-Lit Space – Good visibility ensures precise placement.
✔ Do a Strand Test – Apply one weft first to check adhesion and comfort.
✔ Have a Mirror Handy – Helps with self-application if doing it at home.
By following these steps, your invisible tape extensions will adhere better, last longer, and look more natural.
How to Install Invisible Tape Extensions: Step-by-Step Guide
Achieving salon-perfect hair at home is easy with this detailed, professional installation method for invisible tape extensions. Follow these steps carefully for seamless, long-lasting results.
Step 1: Section Your Hair

Start at the Nape
Use a tail comb to create a horizontal parting about 1 inch above your neckline.
This will be your first row of hair extensions.
Clip Away Upper Layers
Secure the top section of your hair with sectioning clips to keep it out of the way.
Work with small, manageable sections (about 1-2 inches wide) for precision.
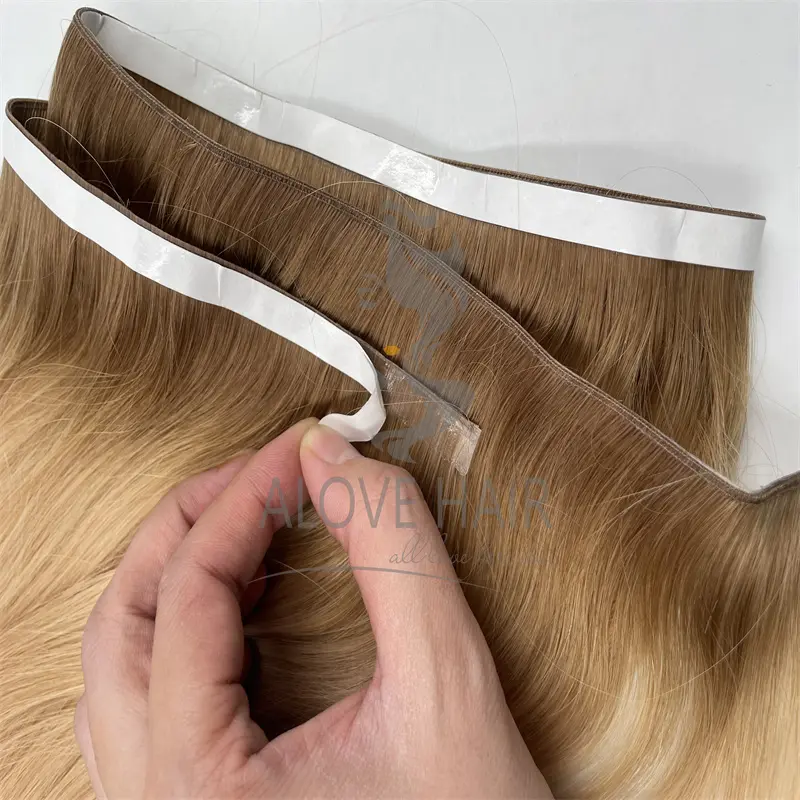
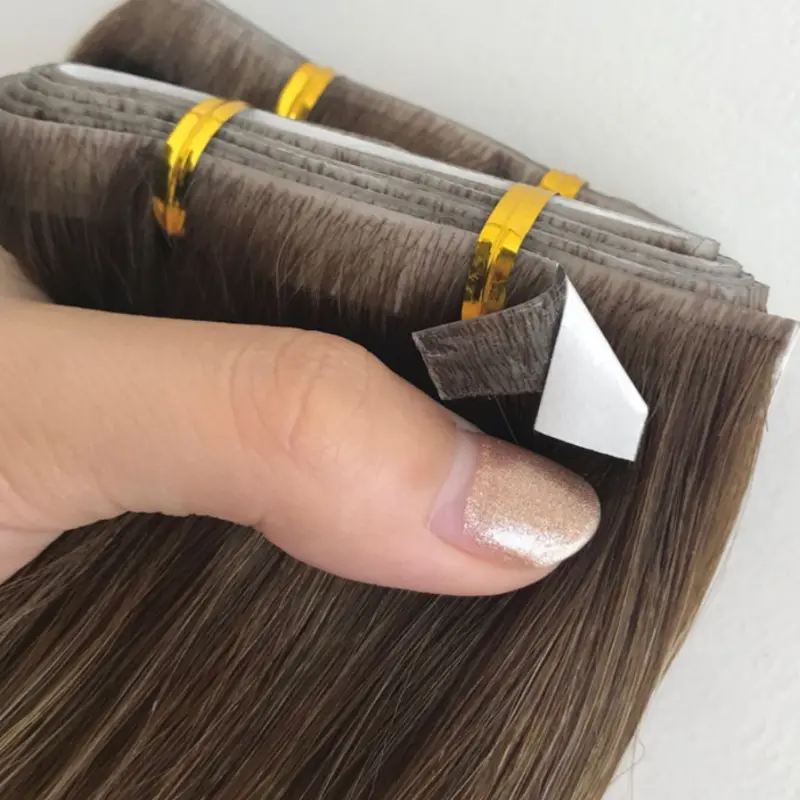
Step 2: Prepare the Tape

Peel the Backing
Take one weft and gently peel the protective backing off one side of the adhesive tape.
Avoid touching the sticky surface to maintain maximum adhesion.
Keep the Other Side Protected
Leave the backing on the opposite side until you're ready to sandwich your natural hair.
Step 3: Apply the Weft

Sandwich Your Natural Hair
Take a thin section of your natural hair (about the same width as the weft).
Place the sticky side of the weft underneath your natural hair, close to the scalp but not touching it.
Press to Bond
Remove the second backing and fold down the top weft, sandwiching your hair in between.
Press firmly along the entire strip for 10 seconds to activate the adhesive.
Step 4: Repeat & Layer

Work Upward in Rows
Move upward in horizontal sections, leaving a 1 cm (0.5 inch) gap between each row.
This ensures even distribution and prevents tension on your scalp.
Avoid the Roots
Place extensions at least 1 cm away from your roots to prevent discomfort and visible lifting.
For a natural look, stagger wefts slightly instead of aligning them perfectly.
Final Checks & Styling
✔ Blend the Extensions
Lightly tease the roots of your natural hair at the crown for seamless blending.
Trim or layer if needed for a cohesive look.
✔ Wait Before Washing
Avoid washing or styling with heavy products for 24-48 hours to let the adhesive set fully.
✔ Brush Gently
Use a soft-bristle brush, starting from the ends and working upward to prevent tugging.
Pro Tip: For first-timers, practice with 2-3 wefts before doing a full head. If unsure, consult a stylist!
Styling & Caring for Your Invisible Tape Extensions After Installation
Now that your invisible tape extensions are perfectly installed, proper aftercare is crucial to maintain their flawless appearance and longevity. Follow these professional styling guidelines to keep your extensions looking fresh and beautiful for weeks to come.
Immediate Aftercare (First 48 Hours)
The first two days after installation are critical for ensuring your extensions bond securely:
Avoid washing your hair for at least 24-48 hours post-installation to allow the adhesive to fully set
Skip vigorous exercise or activities that cause excessive sweating
Sleep with your hair loosely braided or in a low ponytail to prevent tangling
Use a silk or satin pillowcase to reduce friction while sleeping
Washing Your Extensions
When it's time for your first wash:
Use sulfate-free shampoo (sulfates can break down the adhesive)
Lukewarm water only - hot water weakens the tape bonds
Wash gently in downward motions - never scrub or rub the tape areas
Apply conditioner from mid-lengths to ends - keep it away from the bonds
Rinse thoroughly to remove all product residue
Styling Do's and Don'ts
Do:
Use heat protectant sprays before styling
Blow-dry on medium heat, directing airflow downward
Style with ceramic tools at moderate temperatures (under 350°F/175°C)
Brush gently with a loop brush or extension-specific brush
Apply products sparingly and avoid the bonded areas
Don't:
Use oil-based products near the tape bonds
Apply heavy styling creams or waxes near roots
Sleep with wet hair
Tie hair too tightly or use elastic bands directly on bonds
Swim without protecting hair (chlorine and saltwater damage adhesive)
Maintenance Routine
For optimal results:
Wash hair 2-3 times weekly - over-washing shortens lifespan
Use dry shampoo between washes to absorb oils at roots
Schedule maintenance appointments every 6-8 weeks
Inspect bonds weekly for any lifting or slippage
Troubleshooting Common Issues
If bonds feel loose: Avoid getting them wet and consult your stylist
For product buildup: Use a clarifying shampoo (avoiding bond areas)
When tangles occur: Always detangle from ends upward
By following these care instructions, your invisible tape extensions will maintain their beautiful, natural appearance throughout their lifespan. Remember that proper maintenance not only keeps your extensions looking great but also protects your natural hair underneath.
How to Remove Invisible Tape Extensions Safely Without Damage
Proper removal is just as important as installation when it comes to protecting your natural hair. Follow this detailed, professional technique to remove your tape-in extensions without breakage or discomfort.
Step 1: Apply Adhesive Remover

What You'll Need:
Professional-grade tape extension remover (oil-free formula)
Spray bottle or small applicator brush
Timer (phone or clock)
Process:
Section Your Hair
Clip hair into 4-6 sections using sectioning clips
Start with the bottom-most row of extensions
Apply Remover Precisely
For spray formulas: Hold 2-3 inches from bonds and mist lightly
For liquid formulas: Dab carefully with cotton swabs or brush
Focus only on the adhesive tabs - avoid soaking your natural hair
Wait 2-3 Minutes
Set a timer for exactly 2-3 minutes (longer can dry out hair)
You'll see the adhesive turn clear when ready
Step 2: Gently Release the Wefts

Proper Technique:
Start at the Outer Edge
Place thumb and forefinger on either side of the weft
Gently pinch the top and bottom tabs together
Slide Downward Slowly
Maintain steady pressure as you glide the weft down hair shaft
If resistance occurs, apply more remover and wait 1 additional minute
Never Pull Upward
Always move in the direction of hair growth
For stubborn bonds: Use a tail comb to help separate (never yank)
Step 3: Cleanse and Restore

Post-Removal Care:
Residue Removal
Soak a cotton pad with remover
Wipe each attachment area until no sticky residue remains
Cleansing Wash
Use clarifying shampoo to remove all adhesive traces
Follow with deep conditioner (avoiding roots)
Hair Recovery
Apply protein treatment if hair feels weak
Let hair rest 1-2 weeks before reapplication
Pro Tips for Perfect Removal
✔ Best Time to Remove: When bonds start lifting (typically 6-8 weeks)
✔ Never Use: Household oils or alcohol - these can damage hair
✔ Storage Tip: Clean removed wefts with remover before re-taping
Warning Signs to Stop:
If hair stretches or snaps during removal
If scalp feels irritated from remover
If excessive force is needed
Aftercare Essentials:
→ Use wide-tooth comb for first 3 days post-removal
→ Avoid heat styling while hair recovers
→ Schedule trim to remove any dry ends
The Complete Guide to Maintaining & Reusing Invisible Tape Extensions
Proper maintenance can double the lifespan of your tape extensions while keeping your natural hair healthy. Follow these professional care techniques to get the most value from your investment.
Cleaning & Re-Taping for Reuse
Step-by-Step Refresh Process:
Remove Old Adhesive
Lay wefts on clean towel, sticky side up
Spray with 99% isopropyl alcohol or specialized adhesive remover
Let sit 3 minutes until glue becomes rubbery
Scrub Gently
Use soft toothbrush to roll away old adhesive
Work in downward motions to prevent hair damage
Repeat until no sticky residue remains
Deep Clean Wefts
Fill basin with cool water and sulfate-free shampoo
Swish wefts gently (never rub or twist)
Rinse under running water until water runs clear
Re-Taping Procedure
Purchase professional-grade tape tabs (1mm thickness recommended)
Align new tape precisely with original placement lines
Press firmly for 30 seconds to ensure proper adhesion
Smart Storage Solutions
Between Uses:
✔ Climate Control
Store in breathable mesh bag (included with quality extensions)
Keep in dry area with stable temperature (60-75°F / 15-24°C)
✔ Moisture Prevention
Include silica gel packet in storage container
Never store in bathroom (humidity damages adhesive)
✔ Tangle Prevention
Lightly braid or loop wefts before storing
Use acid-free tissue paper to separate layers
Repositioning Schedule
Professional Timeline:
First Adjustment: 4 weeks after installation
Standard Reapplication: Every 6-8 weeks maximum
Emergency Situations:
If bonds start lifting prematurely
After excessive swimming/sweating
When natural hair grows >1.5 inches
Signs You Need Earlier Maintenance:
→ Visible adhesive when hair moves
→ Increased tangling at attachment points
→ Discomfort when brushing near roots
Extending Your Extensions' Lifespan
Care Routine:
Weekly Bond Checks
Adhesive yellowing
Hair slippage
Thinning at bonds
Inspect 2-3 wefts randomly each week
Look for:
Professional Upkeep
Precision re-taping
Custom blending cuts
Bond realignment
Schedule salon visits for:
At-Home Care
Use extension-safe dry shampoo
Sleep in loose braid with silk scrunchie
Avoid alcohol-based products near tapes
Expected Lifespan:
Human Hair: 3-5 reuses with proper care
Synthetic: 1-2 reuses maximum
When to Retire Extensions:
✖ More than 30% hair loss from wefts
✖ Fraying or matting at tape points
✖ After 6 months total use
Troubleshooting Guide for Invisible Tape Extensions: Fixing Common Problems
Even with proper care, you may encounter some issues with your tape extensions. Here's a detailed breakdown of solutions to the most common problems:
1. Extensions Slipping or Falling Out
Causes & Solutions:
✔ Oily Scalp/Skipped Prep
Fix: Wash hair with clarifying shampoo 24hrs before reapplication
Prevent: Use oil-absorbing dry shampoo between washes
✔ Improper Application
Fix: Ensure hair is 100% dry before installation
Prevent: Have a pro stylist do initial application
✔ Weak Adhesive
Fix: Use alcohol wipe on tabs before re-sticking
Prevent: Replace old tape (adhesive lasts 3-6 months unopened)
✔ Fine Hair Type
Solution: Use narrower wefts (1" instead of 1.5") for better hold
2. Tangled or Matted Extensions
Step-by-Step Detangling:
Pre-Treatment
Spray detangling solution (water + leave-in conditioner mix)
Let sit 5 minutes
Brushing Technique
Use loop brush or wide-tooth comb
Start at ends, work upward in small sections
Hold bonds steady while brushing
Deep Conditioning
Apply mask to mid-lengths/ends
Rinse with cool water to seal cuticles
Prevention Tips:
Braid hair before sleeping
Avoid chlorine/ocean water
Trim ends every 8 weeks
3. Visible Tabs or Bulky Appearance
Professional Solutions:
For Thin Hair:
→ Use 0.5mm ultra-thin tape
→ Install in zig-zag pattern instead of straight rows
→ Place wefts 1.5cm below part line
For Thick Hair:
→ Request "V-shaped" taping at salon
→ Use 2-3 thinner wefts layered together
→ Tease roots slightly before application
Color-Matching Hack:
Dust translucent powder on visible tabs
Use colored dry shampoo at roots
4. Discomfort or Tension
Immediate Relief:
Hot Compress
Soak washcloth in warm water
Hold on tight bonds for 60 seconds
Massage Technique
Use fingertips to gently loosen edges
Apply peppermint oil (diluted) for soothing effect
When to Remove:
If pain persists >24 hours
When redness/irritation appears
If headaches develop
5. Adhesive Residue in Hair
Removal Process:
Oil Treatment
Apply coconut/argan oil to residue
Let sit 15 minutes
Comb Out
Use fine-tooth comb in downward strokes
Wipe comb frequently with alcohol wipe
Final Wash
Use dawn dish soap (one-time only)
Follow with deep conditioner
Prevention Checklist
✅ Wash hair every 3-4 days max
✅ Avoid silicone-based products
✅ Schedule 6-week maintenance
✅ Use sulfate-free shampoo only
✅ Sleep on silk pillowcase
When to See a Professional:
If >3 wefts come loose in one week
When hair loss occurs at bonds
If allergic reaction develops
Conclusion
By following this comprehensive guide, you now understand how to properly install, maintain, and troubleshoot your invisible tape extensions for flawless, long-lasting results. Remember these key points:
Proper preparation ensures optimal adhesion
Gentle care extends your extensions' lifespan
Timely maintenance prevents common issues
For first-time users, we strongly recommend consulting a professional stylist for initial application. This guarantees correct placement and helps you learn proper techniques. With the right care, your tape extensions can provide beautiful, natural-looking volume and length for months.
Ready to transform your hair? Book a consultation with a certified extension specialist or explore our recommended at-home kits for experienced users. Your perfect hair awaits!