Introduction
I-Tip hair extensions, also known as micro bead or micro loop extensions, are a popular choice for adding length, volume, and versatility to short hair. Unlike other types of extensions, I-Tips are attached using small beads or loops, making them a great option for those with shorter hair who want a natural look without the use of glue or heat. This article will guide you through the process of mastering I-Tip hair extensions on short hair, including tips, examples, and a data table to help you make informed decisions.
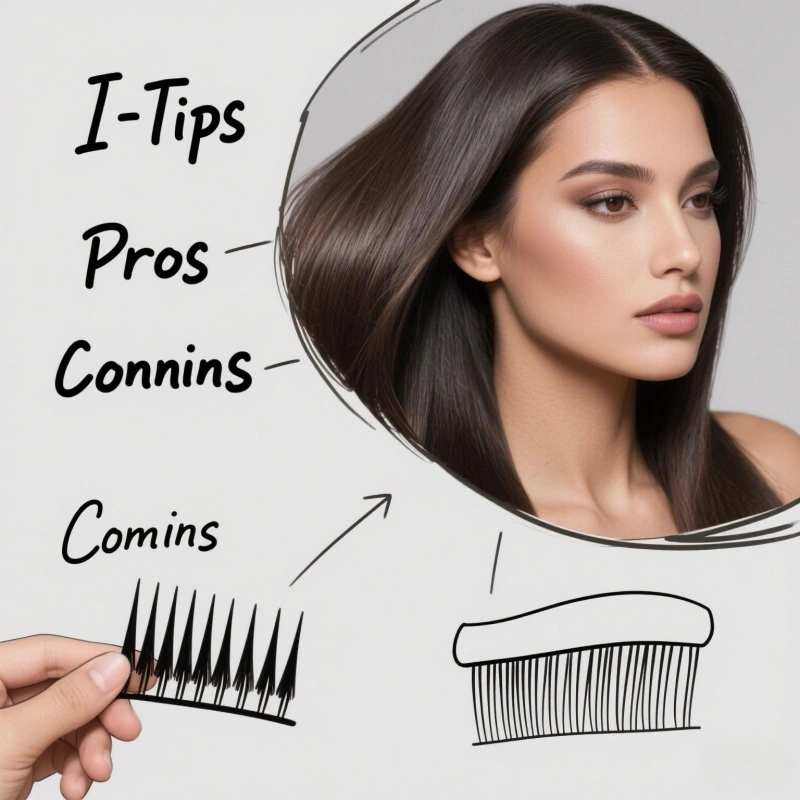
Why Choose I-Tip Extensions for Short Hair?
If you have short hair and want to add length, volume, or even a pop of color without cutting or waiting for your hair to grow, I-Tip extensions are a fantastic choice. Here's why they're so great for short hair:
No Heat or Glue Needed: Unlike some other extensions that require heat or glue to attach, I-Tip extensions use tiny beads or loops to hold them in place. This is especially good for short hair because it's often finer or more delicate, and heat or glue can damage it. For example, if you have a pixie cut and want to add a few inches, I-Tips won't stress your hair like other methods might.
They Look Super Natural: The beads used to attach I-Tip extensions are small and match your hair color, so they blend in perfectly. Imagine having a short bob and adding extensions to make it shoulder-length—no one will be able to tell where your real hair ends and the extensions begin. It's like magic!
You Can Style Them Any Way You Want: I-Tip extensions act just like your own hair. You can curl them, straighten them, or even put them in a ponytail. For instance, if you have a short, layered cut and want to try a wavy, beachy look, I-Tips can give you that style without waiting for your hair to grow.
They're Reusable and Cost-Effective: With proper care, I-Tip extensions can last for months and be reused multiple times. This makes them a smart investment. For example, if you buy a set of 16-inch extensions for a special event, you can take them out, clean them, and use them again later for another occasion.
In short, I-Tip extensions are a safe, natural-looking, and versatile option for short hair. Whether you want to add a little length, experiment with a new style, or just have fun with your look, they're a great choice. Plus, since they're reusable, you get more bang for your buck!
Step-by-Step Guide to Applying I-Tip Extensions on Short Hair
Step 1: Choose the Right I-Tip Hair Extensions
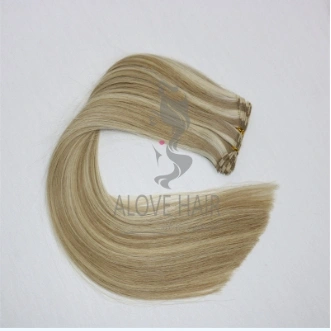
Hair Type: Choose I-tip hair extensions that match your hair texture (straight, wavy, or curly).
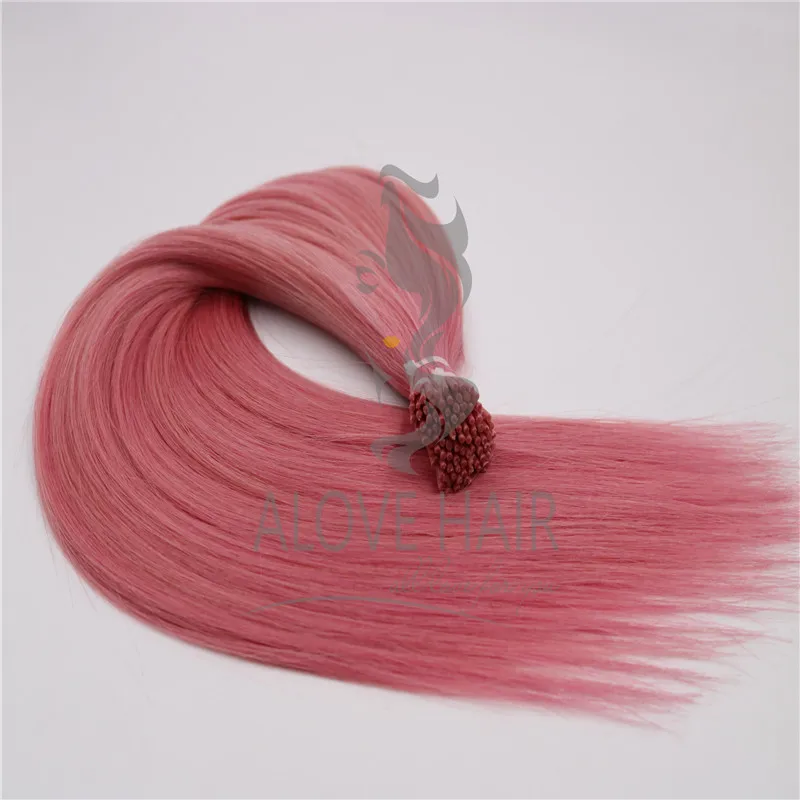
Color: Select a color that closely matches your natural hair or opt for a contrasting color for a bold look.
Length: For short hair, extensions that are 14-18 inches long usually work best.
Step 2: Prepare Your Hair
Wash and Dry: Start with clean, dry hair. Avoid using heavy conditioners or oils, as they can make the beads slip.
Section Your Hair: Divide your hair into small sections using clips. This will make the application process easier.
Step 3: Attach the I-Tip Extensions
Thread the Bead: Take a small section of your natural hair and thread it through the bead.
Insert the Extension: Place the I-Tip extension into the bead and pull it through until it's secure.
Crimp the Bead: Use a bead crimping tool to secure the bead in place. Make sure it's tight enough to hold the hair extension but not so tight that it damages your hair.
Step 4: Blend and Style
Blend: Once all the extensions are in place, blend them with your natural hair using a brush or comb.
Style: Style your hair as desired. You can curl, straighten, or even braid your hair with the extensions in place.
Examples of I-Tip Extensions on Short Hair
I-Tip extensions are a great changer for anyone with short hair who wants to experiment with length, volume, or texture. They're versatile and can completely transform your look without the need for heat or glue. Here are some detailed examples of how I-Tip extensions can work wonders on different short hairstyles:
From Bob to Lob (Long Bob): If you have a classic chin-length bob and want to add a little more length without going too dramatic, 16-inch I-Tip extensions are perfect. They can take your bob to a long bob (or "lob"), which is a stylish, shoulder-grazing length. For example, imagine you have a sleek, straight bob that ends just below your chin. Adding 16-inch extensions gives you a soft, flowing lob that's perfect for both casual and formal occasions. You can even add loose waves for a relaxed, effortless vibe. This look is ideal if you want a subtle change that still feels fresh and modern.
Pixie Cut to Shoulder-Length: If you're rocking a bold pixie cut but want to switch things up, 14-inch I-Tip extensions can give you a chic shoulder-length style. This is a dramatic transformation that doesn't require waiting months for your hair to grow. For instance, if you have a super short pixie cut that shows off your facial features, adding 14-inch extensions can create a soft, feminine look that frames your face beautifully. You can style it straight for a sleek, polished appearance or add curls for a playful, romantic feel. This is a great option for anyone who loves their short hair but wants the flexibility to change their look for a special event or just for fun.
Textured Crop to Wavy Lob: If you have a textured crop—a short, layered cut with lots of movement—adding 18-inch wavy I-Tip extensions can give you a trendy, beachy look. The waves in the extensions blend seamlessly with your natural texture, creating a cohesive and stylish style. For example, if your textured crop is about 2-3 inches long with lots of layers, adding 18-inch wavy extensions can transform your hair into a long, tousled lob. This look is perfect for summer or if you love that effortless, "I woke up like this" vibe. You can enhance the waves with a little sea salt spray for extra texture and volume.
Short Layered Cut to Mid-Back Length: If you have a short layered cut that's around 4-5 inches long, 16-inch I-Tip extensions can take your hair to a stunning mid-back length. This is a great way to add both length and volume, especially if your natural hair is fine or thin. For instance, if your layered cut has lots of texture and movement, adding 16-inch extensions can give you a full, flowing look that's perfect for braids, ponytails, or even updos. You can style it straight for a sleek, elegant look or add curls for a more dramatic effect.
In summary, I-Tip extensions are incredibly versatile and can work with almost any short hairstyle. Whether you want to add a few inches to a bob, transform a pixie cut into shoulder-length locks, or turn a textured crop into a wavy lob, I-Tip extensions offer endless possibilities. They're a great way to experiment with different looks without committing to a permanent change, and they're perfect for anyone who loves to switch up their style!
Data Table: I-Tip Extensions for Short Hair
| Hair Length Before Extensions | Extension Length | Final Hair Length | Best For |
|---|---|---|---|
| Bob (Chin-Length) | 16 inches | Long Bob (Lob) | Adding subtle length |
| Pixie Cut (Ear-Length) | 14 inches | Shoulder-Length | Dramatic change |
| Textured Crop (2-3 inches) | 18 inches | Wavy Lob | Beachy, textured look |
| Short Layered Cut (4-5 inches) | 16 inches | Mid-Back Length | Adding volume and length |
Tips for Maintaining I-Tip Extensions on Short Hair
Taking care of I-Tip extensions is easy if you follow a few simple steps. These tips will help keep your extensions looking great and your natural hair healthy, especially if you have short hair. Here's how to do it:
Brush Gently and Regularly: Just like your natural hair, I-Tip extensions need to be brushed to stay smooth and tangle-free. Use a soft-bristle brush or a special extension brush, and always start from the ends of your hair, working your way up to the roots. For example, if you've added extensions to a short bob, gently brush the ends first to avoid pulling on the beads. This prevents damage and keeps your hair looking neat.
Use Lightweight Hair Products: Heavy gels, waxes, or oils can build up around the beads and make your extensions look greasy or cause them to slip. Stick to lightweight shampoos, conditioners, and styling products. For instance, if you love using hairspray, opt for a light hold formula and avoid spraying it directly on the beads. This keeps your extensions clean and secure.
Protect Your Hair While You Sleep: Sleeping with extensions can sometimes lead to tangling, especially if you toss and turn. To avoid this, tie your hair in a loose braid or a low ponytail before bed. If you have a short pixie cut with added length, a loose braid will keep everything in place and prevent knots. You can also use a silk or satin pillowcase to reduce friction and keep your hair smooth.
Visit Your Stylist for Regular Check-Ups: Even though I-Tip extensions are low-maintenance, they still need a little professional care. Every 6-8 weeks, visit your stylist to have the beads adjusted and make sure everything is still secure. For example, if you've added 18-inch extensions to a short layered cut, your stylist can check if the beads are holding well and reposition them if needed. This keeps your extensions looking fresh and prevents any damage to your natural hair.
By following these tips, you can keep your I-Tip extensions looking amazing and your short hair healthy. Whether you're rocking a bob with added length or a pixie cut with a little extra volume, proper care will ensure your style stays flawless!
Conclusion
Mastering I-Tip hair extensions on short hair is all about choosing the right extensions, applying them correctly, and maintaining them properly. With the right care, you can enjoy longer, fuller hair without compromising the health of your natural hair. Whether you're looking to add a few inches or completely transform your look, I-Tip extensions offer a versatile and natural solution for short hair.
By following the steps and tips outlined in this article, you'll be well on your way to achieving the hair of your dreams. Happy styling!
Our company manufactures and wholesales I-Tip hair extensions for short hair in a variety of colors and specifications. If you are a hairstylist, salon owner, or a private label wig-related business that needs to purchase in bulk or customize hair extensions and wigs, please contact us!